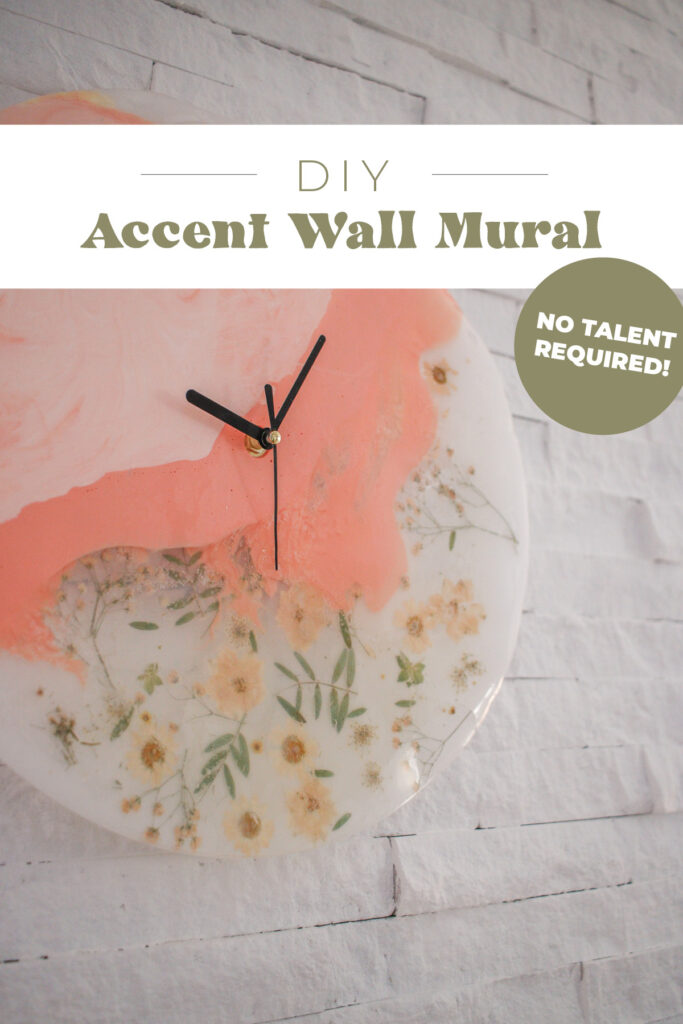
How to Make a Floral Wall Clock
I’m baaaack with my favorite kind of project – a Sculpey project! If you’ve been here awhile you’ll know that I’ve been using Sculpey since I was a kid, and it’s probably my most used craft supply here on the blog. I have sooo many Sculpey projects on here because there are just SO many ways to use Sculpey AND it’s easy to use! This time for the first time ever I have a DIY clock for you!
Here are some of my very favorite Sculpey projects I’ve made: Paint Palette, Spring Vases, Pendent Light, Candelabra, Wall Sconces, Propogation Station, Arch Vases, Dog Tags and SO many more!!
For this project I used Liquid Sculpey, which is kind of like epoxy, but you bake it in the oven and it’s way easier to use!! They just launched a new light orange color which is what I used for the clock and I’m obsessed with the color – I also mixed it with white, which I love as well!
Liquid Sculpey projects are so, so quick and easy to make – you basically just pour it in your mold and bake! You could make amazing handmade gifts so easily with this stuff! Imagine just whipping up a clock for a housewarming gift?! The best!
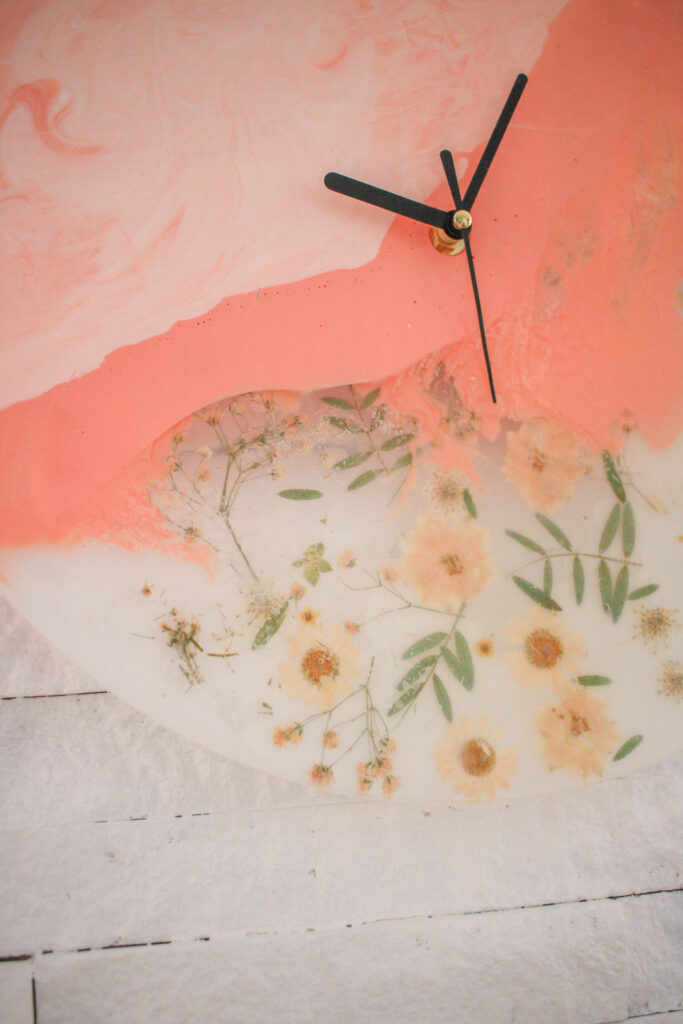
I also added some dried florals to the clock which makes it extra cute, but let’s get started and I’ll breakdown exactly how I did it!
SUPPLIES:
Liquid Sculpey
Colors: Light Orange, White, Clear
Clock Mold – Large Size, Smaller Size
(Mine is about the size of a pizza and took a lot of liquid Sculpey, I would probably suggest making a smaller clock – ha!)
DIRECTIONS:
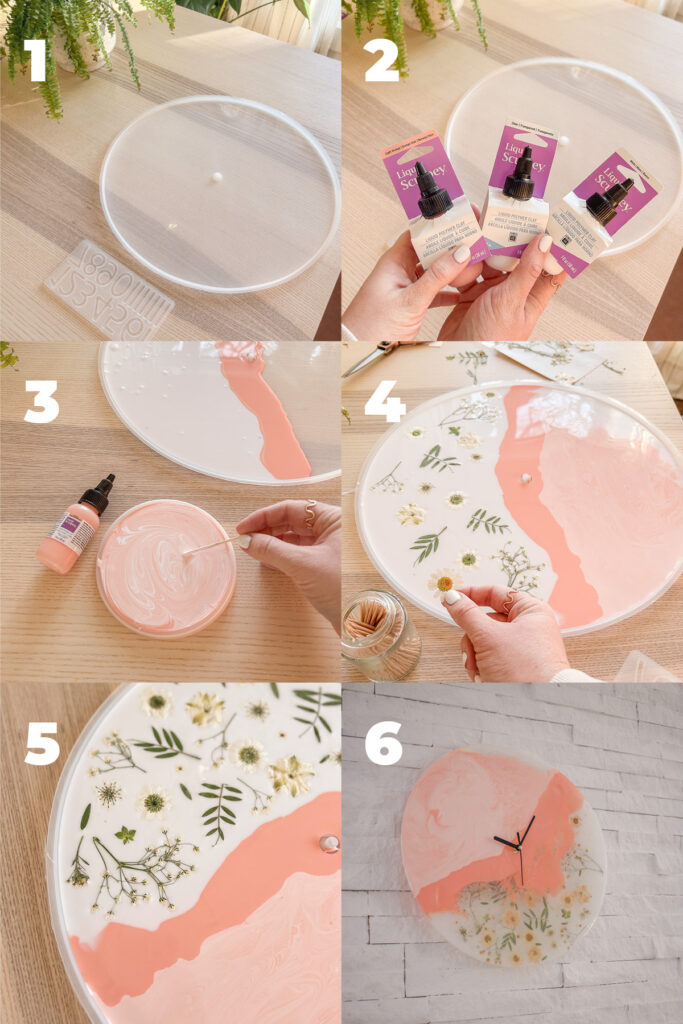
- Lay out your clock mold on a flat surface.
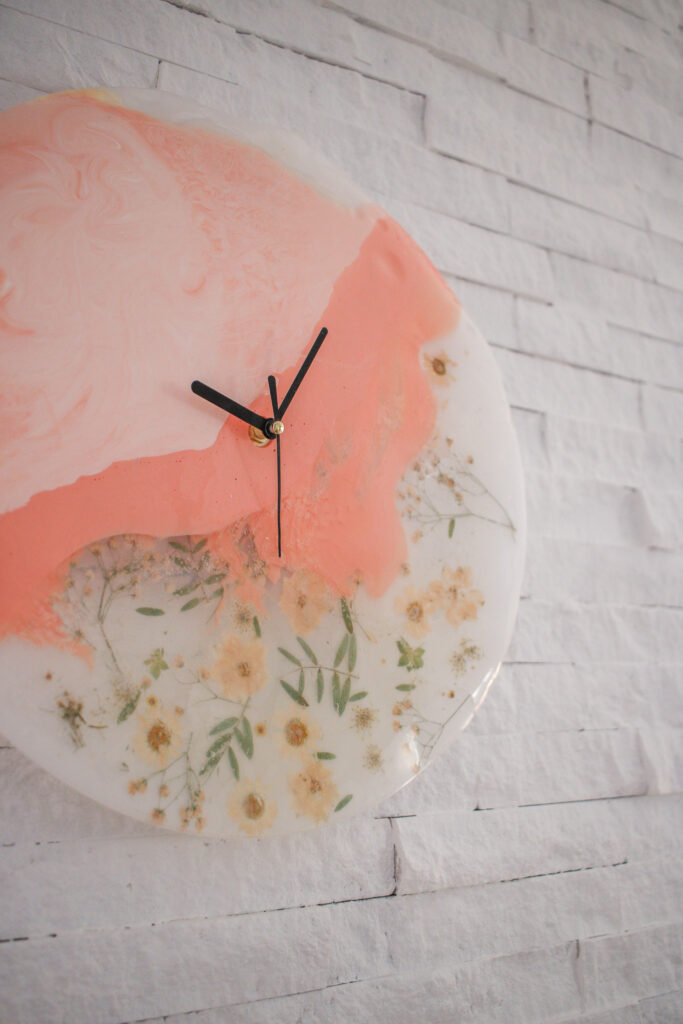
- I started by pouring out my clear Liquid Sculpey first, it covered close to half of the clock. I then poured a smaller strip of light orange right next to the clear.
- Next I took my light orange color and mixed it with the white color to make a really pretty light peach color. ***You’ll need to make sure to stir the liquids really well. I then covered the rest of the clock with this color.
- Now it’s time to lay your dried flowers – but first! Use a toothpick to pop all of the air bubbles. Then lay your dried flowers on just the clear section, making sure to have the good side facing down.
- Once I finished laying my flowers, I slid the clock mold onto a pizza pan and put it in the oven. Just follow the package directions!
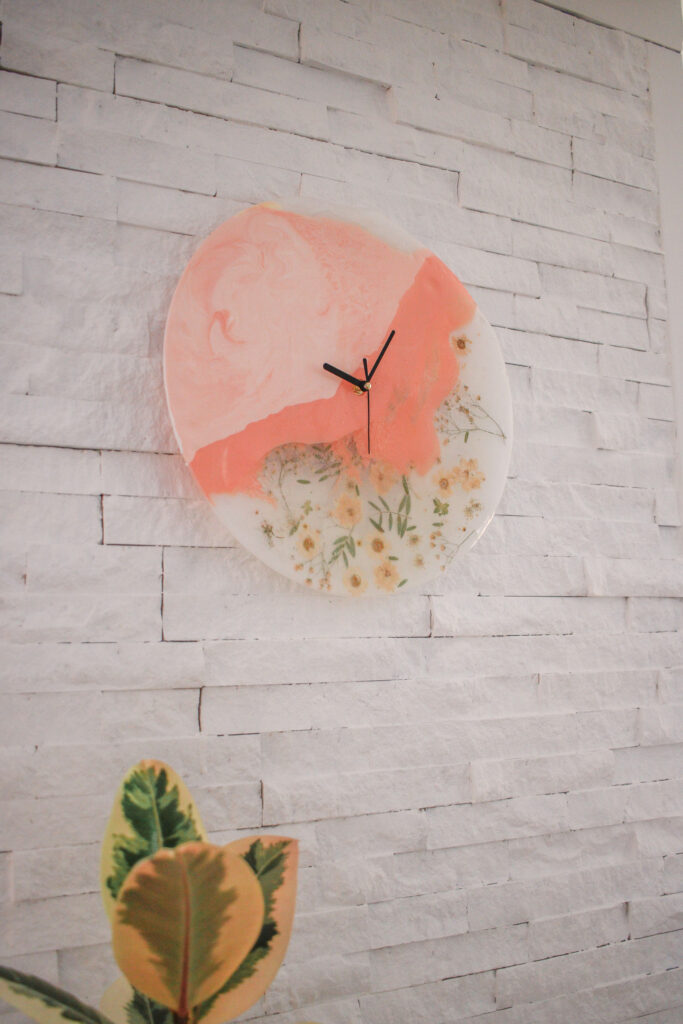
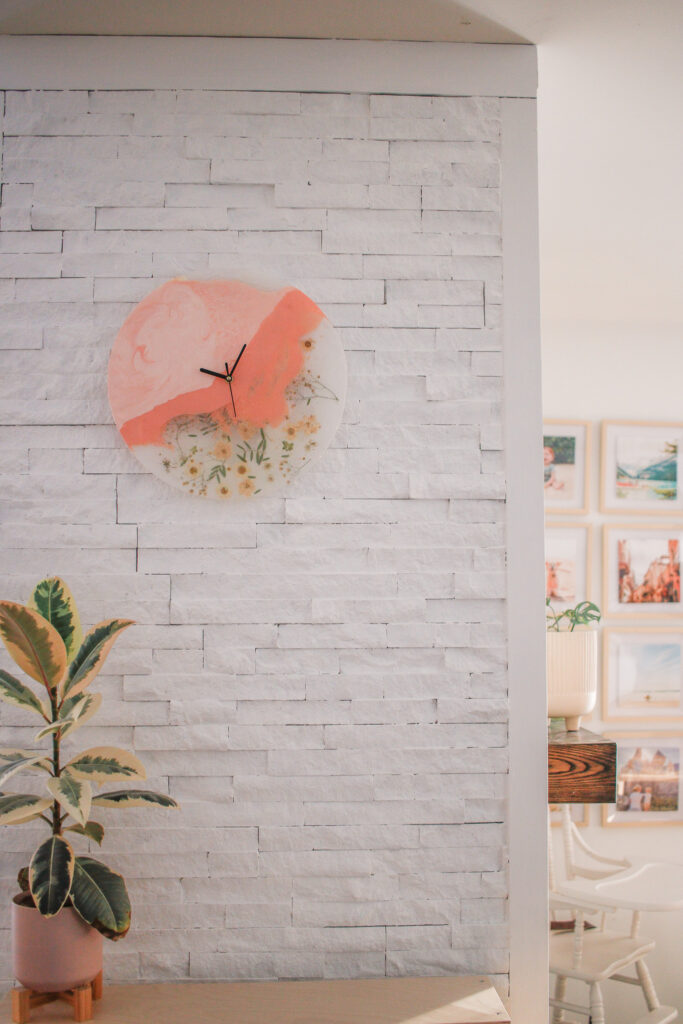
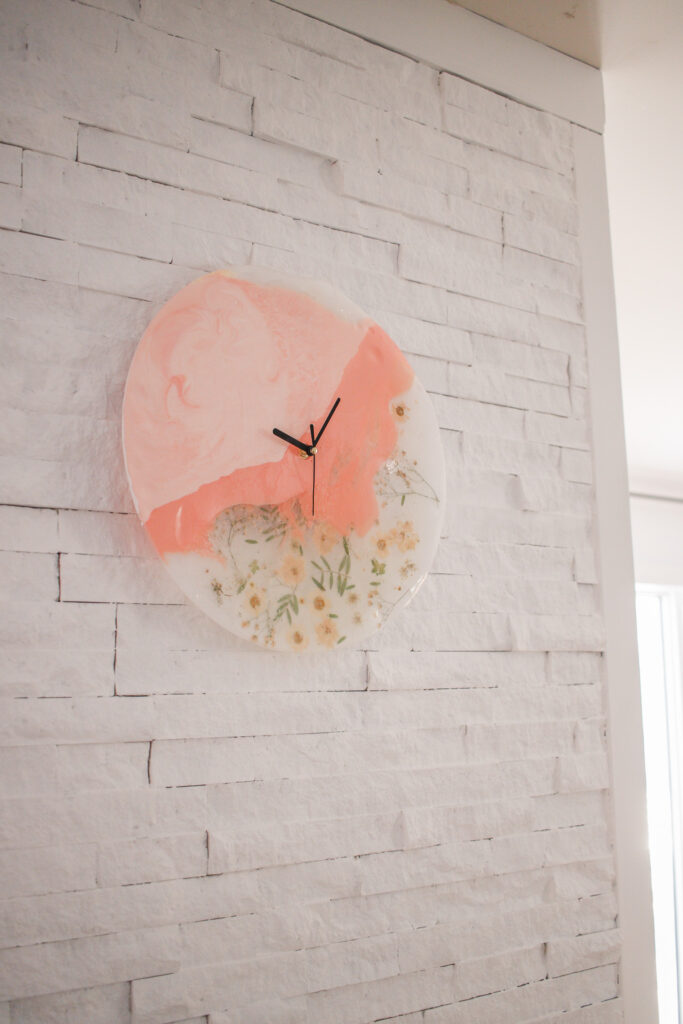
- Once it’s baked you can add your clock hardware. the clock mold I ordered includes everything you need and it was pretty simple to attached it to my clock. Now you just hang it up and voila! You have your very own floral wall clock1! YAY!
Well, that’s it guys! I will warn you that once you start using Liquid Sculpey, it’s hard to stop – there are just SO many possibilities – ha! If you make your own DIY clock, pretty please tag or DM me on Instagram @mikylamiller – I would LOVE to see! And don’t forget to check out all of Sculpey’s amazing colors and products
How to Make a Floral Wall Clock
I’m baaaack with my favorite kind of project – a Sculpey project! If you’ve been here awhile you’ll know that I’ve been using Sculpey since I was a kid, and it’s probably my most used craft supply here on the blog. I have sooo many Sculpey projects on here because there are just SO many ways to use Sculpey AND it’s easy to use! This time for the first time ever I have a DIY clock for you!
Here are some of my very favorite Sculpey projects I’ve made: Paint Palette, Spring Vases, Pendent Light, Candelabra, Wall Sconces, Propogation Station, Arch Vases, Dog Tags and SO many more!!
For this project I used Liquid Sculpey, which is kind of like epoxy, but you bake it in the oven and it’s way easier to use!! They just launched a new light orange color which is what I used for the clock and I’m obsessed with the color – I also mixed it with white, which I love as well!
Liquid Sculpey projects are so, so quick and easy to make – you basically just pour it in your mold and bake! You could make amazing handmade gifts so easily with this stuff! Imagine just whipping up a clock for a housewarming gift?! The best!
I also added some dried florals to the clock which makes it extra cute, but let’s get started and I’ll breakdown exactly how I did it!
SUPPLIES:
Liquid Sculpey
Colors: Light Orange, White, Clear
Clock Mold – Large Size, Smaller Size
(Mine is about the size of a pizza and took a lot of liquid Sculpey, I would probably suggest making a smaller clock – ha!)
DIRECTIONS:
- Lay out your clock mold on a flat surface.
- I started by pouring out my clear Liquid Sculpey first, it covered close to half of the clock. I then poured a smaller strip of light orange right next to the clear.
- Next I took my light orange color and mixed it with the white color to make a really pretty light peach color. I then covered the rest of the clock with this color.
- Now it’s time to lay your dried flowers – but first! Use a toothpick to pop all of the air bubbles. Then lay your dried flowers on just the clear section, making sure to have the good side facing down.
- Once I finished laying my flowers, I slid the clock mold onto a pizza pan and put it in the oven. Just follow the package directions!
- Once it’s baked you can add your clock hardware. the clock mold I ordered includes everything you need and it was pretty simple to attached it to my clock. Now you just hang it up and voila! You have your very own floral wall clock1! YAY!
Well, that’s it guys! I will warn you that once you start using Liquid Sculpey, it’s hard to stop – there are just SO many possibilities – ha! If you make your own DIY clock, pretty please tag or DM me on Instagram @mikylamiller – I would LOVE to see! And don’t forget to check out all of Sculpey’s amazing colors and products HERE!