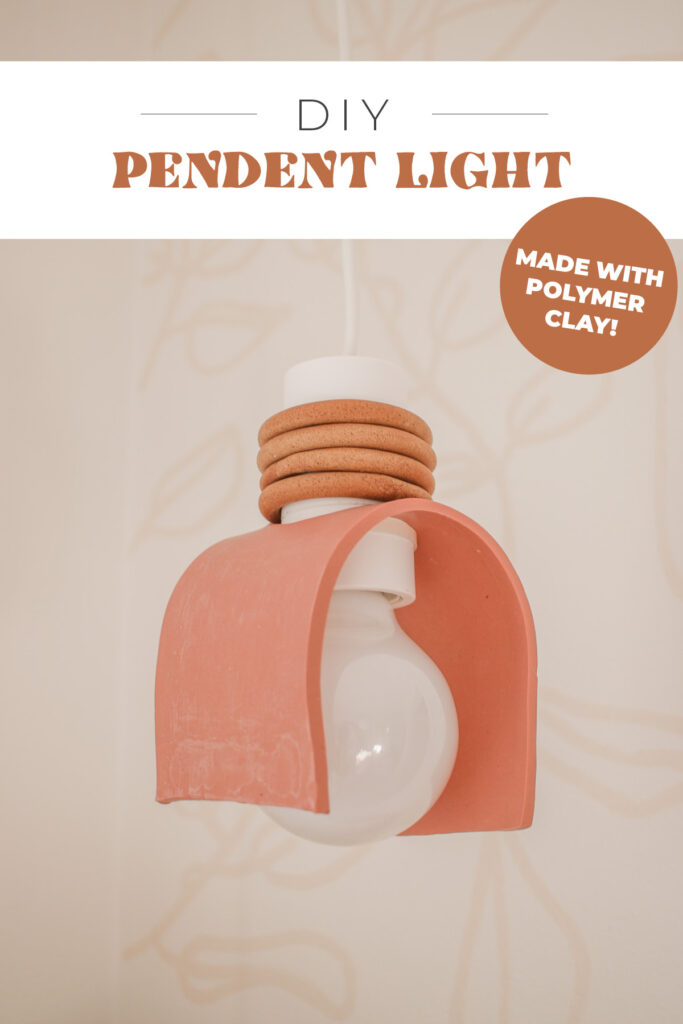
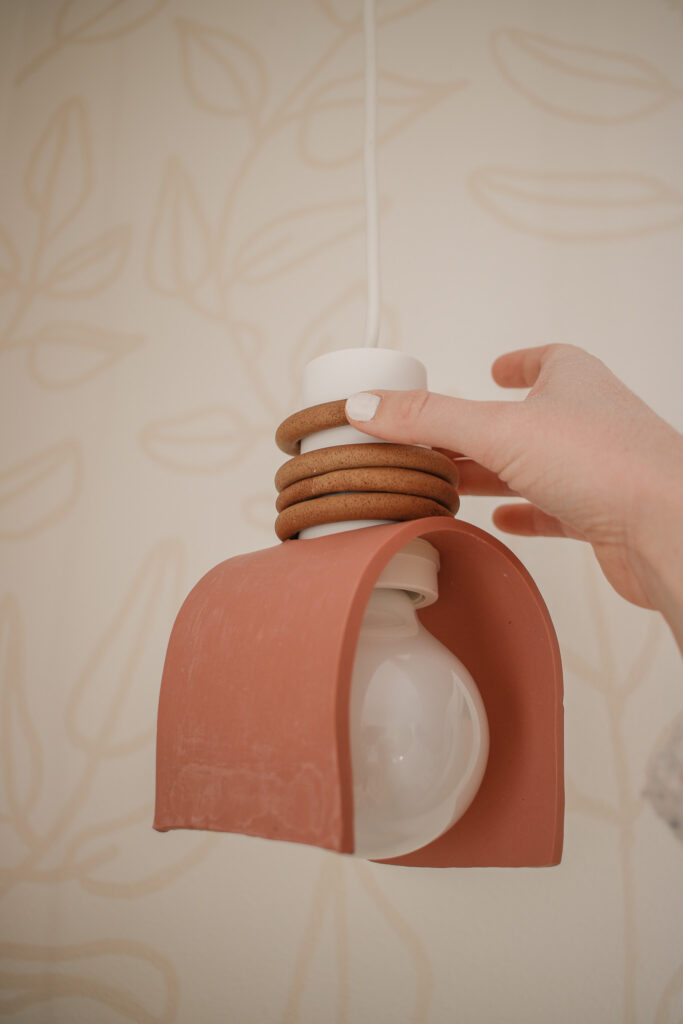
DIY Polymer Clay Pendent Light
If you have ever shopped for pendent light then you KNOW that they can be pricey. Enter Sculpey and a $10 light cord set, making it possible to have a cute pendent light for cheap! I was inspired by THIS $350 pendent light, except that my light cost under $20! I am so excited to share this DIY with you because it was truly SO quick and easy to make!
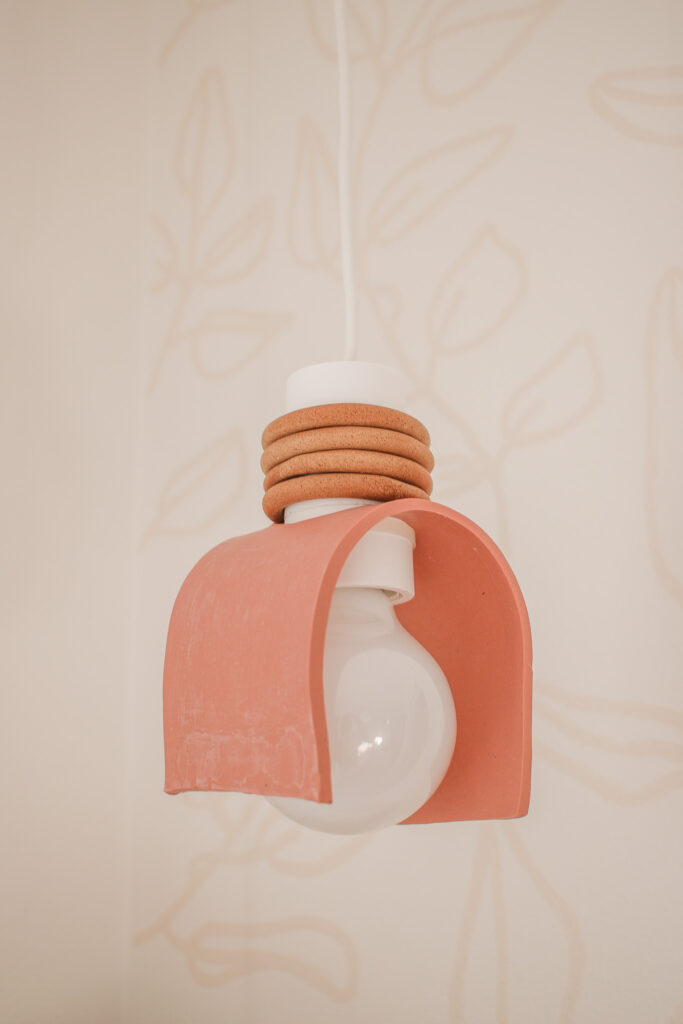
I used Sculpeys NEW color – ‘Sedona’ which is a color I I use a lot in my home decor so I was eager to try it out! I also love the name because our ‘babymoon’ was in Sedona! I also used the color ‘Latte’ which I’ve used for other projects and always love!
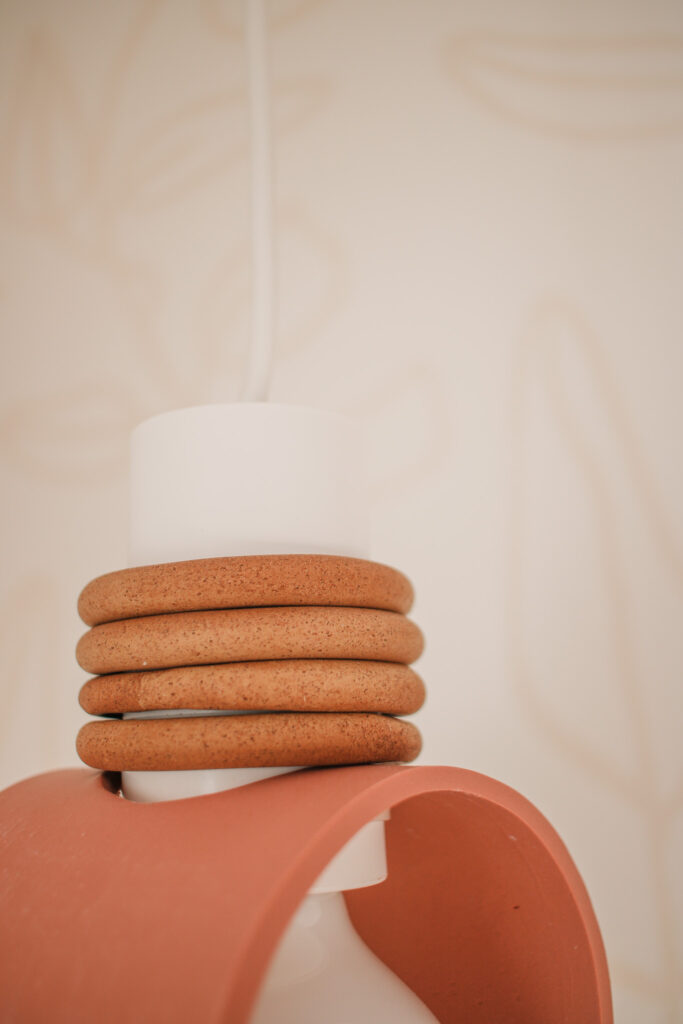
I discovered the greatest hack during this project, to make the perfect speckled clay look… CINNAMON! I could not believe how well this turned out and you KNOW I will be using it on a future project very soon!!
If you also love working with Sculpey like me, you can check out my MANY other Sculpey projects, including sconce lights, candle holder, clay + rattan shelf, propagation wall, arch vases, dog tags, and MORE!
SUPPLIES:
- Sculpey Souffle in Color ‘Sedona’ 3-4 packages.
- Rolling Pin
- Exacto Knife
- Ruler
- Cutting Mat
- ‘Havsris’ Light Cord Set from IKEA
- 3 Mugs or Bowls
- Sculpey Souffle in Color “Latte”
- Cinnamon
- Zip Tie (clear)
DIRECTIONS:
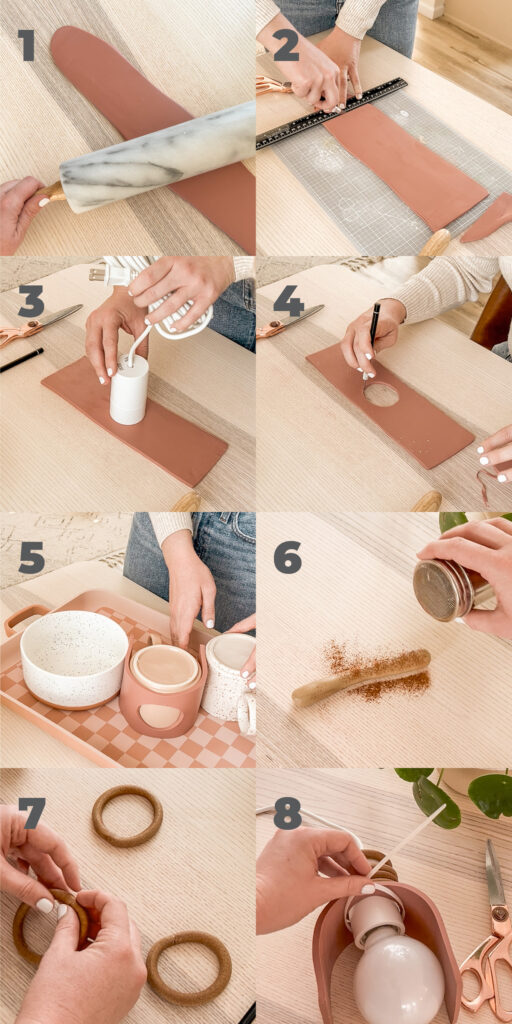
- Roll the Sculpey in the color ‘Sedona’ into a long snake. I used 4 packages of Sculpey. Use a rolling pin to roll the Sculpey out into a long oval.
- Use a cutting mat, exacto knife and ruler to cut out a long rectangle. Mine was about 10 inches long and 3.25 inches wide.
- Press the light fixture into the clay so that it leaves an indent.
- Then cut out that circle with your exacto knife.
- Place a mug on your baking sheet, and use this to shape your light shade, use two other mugs or bowls on either side to hold it in place.
- Now to make the rings. Roll out Sculpey in the color “latte” into a cylinder shape. Sprinkle cinnamon on the Sculpey (this will give it the speckled clay look). Then contine rolling the clay out into a long skinny snake.
- Once it is rolled out, wrap your clay around the light base to see how big the ring needs to be. Cut the clay into 4 strips, using the first one to measure. Then form your strips of clay into rings, using your fingers to blend the ends together.
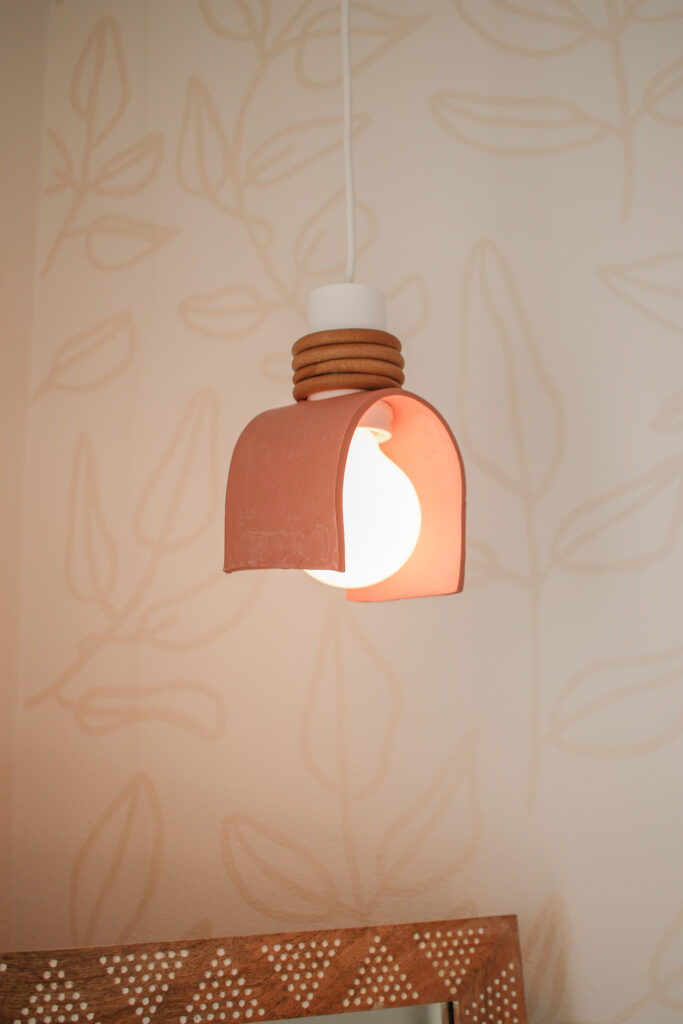
- Bake according to package instructions. Then, assemble your light, placing the rings on first and then the light shade. I used a zip tie on the base of the light to hold the shade in place.
That’s it! If you make your own Pendent light pretty please tag or DM me @mikylacreates on Instagram! I would love to see! PLUS you can see all of Sculpeys amazing colors HERE!!