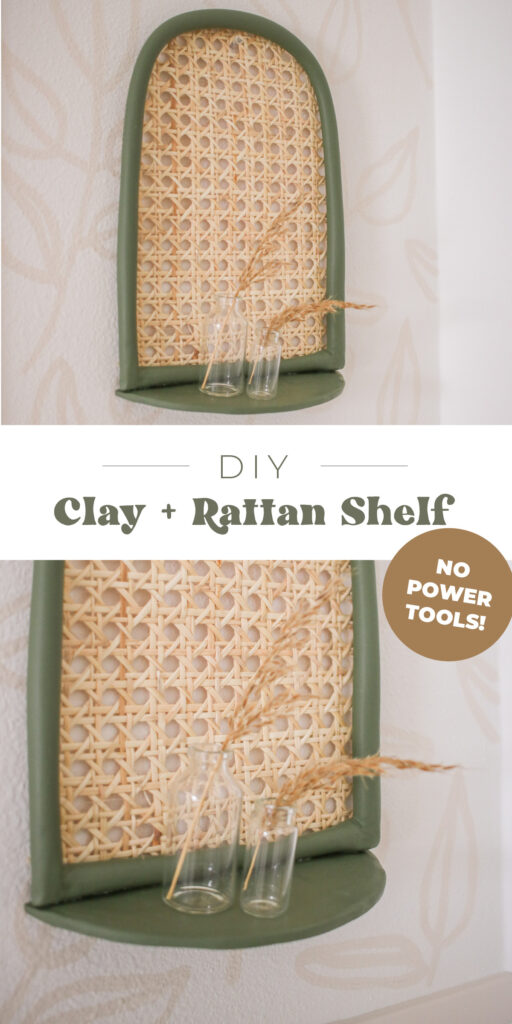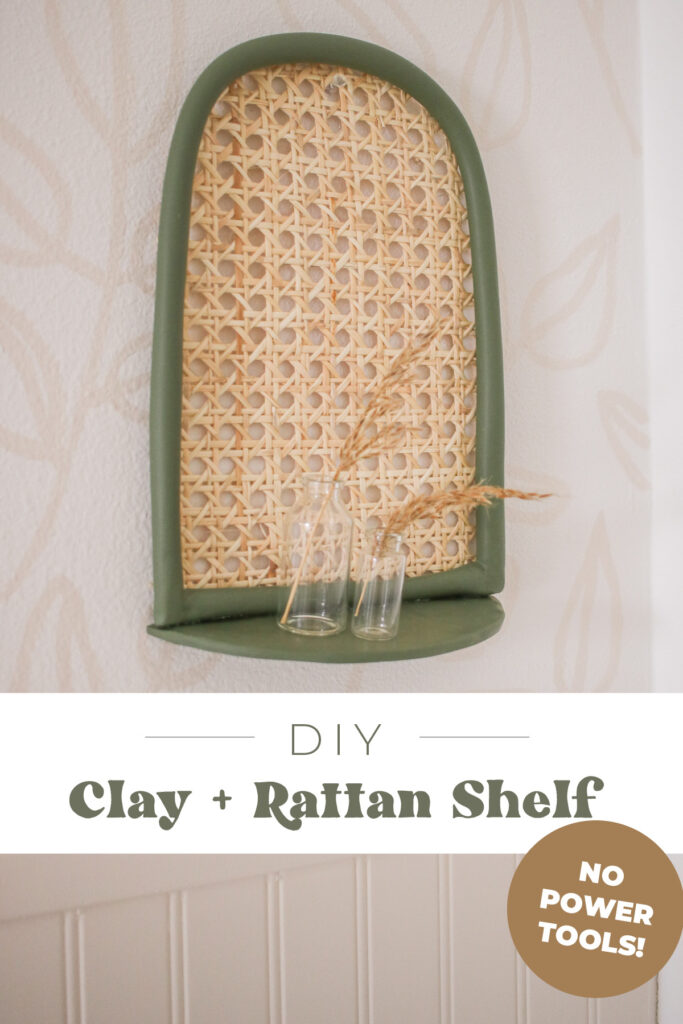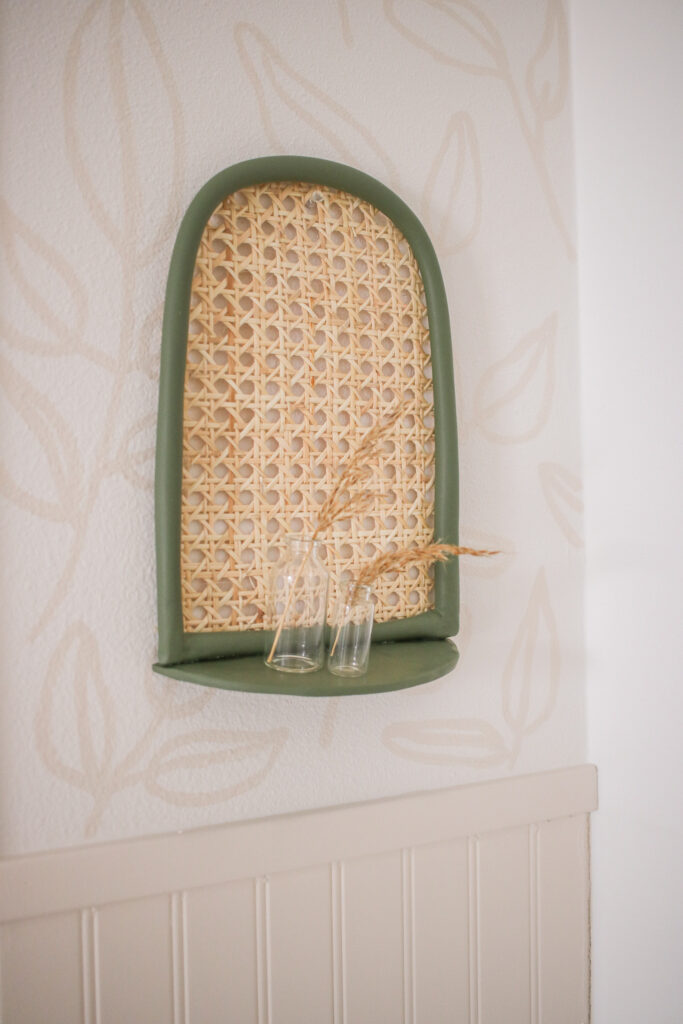
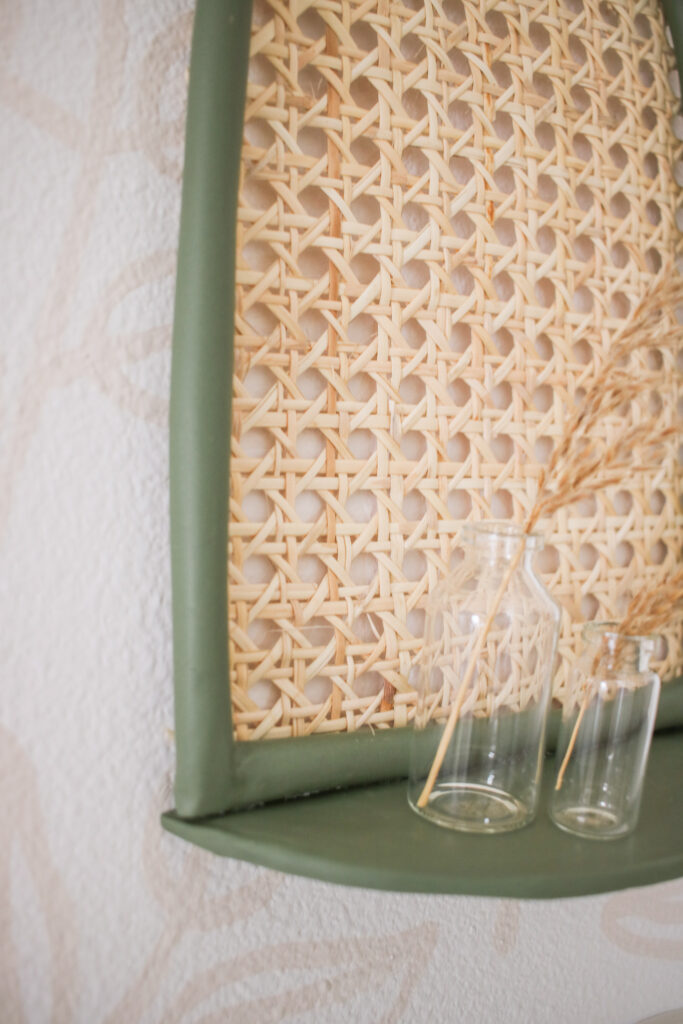
DIY Cane & Clay Arch Rattan Shelf
Every time I make a project using Sculpey clay I am SHOCKED by what you can make SO easily. I’m not someone who likes using power tools, working with plaster or wood etc. BUT, I love working with Sculpey, so now I can make an arched cane shelf with NO power tools – literally just caning, Sculpey and glue! *mind blown*
Some other projects I’ve made with Sculpey are: Sconce Lights, Arch Vases, Dog Tags, Candle Holders and wayyy more (cause I’m addicted – ha!)
Anyways, arches and caning/rattan are VERY in right now, and have been for awhile! Making rattan and arched home decor kind of pricey – but no problem – because we can just MAKE it ourselves – and it’s *way* easier than you’d guess!
When I had the idea for this project I was so excited, but then put off making it for awhile because I was intimidated by it and thought it might be hard to make, but guess what – it was truly SO easy!!
The best part is that you can make this shelf ANY color or size that you need – Sculpey has literally hundreds of color options – but I used their NEW Khaki green color!
Alrighty – let’s get started on one of my favourite DIYs I’ve done!
SUPPLIES:
Khaki Green Sculpey – This shelf took 3-4 packs of Sculpey.
Bowl – the width of your shelf
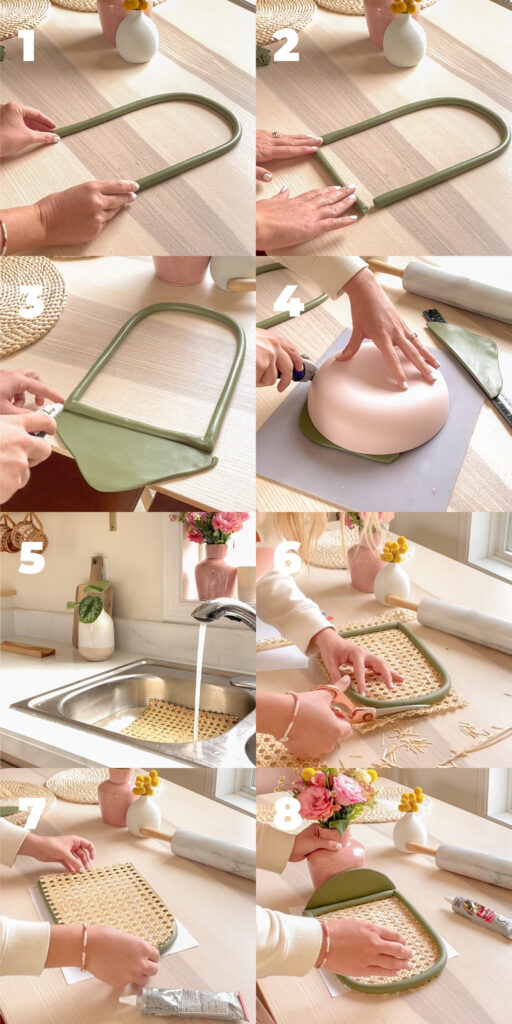
DIRECTIONS:
- Roll Sculpey out into a long snake, then bend it into an arch shape, adjusting it to make the arch even.
- Roll out another piece of Sculpey into a snake that is the same width as the last one. Use your exacto knife to trim the ends so that it fits in between the arch you just made. Attach the pieces together by smoothing the clay together with your fingers.
- Roll out another piece of clay with a rolling pin until it is flat and wider than the arch you just made. Cut a straight line across the top, then trim the edges so that it is the exact width as the arch.
- Use a bowl that is the same width as your arch and use it to cut your flat piece into a semi circle. Once you do this, smooth the edges out with your hands. Then bake the two pieces according to package directions.
- When the Sculpey is baking soak your caning for a few minutes so that it is easier to work with.
- When Sculpey is done baking and cooled, place the arch on top of your caning and cut the caning around your arch so that it is the same size.
- Add glue to the back of the arch and then secure your caning, and wait for it to dry.
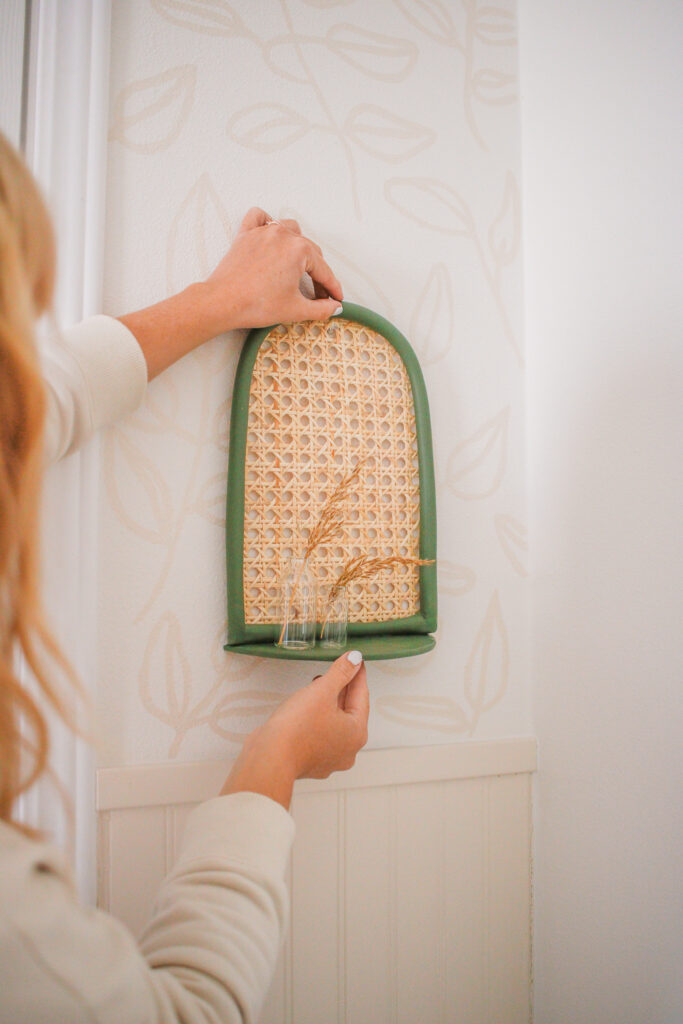
- Add glue to the bottom of your arch and then attach the semi circle shelf. Then use something heavy like a vase to hold it in place while it dries.
That’s it! So easy right?! I’m *literally* about to make two more today because they are really that easy and cute! I can’t wait for you guys to make your own! If you do, pretty PLEASE tag or DM me @mikylacreates so that I can see!! Until the next DIY!