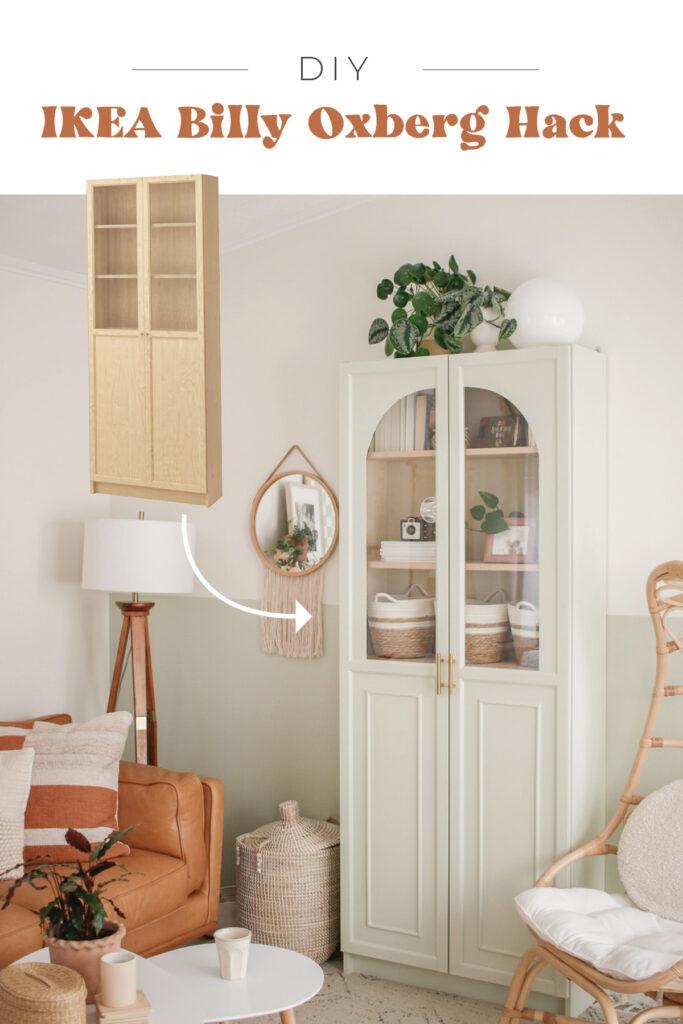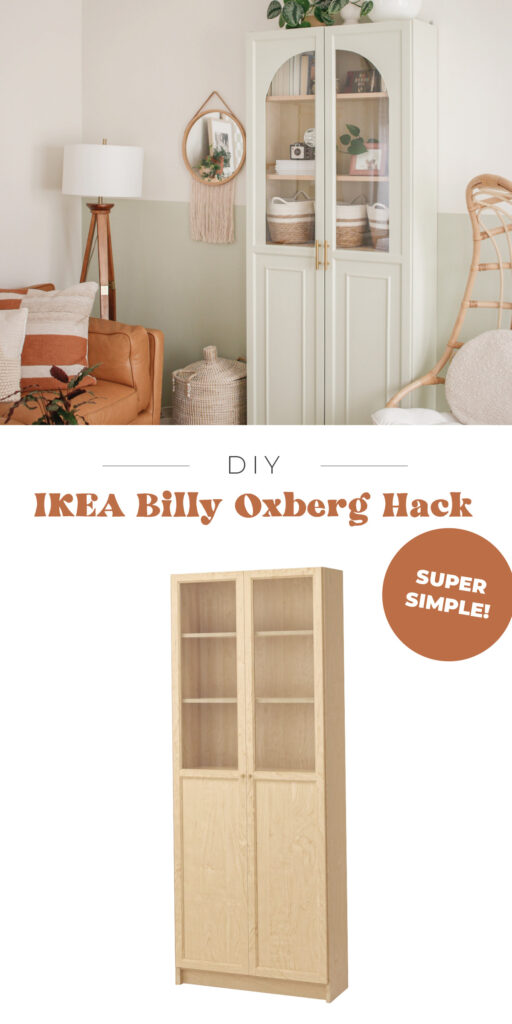
DIY Ikea Billy Oxberg Arched Cabinet Hack
I’m so excited to *finally* share this DIY with you because it’s been a long journey – ha! It’s actually a pretty easy DIY, but I made a few major mistakes a long the way that made it wayyy harder than it needed to be. SO I’m going to tell you what not to do, so that this can be an easy DIY for you!

Find more of my home DIYs here: DIY epoxy countertops, How to paint cabinets the right way, DIY flower mural, DIY painted wallpaper, DIY propagation wall, DIY sconce lights, DIY deck curtains, and MORE!
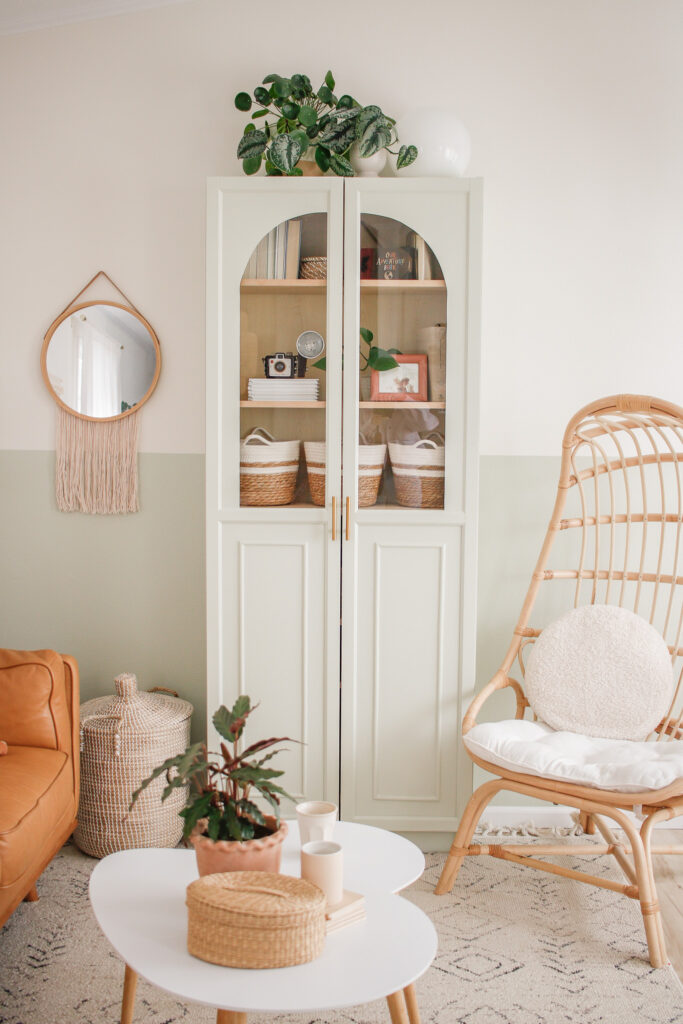
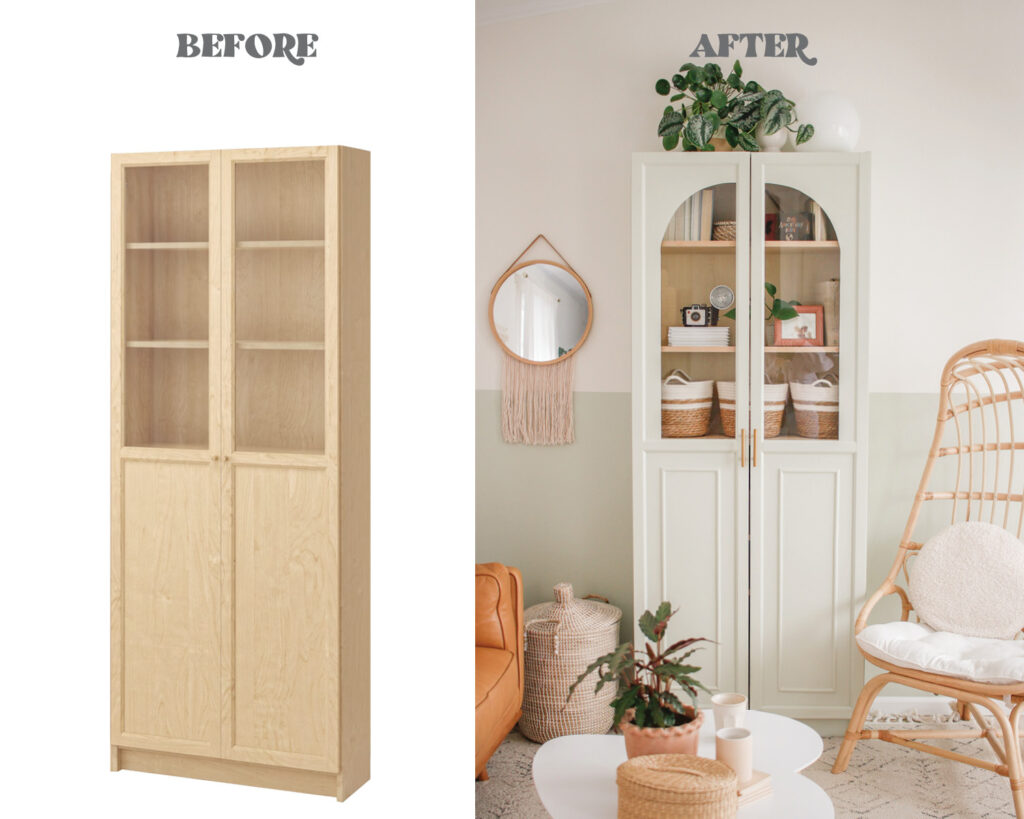
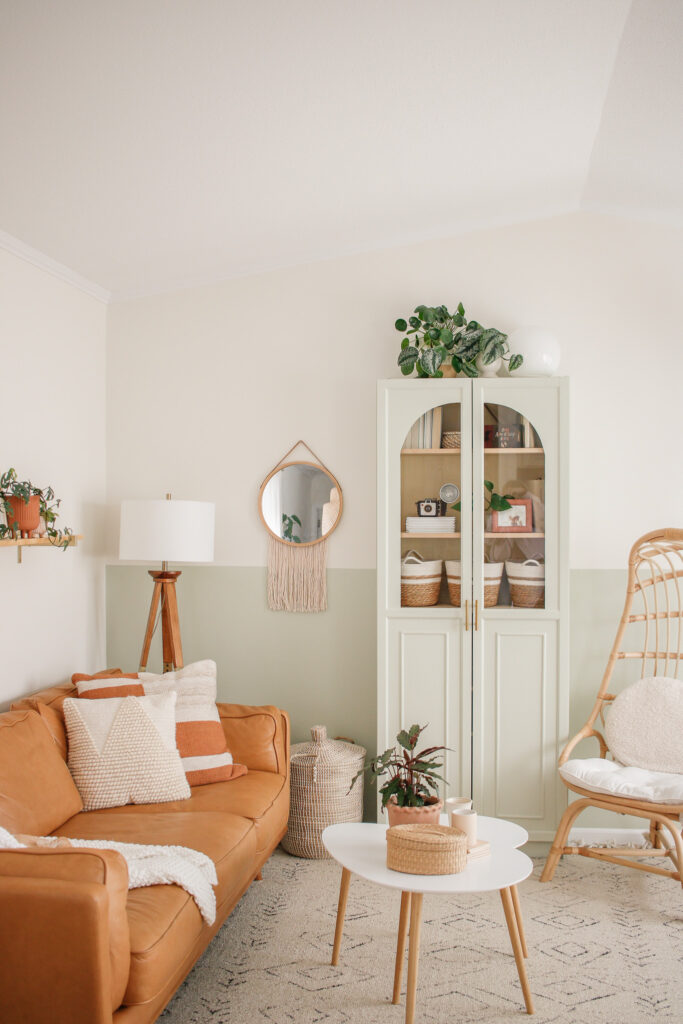
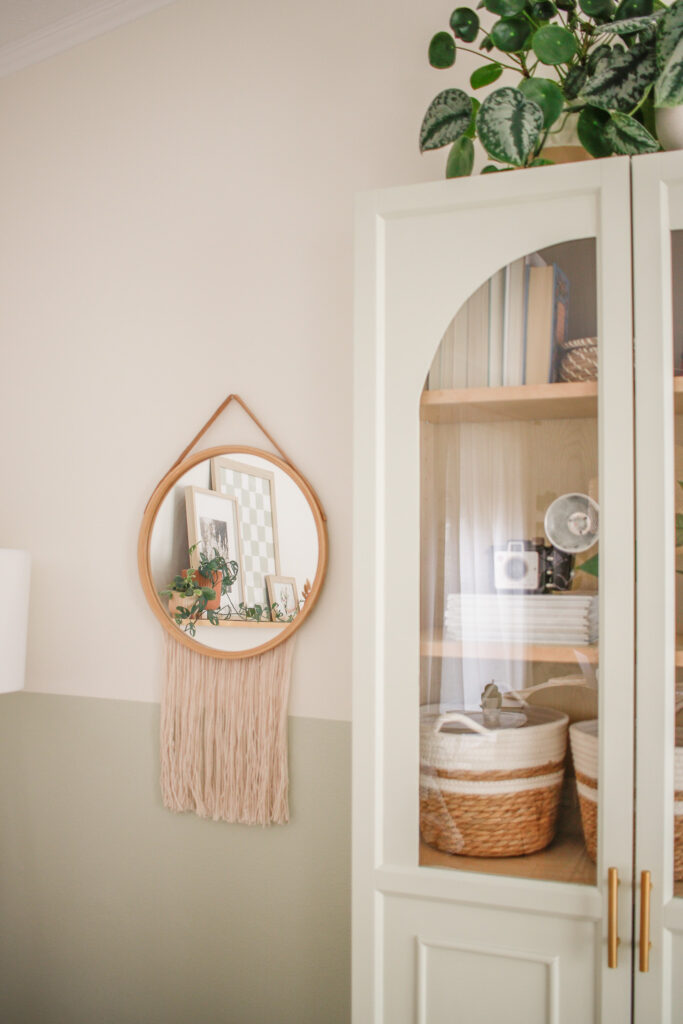
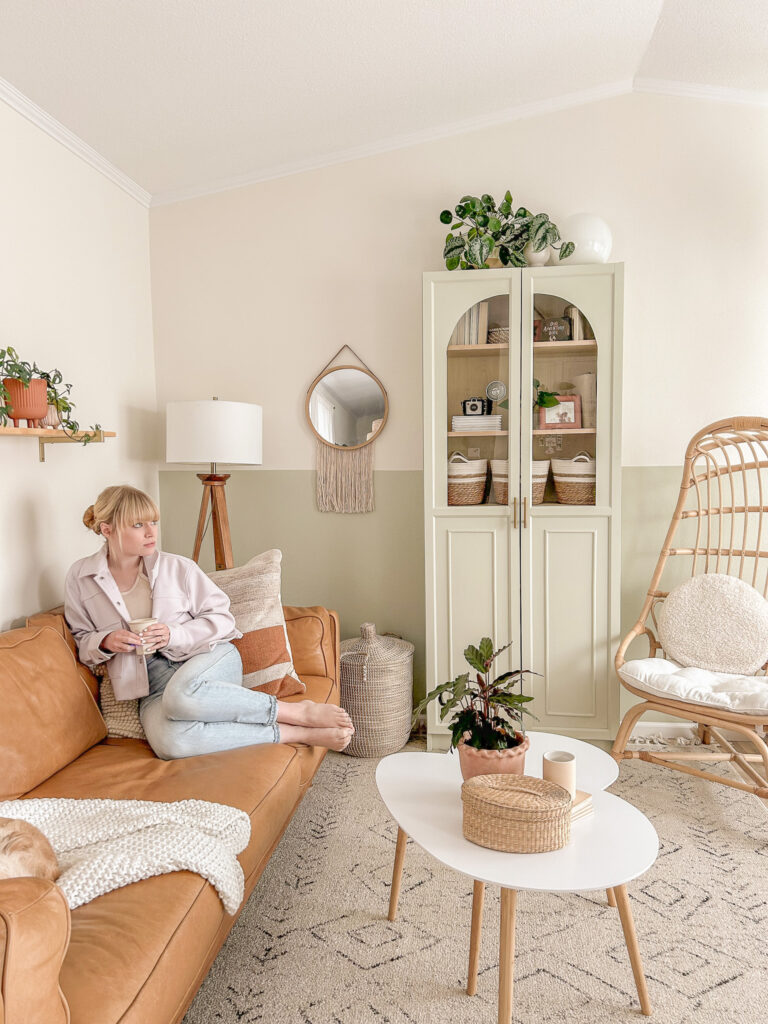
All that said – I LOVE how this DIY turned out! It really transformed our living room for a fraction of the price that a cabinet like this would cost (trust me – I’ve looked). I’m currently obsessed with anything arched, so I’m VERY happy to have this new arched cabinet *insert heart eyes*.
FYI this DIY was inspired by the amazing Peony + Honey blog, and you can see her cabinet HERE! She did a fluted section on the bottom half of her cabinet, which looks beautiful, BUT if you price it out, adding that fluting costs upwards of $150 on top of the price of the cabinet, wood & paint. No, please. SO, I added box molding on my cabinet instead, which cost $30!
Anyways, Let’s get started!
SUPPLIES:
Flexible Molding
– I used 2 packs!
Benjamin Moore Advance Indoor Paint in Pearl Finish
– I used Benjamin Moore Paint, but a Behr color (they matched it for me)
– The color is called Morning Zen by Behr.
DIRECTIONS:
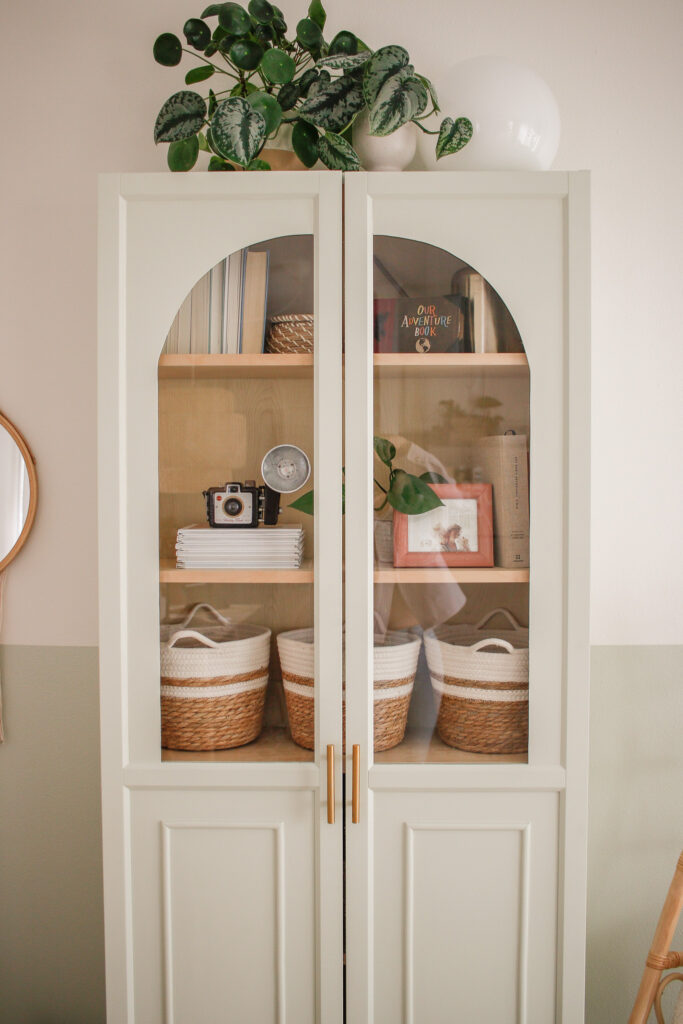
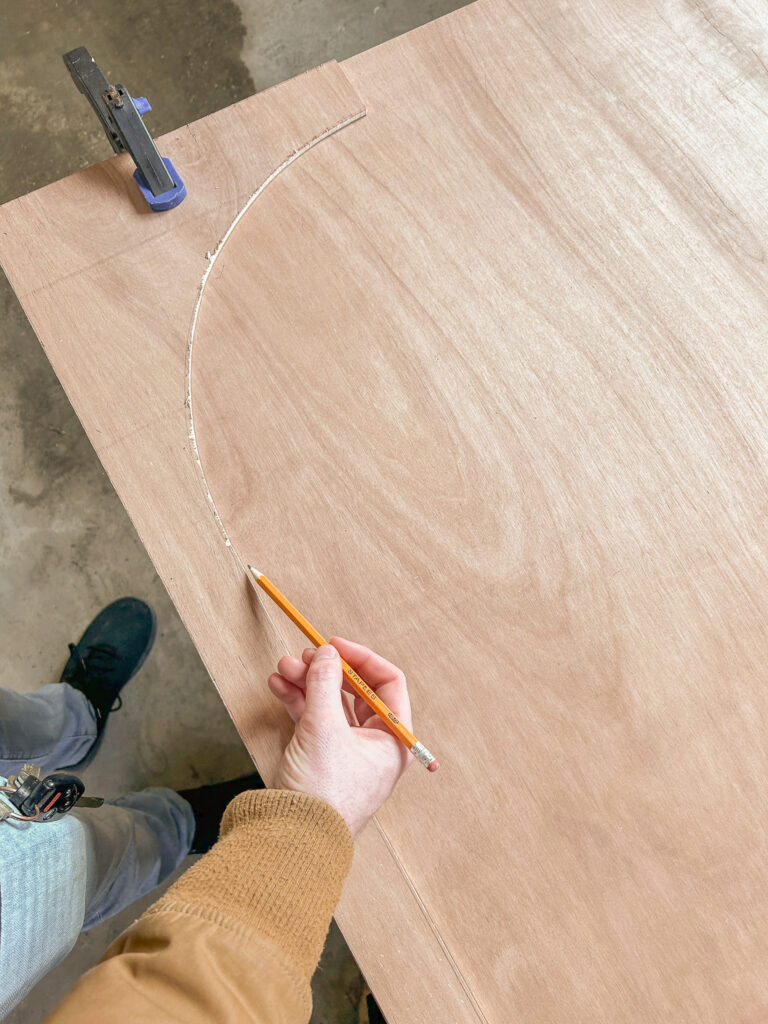
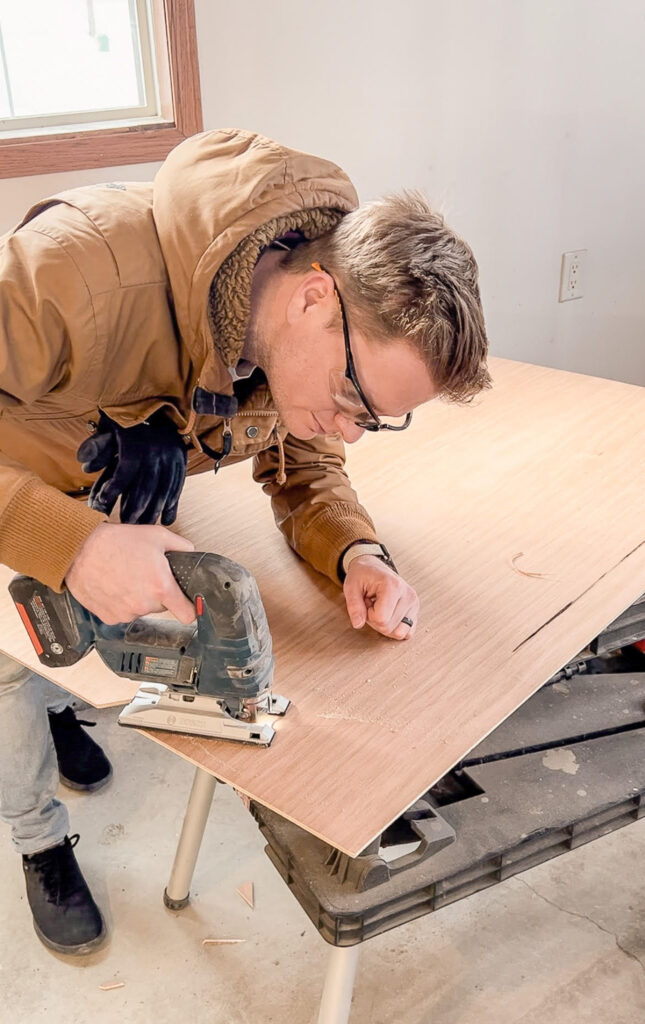
- We started by cutting out the arch shape. First we drew the arch shape on the hardboard by using a pencil and string. A method that you can see in this post! Then we used a jig saw to cut out the arch. After we had cut out the first half of the arch, we traced that onto the remaining hardboard, and used the jigsaw to cut it out.
- Next we painted everything. I used a paint sprayer, (here’s the one I used) but you could for sure just paint it by hand as well! If you are painting the IKEA cabinet with the wood finish, you’ll just need to paint 2 coats of the Benjamin Moore Advance paint. If you are painting an IKEA cabinet with the white or black finish you WILL need to a primer, because if you don’t the paint will scrape right off (I learned this the hard way). I used Benjamin Moore’s ‘STIX’ primer, and got them to tint it the same color as my regular paint. However, I would suggest just getting the wood finish cabinet so that you don’t need this extra step.
- Once everything is painted (we painted the cabinet, doors and arches separately) it’s time to put it all together. Attach the cabinet doors, then attach the arches. Our arches were a pretty snug fit, so we actually didn’t glue them to the glass, we just caulked the edges and the served as the glue. I’d suggest this method, since you would see the glue through the glass when you open the doors. Once the caulk was dry I painted over it.
- Next attach the handles – I used these gold ones!
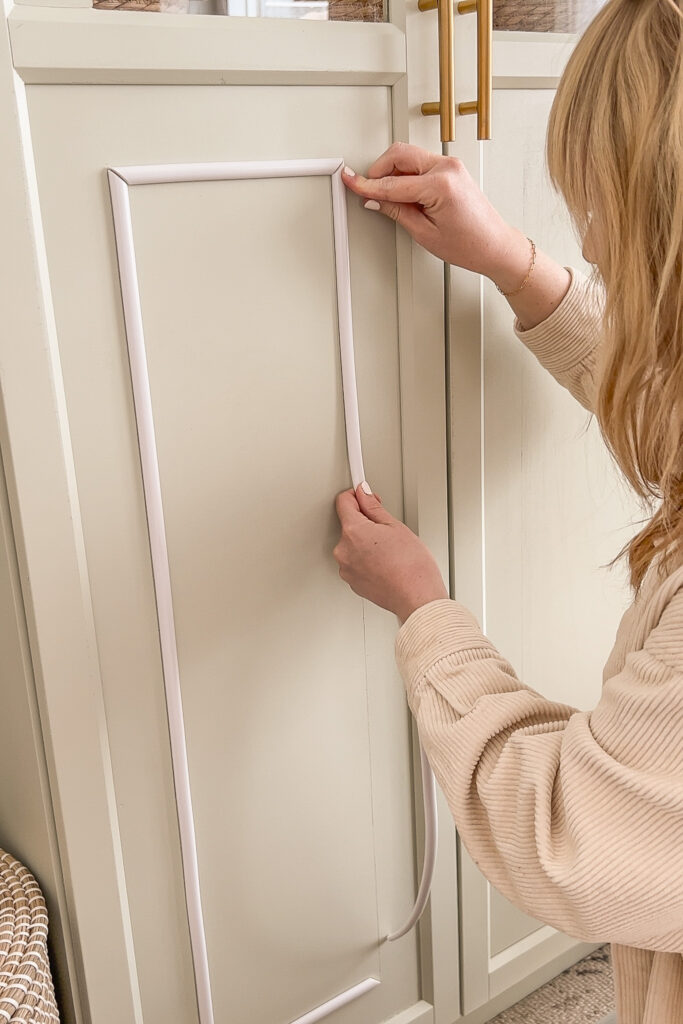
- I then added the box trim to the bottom section of the cabinet using this trim (2 packs). I first measured and drew out a box with pencil onto the door. I drew my trim line 2 inches from the edge all the way around. Once I drew out my box, I cut out my trim pieces as I went, so I would cut out one piece, stick it on, measured, and then cut another piece. This ensures that it’s the exact right length. Every piece needs to be cut at a 45 degree angle. To do this I drew a 45 degree angle onto a piece of paper and then used that as my template. I would place my trim on top of that drawing and cut it from there (see photo below).
- Once you have your trim up, caulk all of the edges and corners! This will give it a much more seamless look and is totally worth the extra effort! Lastly, paint the trim! I just did this by hand.
- That’s IT!

We ran into a lot of issues a long the way since we had to scrape of ALL the paint and repaint since we didn’t use a primer, but if you get the wood finish you can avoid all of these issues and it is actually a pretty simple DIY!
Not going to lie – this DIY was an emotional journey, but I seriously am SO, SO happy with outcome! It really changed the entire room and I’m so proud of it!
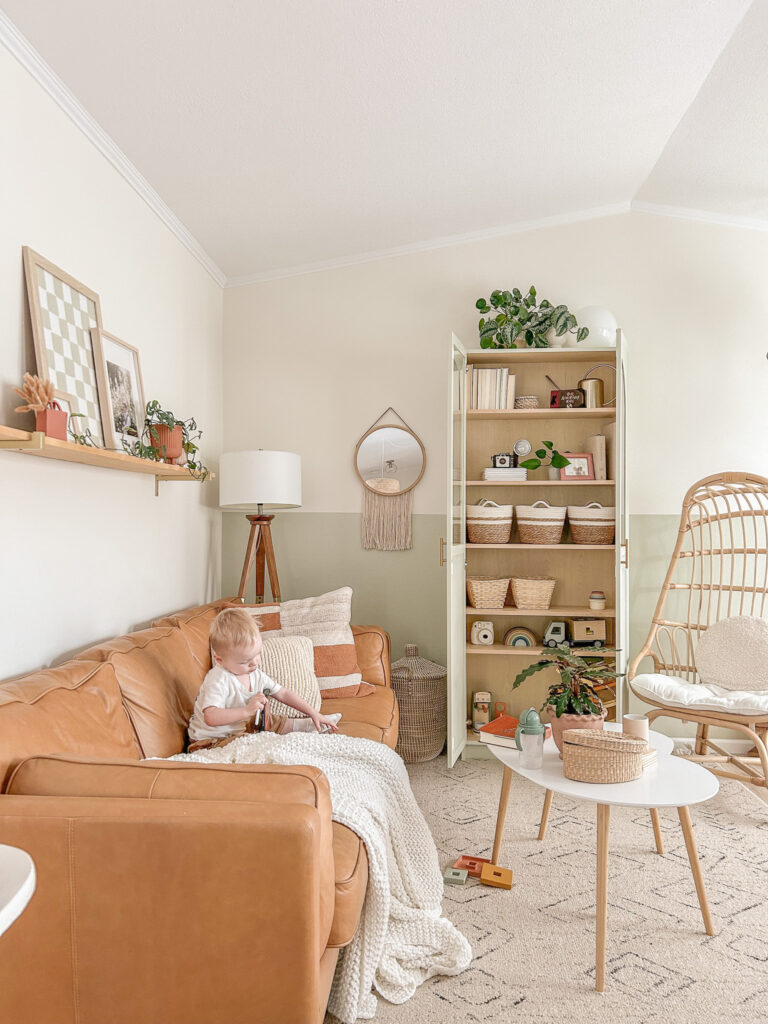
^ Reality check of what the cabinet often looks like during the day – ha!
If you make your own pretty PLEASE tag or DM me on Instagram @mikylacreates Talk to you soon!