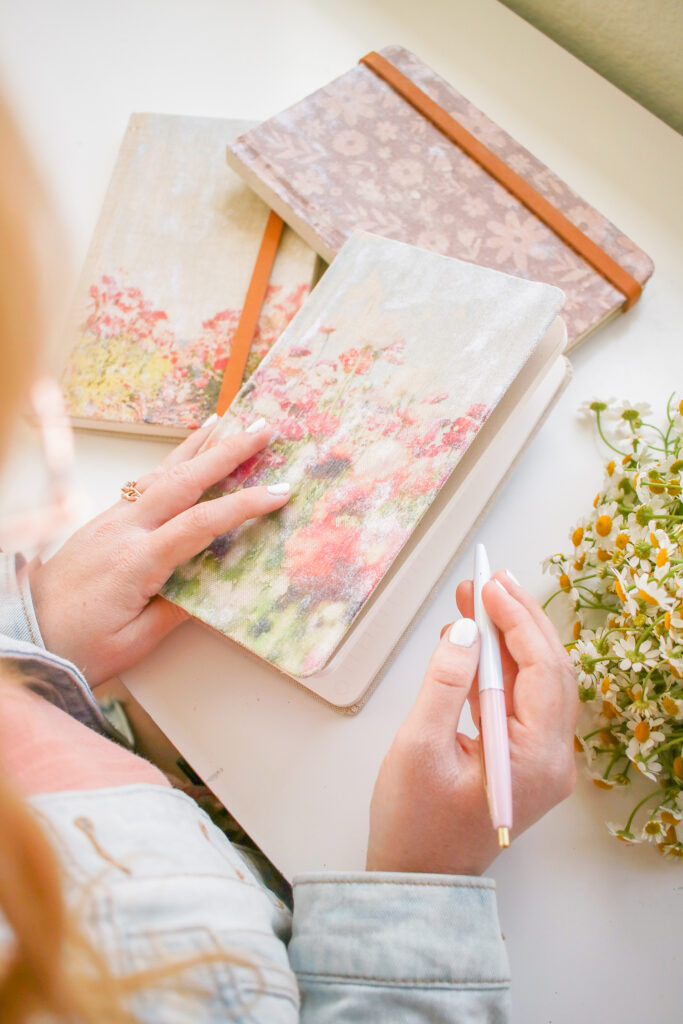
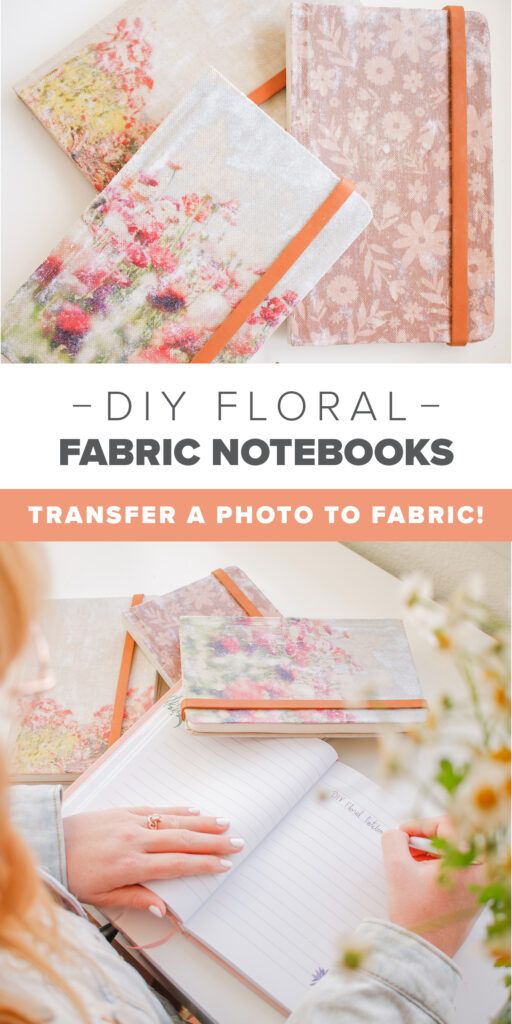
DIY Floral Notebooks (Photo to Fabric)
OKAY! This is for sure one of the most fun DIYs to make, my husband would stand and watch me make them because it is just that cool and satisfying to make! But, I gotta admit, when I decided to try this photo to fabric technique I did NOT think that it would work, I thought this DIY would go down in my DIY fails (I’ve got a few – ha!). But, it turned out to be the coolest DIY to make and I can’t wait to share it with you!
I’ve made a bunch of DIYs with Aleene’s Glue like monogrammed mugs, ring dishes, Japanese Kintsugi, and window art!
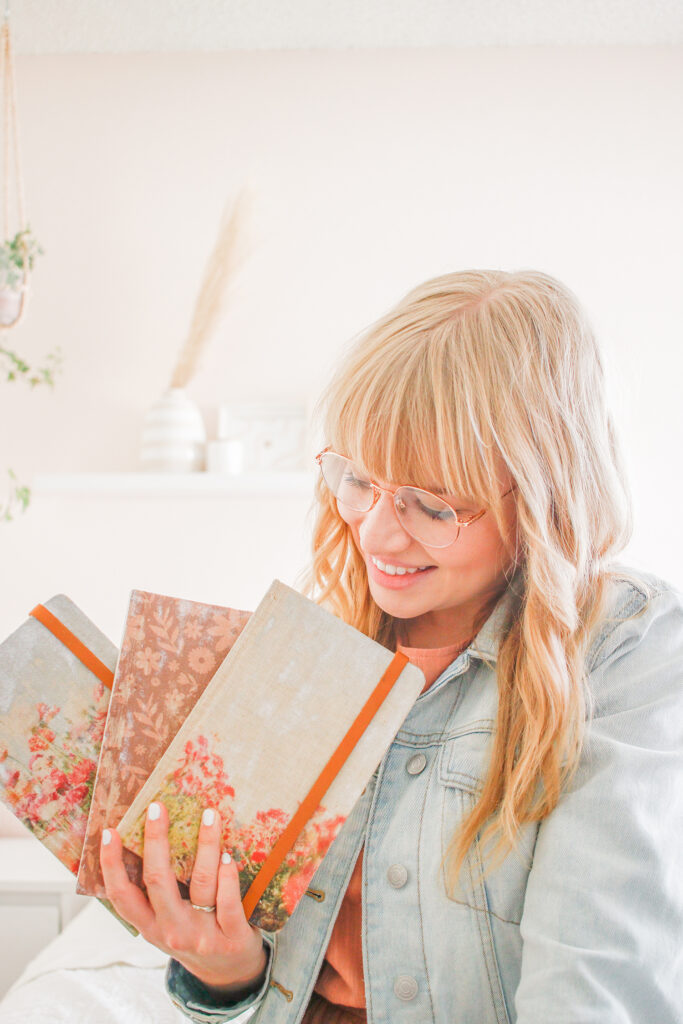
Unless you’ve tried this technique before, you might be wondering HOW in the world you get a photo printed onto regular paper onto fabric. The answer is Aleene’s Tacky Glue!! Yep, that’s it! It worked SO well for this project, and I love that you can put literally any photo or design you want onto a notebook, and the design truly looks like it was printed onto the fabric! Talk about a perfect gift! What’s better than a personalized notebook?! You could put a photo of a fun memory or vacation on the front!
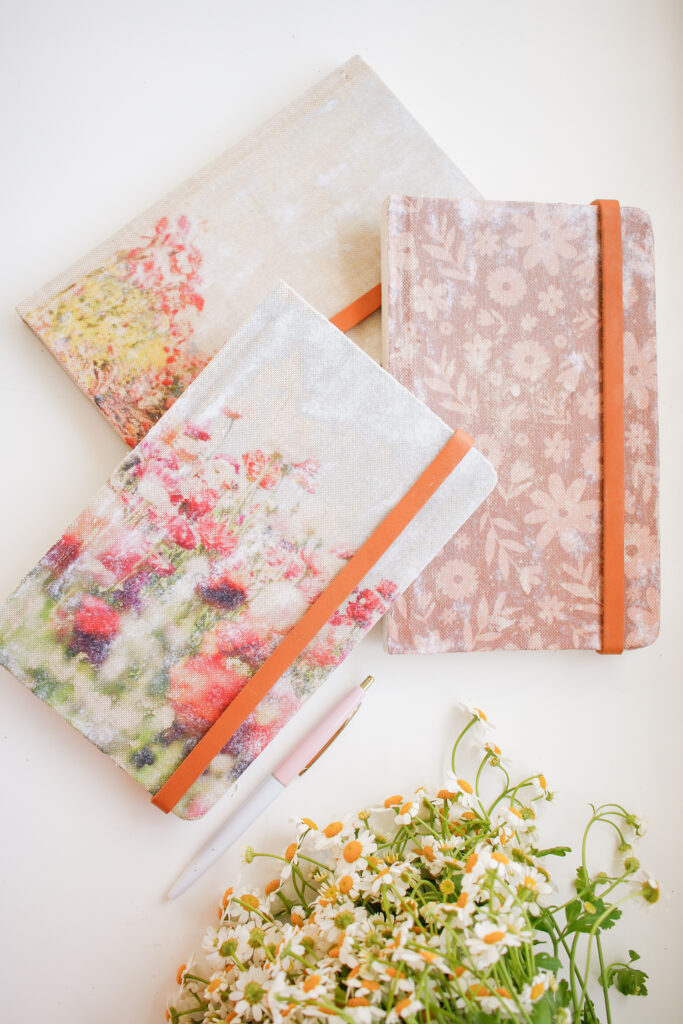
You really be blown away by how this technique works, and how crazy easy it is too! I also love the vintage look that it has as well. Okay, I think that it’s time to get started!
SUPPLIES
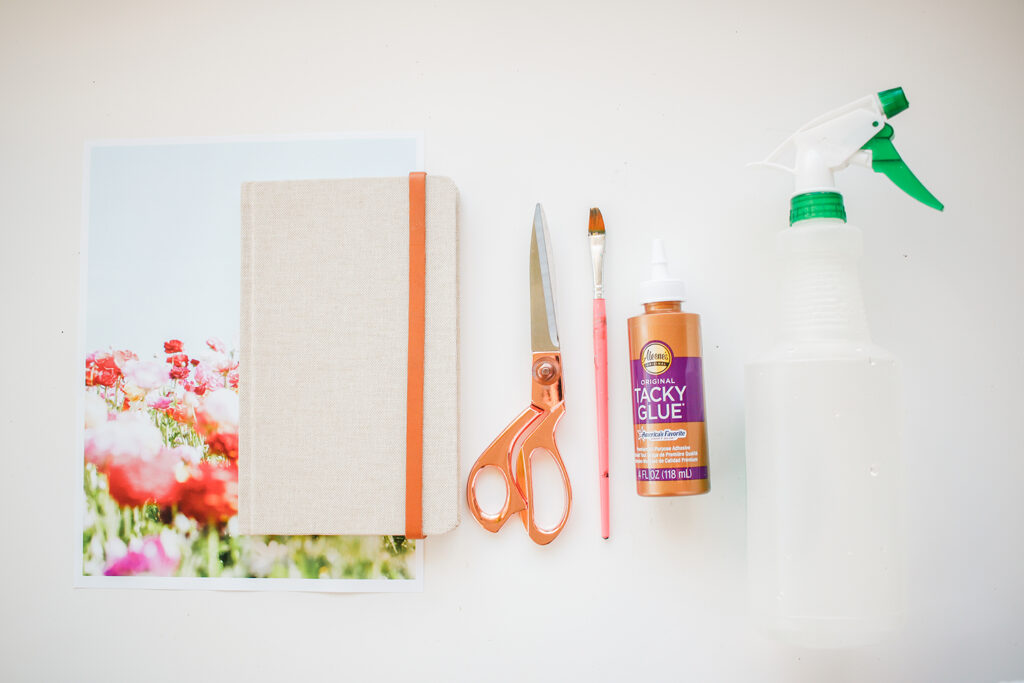
Photo or Design Printed on an Inkjet Printer
(You can get the ones I used in the downloadable below)
Paintbrush
DIRECTIONS
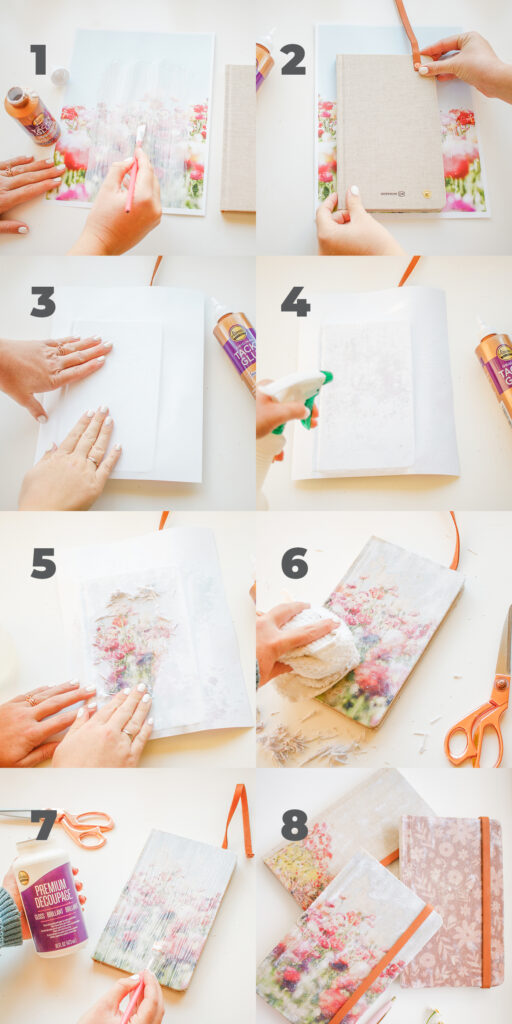
- Start by painting the front of your photo with tacky glue. Spread it as evenly as you can and try to work fast so that it doesn’t dry.
- Glue the photo face down onto the front of your fabric journal.
- Smooth the photo onto your journal with your hand, you should press pretty hard making sure it has really adhered to the fabric. Wait at least three hours for it to dry!
- Once dry, use a spray bottle to spray the back of the photo that is glued to your journal.
- Now for the BEST part, use your fingers and gently start rubbing the paper off of the journal and you will see your photo start to emerge! Make sure not to rub too hard, as you can rub the design off. Keep rubbing until the entire photo is revealed. Cut off the paper that is hanging off the edge of your journal.
- Use a dry cloth to wipe the paper bits off of your journal.
- Take Aleene’s Decoupage Glue and paint it onto your design to seal and preserve it.
- Let that dry and then you’re done! You just designed your very own notebook – yay!
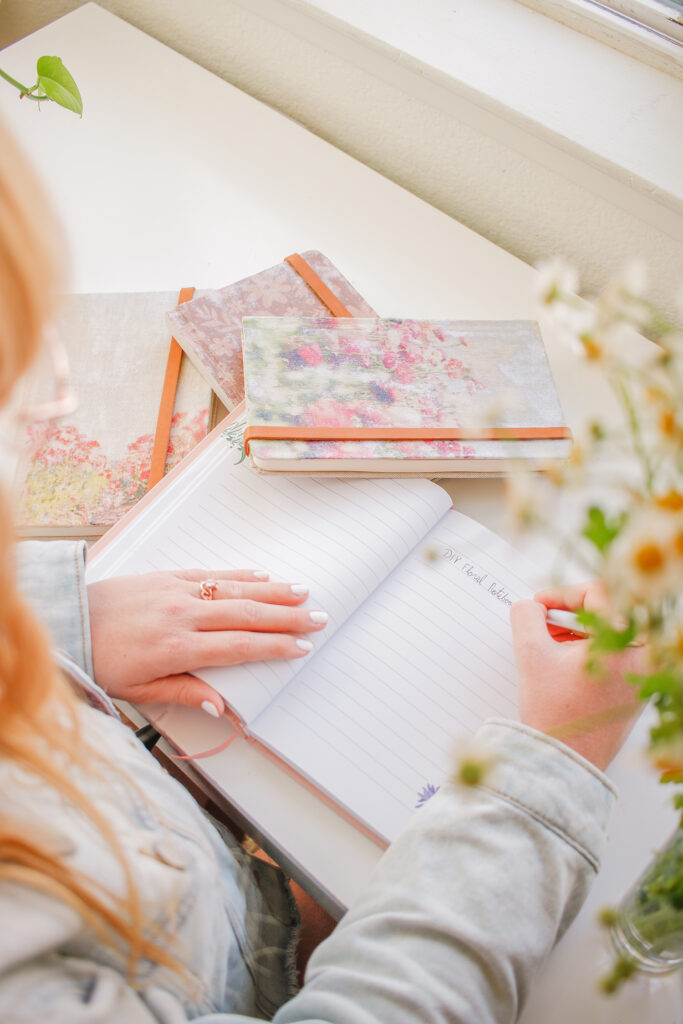
As someone who uses notebook constantly, I’m so excited about this DIY, and I will probably be making more considering how satisfying it is to make!
I somehow end up using an Aleene’s glue product for every DIY I make because they really are the best and they have a product perfect for every project!
Also, if you make one of these DIY Floral Notebooks then pretty please tag or DM me on Instagram @mikylacreates so that I can see!
This DIY Graphic Tote Bag post was created in partnership with Aleene’s Original Glues. All content and opinions are my own! Thank you for supporting the sponsors that help keep Mikyla Creates going!!

This is cool!
Thanks so much!! 🙂