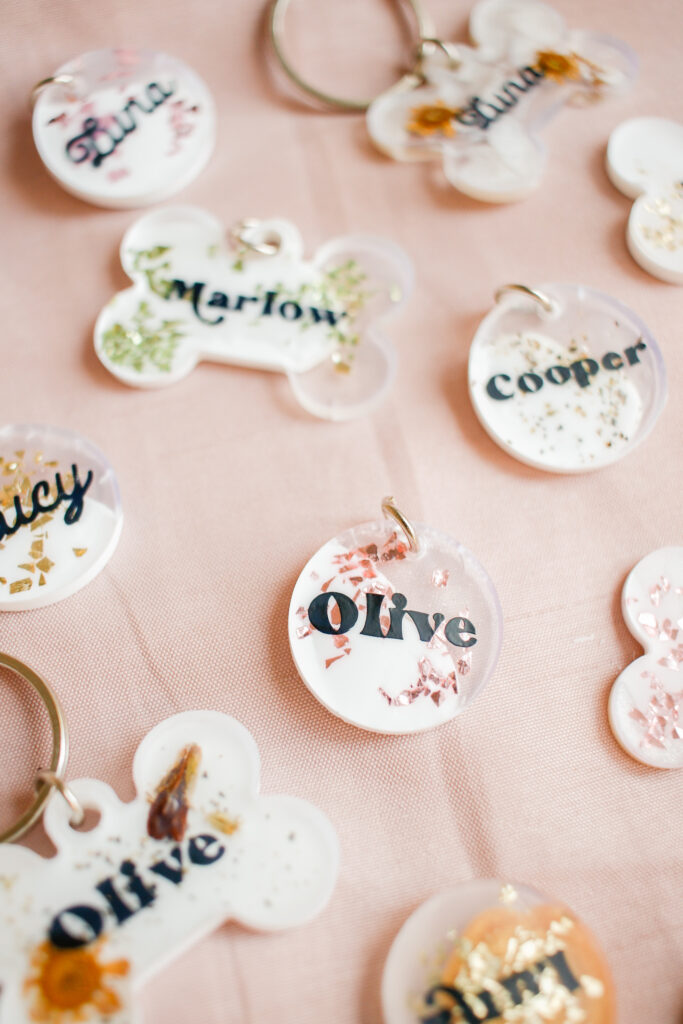
DIY Dog & Pet Tags
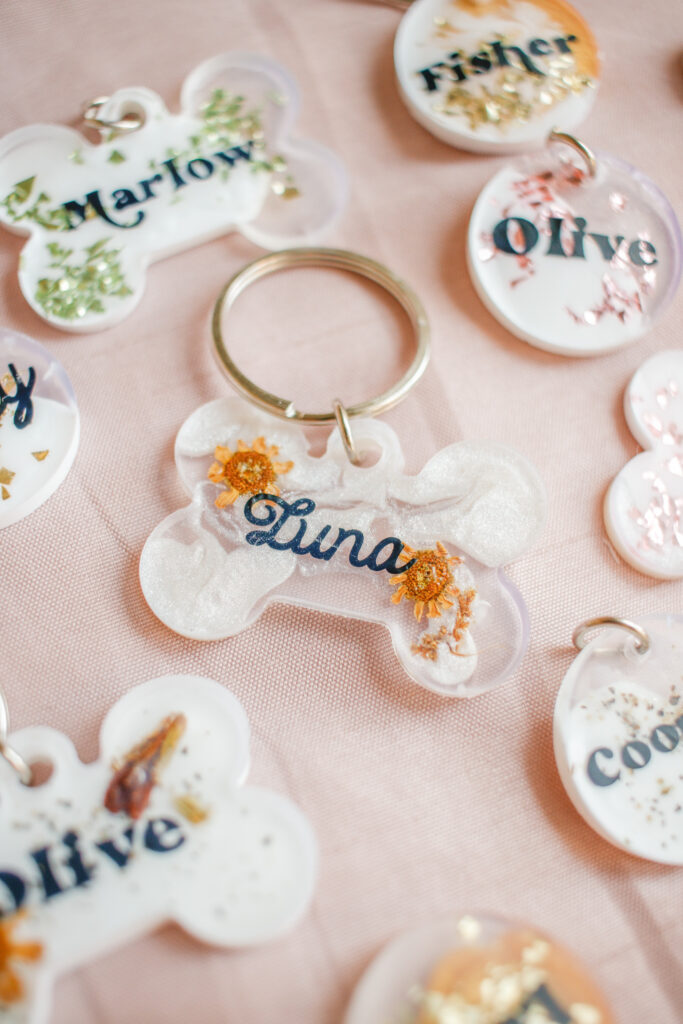
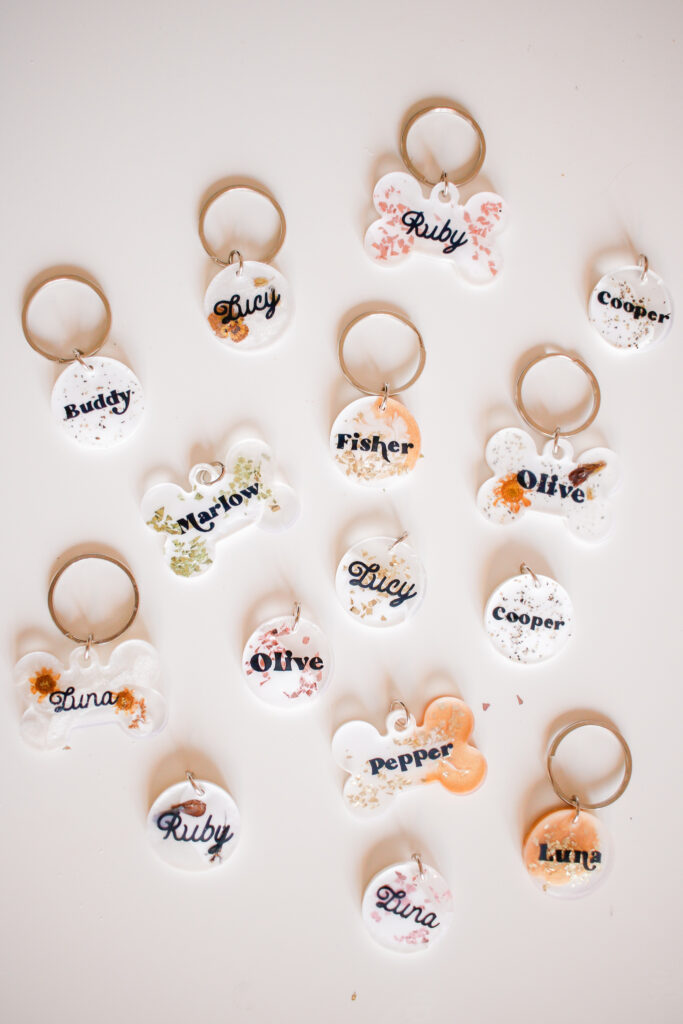
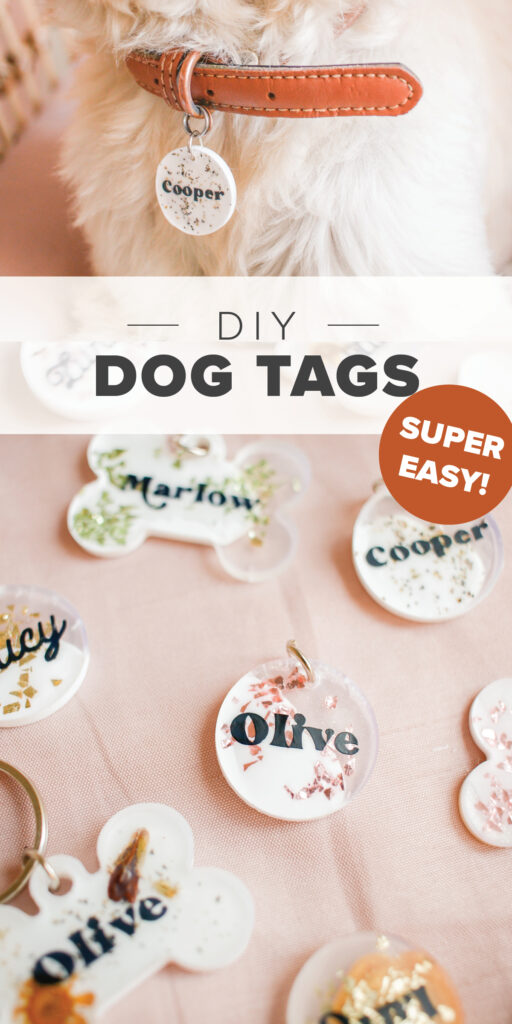
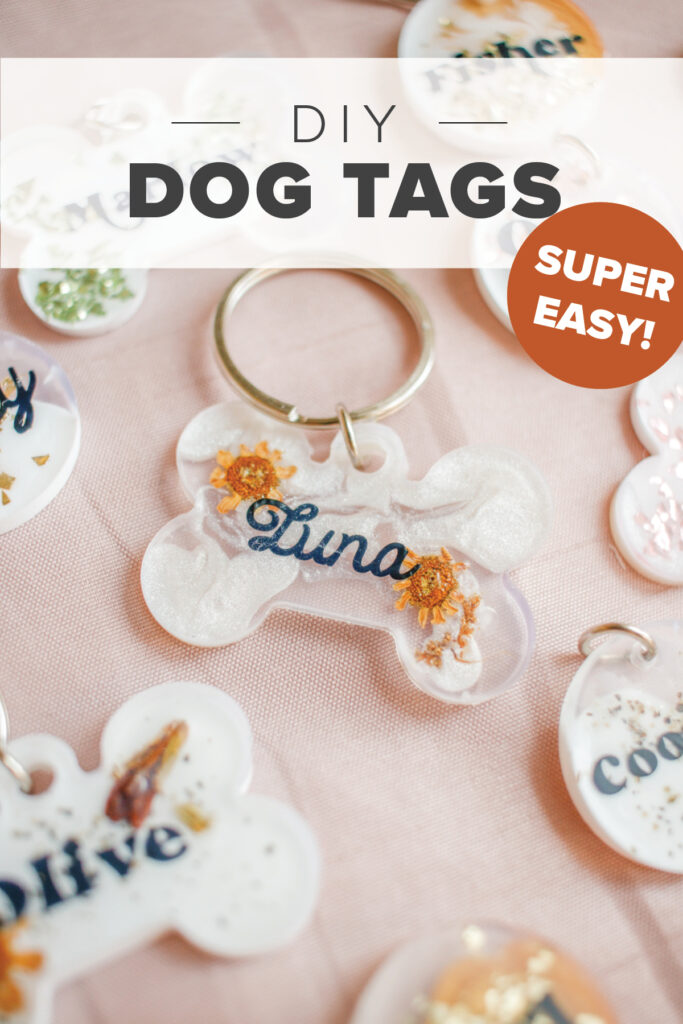
I’m not exaggerating when I say that this is one of my favourite DIYs I’ve made in a really long time! I think that’s obvious by the fact that I made 20 (yes, 20) dog tags, cause they are so fun to make, AND they make the best gifts. Plus, I think they turned out looking so professional, and they are made out of Liquid Sculpey (!!!)
PS. I’ve made a ton of DIYs with Sculpey, like these earrings, this candle holder, these ring dishes, and these hair clips.
I am a lifelong fan of Sculpey, and have been using their products since I was eight, so it feels very full circle that now I’m working with them – ahhh! I also had no idea that they had Liquid Sculpey, which is a game changer!! Especially the clear Liquid Sculpey – it made the coolest looking pet tags and I’m just blown away with how amazing it works! I loved mixing the solid and clear together, which made for some really unique looks! I cannot wait to make other DIYs with Liquid Sculpey! There are so many possibilities!
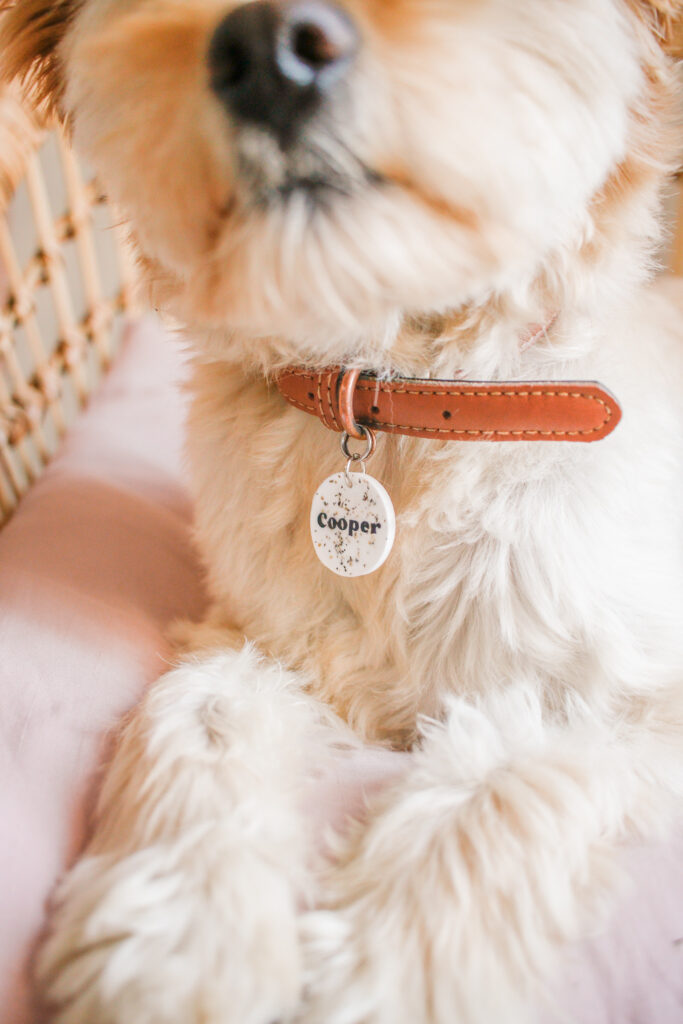
I know I’m going on and on, but one more thing about Liquid Sculpey: when it is baked, it’s flexible, like kind of rubbery. Which is perfect for dog tags, since the worst part about dog tags is hearing them clink around all the time. My husband would often take Cooper’s collar off at night, so it didn’t wake us up, haha. But, not anymore! Woo!
Okay, it’s time to get to making these dog tags!
SUPPLIES:
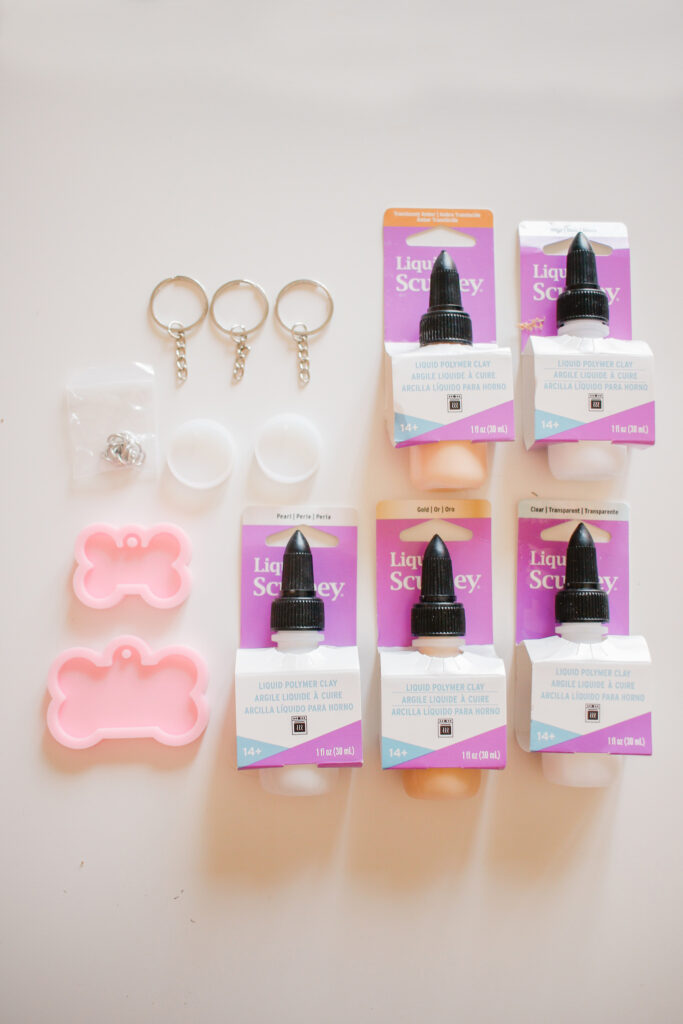
Liquid Sculpey
– I used the colors white, clear, gold and pearl the most!
Dog Tag Molds
– I used this pack for the bone shape tags (the circular ones in this pack were way too big)
– I used this pack for the circular tags
Jump Rings (the first pack above comes with these)
Pliers
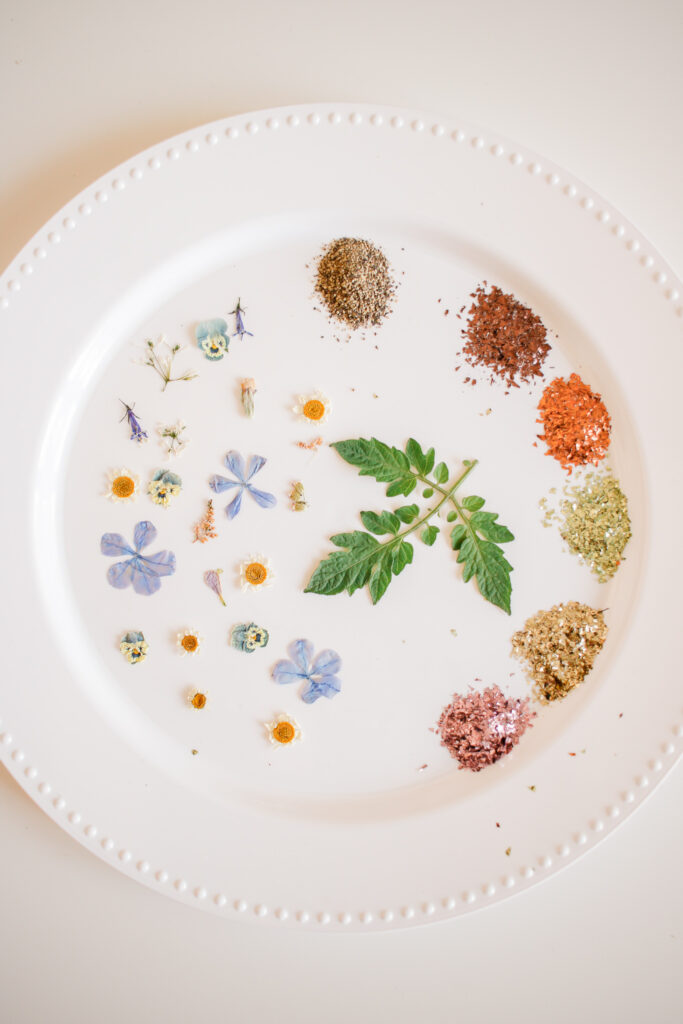
‘Toppings’
– I used glitter, dried flowers and black pepper!
Paper Clip
Vinyl
DIRECTIONS:
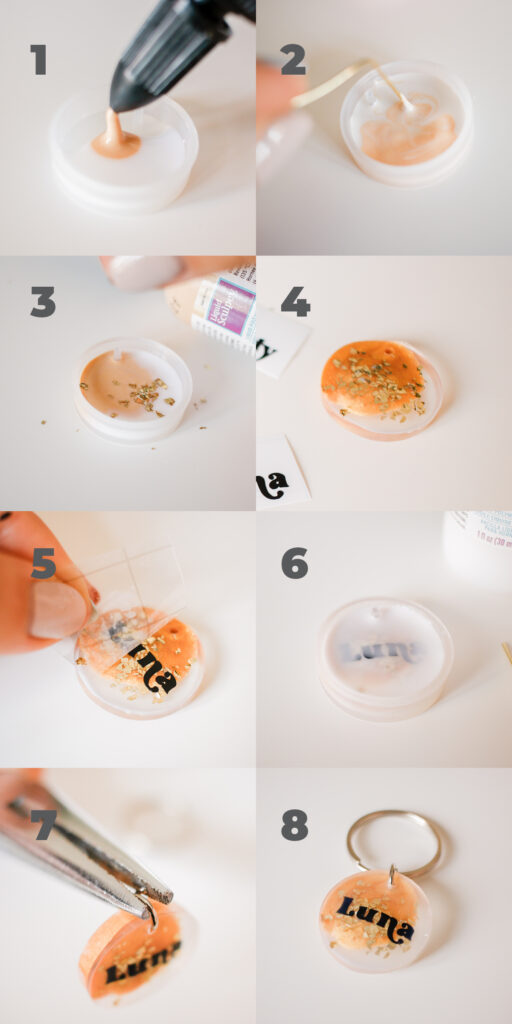
- Squeeze your Liquid Sculpey of choice into your dog tag mold. I liked to combine different colors, my fave being clear and white, so that half the tag is clear and half is white. I also loved gold and clear! Fill the mold evenly with your chosen colours – you don’t need to fill the mold though, I just did a thin layer.
- For some of the dog tags, I would take a paper clip and swirl the colors together to create a different – kind of marbling look!
- Add your ‘toppings’ I mostly used glitter, dried flowers and black pepper. The pepper makes a fun speckled look!
- Bake your tag according to the package directions! I placed the mold onto a baking sheet and then put that in the oven to bake! Once cooled, carefully remove tag from the mold.
- Add your vinyl name! I used a machine to cut out the dog names, but you could also paint or write the name on (because we are going to seal it in).
- Once the name is on, place your tag back in the mold and add a layer of the clear Liquid Sculpey, then bake it again! This seals your vinyl, paint or ink right into the tag so that it won’t come off! I also added a phone number on the back.
- Attach your jump ring with pliers.
- Add a keychain ring and then you’re done!! YAY!
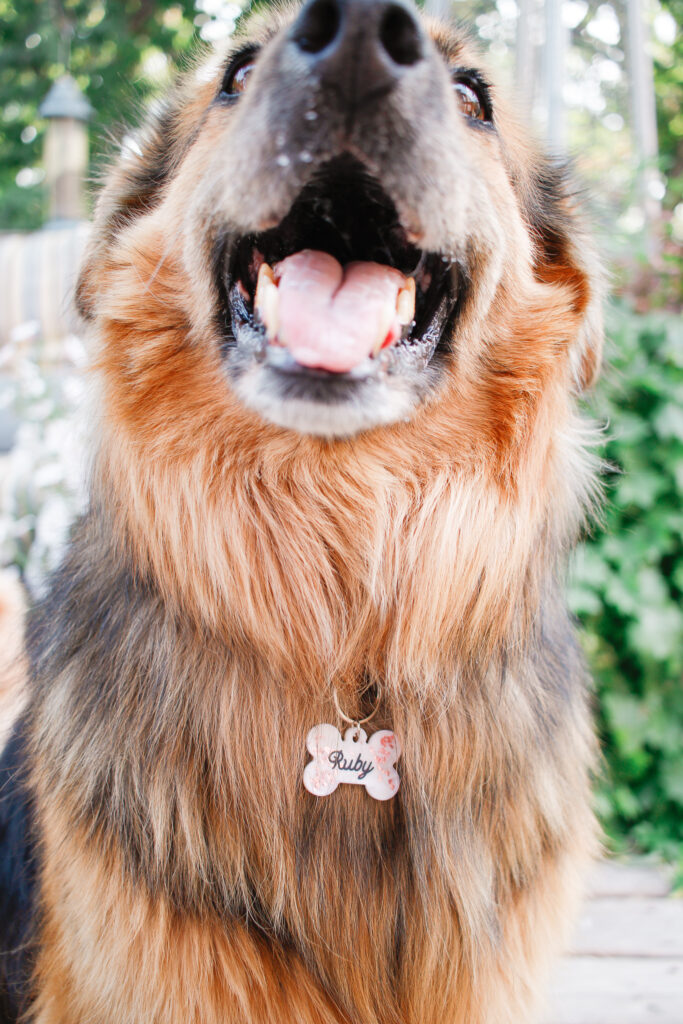
Can we all agree that Liquid Sculpey is the most fun product and that this is the most fun DIY?! I loved making these tags for all the dogs in my life (there are a lot, of course). I also feel like every dog has the same metal black bone dog tag, so I love that they now have a unique tag to wear!
If you make this DIY, please tag or DM me @mikylacreates – can’t wait to see your cutie pups! Also, you’ve got to try Liquid Sculpey, in case I hadn’t already made that abundantly clear – ha!
This post “DIY Dog & Pet Tags” was created in partnership with Sculpey. All content and opinions are my own! Thank you for supporting the sponsors that help keep Mikyla Creates going!!

4 comments on “DIY Dog & Pet Tags”