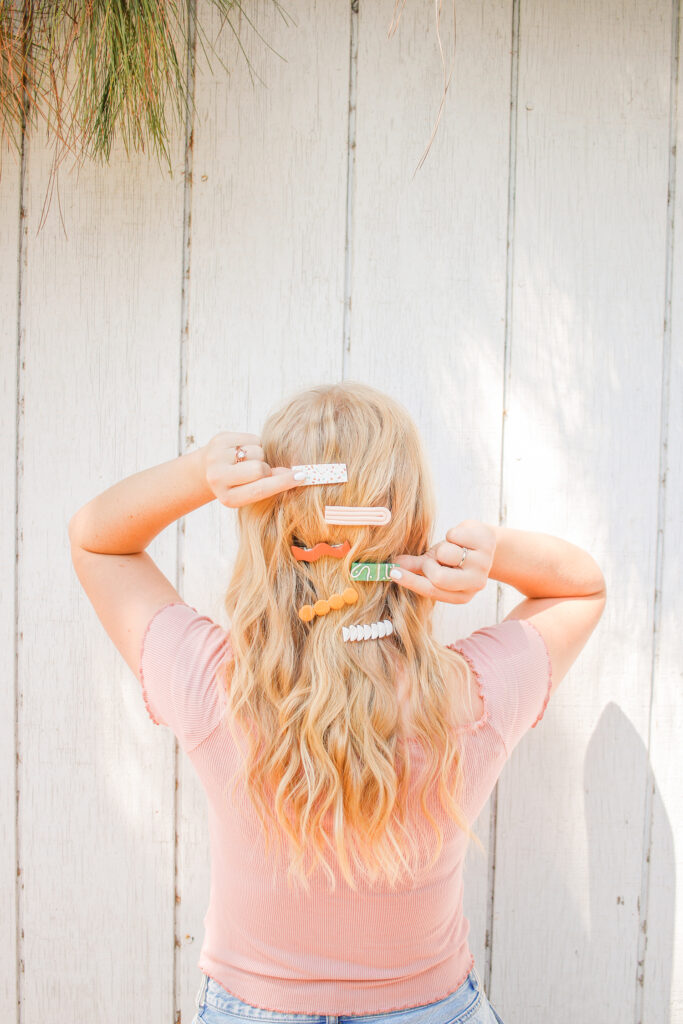
DIY Clay Hair Clips
Big hair clips and big headbands have really been a trend this year (and last year for that matter), I gotta tell yah – I’m still not over it! I love, love buying cute hair clips, but I wanted to make my own so that I could make EXACTLY what I want! Turns out it’s addicting and so, so easy!
If you’ve been around here for awhile then you’d know that I’m a little obsessed with oven bake clay, I’ve made these rainbow earrings, these flower earrings and this Christmas ornament (plus more coming soon). I love oven bake/polymer clay because it’s so easy to work with and looks professional when it’s baked! If you don’t believe that it’s easy to work with, then let me tell yah – it was my all time fave craft as a KID, so if a kid can use it then so can you!
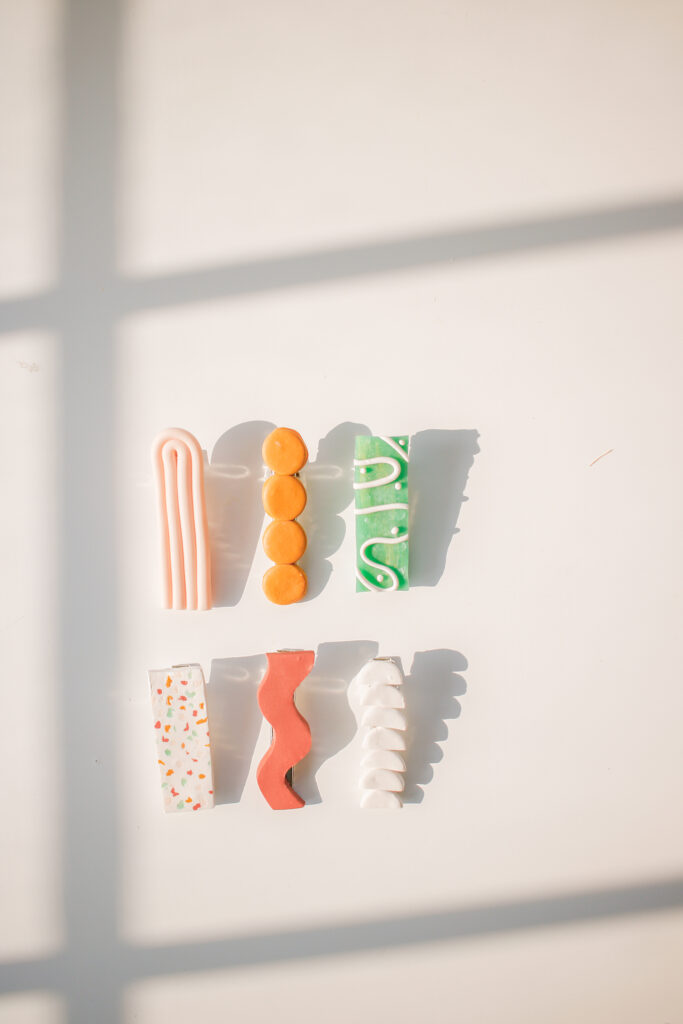
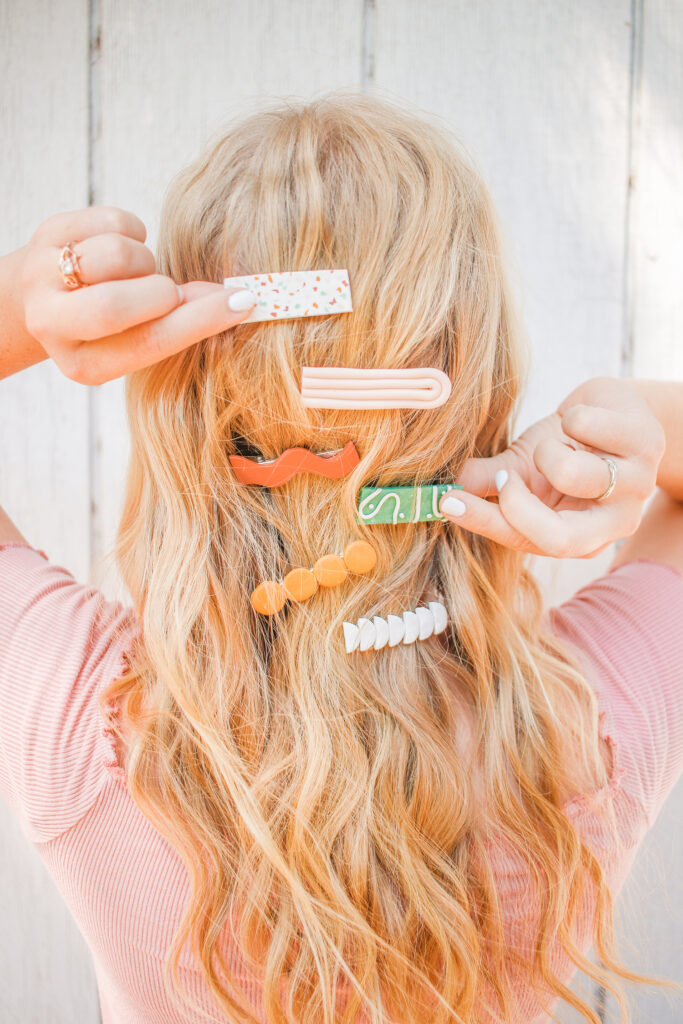
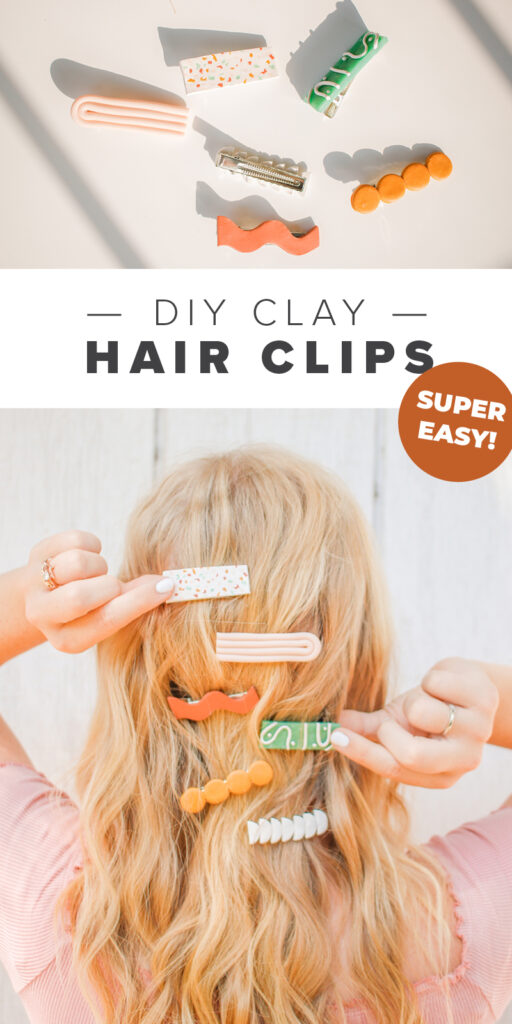
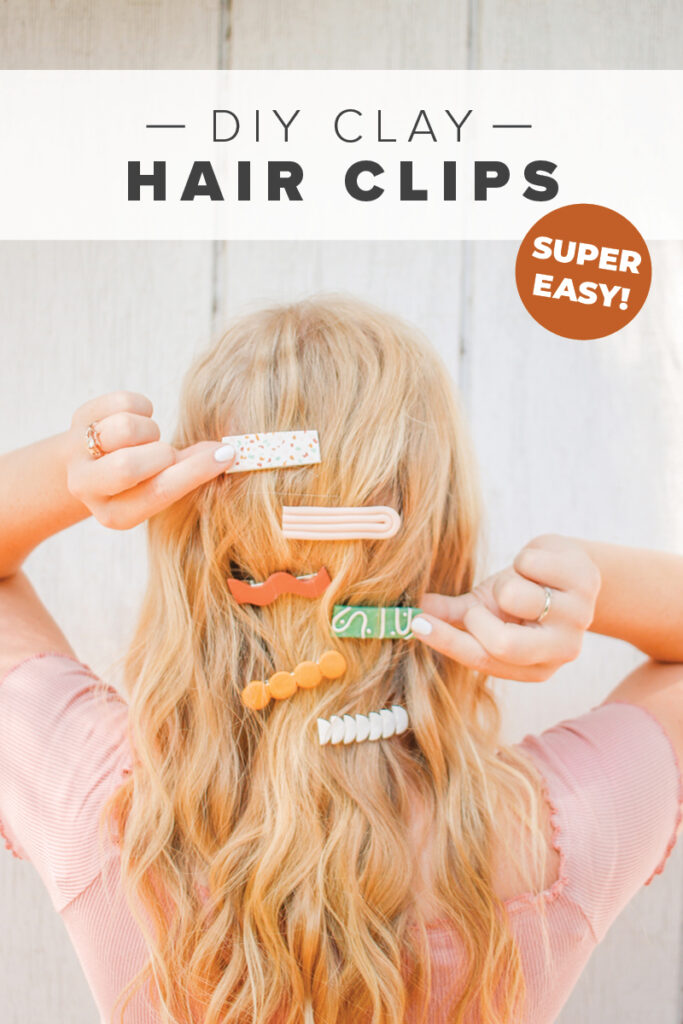
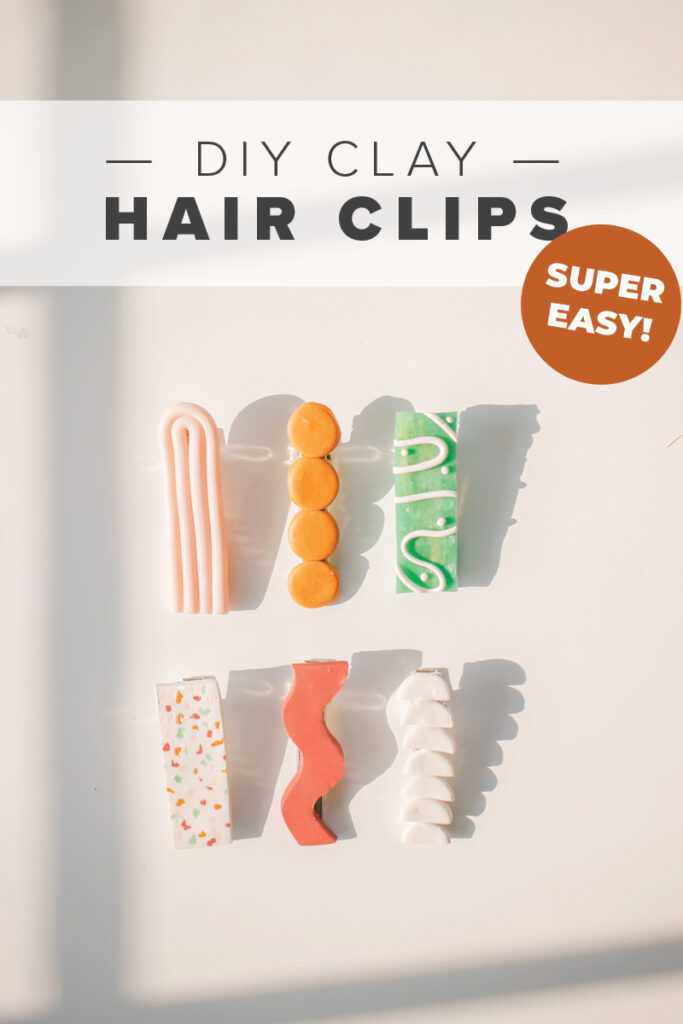
I made six different styles of clay hair clips, and I’d love to know which is your fave, mine is probably the rainbow one, but I also love the white terrazzo and the orange squiggle! Oh, but I also like the yellow circles.. it’s too hard to choose!
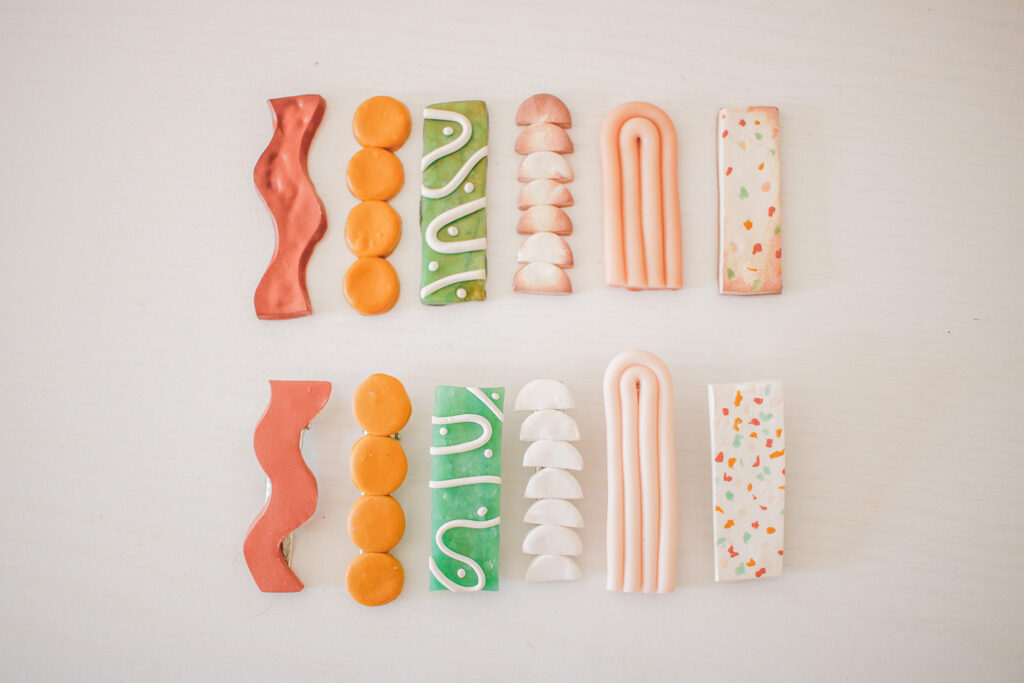
Now, before we begin I have something to confess in honor of keeping it real around here.. I made a huge DIY fail on this project! I made all six of my hair clips, put them in the oven, didn’t set a timer and burnt them all! I had to redo every one of them. So.. learn from me, set a timer!!! I also attached a photo so that you can laugh at my burnt failure, lol.
Now that we’ve got that out of the way.. let’s get started!
SUPPLIES:
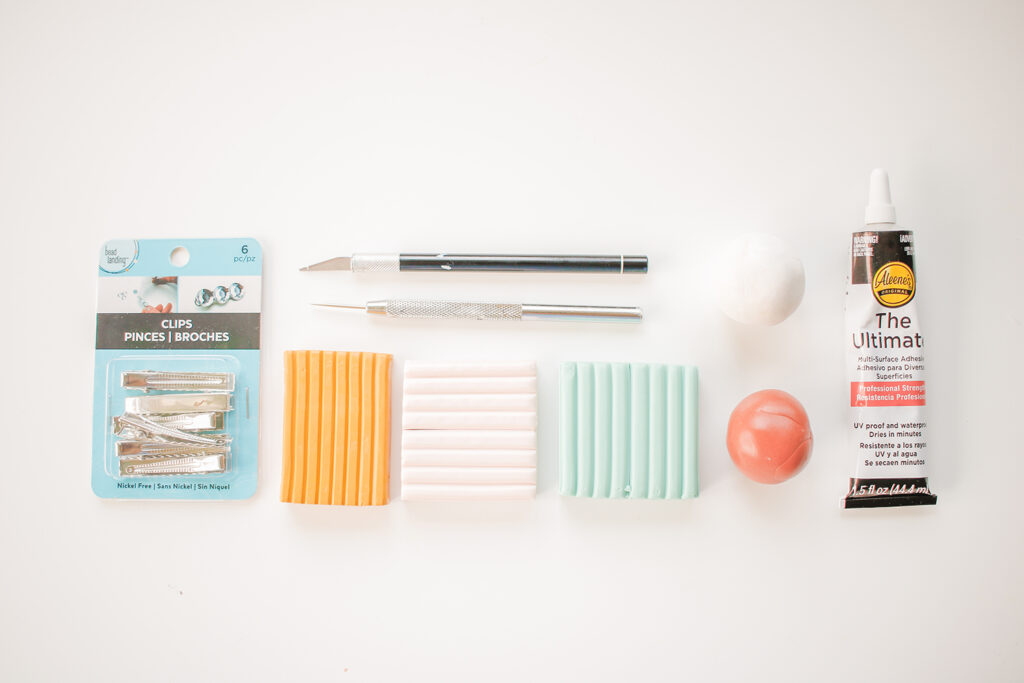
Plain Metal Hair Clips
Oven Bake Clay in Various Colors
Exacto Knife
Pin
Glue
I used ‘The Ultimate’ glue, but super glue also works great.
DIRECTIONS:
For the Rainbow:
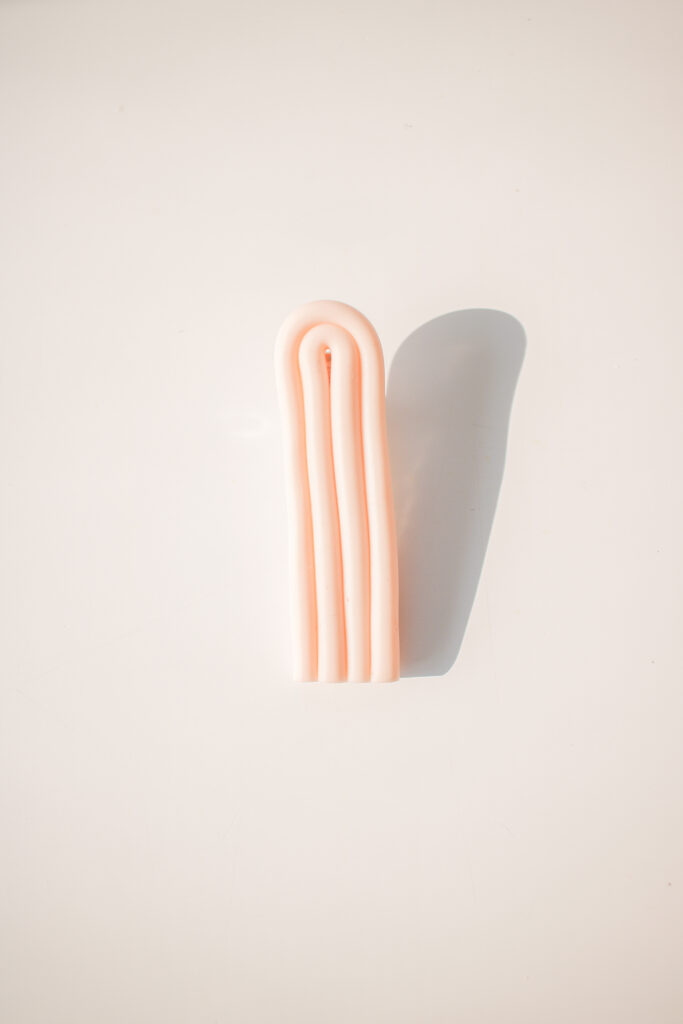
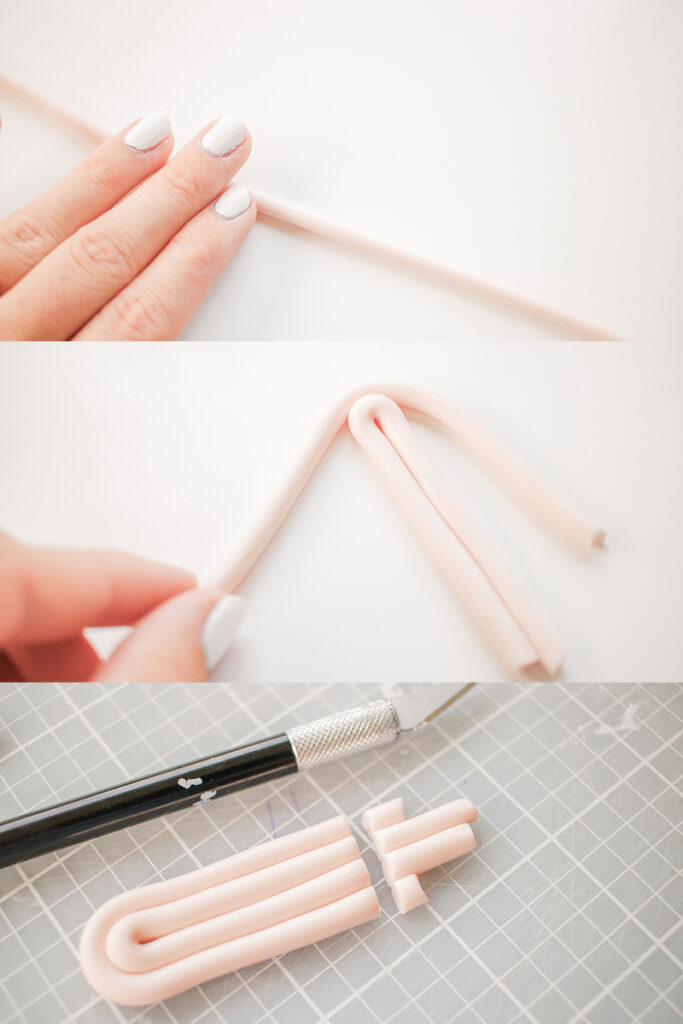
- Roll out a long skinny clay snake.
- Cut a piece off (double as long as your clip) and fold it in half.
- Fold another piece of clay overtop of that one.
- Trim off the excess so that it is the length of your metal clip.
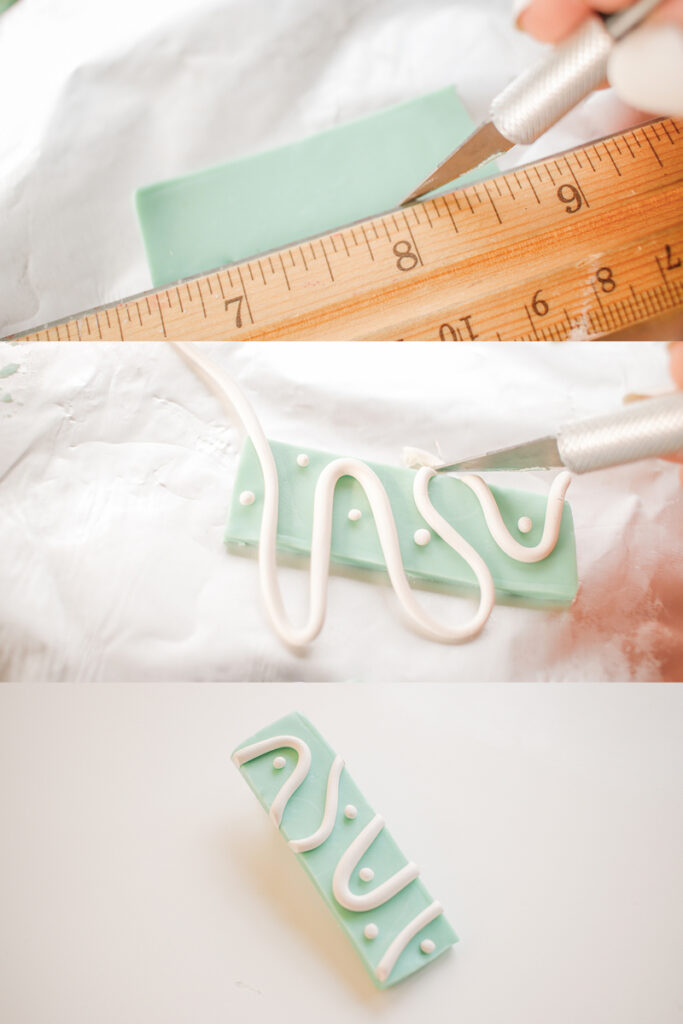
For the Green Squiggle:
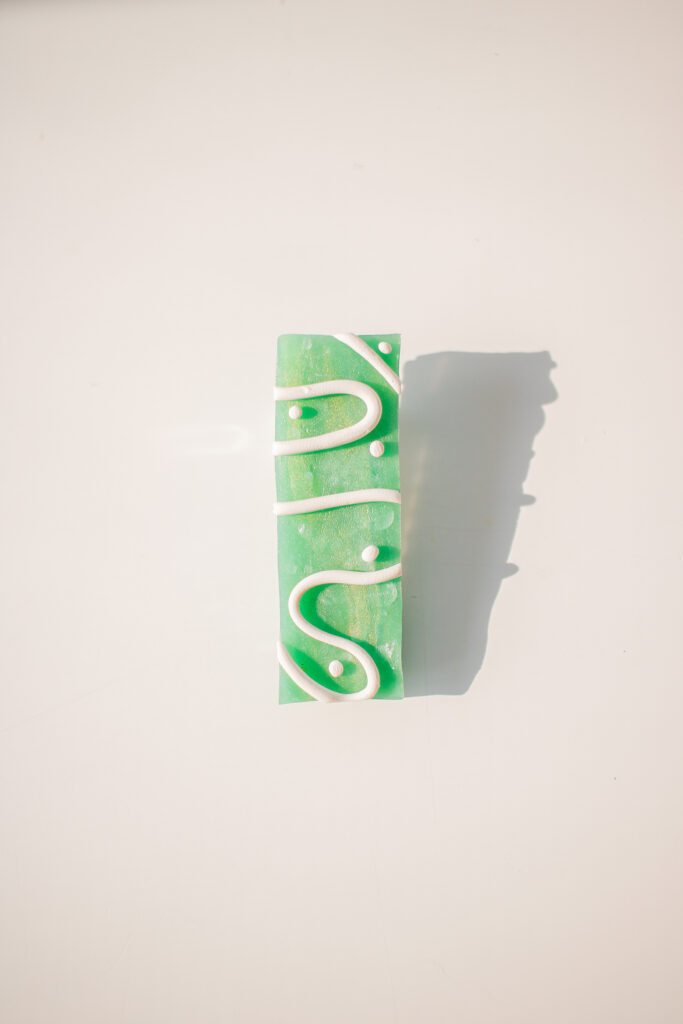
- Roll out your green clay.
- Use a ruler to cut out a rectangle.
- Roll out a skinny piece of white clay.
- Make a couple of teeny tiny balls of clay.
- Place the squiggle and the balls on the rectangle.
- Trim off the excess
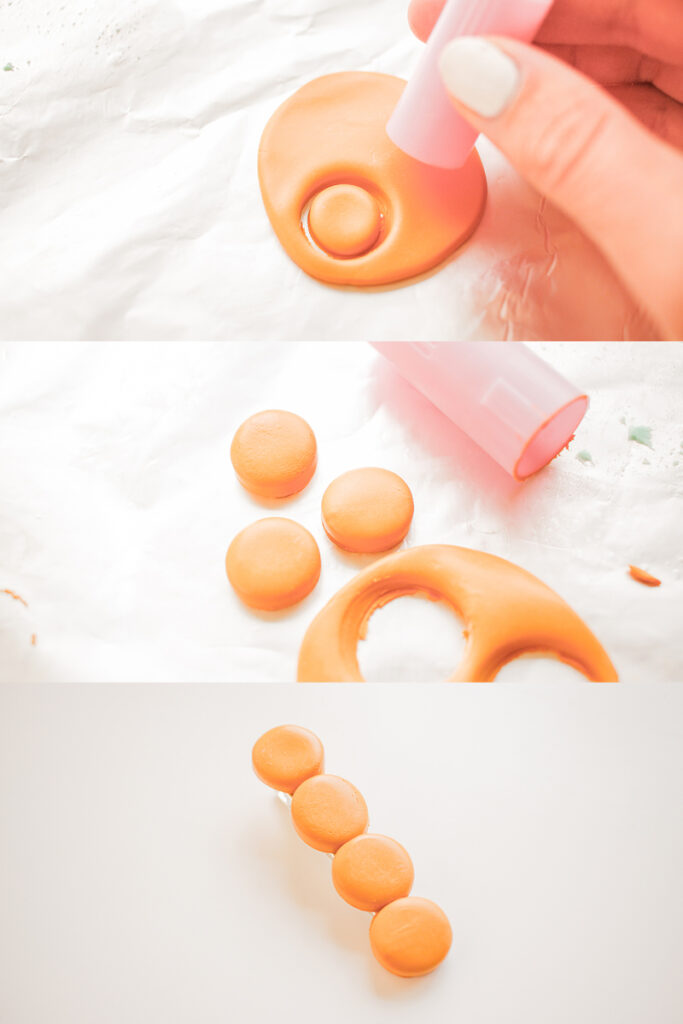
For the Yellow Circles:
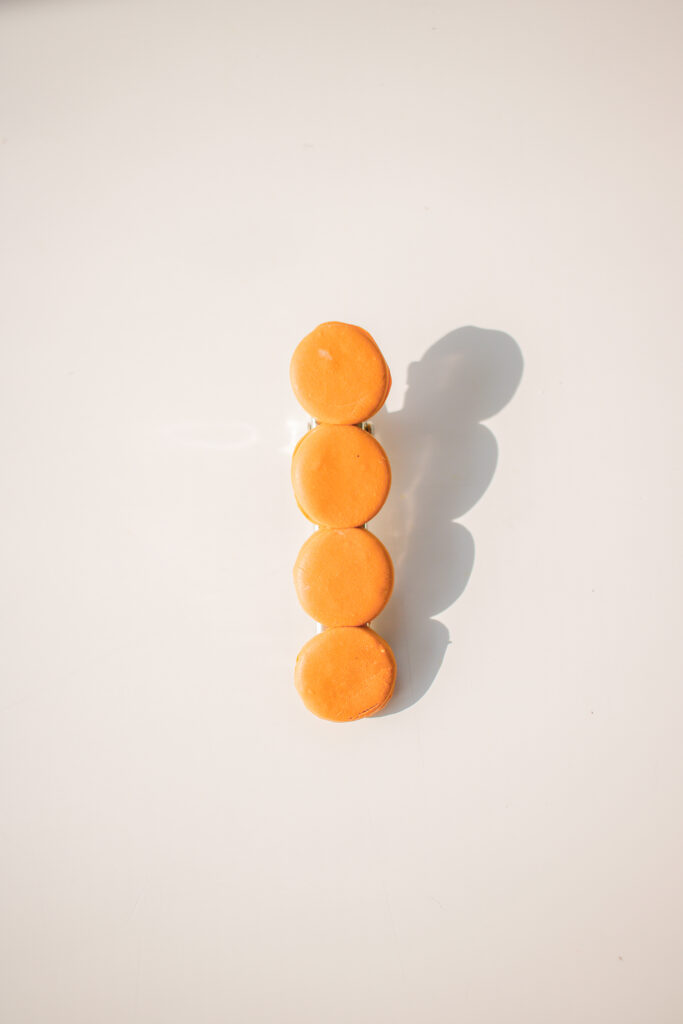
- Roll out your piece of yellow clay.
- Use a circle cutter or just the lid of a marker like I did to cut out four circles.
- Place them in a row then flip the over and score them on the back using you exacto knife so that they stay together.
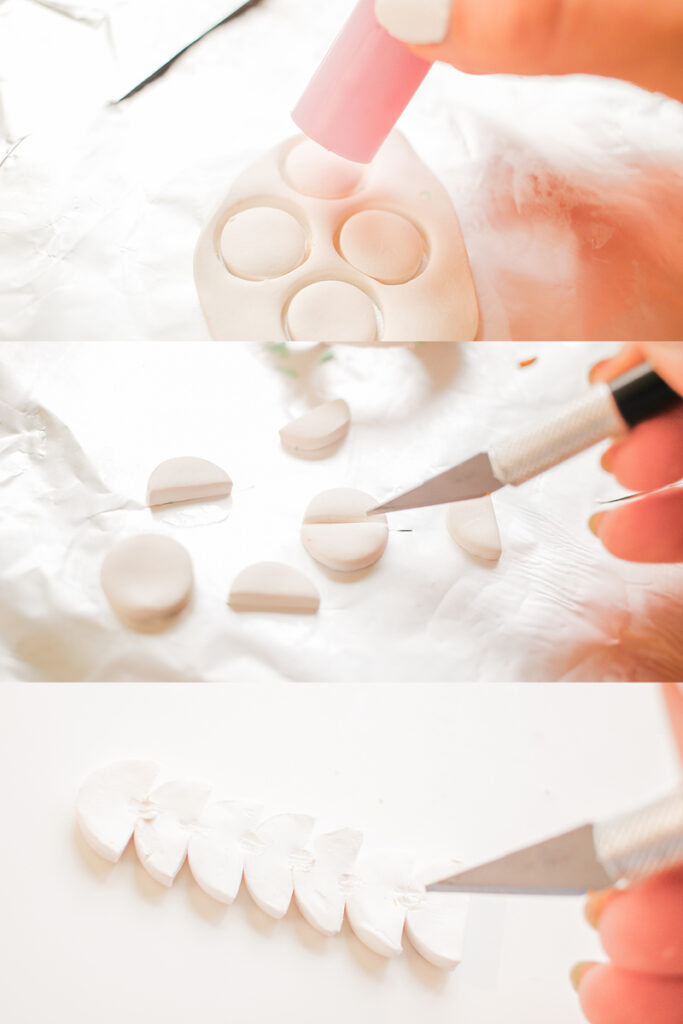
For the White Semi Circles:
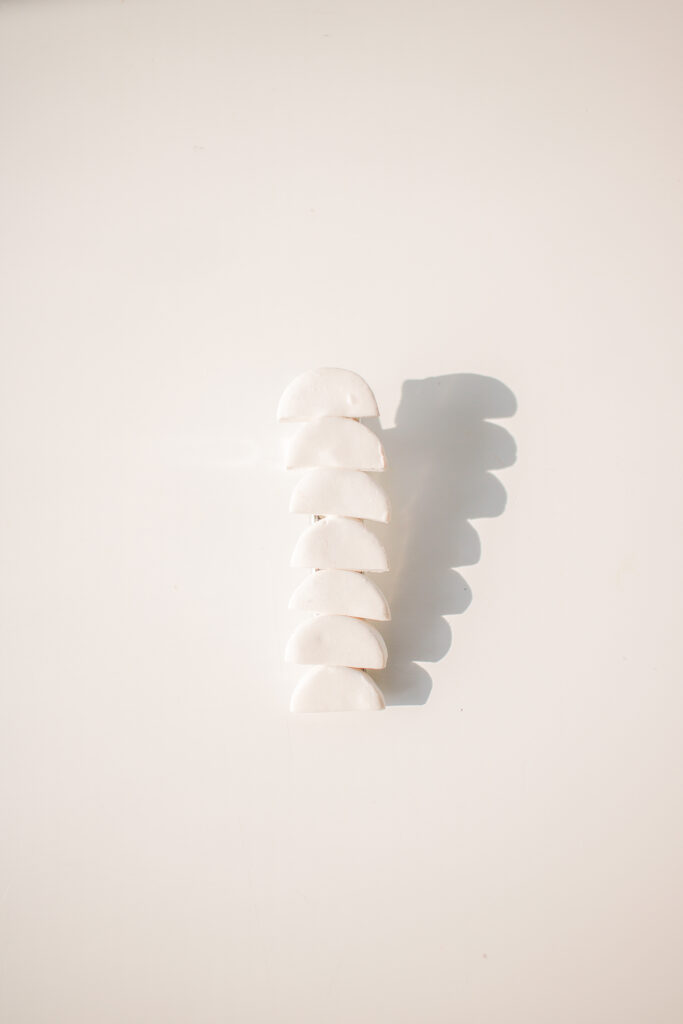
- Roll out your white clay.
- Use a marker lid to cut out 4 circles.
- Cut each circle in half with your exacto knife.
- Lay your semi circles in a row, then flip them over and score them using your exacto knife so that they stay together.
For the Terrazzo Rectangle:
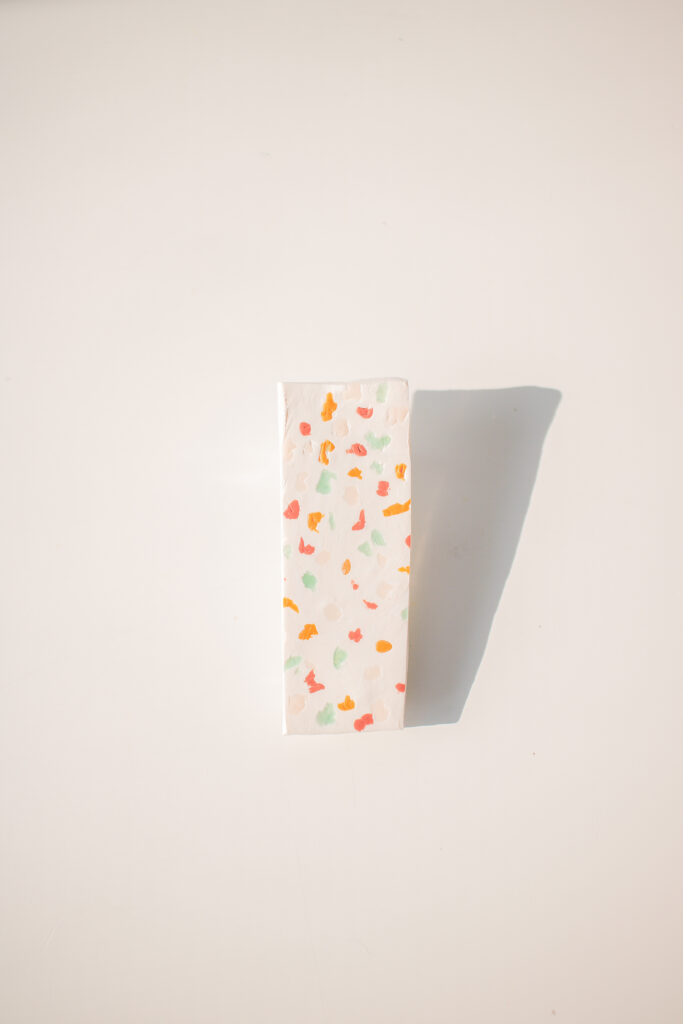
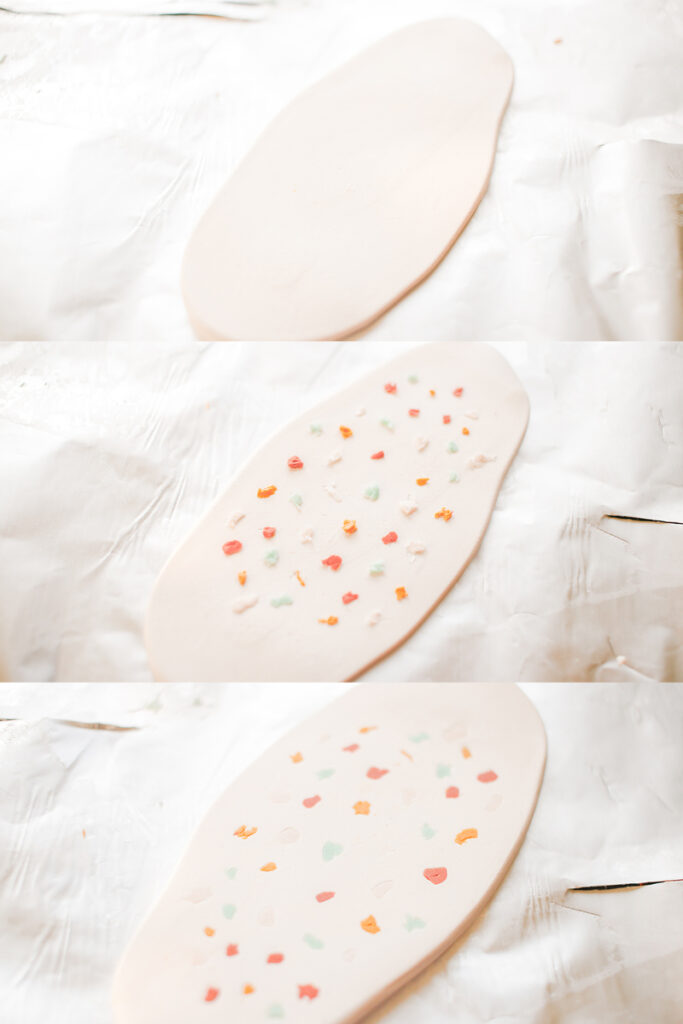
- Roll out a white piece of clay.
- Use your exacto knife to cut off teeny tiny pieces of colored clay. Place them randomly on your white clay.
- Roll out your clay again so that the pieces spread out and get embedded in your white clay.
- Use a ruler to cut out a rectangle.
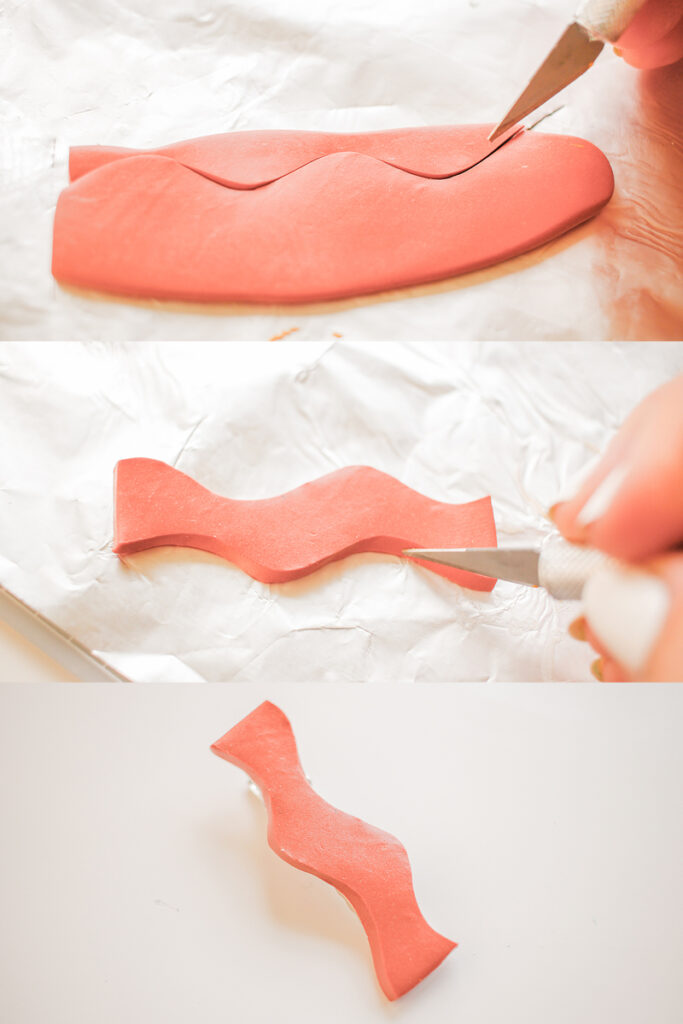
For the Orange Squiggle:
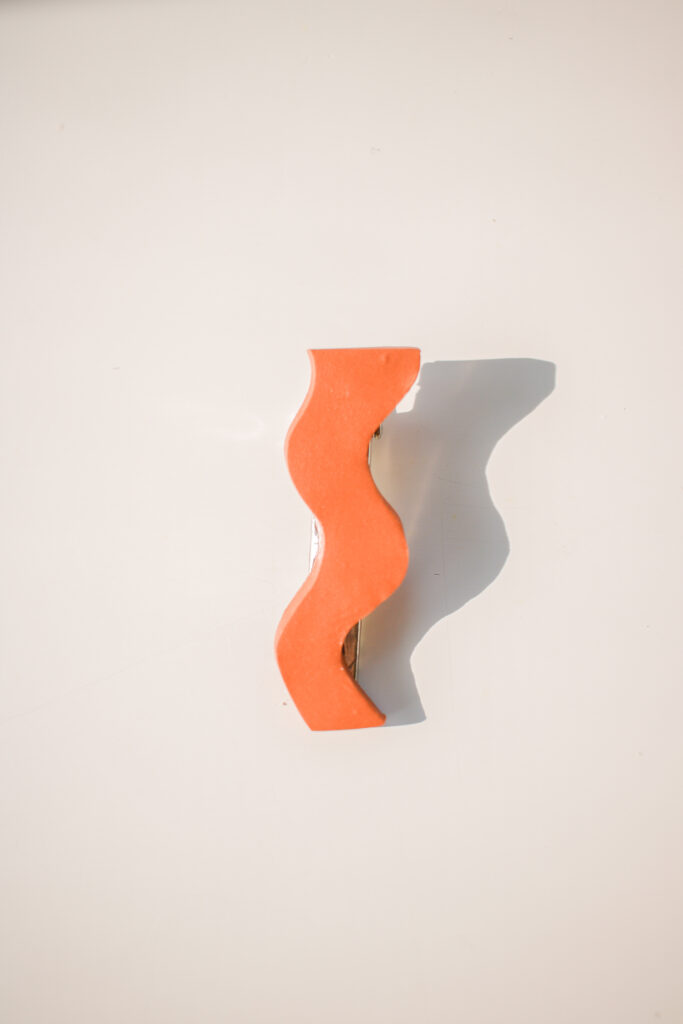
- Roll out a piece of orange clay.
- Use your exacto knife to cut out a squiggle (I just eyeballed it)
- Trim the edges.
BAM! Now you’ve got SIX custom DIY clay hair clips for cheap! I hope you guys are as excited about this post as I am! Make sure to tag or DM me @mikylacreates if you make them so that I can see!! 🙂 See yah next week!
Can you give us more details on how you attach the clips? Thank you!
And how do you attach the hair clip to the polymer clay piece? Thank you.
Super Glue!