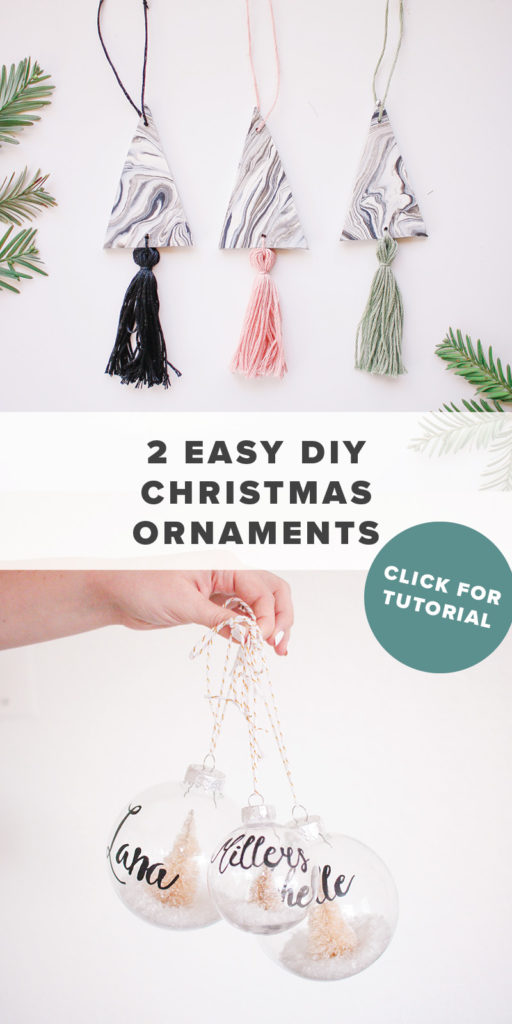
2 Easy DIY Ornaments
Hi guys!! So, here’s the deal: Christmas is the BEST time to stay home and do cozy DIYs with friends and family, I mean, right?! SO, here are two that fit the bill!
Ps. If you want my other Christmas DIYs, head here!
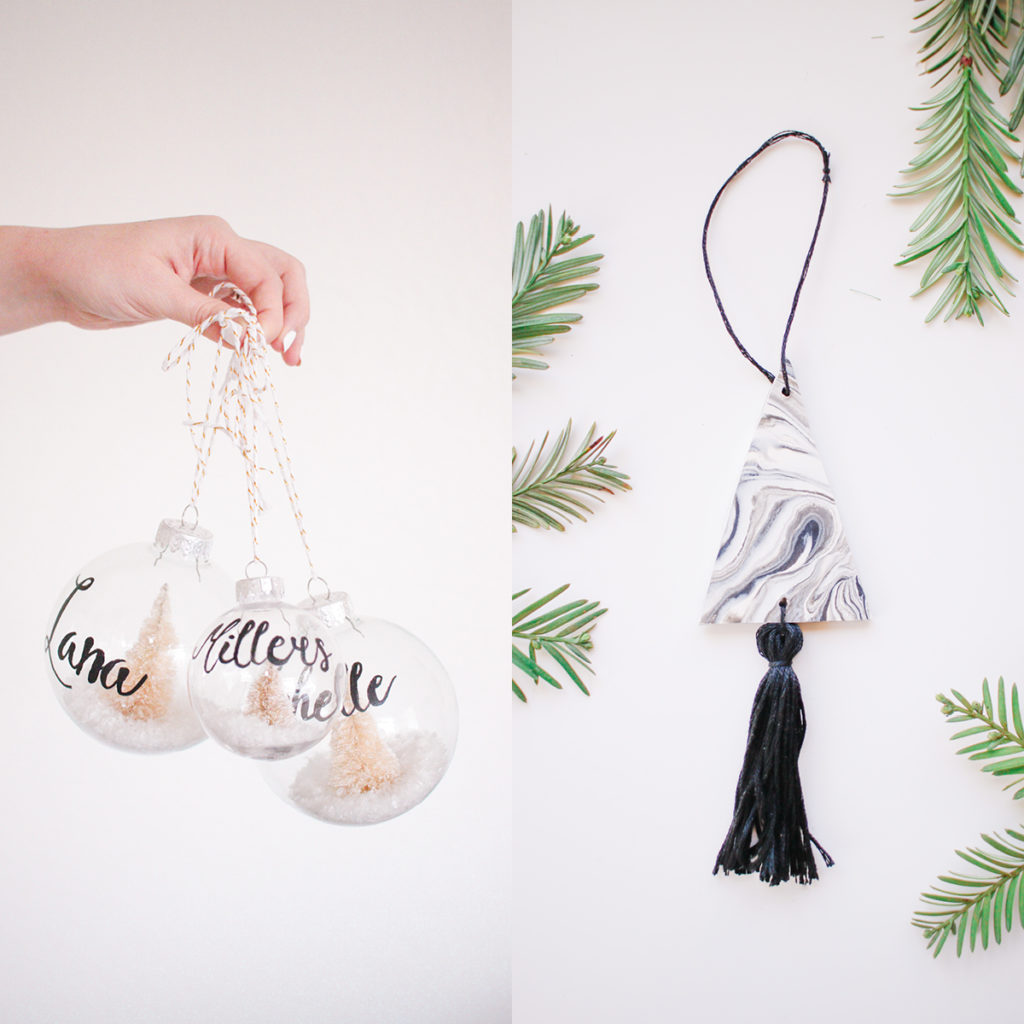
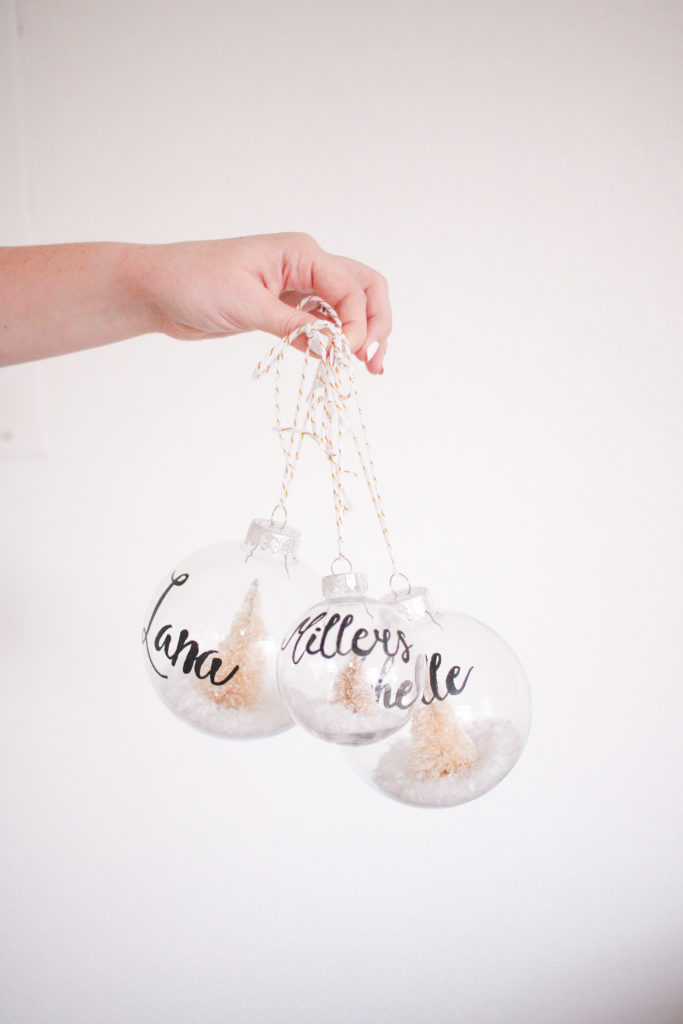
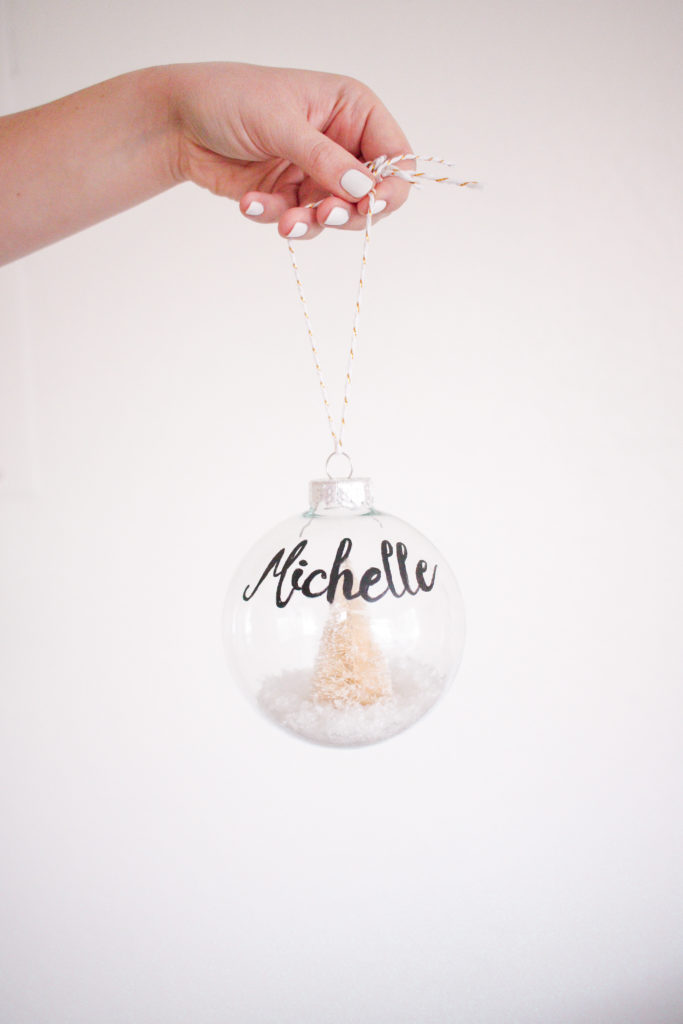
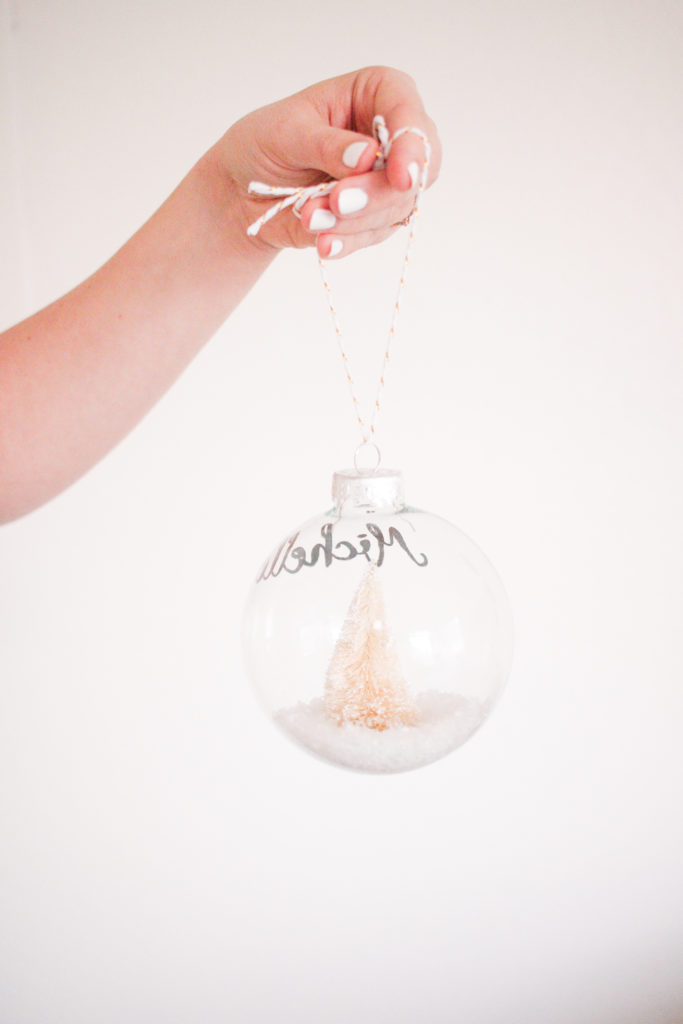
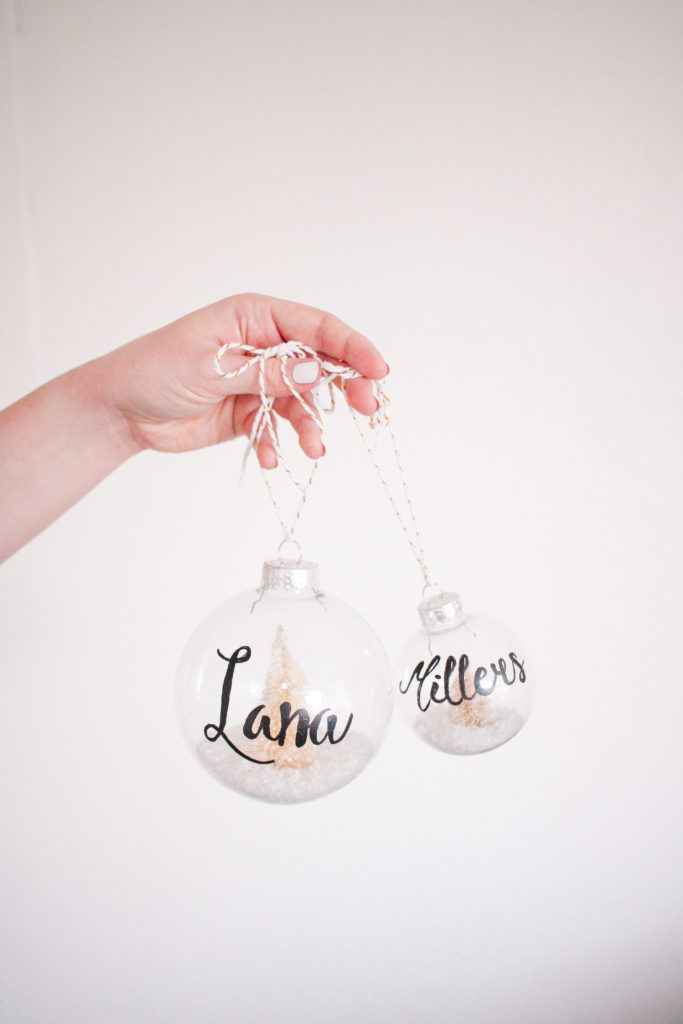
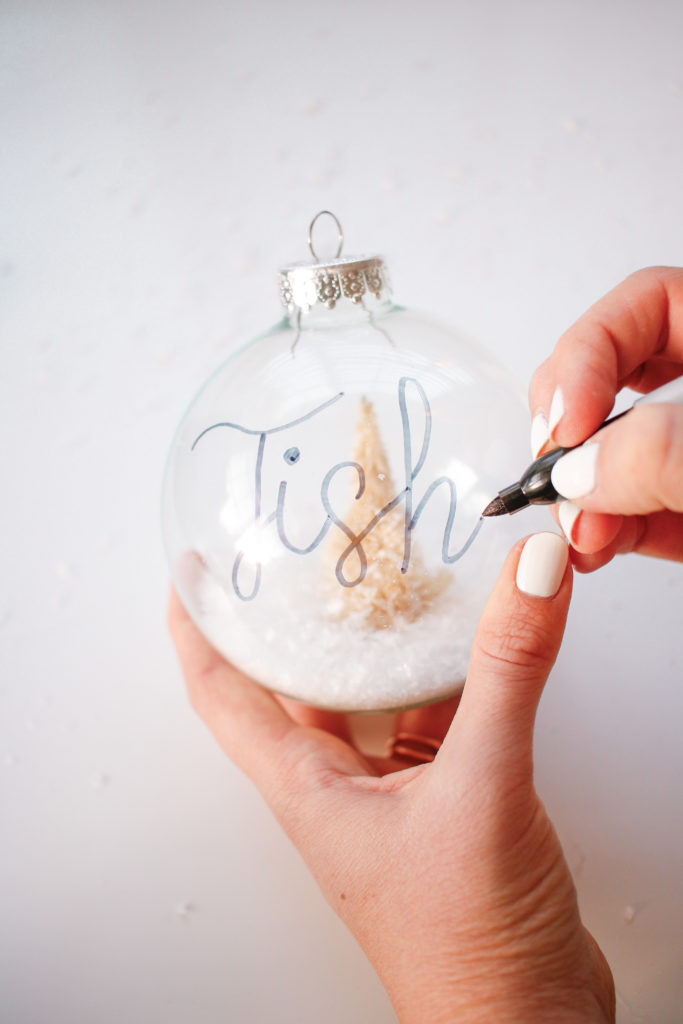
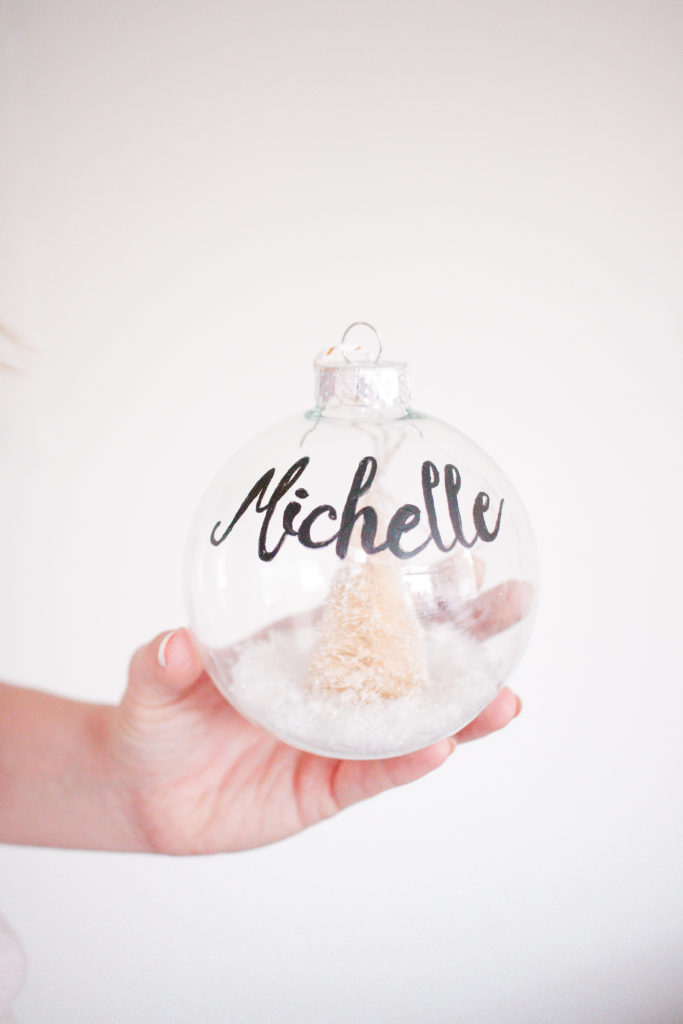
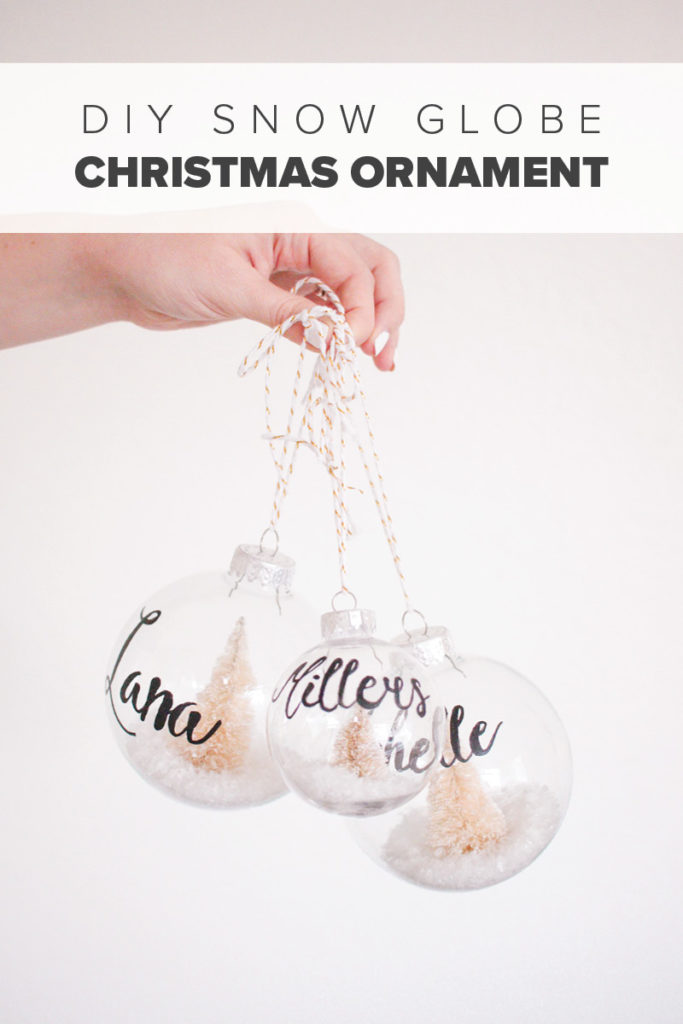
First is a simple snow globe inspired ornament with the added cursive name on the front, not to mention a bottle brush tree! I’m actually giving some of these as gifts this year (hopefully they won’t read this post lol)!
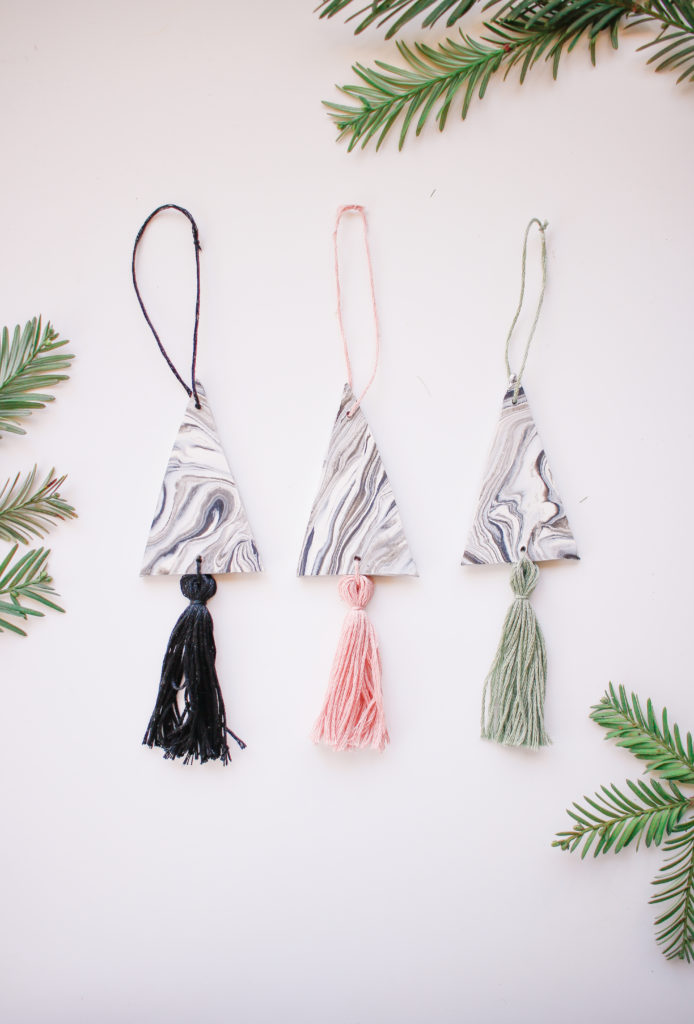
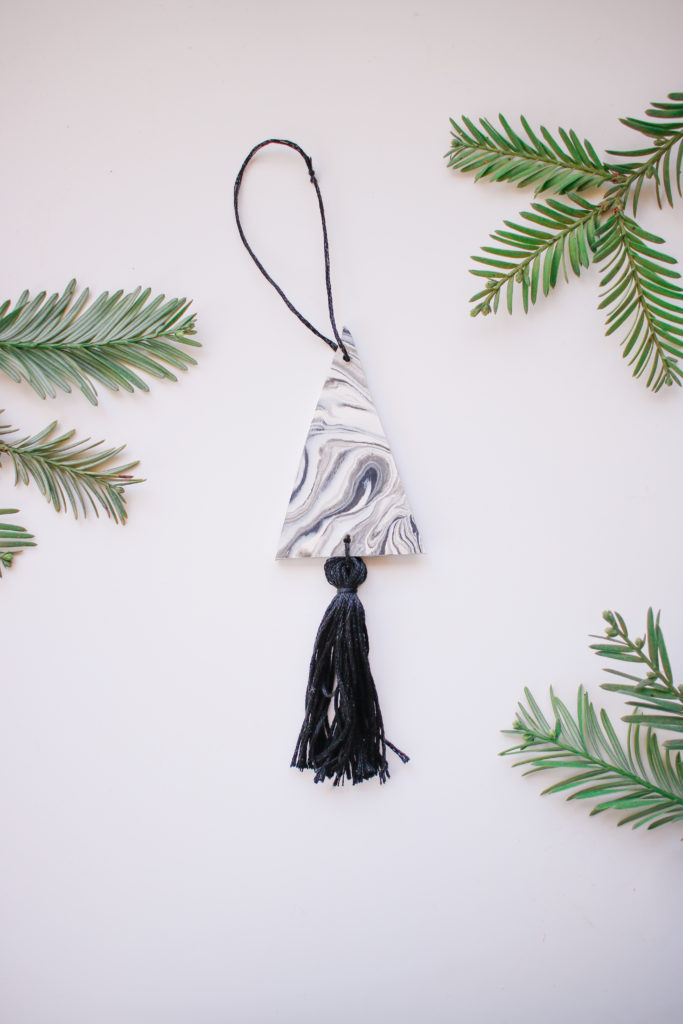
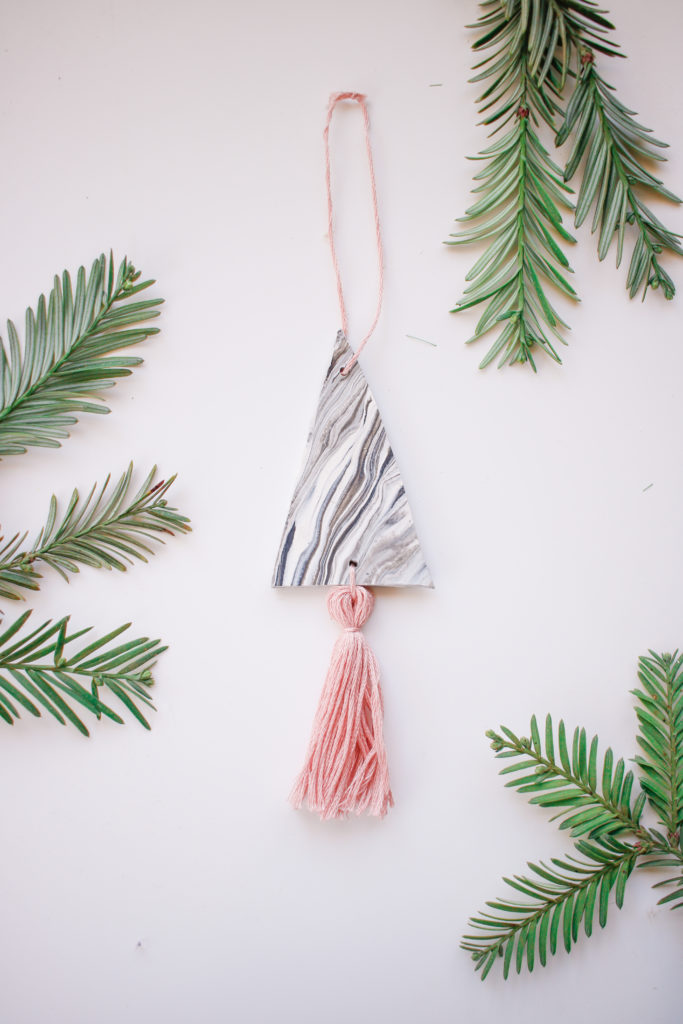
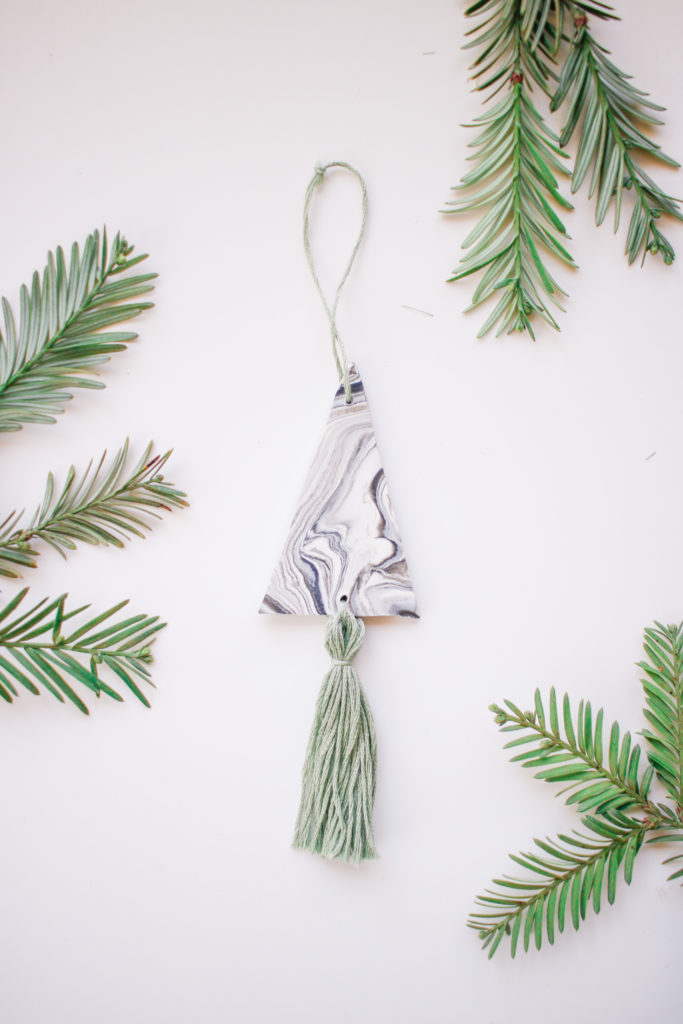
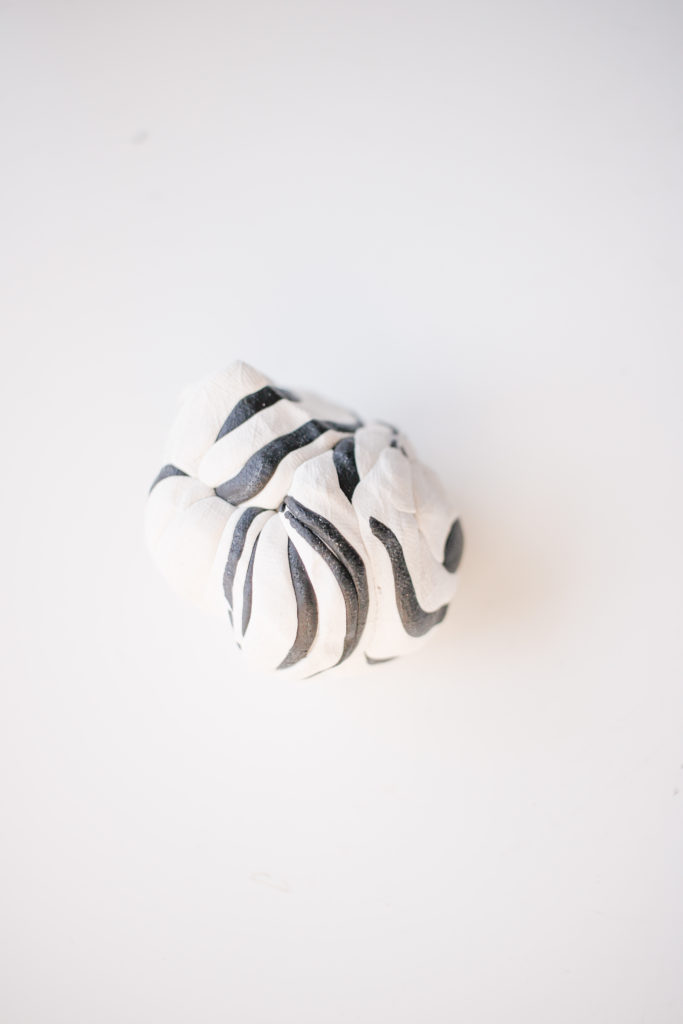
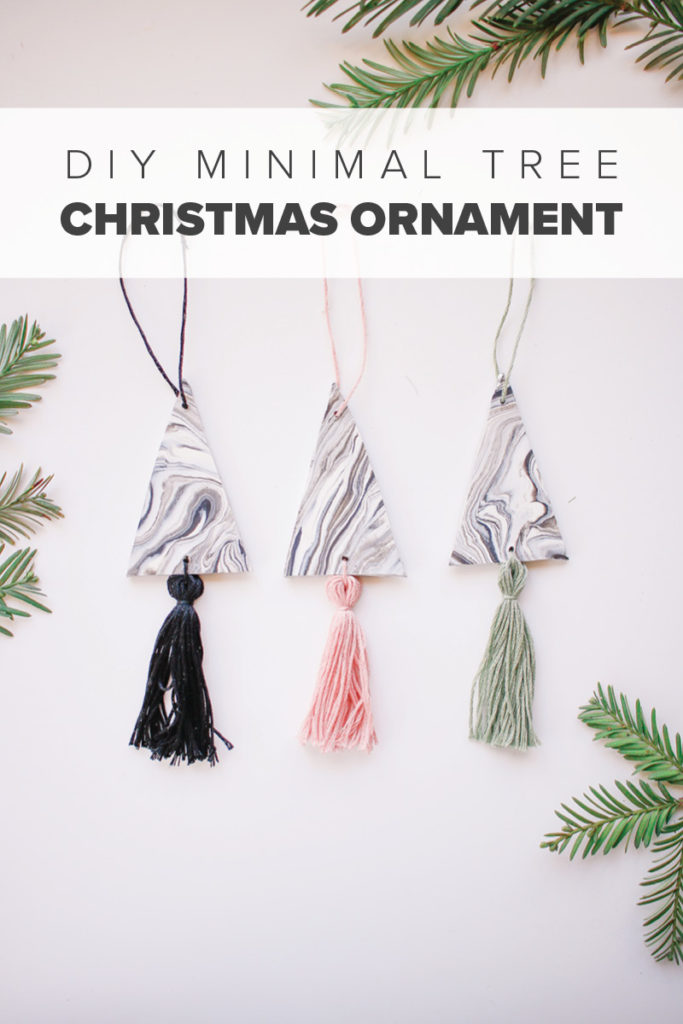
Second is a minimalist Christmas tree ornament made out of polymer clay, with a cutie little tassel! I love how simple it is!
Okay, so the tutorial for each is below, starting with the Christmas trees! Let’s get started!
DIY Minimal Christmas Tree Ornament
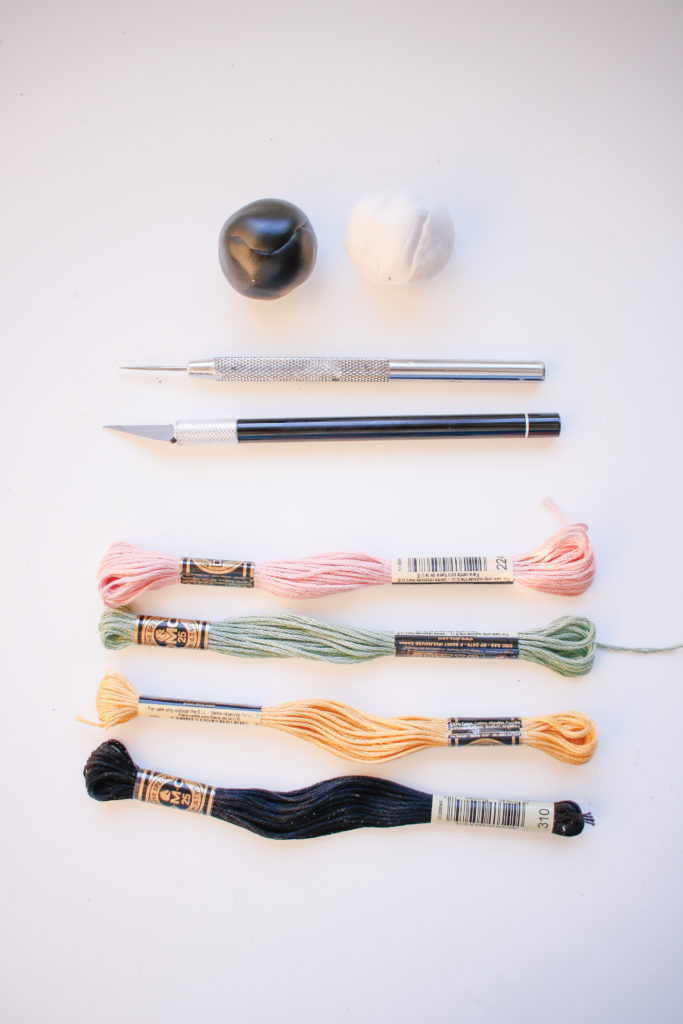
Supplies:
Black Polymer Clay
White Polymer Clay
Embroidery Thread
Needle
Scissors
Exacto Knife

Directions:
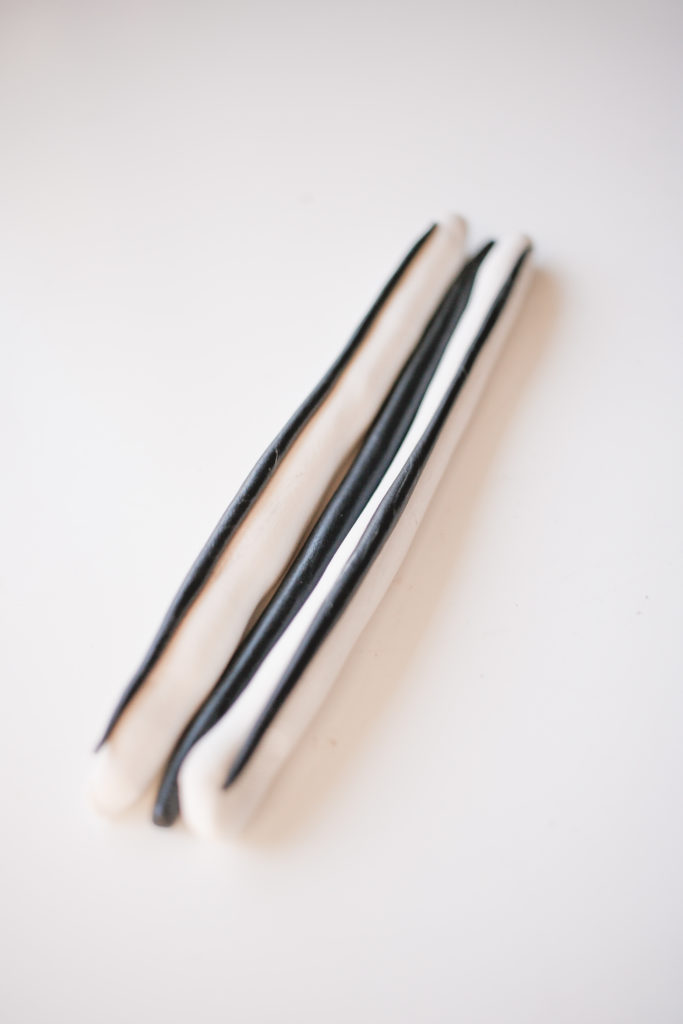
Clay Tree:
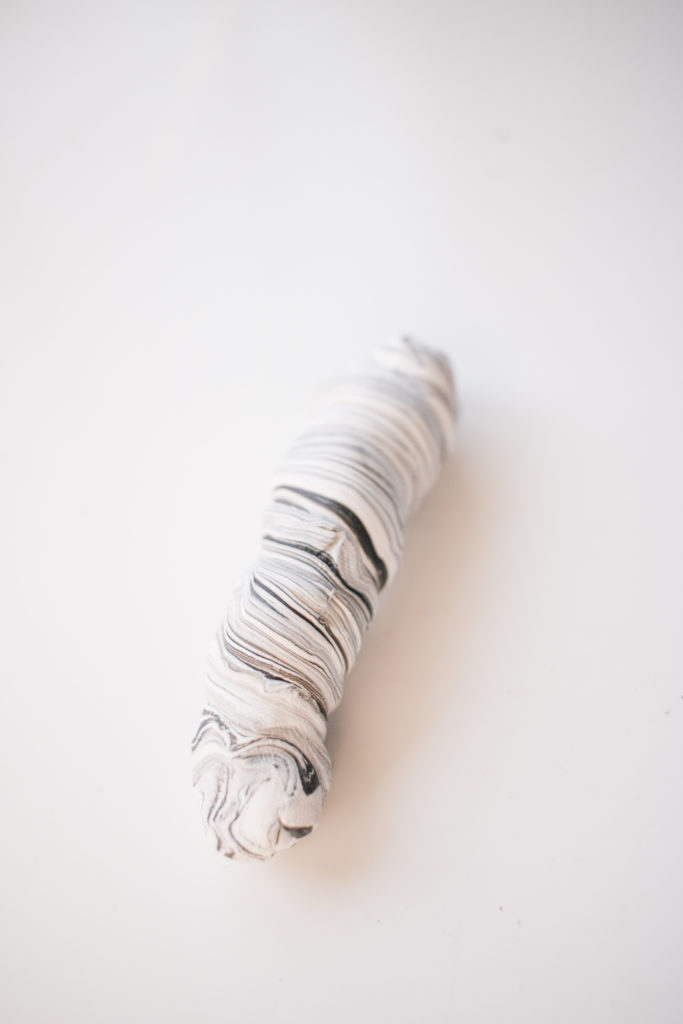
- Roll white and black clay into skinny snakes (more white than black)
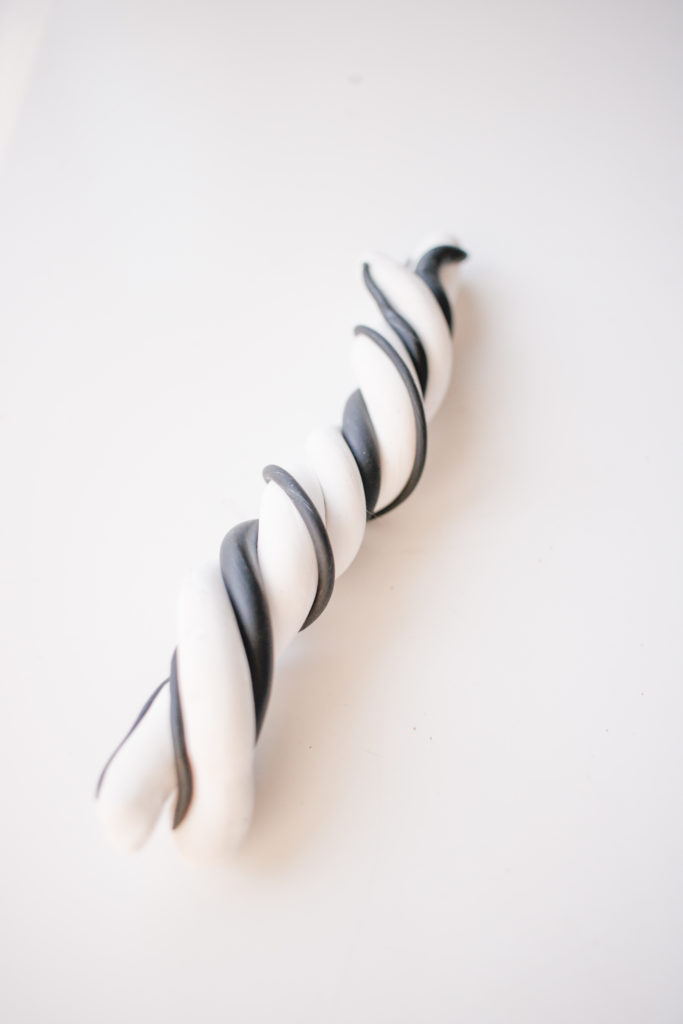
- Twist, and fold them together until you get your desired look.
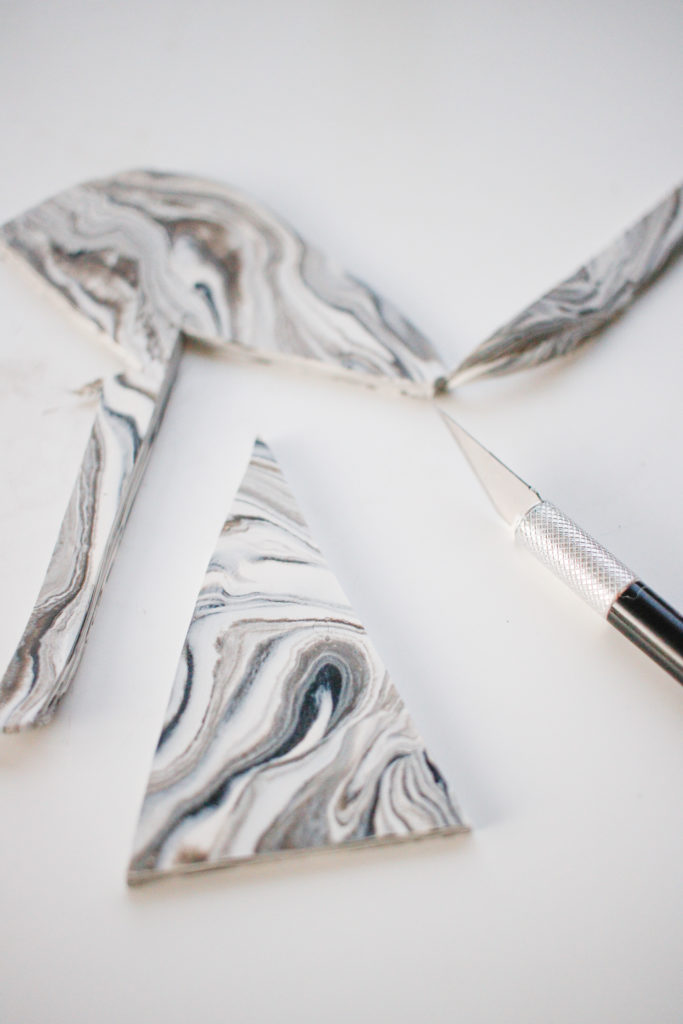
- Roll out your clay.
- Use your exacto knife to cut a triangle.
- Use your needle to poke a hole in the top and bottom (large enough for your thread)
- Bake according to package directions
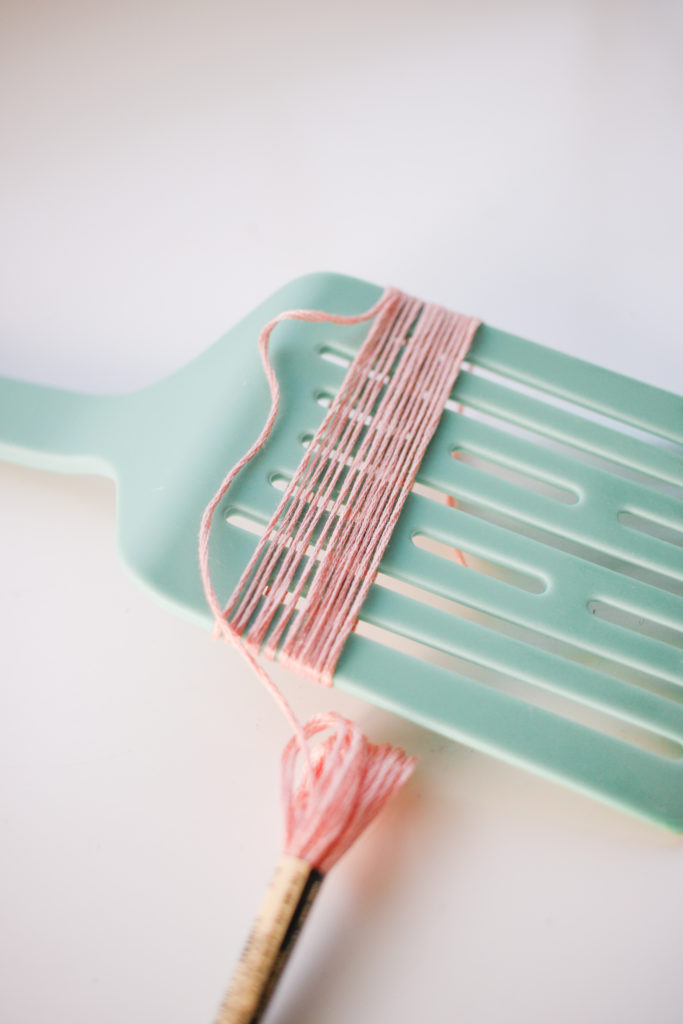
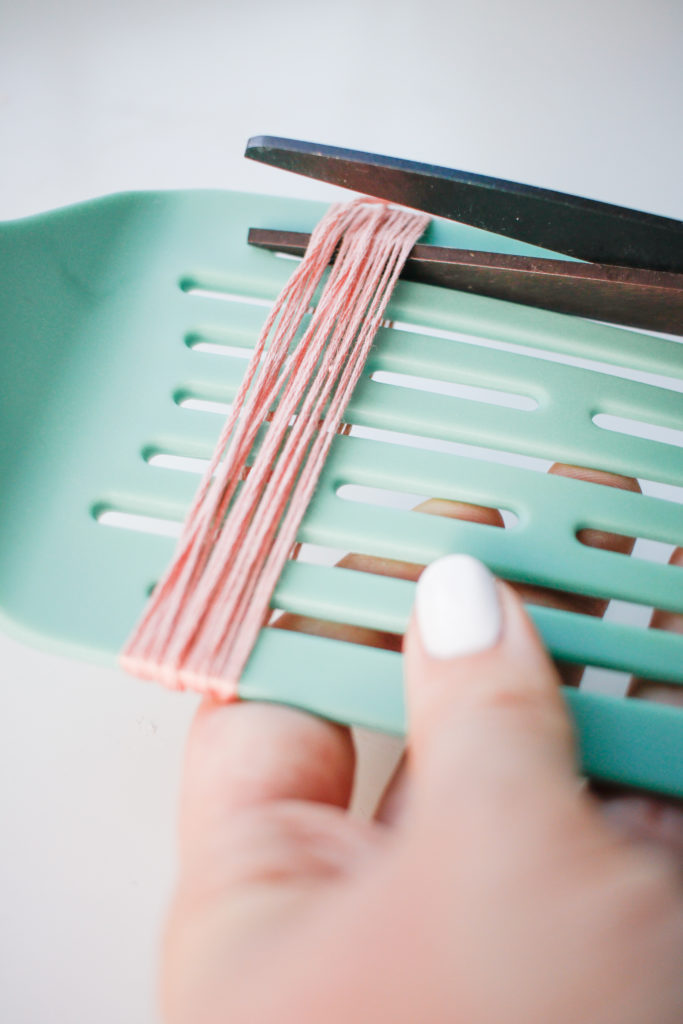


Tassle:
- Wrap your thread around a large spatula, or four fingers 15 times.
- Cut one side of the thread apart.
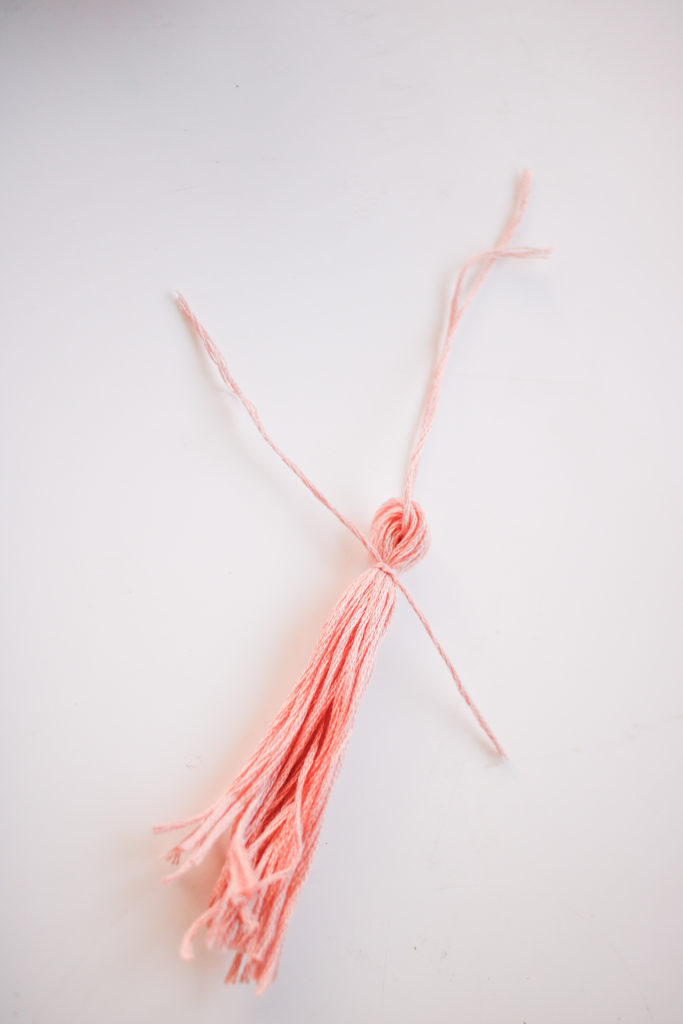
- Place your thread in a rainbow shape, and tie a string on the top.
- Tie a string around all of your thread, making a tassel.
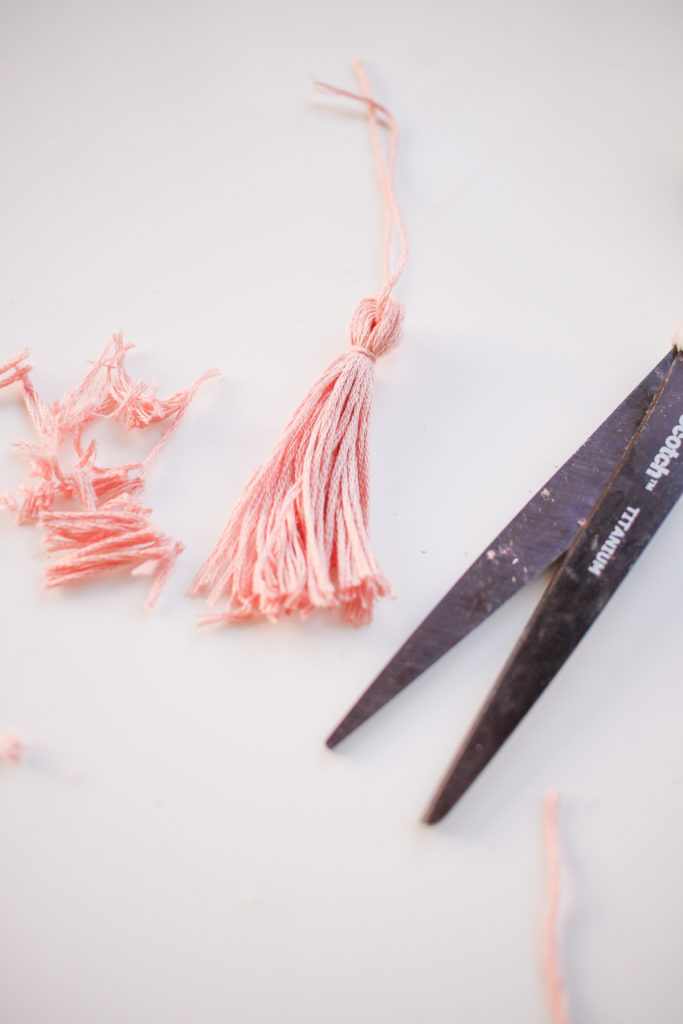
- Trim your tassel so it’s even!
- Tie your tassel to the bottom of your tree!
DIY Snow Globe Ornament
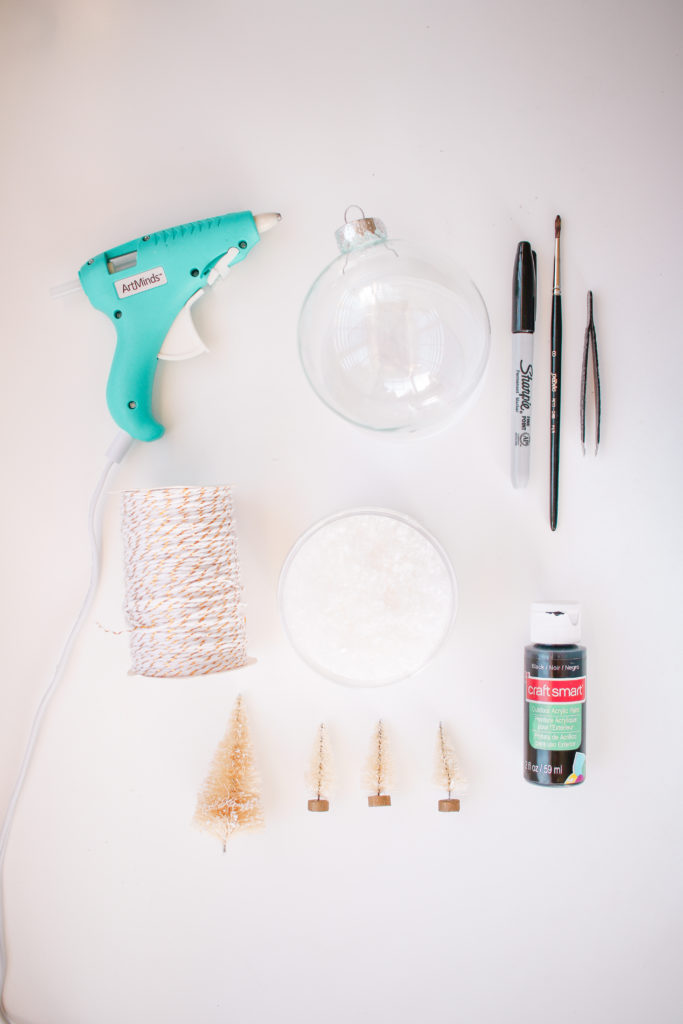
Supplies:
Clear Ornaments – here or here
Fake Snow
Bottle Brush Trees
Sharpie
Black Acrylic Paint
Tweezers
Hot Glue
Directions:
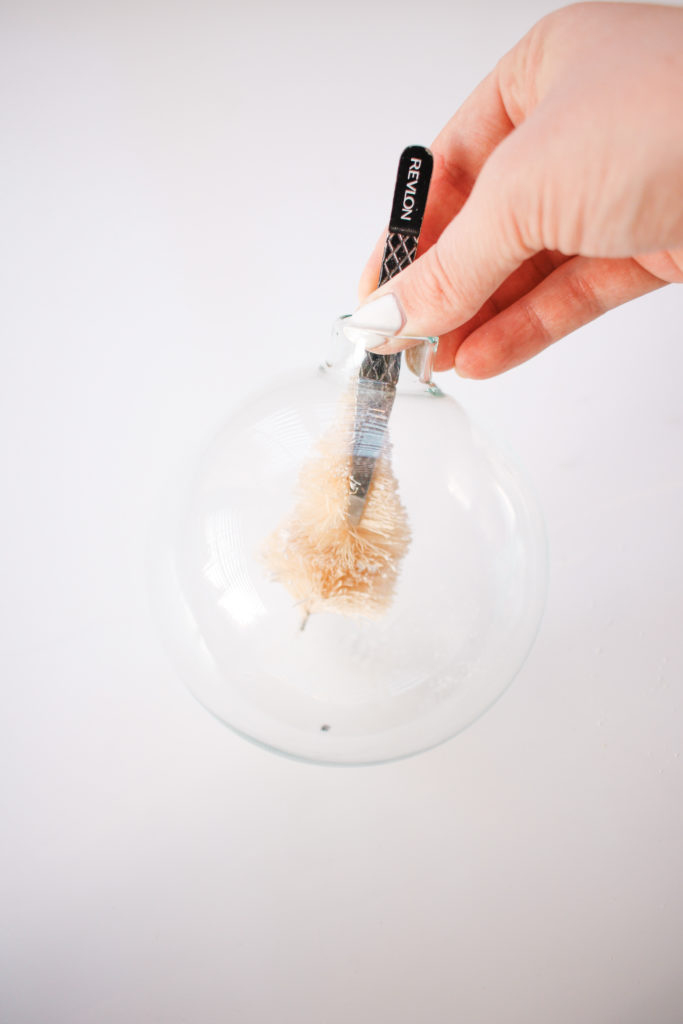
- Put a sharpie dot on the bottom of your ornament where you want your tree to go.
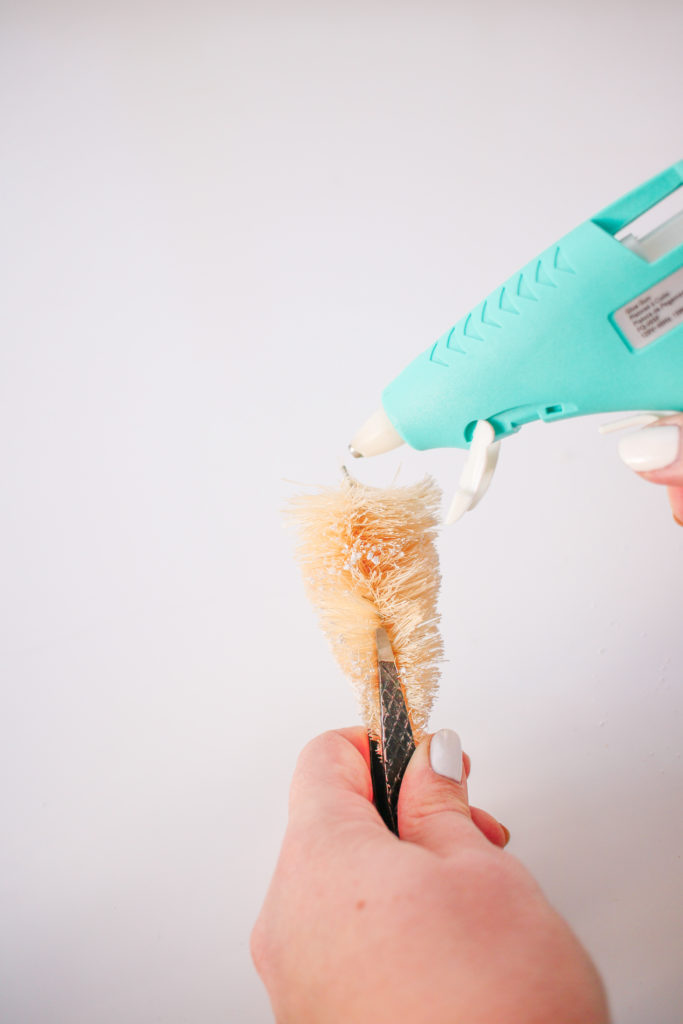
- Grab your tree with tweezers and get a good grip!
- Put a generous amount of glue on the bottom of your tree.
- Stick your tree into your ornament and onto the dot you made earlier!
- Hold until dry.
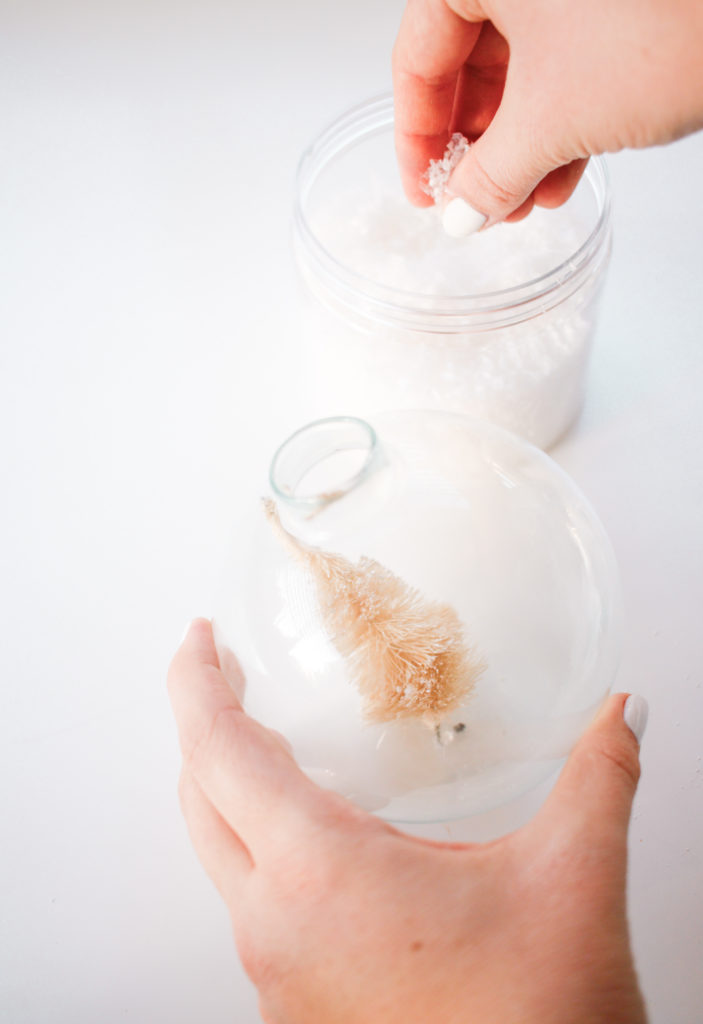
- Sprinkle fake snow into your snow globe!
- Write your name in your ornament with Sharpie. I type out the name I’m writing in this font, and then copy it!
- Paint over the sharpie with black acrylic paint (the sharpie is just a template!)
- You’re done!!
Yay! I hope you love these 2 Easy DIY Ornaments! I have both hanging on my tree right now and they just make me happy! Plus, they’re SO DANG EASY to make! Pretty please let me know if you make either @mikylacreates!!
Ps. My other Christmas DIYs are here!!
3 comments on “2 Easy DIY Christmas Ornaments”