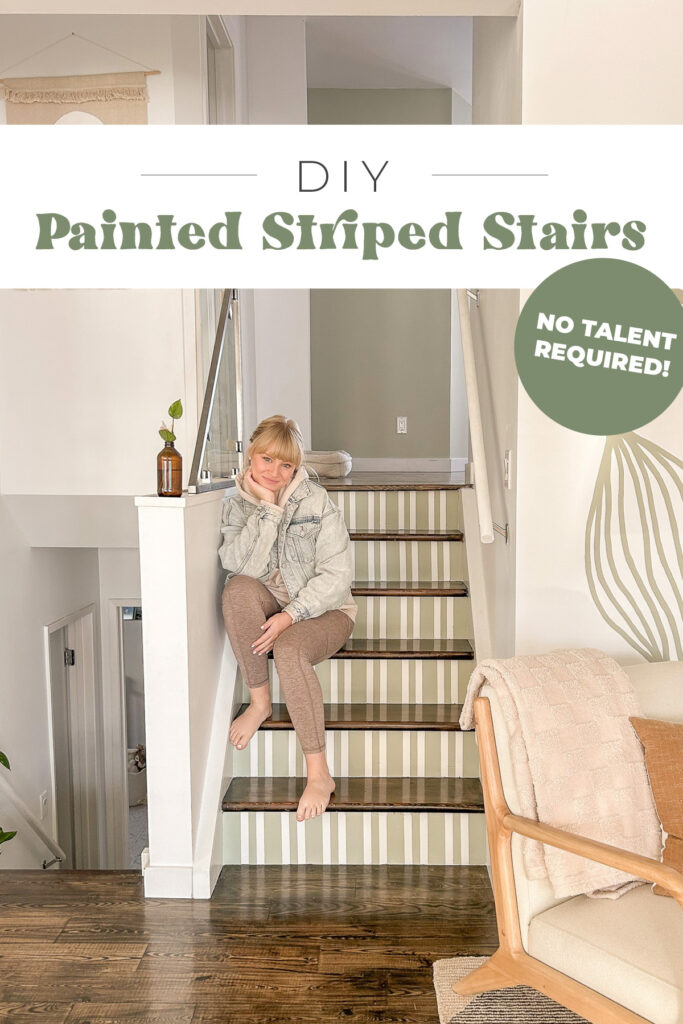
Striped Painted Stairs Mural
If you’ve been here awhile you know I LOVEEE painting *easy* murals in my home. They take almost no artistic skill because I use a projector most of the time, and they add SO much to a home at a fraction of the cost of wallpaper or wall art – I’m talking under $10. SO, from the day we moved into this house I was so excited to paint a mural! On the stairs! Because it’s like a wall mural… but on stairs!
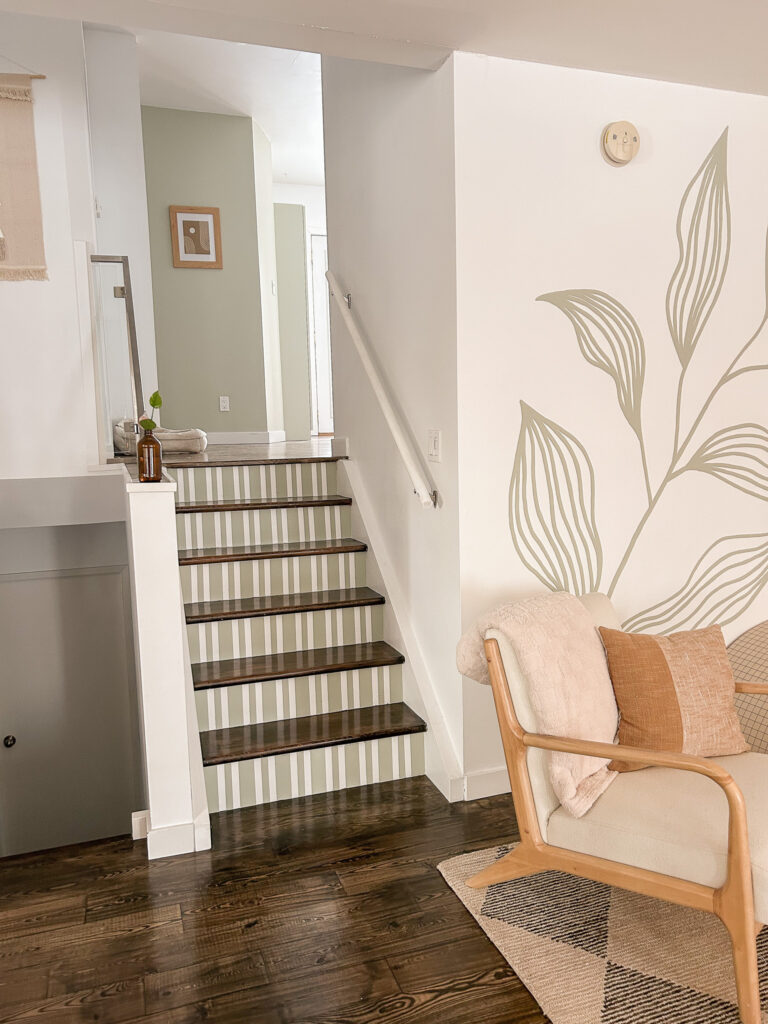
Then I started debating what kind of mural to paint, I didn’t want it to look too busy or cheesy, so I ended up settling on stripes and I loveee them!
You can see other murals I’ve painted HERE! A floral mural, painted wallpaper, an abstract mural, a foliage mural and a forest mural!
This ‘mural’ isn’t even really a mural, it’s more like wallpaper, and it’s SO simple, all you need is some paint, tape and a ruler!!
SUPPLIES
Wall paint – a sample size container is enough.
Wall paint of the background color
(white in my case, we’ll get to why this is important to have later)
Painters Tape
Ruler
DIRECTIONS:
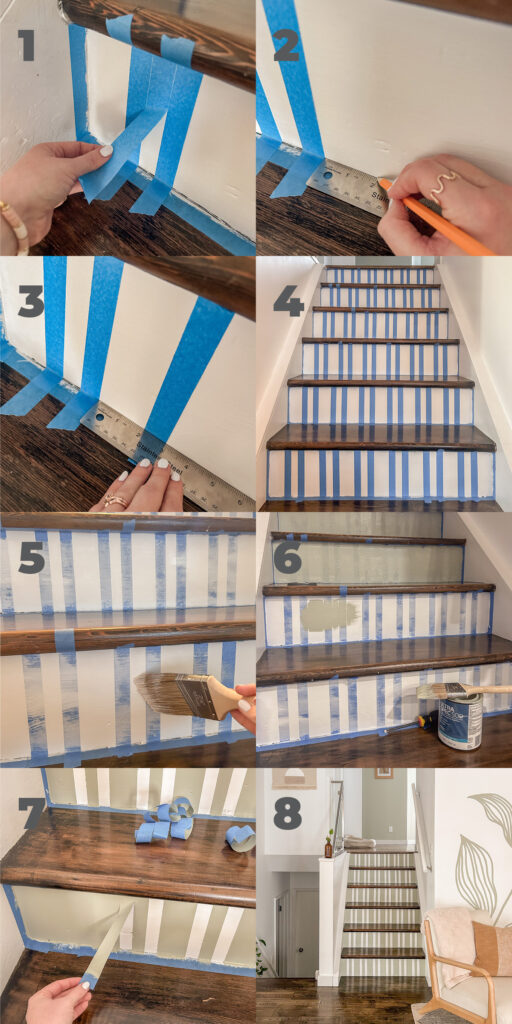
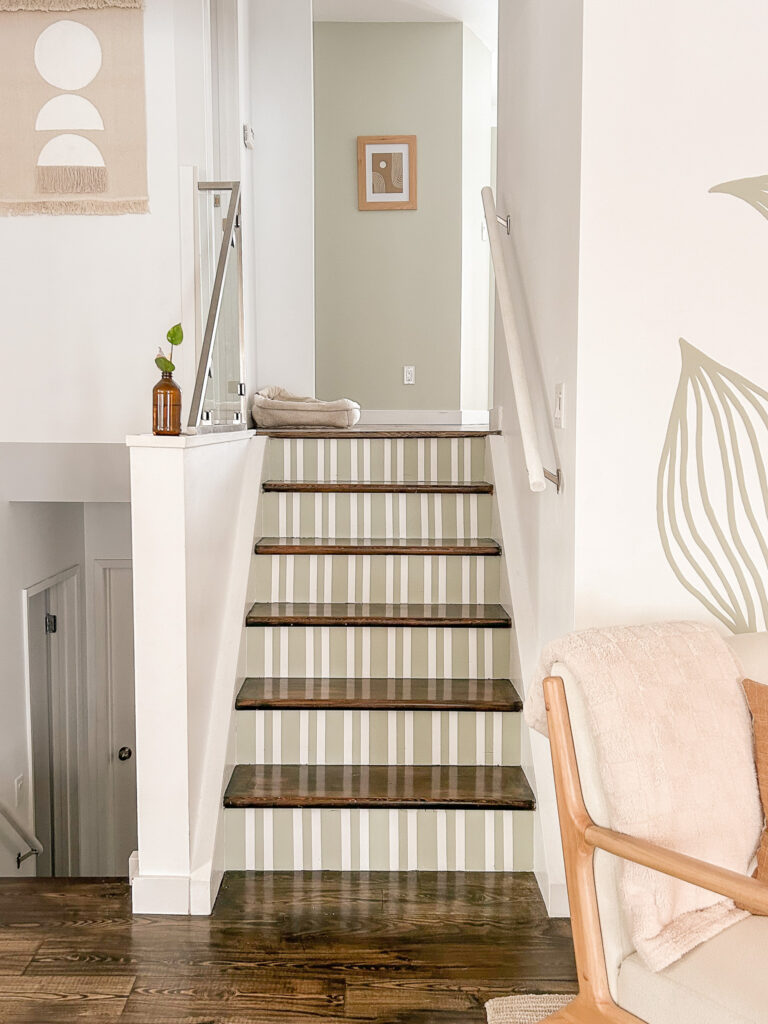
- I decided to do two different sized stripes to add some interest. For the smaller stripes I used the tape itself to measure out the width. I would tape 3 pieces next to each other and then remove the middle piece of tape to reveal the stripe.
- For the thicker stripes I used a ruler and measured out 2 inches, marking a little dot with a pencil in two spots to ensure that the stripe wouldn’t be crooked.
- Then I would add the tape to those pencil markings to create the thicker stripe.
- I repeated this on each step, one thick stripe, then one thin stripe.
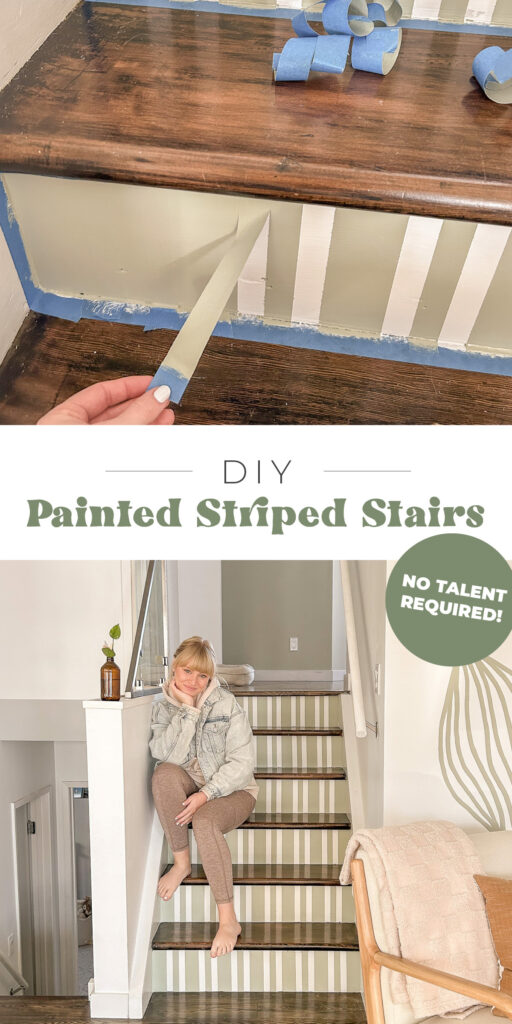
- IMPORTANT: to get crispy lines paint a thin layer of the background color (in my case – white) onto your steps. This seals in the tape so that if any paint leaks behind the tape, it’s in white. Then when you paint in green the lines will be crisp.
- Now add your green (or whatever colour you want) paint. I did two coats.
- Get to peeling your tape off! So satisfying. If any green paint does leak through, touch it up with your background colour with a small paintbrush.
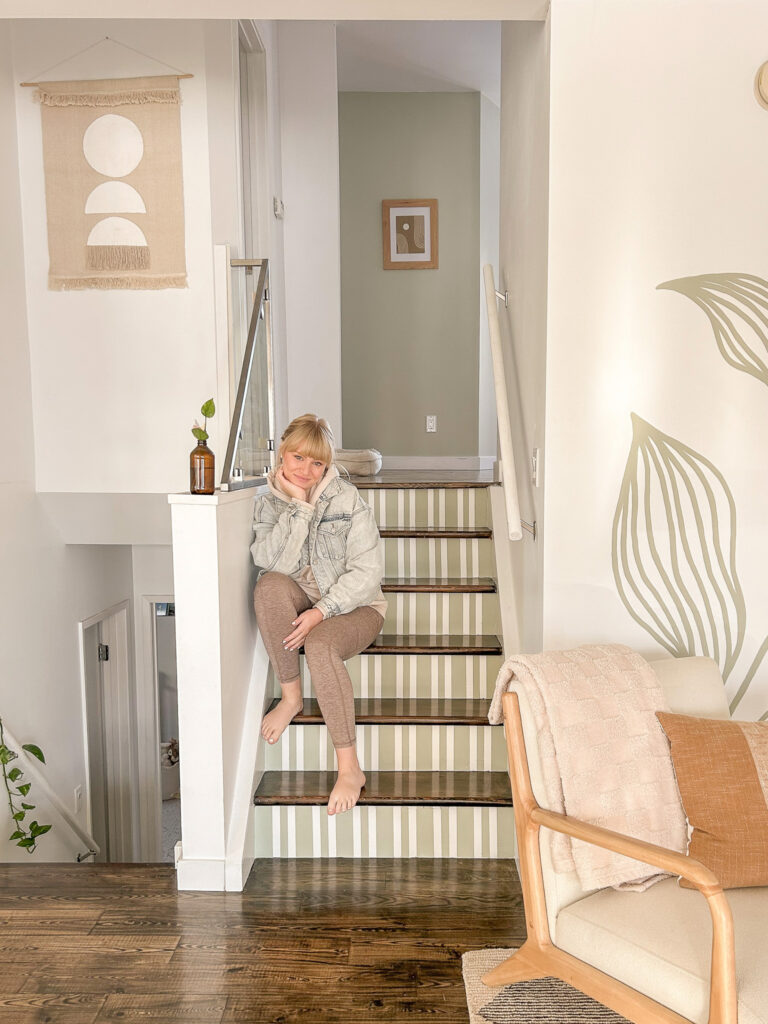
- Now you have the cutest painted step risers!!
This was a really fun and quick home project that I’m obsessed with! When I was looking for ideas for my stairs, I could never find an example of painted striped steps, so I’m doing my duty by sharing it on the internet – ha! If you painted your own pretty PLEASE tag or DM me @mikylamiller on Instagram!!