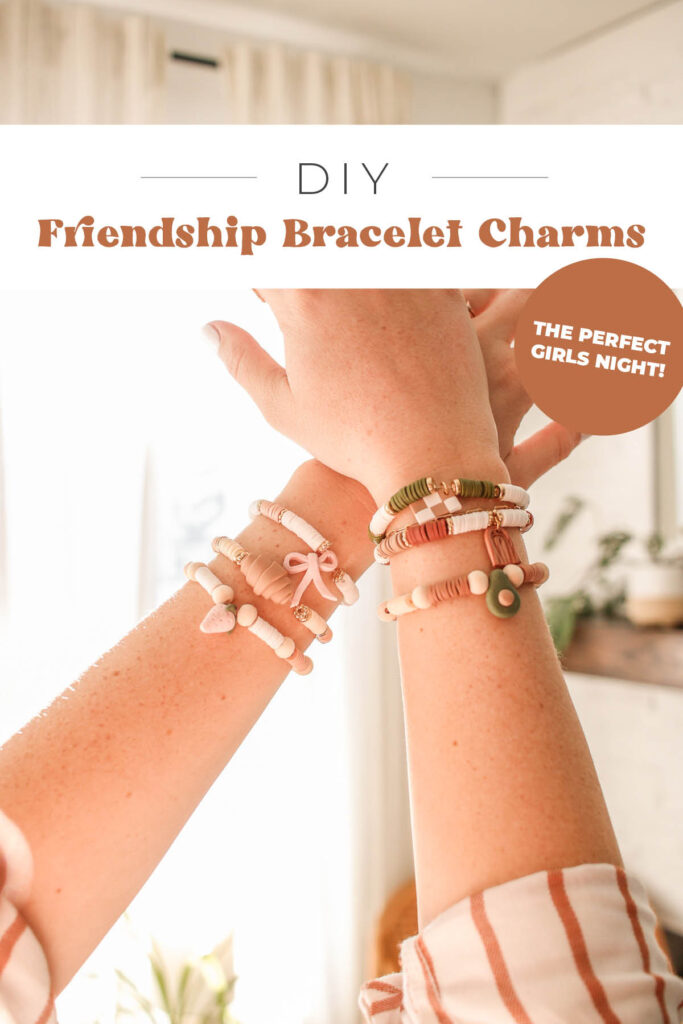
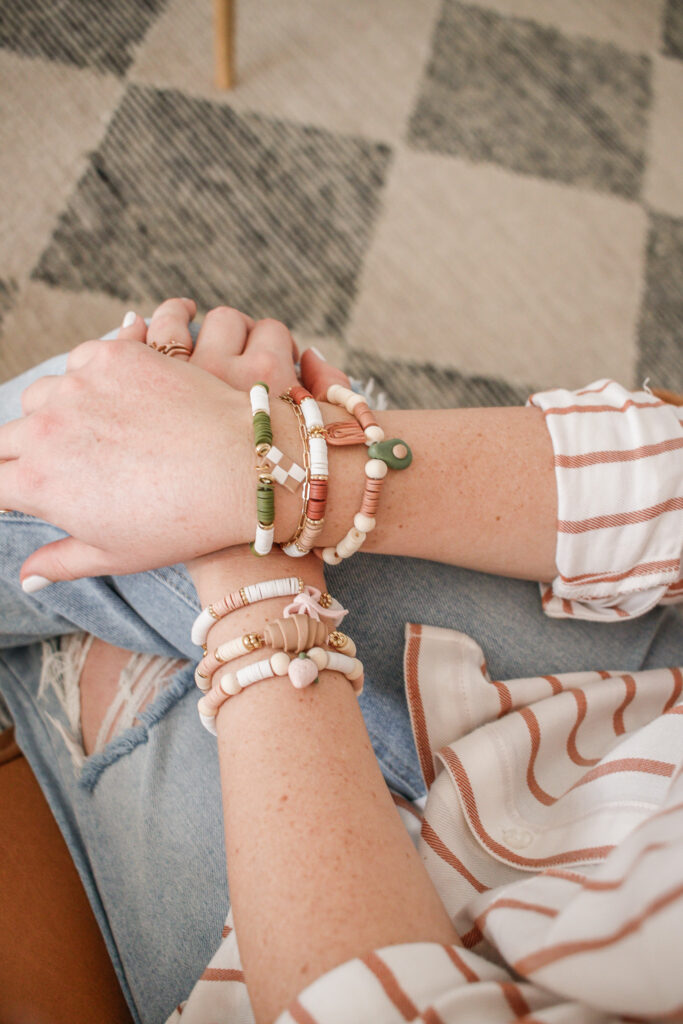
DIY Clay Friendship Bracelet Charms
Friendship bracelets are having a real moment (Thanks Taylor Swift). But since everyone is buying the same bracelet making kit, they are all starting to look.. the same, aka boring. SO, here’s where Sculpey comes in! I made personalized charms that are SO cute and are things that I love, which make the friendship bracelets so much more special!!
If you’ve been here awhile you know that I’ve been using Sculpey since I was a kid, and it’s always a dream to work with them 20 years later! If you’d like to see my *many* other Sculpey projects head HERE!!
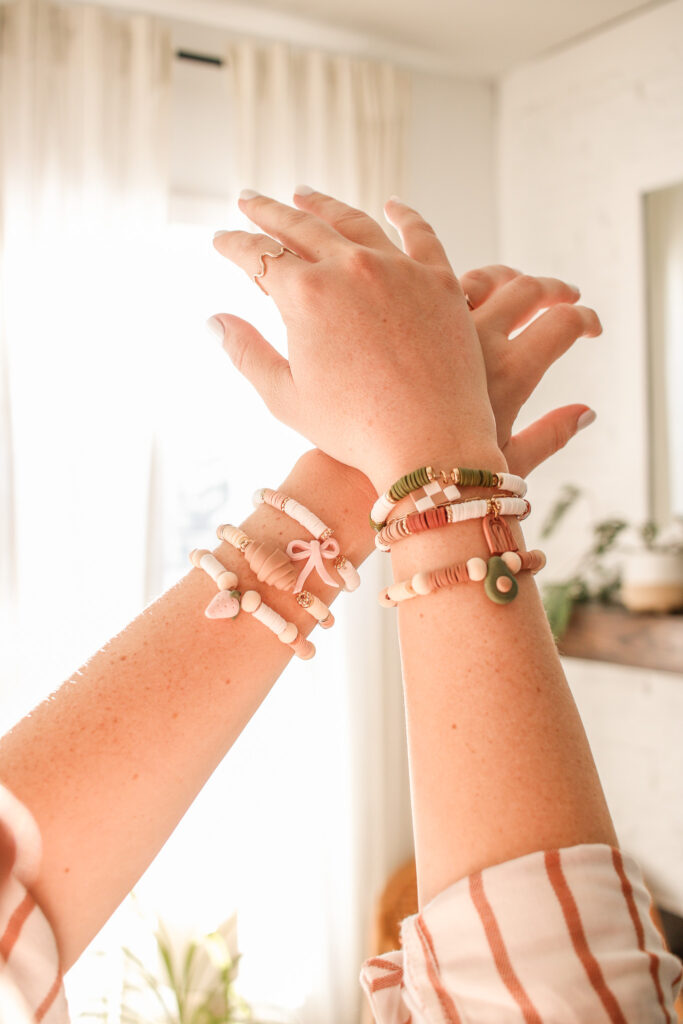
I think making friendship bracelet charms would be the perfect girls night!! It would be so fun to see everyone making cutie little charms that represent them! and the things they love!
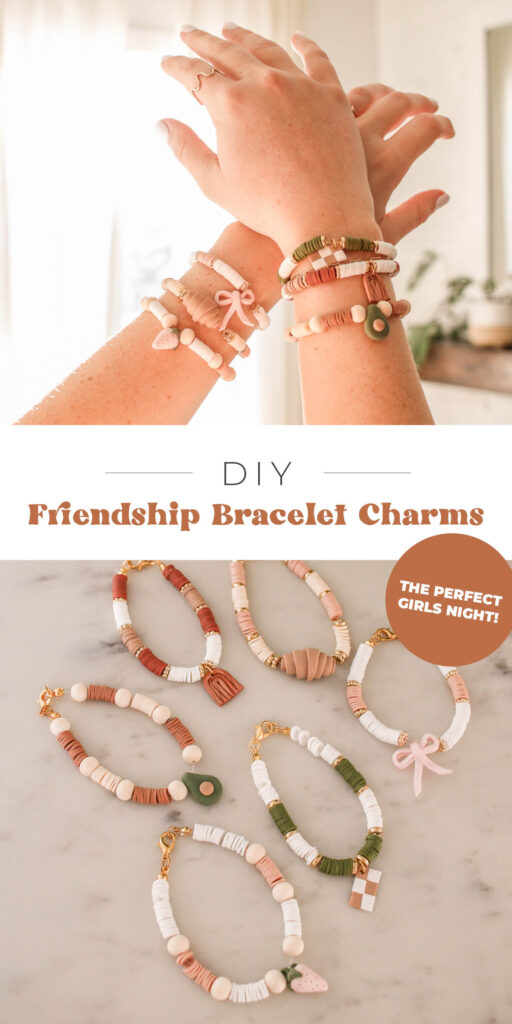
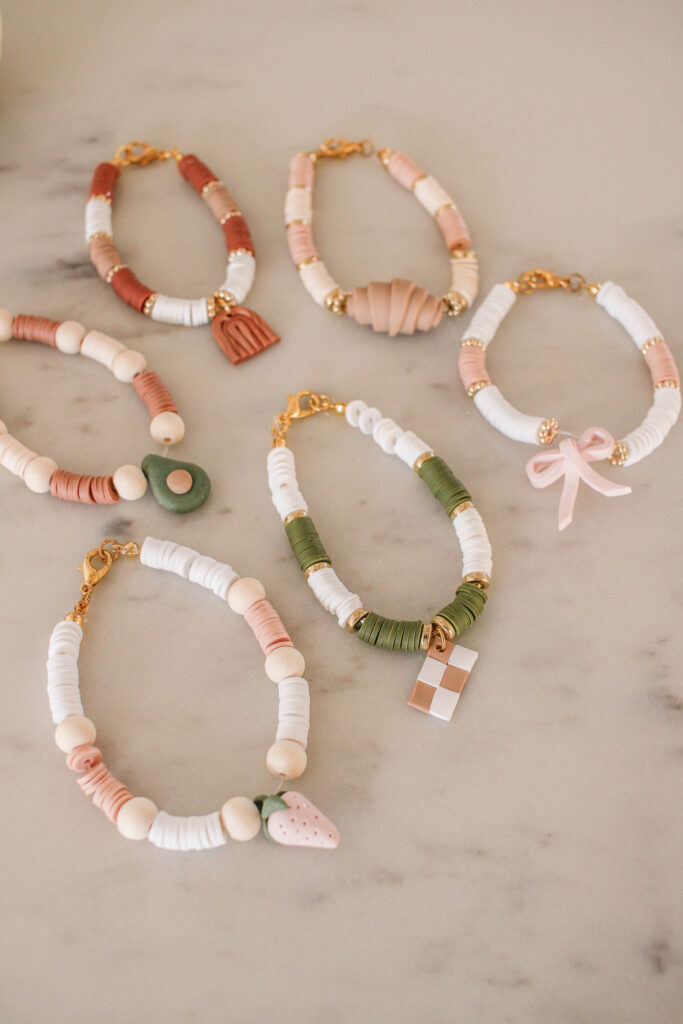
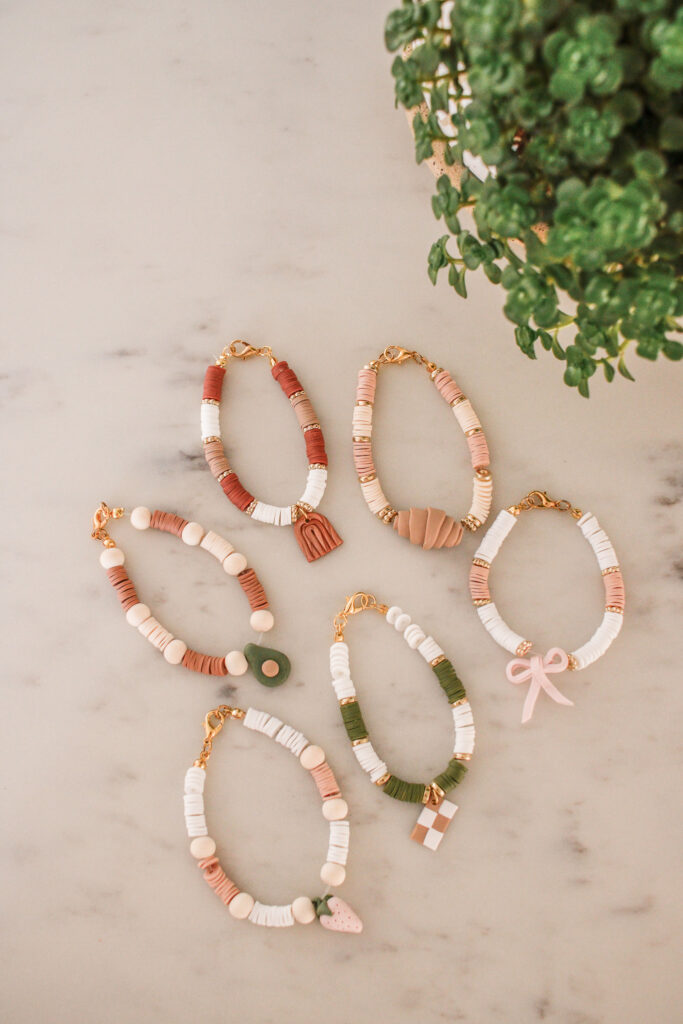
I wanted my friendship bracelets to look a little more sophisticated, even though they had fun charms, so I stuck to a color palette – starting with Sculpey’s Tan color in their Premo Clay, I also used their Light Pink, Spanish Olive, White and Copper. Then I coordinated the beads from my bracelet kit with the clay colors I chose! You can see all of Sculpey’s clay colors HERE!
Alrighty, let’s get started! I made a little tutorial for each bead I made incase you want to make the same ones, but feel free to get creative!
SUPPLIES:
Sculpey Premo
In Colors: Tan, Light Pink, White, Spanish Olive & Copper
DIRECTIONS:
FOR THE CROISSANT CHARM:
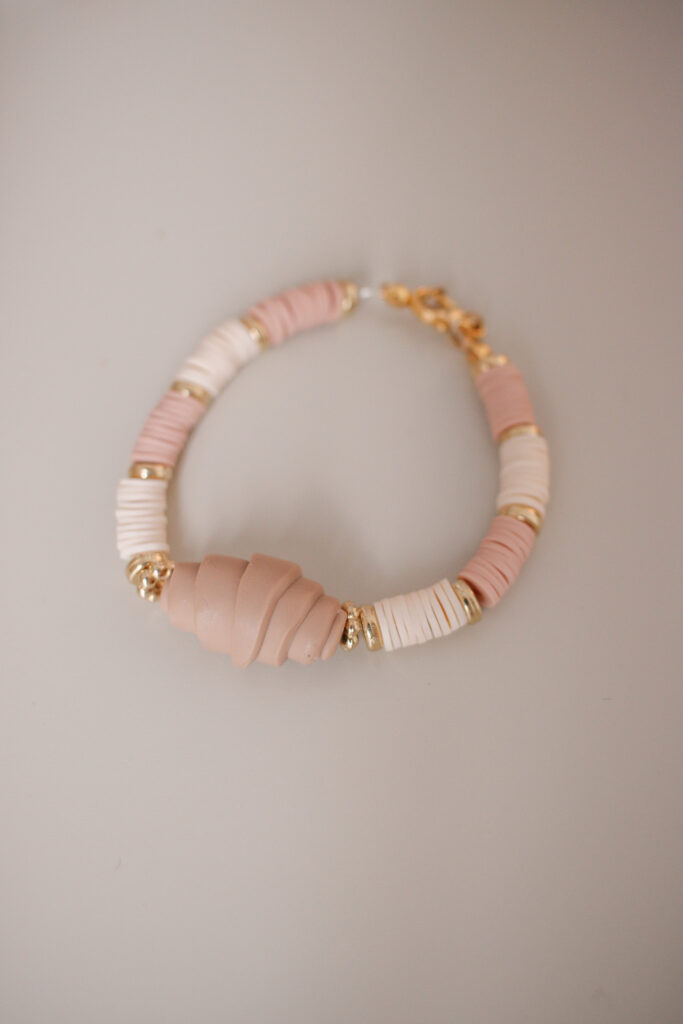
- Roll out your Sculpey Premo Tan clay as thin as you can.
- Cut it into a long skinny triangle.
- Start at the bottom of the triangle and roll it up.
- Stick your needle tool through the croissant to make sure you can string it onto your bracelet.
FOR THE CHECKERED CHARM:
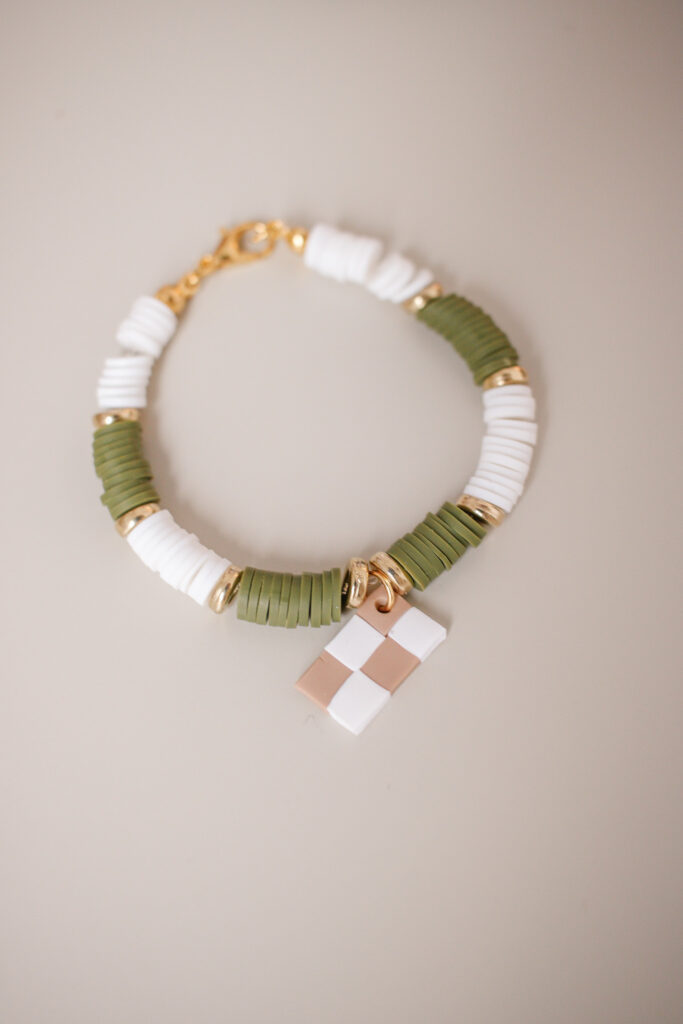
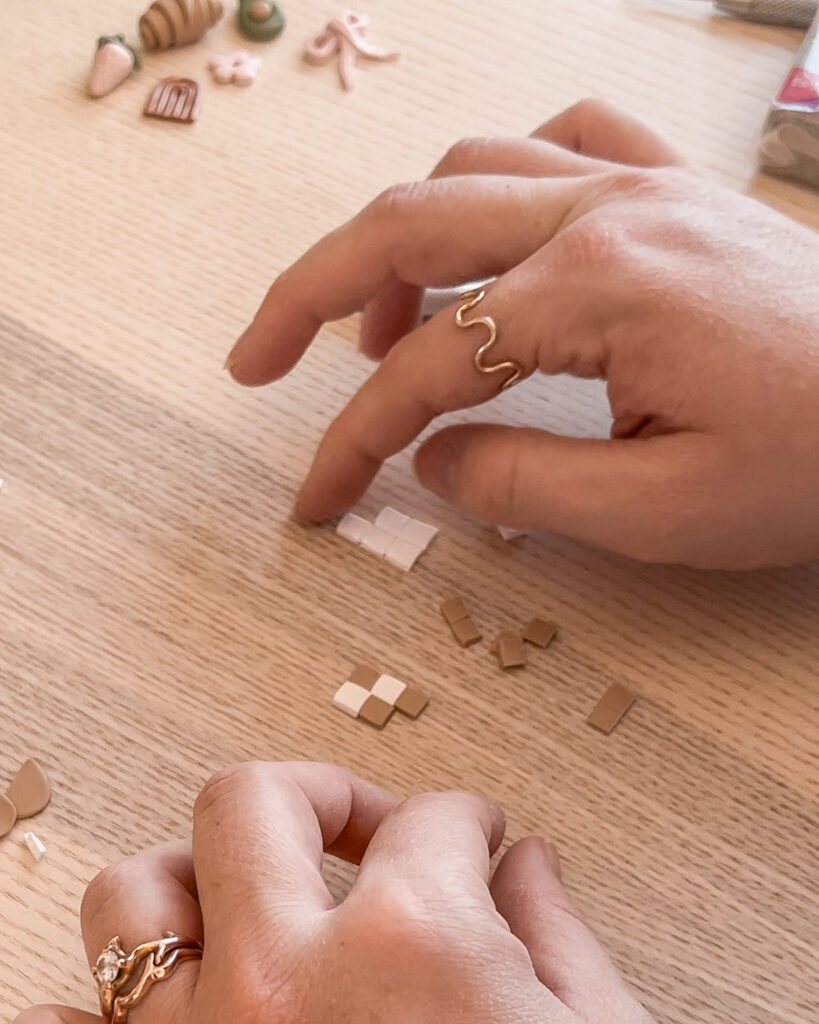
- Roll out White and Tan Sculpey Premo clay so that it’s really thin.
- Use your Exacto Knife to cut in a grid pattern making little squares.
- Rearrange your clay squares into a checkered pattern.
- Gently press them together and then flip it over to make sure all the squares are connected.
- Use your needle tool to add a hole to the top corner of your checkered charm.
FOR THE STRAWBERRY CHARM:


- Take a small ball of Light Pink Sculpey Premo clay and form it into a rounded cone shape.
- Take your needle tool and lightly poke holes into the strawberry to form the seeds.
- Make tiny triangles and add them to the top to be the leaves (use Spanish Olive Color).
- Make a little oval to be the stem and attach it to the top of the strawberry.
- Use your needle to poke a hole through the stem so that you can string it onto your bracelet.
FOR THE BOW CHARM:
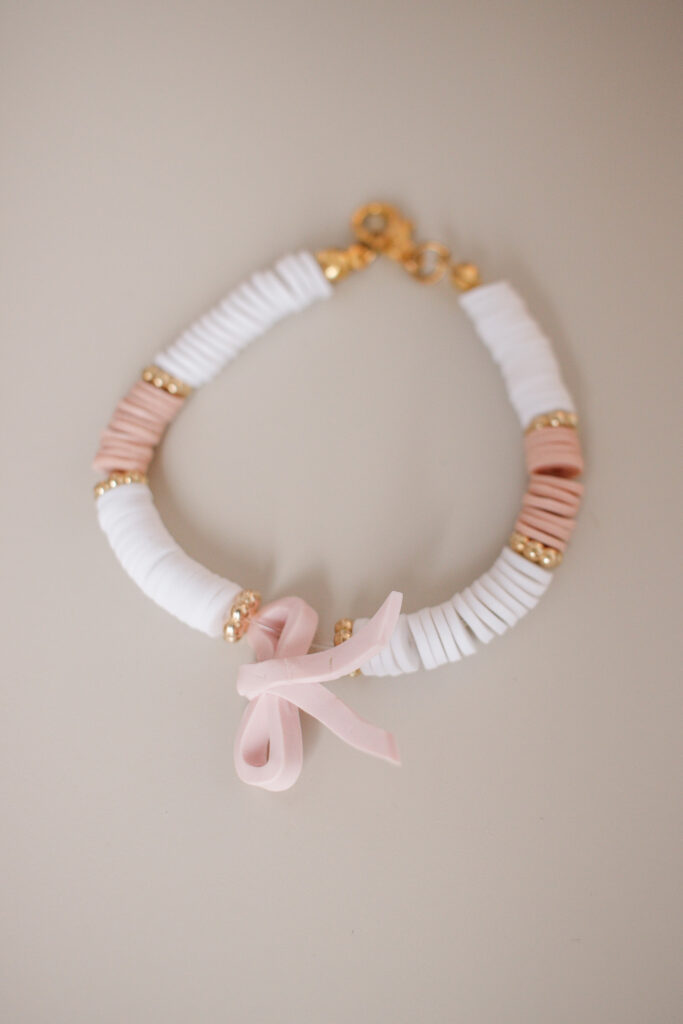
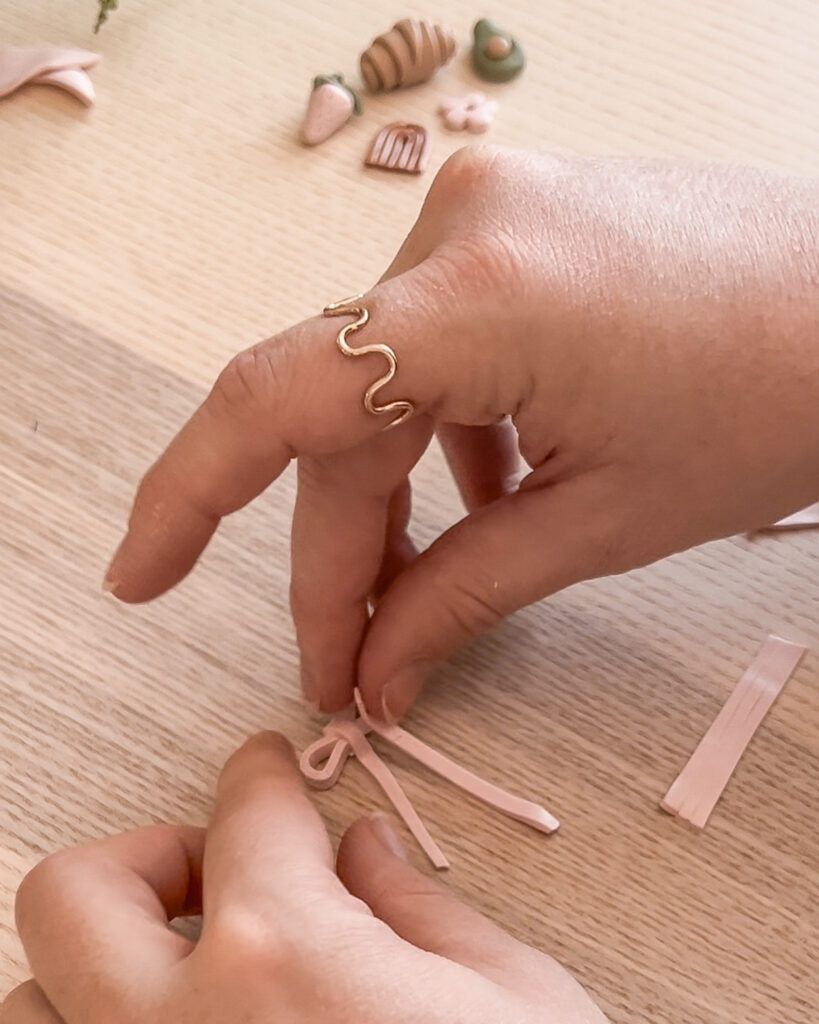
- Roll out your pink clay so that it’s pretty thin.
- Use your exacto knife to cut thin strips of clay.
- Pinch the ends of one of clay strips together, then repeat and connect the two teardrop shapes together to form the top of the bow.
- Take two more clay strips and fold them over the center of the bow you just made.
FOR THE AVOCADO CHARM:
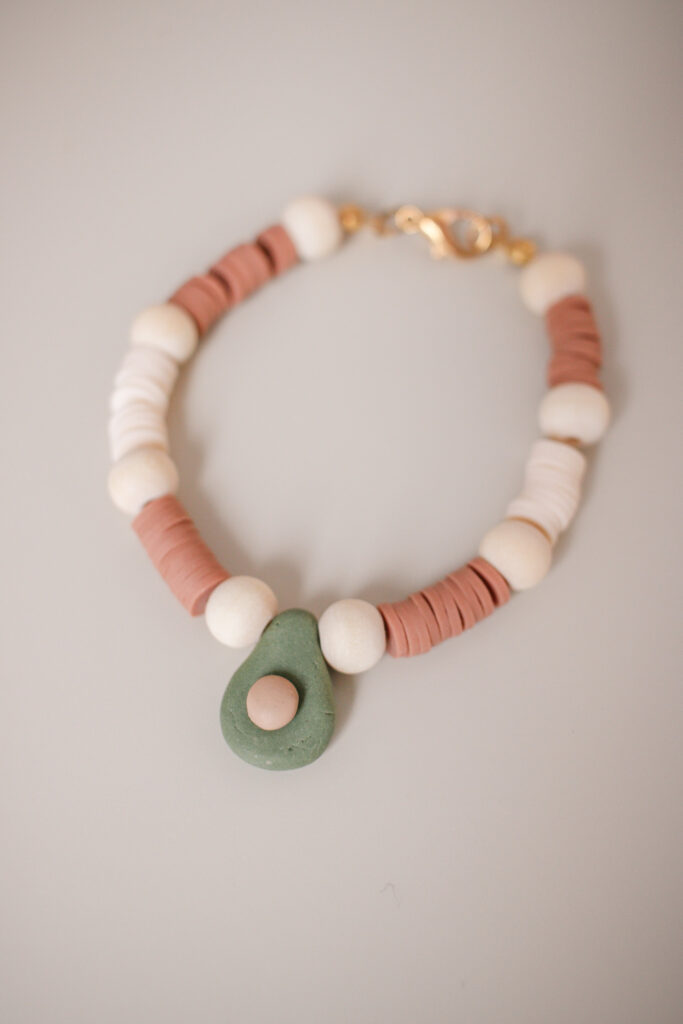
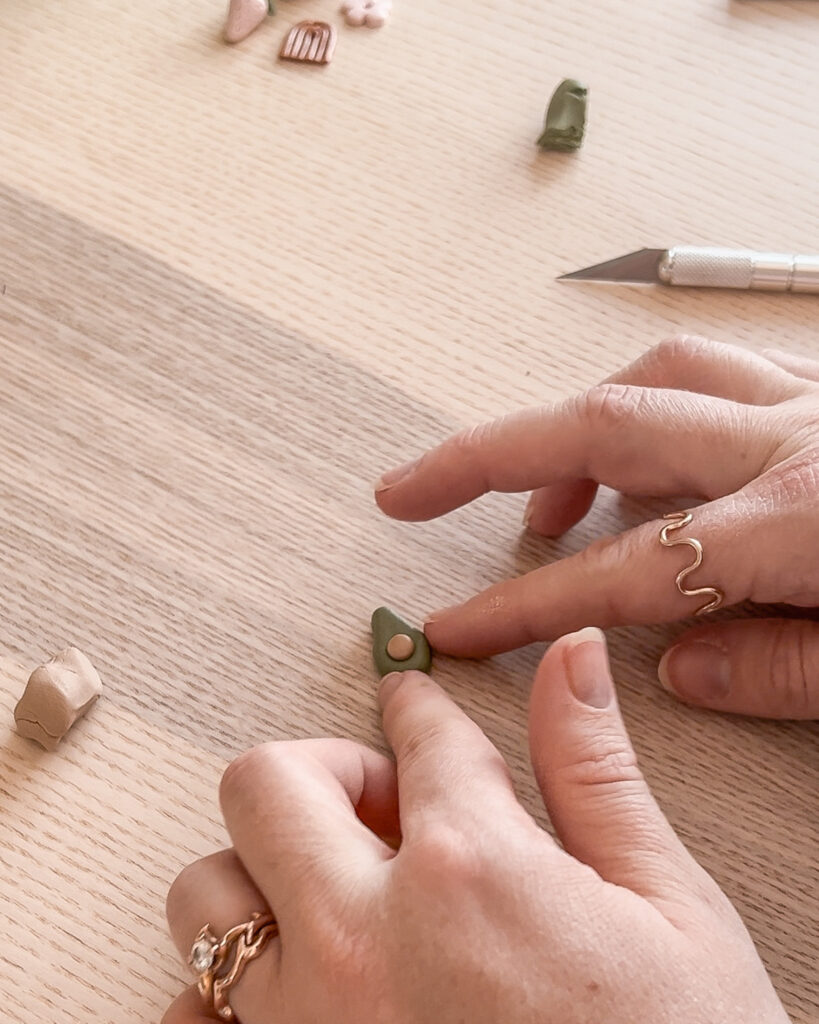
- Take a small ball of the Spanish Olive Sculpey Premo clay and form it into an avocado shape – simular to a teardrop shape.
- Roll a small ball of brown clay and add it to the front of your avocado and press it down gently so that it adheres to the clay.
- Take your needle tool and poke a hole at the top of the avocado so that you can string it onto your bracelet.
FOR THE RAINBOW CHARM:
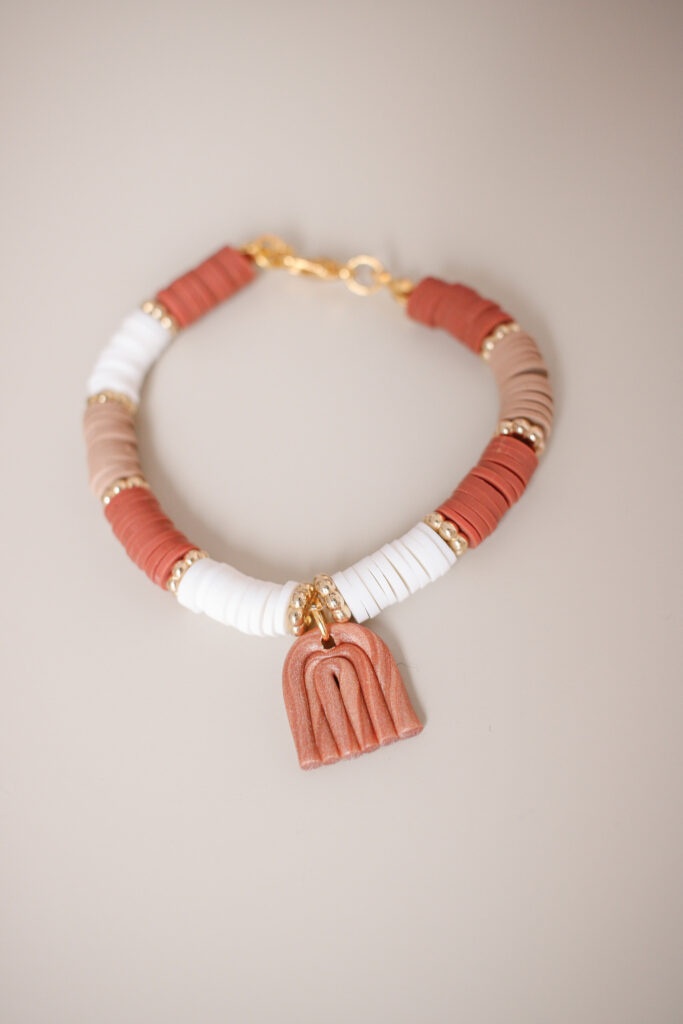
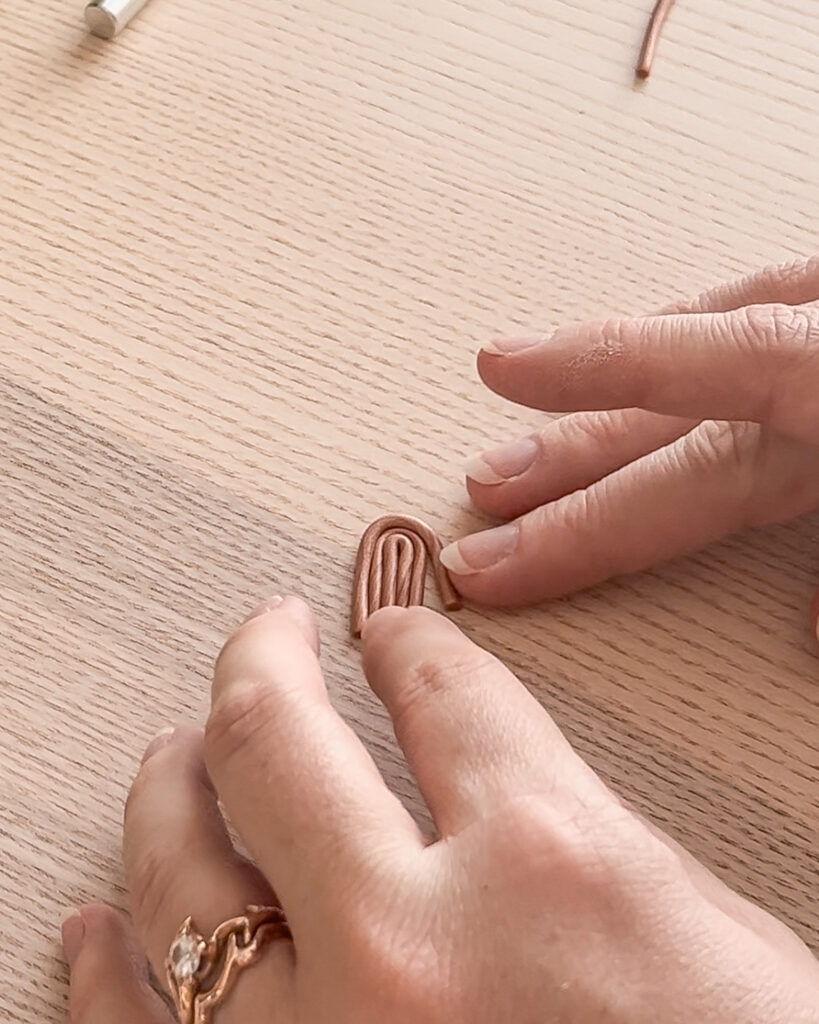
- Roll out your Copper colored Sculpey Premo clay into a long, very skinny snake.
- Use your exacto knife and cut it into three sections.
- Fold one of the sections in half, then layer two more of the clay strips on it to form a rainbow.
- Add a hole in the top so that you can add it to your bracelet!
That’s it! I love these cutie little charms, and I am fully loving the friendship bracelet trend, so if you make your own pretty please tag me @mikylamiller on Instagram!!