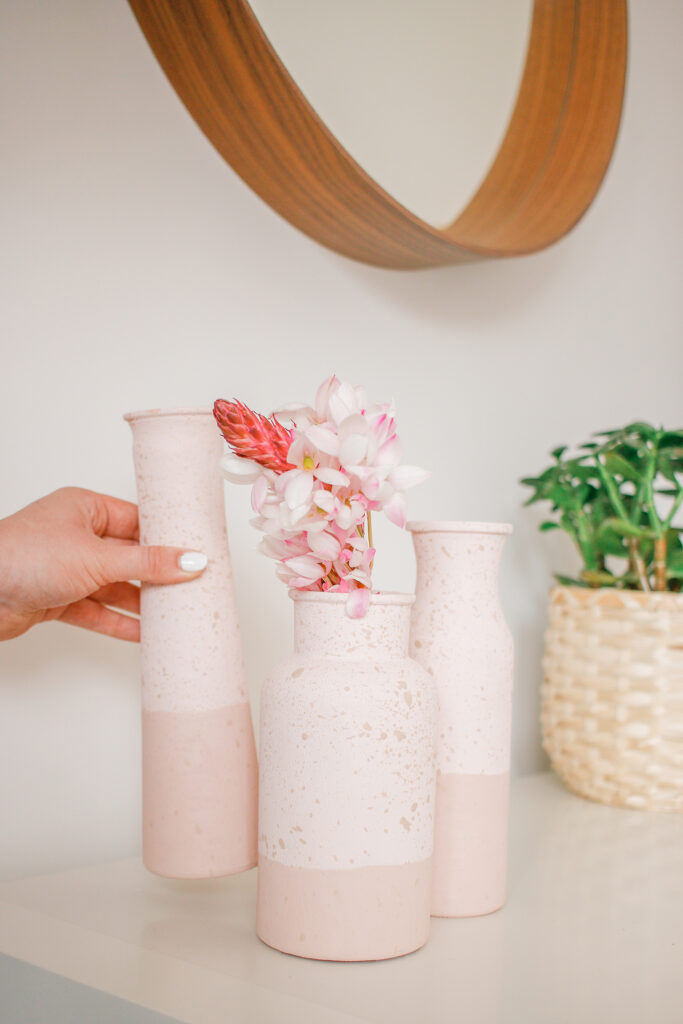
DIY Faux Clay Vases with Baking Soda
So, you may have seen the baking soda trend, and if you haven’t – basically you mix paint with baking soda, and it creates this really pretty texture that looks like clay. It’s a trend for a reason because it really does transform things like glass vases to look like expensive clay pieces!
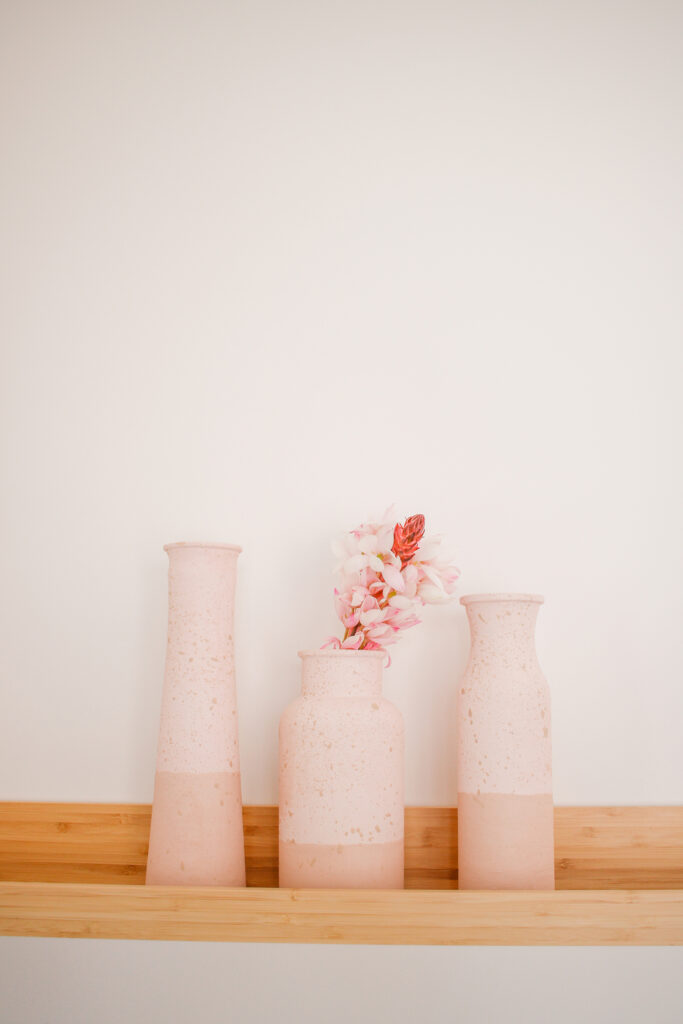
The only problem is that paint chips prettyyyy easily, especially when you’re painting glass. So, that’s where Aleene’s comes in! They have a Matte Finish Spray Paint that you can use on top of what you’ve painted and it protects it so that you don’t have to worry about chipping! #winning
PS. I’ve made a bunchhhh of DIY home decor projects before like these floral vases, this mid century planter, this funky clay candle holder, this boho wall hanging and literally tonssss more (trust me)
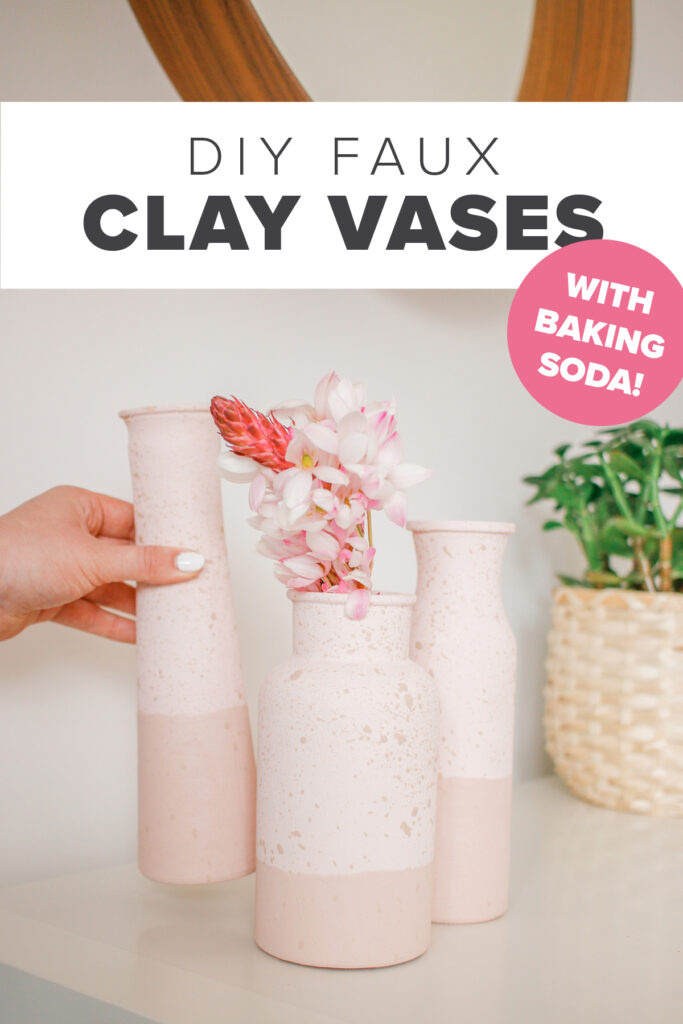
I really am SO happy with how these vases turned out and kind of can’t believe that they started out as $1 vases from the dollar store! They really do look like clay vases and it only take a few dollars to make! So crazy!
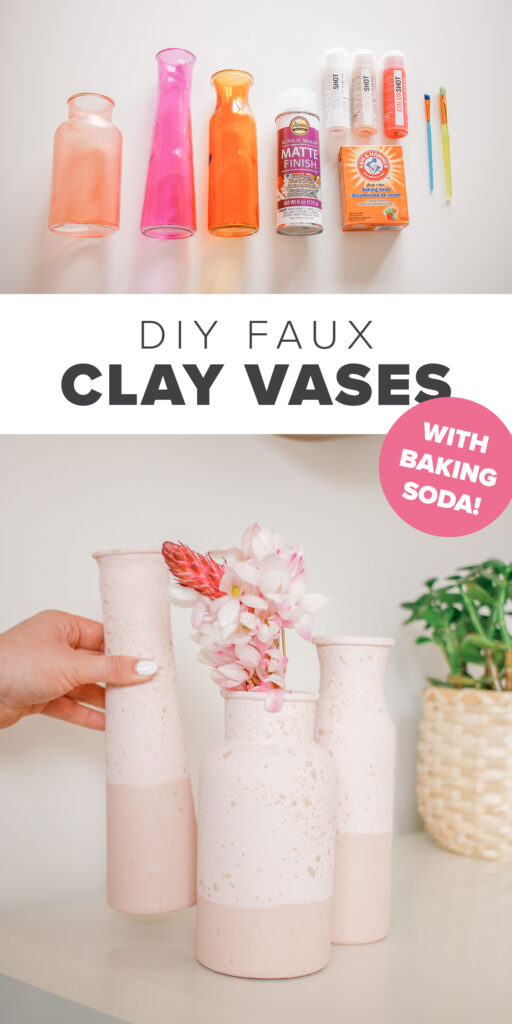
SUPPLIES
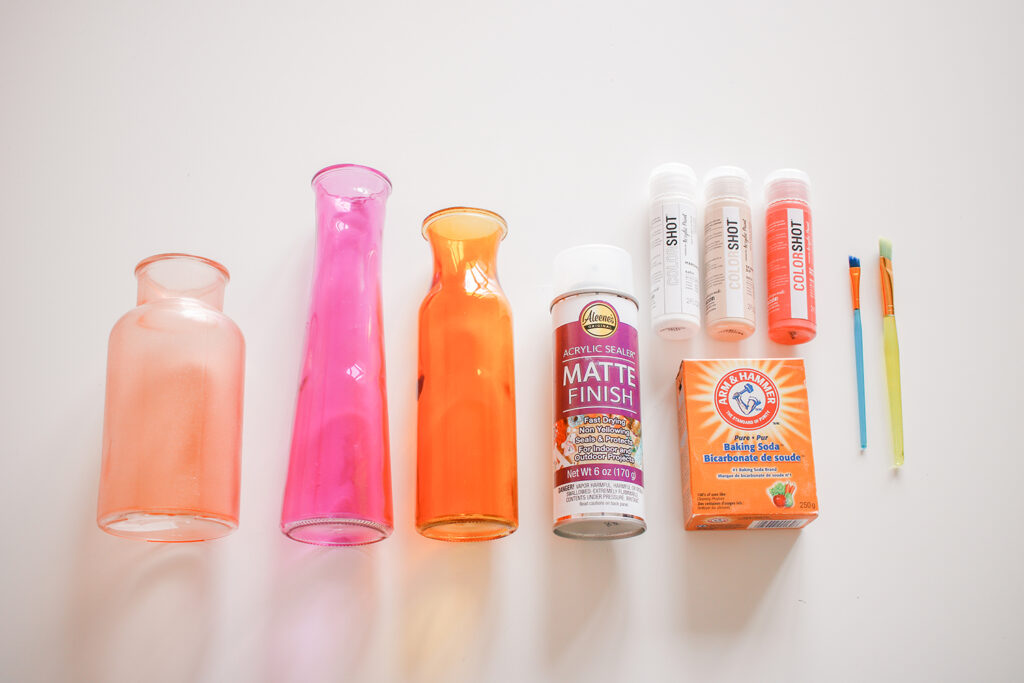
Color Shot Acrylic Paint in Colors:
3 Different Sized Glass Vases (Mine were from the dollar store)
Baking Soda
DIRECTIONS
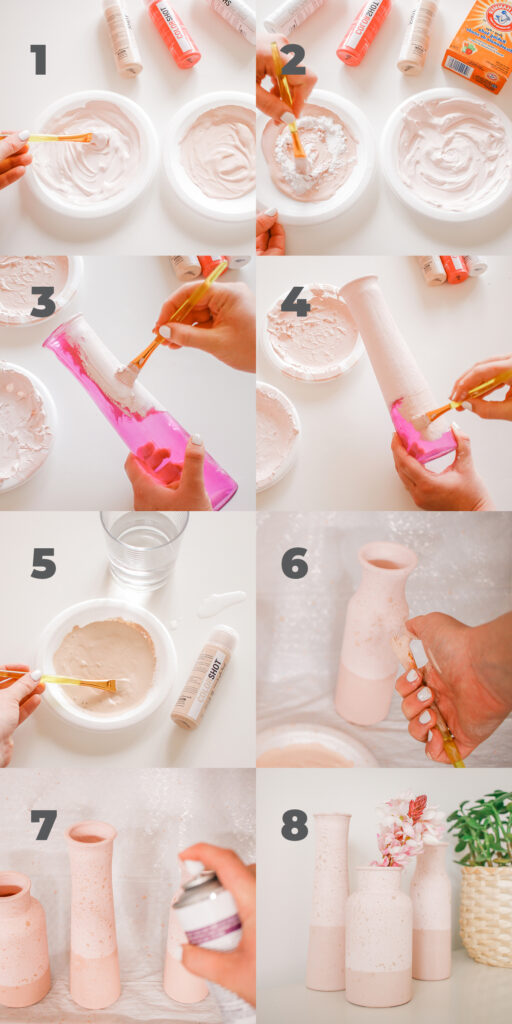
- Start by deciding what colors and vibe you’re going for. I went for super muted and super light pinks. I mixed white (marshmallow) and pink (summer pedicure) together with tan (skinny dip). The tan color is key and is what gave it the muted and neutral vibe that I was going for. I mixed one darker and one lighter color. I just added a little more tan to one of them to make it a step darker.
- Once you have two colors that you are happy with – add baking soda to both! When you add baking soda it will make the paint a little fluffy, but when it dries onto your vase it creates a texture that resembles clay and is SO pretty!
- Start painting your vase! Start with the lighter color and paint the top section (about two thirds or a lil more). One that is dry add your darker color to the bottom section. Paint a straight edge all the way around your vase using the darker color. I just eye-balled this part.
- Repeat this for your other two vases. Make sure the darker section is a different height on each vase. So the shortest vase should have the smallest dark section.
- Mix the tan ‘Skinny Dip’ Color Shot acrylic paint with a little bit of water.
- Use your thumb and a paintbrush to spray little speckles onto your vases with the paint and water mixture you just made. Do this by running your thumb along the bristles of your paintbrush near your vase.
- Take Aleene’s Matte Finish Sealer and spray your vases. This will help protect them and keep the paint from chipping. It also has a matte finish which looks amazing on these vases.
- That’s it! Enjoy your vases! Oh, and make sure to add some pretty blooms too 🙂
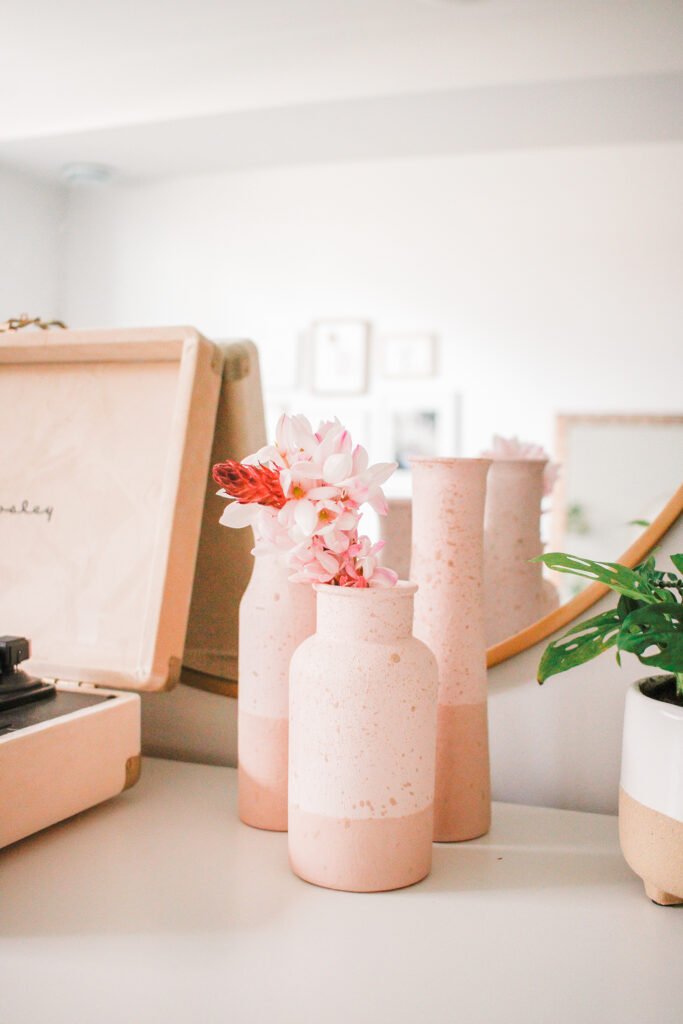
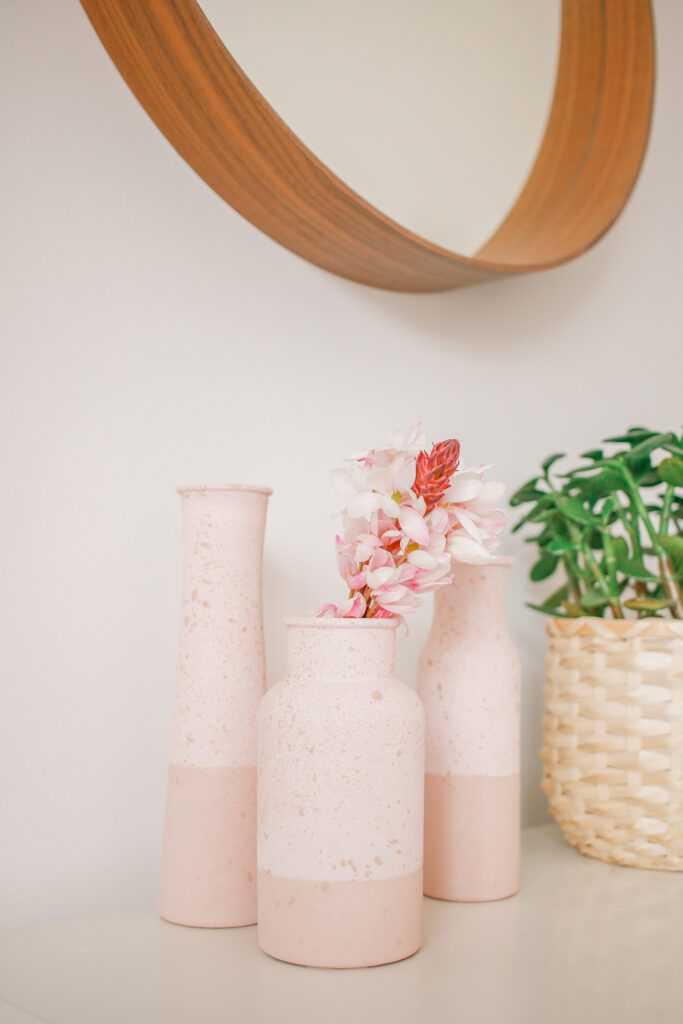
When I showed my husband this project he said that it looked store bought, so that’s a WIN in my books! Anyways, if you make your own DIY faux clay vases with baking soda, pretty please tag or DM me @mikylacreates on Instagram so that I can see! And check out ALLLL of Aleene’s Amazing Products – It’s seriously the only glues I use – they just work the BEST!! Thanks for hanging out – see you next week!
This post “DIY Faux Clay Vases with Baking Soda” was created in partnership with Aleene’s Original Glues. All content and opinions are my own! Thank you for supporting the sponsors that help keep Mikyla Creates going!!

How long does it take to dry?
Not long! Like an hour!