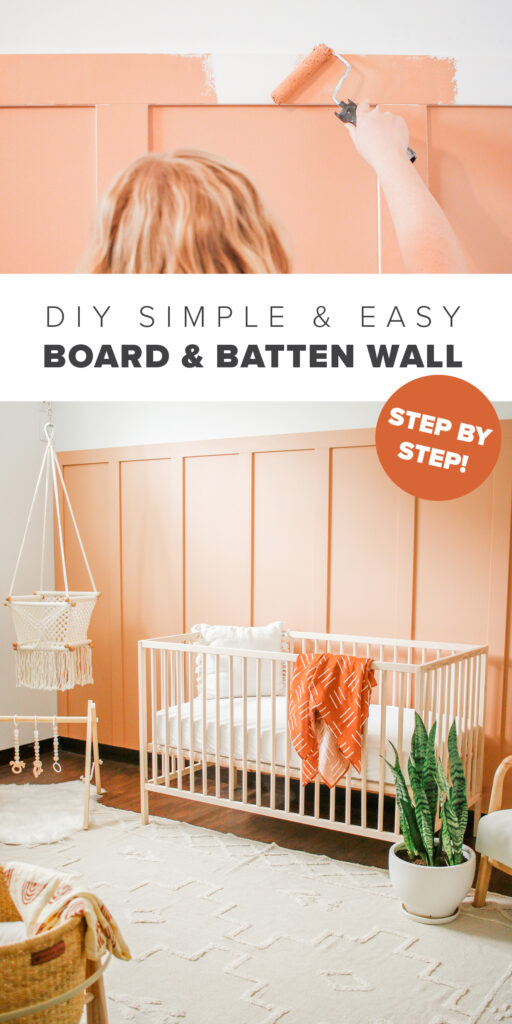
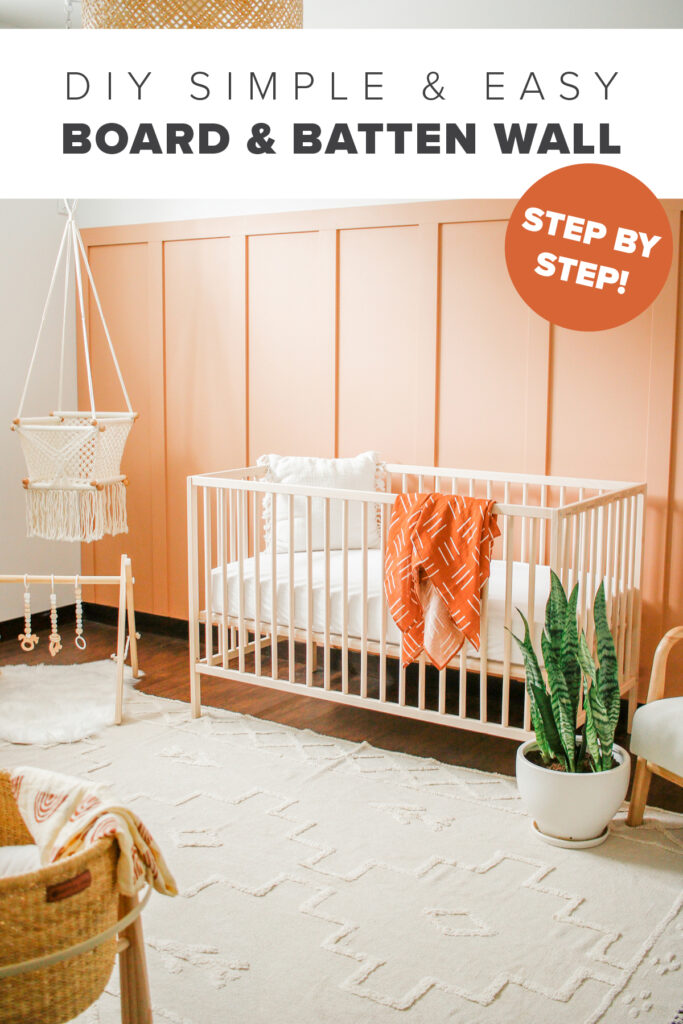
DIY Board & Batten Accent Wall
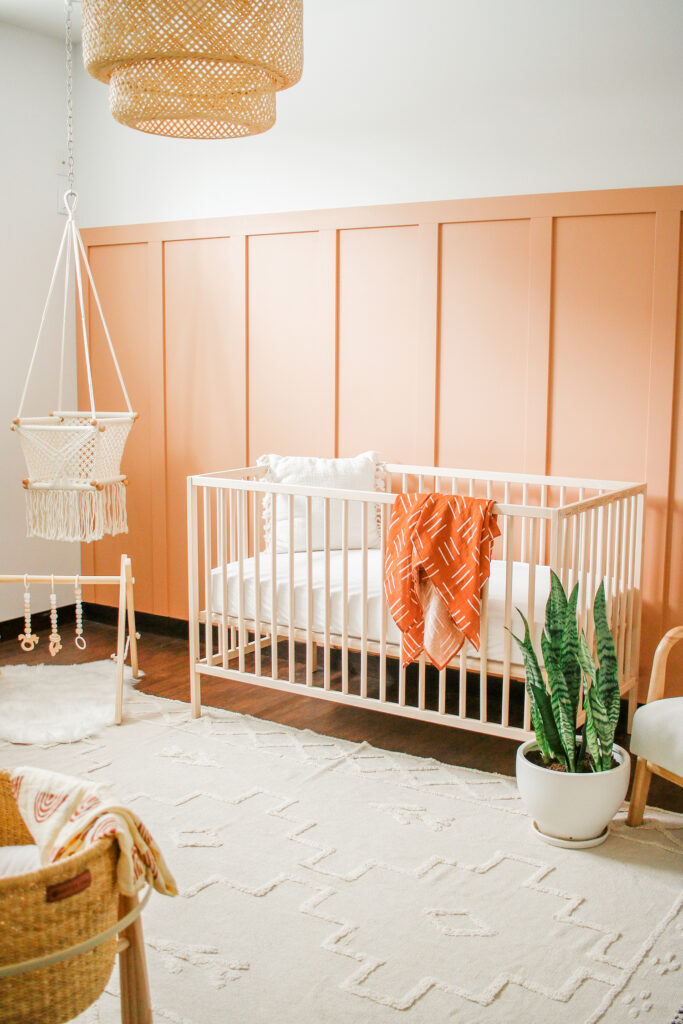
This is one of my fave DIYs we’ve done in awhile!! I can’t get over how much it changed the room and how fast and simple it was! I really think it looks so classy and high-end even though it’s totally not! My husband and me dad helped me bring it to life, and they both thought I was crazy. But, now they both love it. Brennan (my husband) said that it’s his fave part of the whole room and tells everyone about it, and how we made it, haha!
ANYWAYS, I really could go on and on about how much I love this dang wall, and I will definitely be making more board and batten walls in the future (I’m not addicted). But, we should probably just get started on how to make it!
OH! First make sure to check out the entire nursery in this room tour post, if you’re nosey like me and want to see the whole thing 🙂
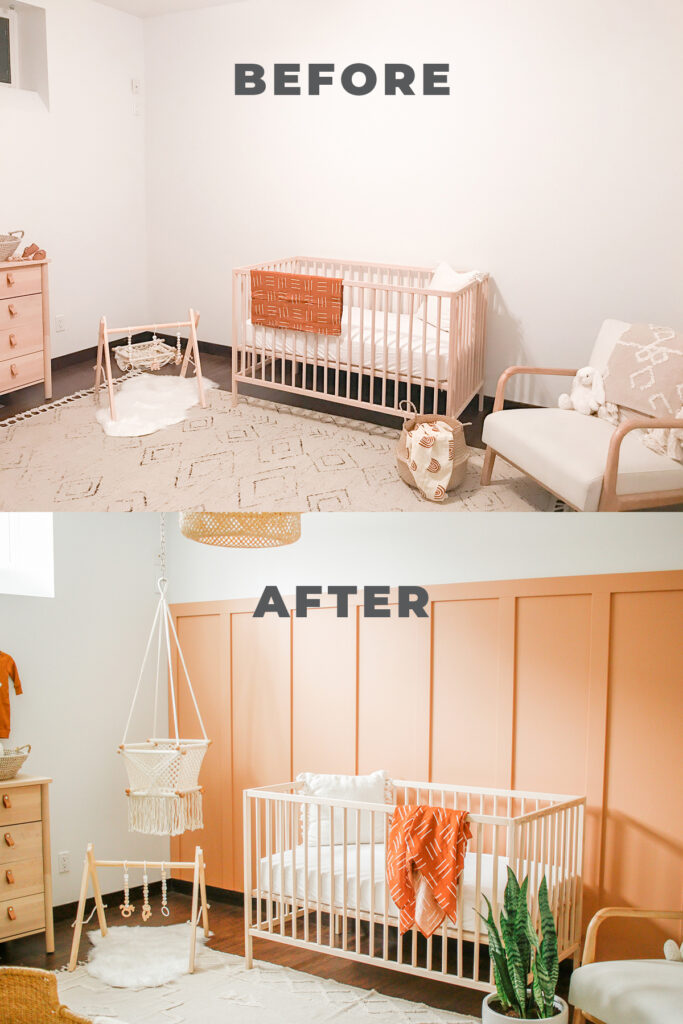
Before & After:
ALSO! Check out this before and after so that you can really see what an insane difference the board and batten wall makes!
Okay, now let’s get started for real this time!
SUPPLIES:
Wall Paint – We used ‘Milk and Honey’ Benjamin Moore
Paint Roller
Paintbrush
Painters Tape
MDF Baseboards (We bought ours pre-primed)
3.5″ wide, and 1/4″ thick
Ours are cut to 66 inches each
Nail Gun (Brad nailer)
Level
Tape Measure
DIRECTIONS:
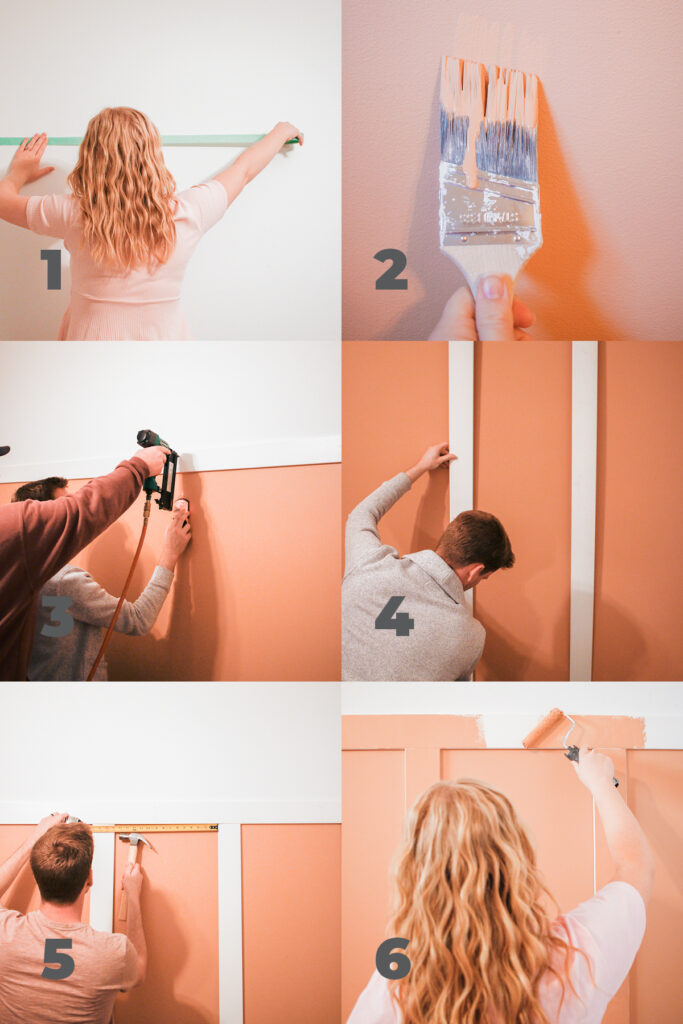
- Decide how high you want your board and batten wall to go. Our ceilings are 9ft high so we decided that the board and batten would go 6ft high. Use your tape measure and level to tape across the wall in a straight line.
- Next, paint your wall beneath the tape whatever color you’d like your board and batten to be. We used ‘Milk and Honey’ by Benjamin Moore
- Start by nailing your top horizontal board onto the wall using a level the entire time and your nail gun. Make sure your board is covering your painted line. We cut our board to the length of the wall.
- Cut your vertical boards to the length that you need. We cut our vertical boards to 66 inches each. Once you figure out how tall they need to be based on the height of your wall, it’s time to figure out the spacing. You take the length of the wall, and subtract the width of each board multiplied by the number of boards you are using (3.5″x10″ in our case) and then you divide that by how many spaces you have in between each board (9 in our case). Ours came out to 18″ between each board. We also started by nailing the boards on either end of the wall first.
- Keep measuring and using your level as you nail on your boards.
- We added a little bit of spackle to each hole and then sanded it down. After that I just painted the boards right on the wall! Since you’ve already painted the wall behind it, you just need to paint the actual boards. To paint the top board I used a small paintbrush to paint the edge.
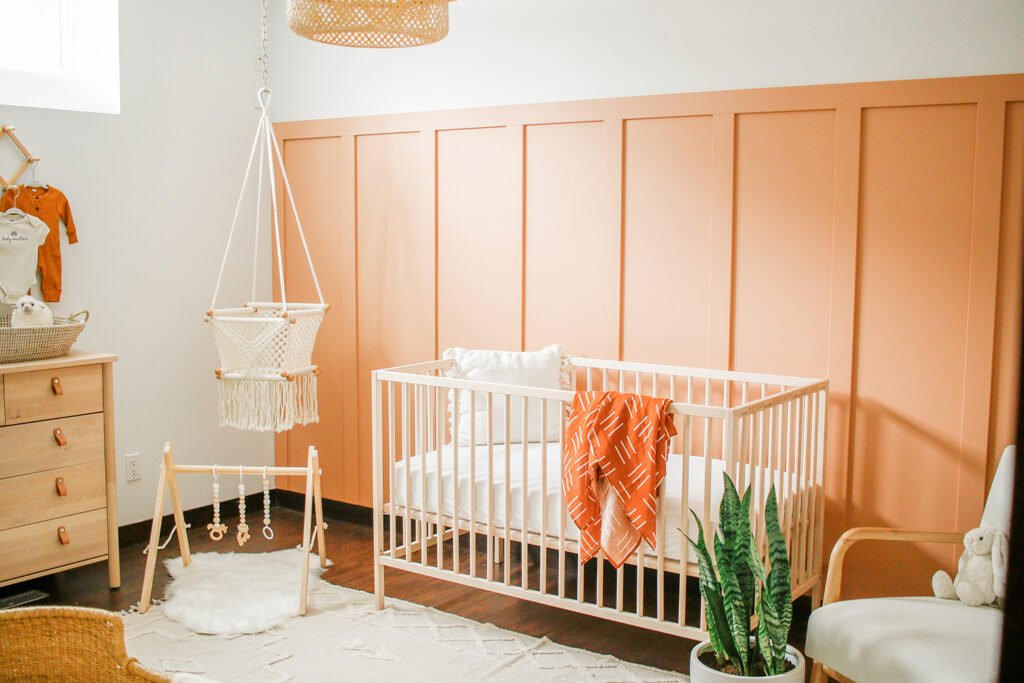
Once it’s dry – that’s it! Now for the fun part – decorating the room now that your accent wall is looking amazing!!
The worst part of this DIY Board & Batten Accent Wall is the math, but once you do that it’s pretty easy and simple if you ask me!! It makes SUCH a huge impact in a space without a ton of work!! If you make your own board and batten wall pretty please tag or DM me @mikylacreates on Instagram!
I love that you painted the wall underneath first! Great tip!
It’s a game changer!
Hi there, where did you buy your mdf from ? Thank you
Just the hardware store – Home Depot!