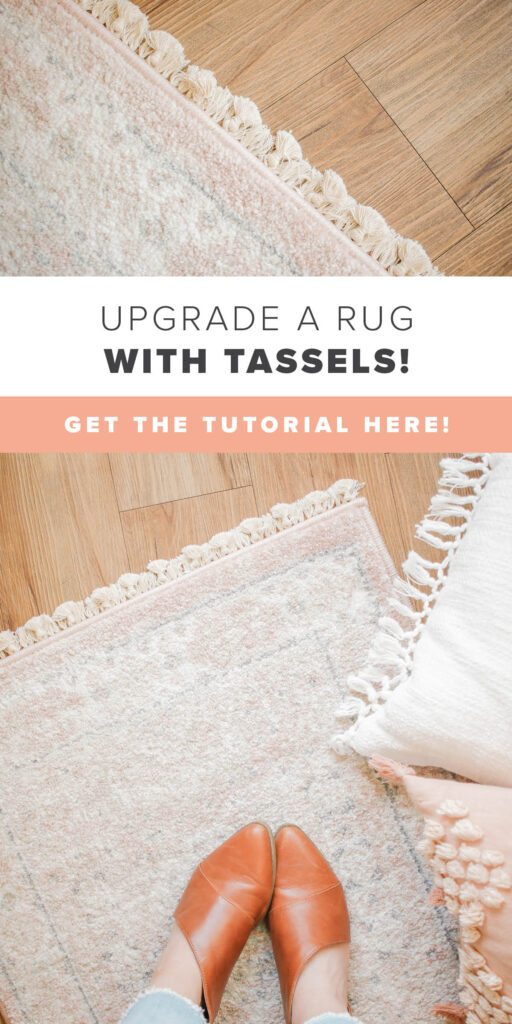
DIY Easy Tassel Rug
You may have noticed that rugs are SUPER trendy right now, but they also happen to be pretty expensive. But, good news: my DIY today totally fixes that problem! You can take an inexpensive rug and upgrade it by simply adding tassels and trim! It’s such an easy and simple home décor hack and I’m excited to teach you exactly how to do it today. Woo!
PS. Check out more of my home decor DIYs, like these: Terazzo Lamp, Beaded Plant Hanger, Circle Wall Hanging, Printable Wall Art, DIY Throw Pillows.
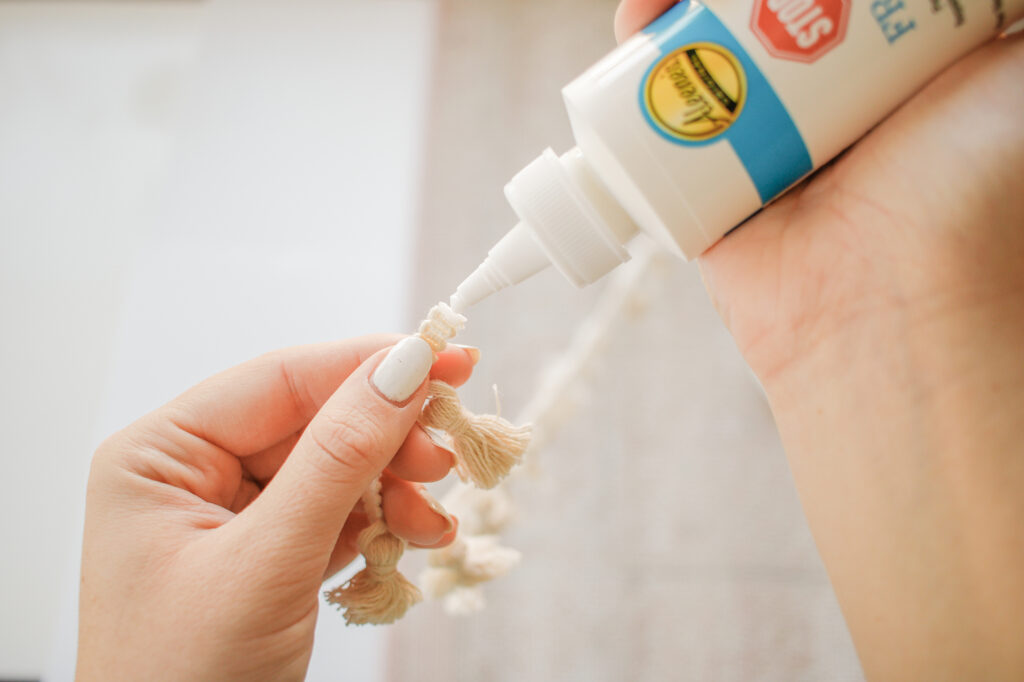
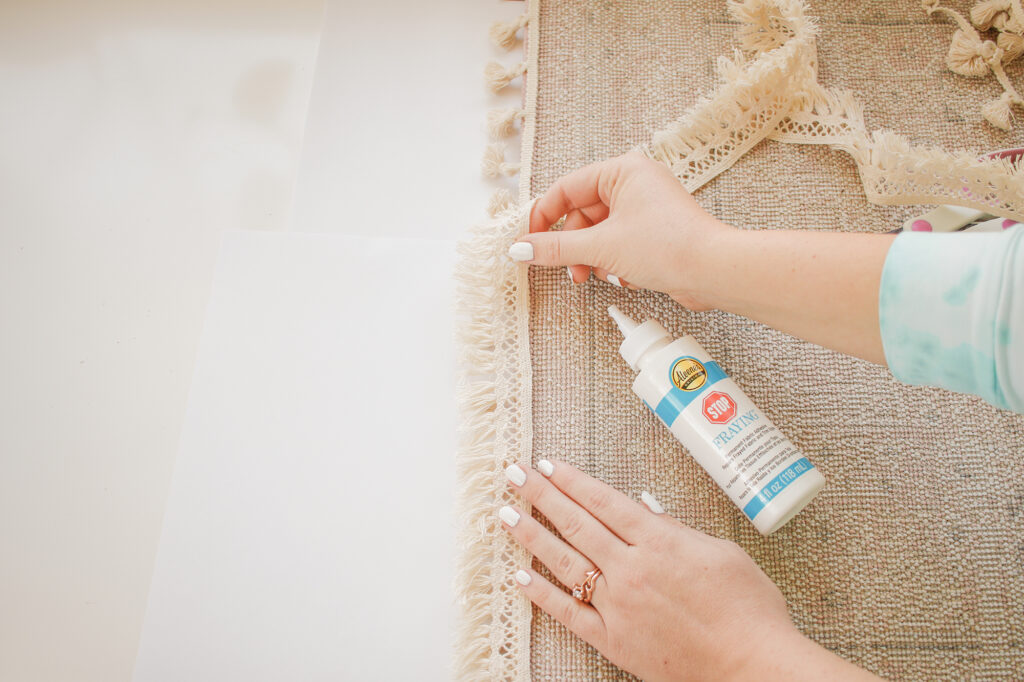
If you have ever DIYed with trim before then you know that it’s kind of a pain because the ends tend to fray a bunch – just like ribbon. It’s obviously super frustrating when the project you just made starts unravelling, but, that’s where Aleene’s comes in! They made a glue specifically made to stop fraying! So, no need to worry about your fringe fraying on the cute rug you just updated! Oh! Did I mention that you can also wash it and it won’t fray?! Crazy! I’ll get to how to apply it later in the post, so stay tuned 😉
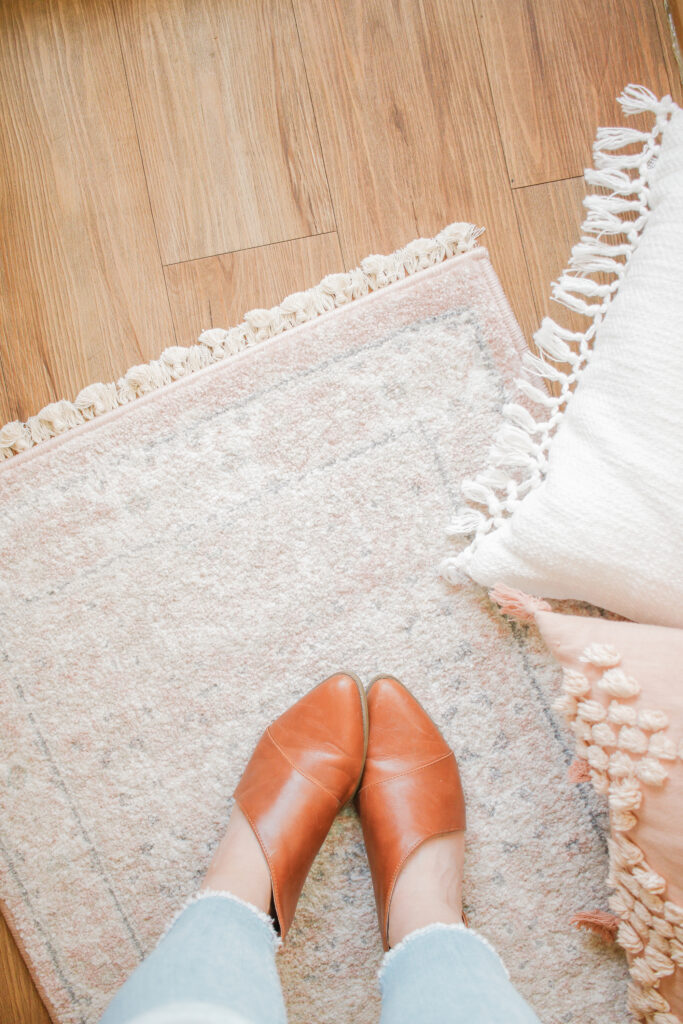
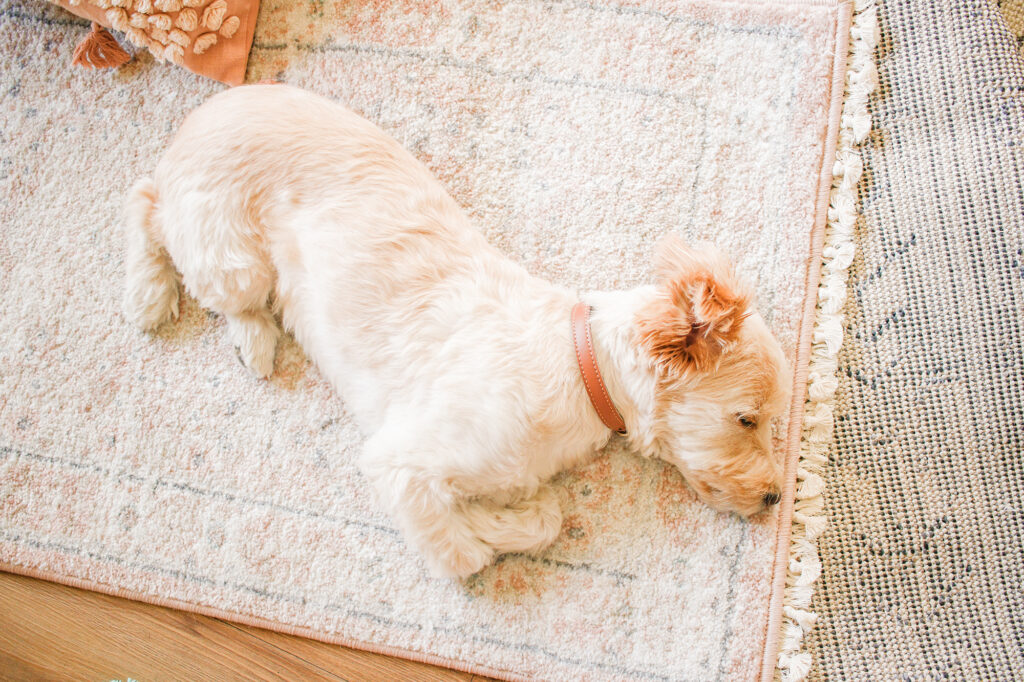
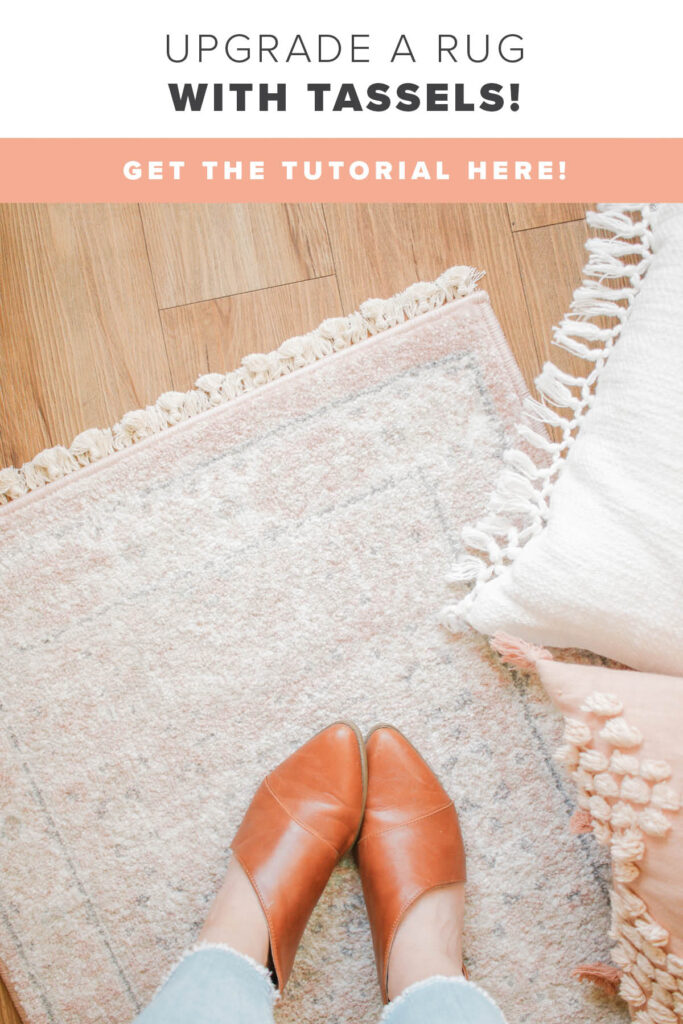
The rug I used for this DIY is a 2’ by 4’ rug, I put it in my kitchen which I’m so happy about since I could never find a cute rug to go in there that didn’t cost an arm and a leg! Now I have a super cute one, which makes our kitchen look cuter, is comfy to stand on while I wash dishes, but is mainly used as a spot for my dog to sleep while I cook – haha! Anyways, we should get started!!
SUPPLIES

A Tassel Trim
A Fringe Trim
^ I got both from Hobby Lobby
DIRECTIONS
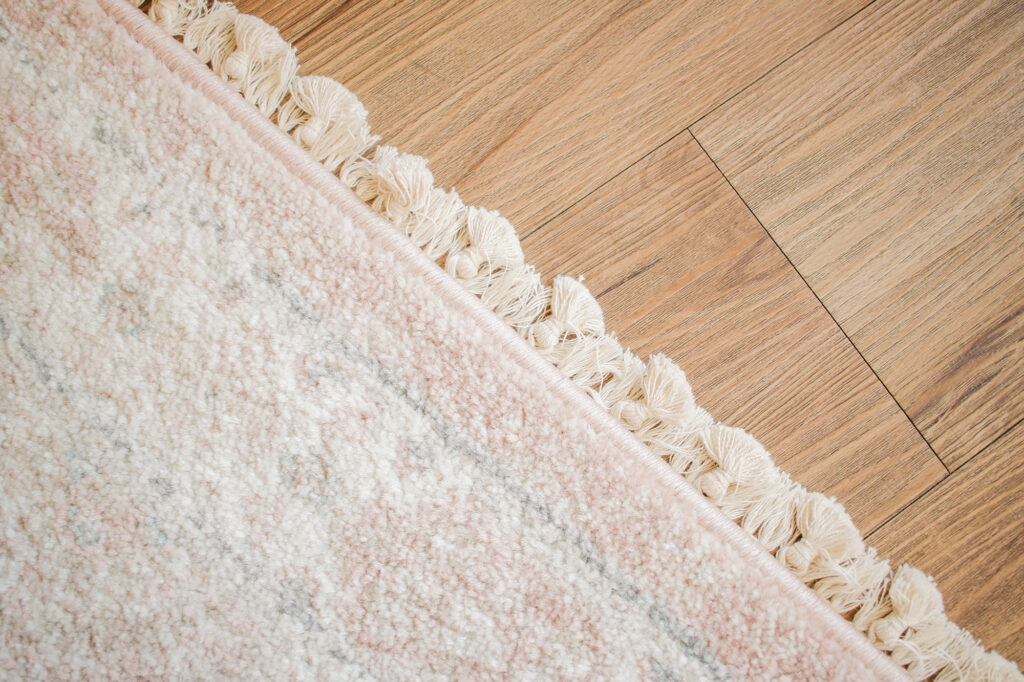
- I chose to layer two different trims on my rug, I think it adds interest and texture this way, but also just looks more filled out. You of course don’t have to use two trims, but in case you want your rug to look exactly like mine, I used a cream tassel trim, and a cream fringe trim that I bought from the craft store.
- Once you’ve picked out your trim, cut it to size. And then add a little bit of Aleene’s stop fraying glue to each end and let it dry. This will help your trim last, and also allow you to wash your rug without the trim unravelling, which for me in necessary since it’s in my kitchen!
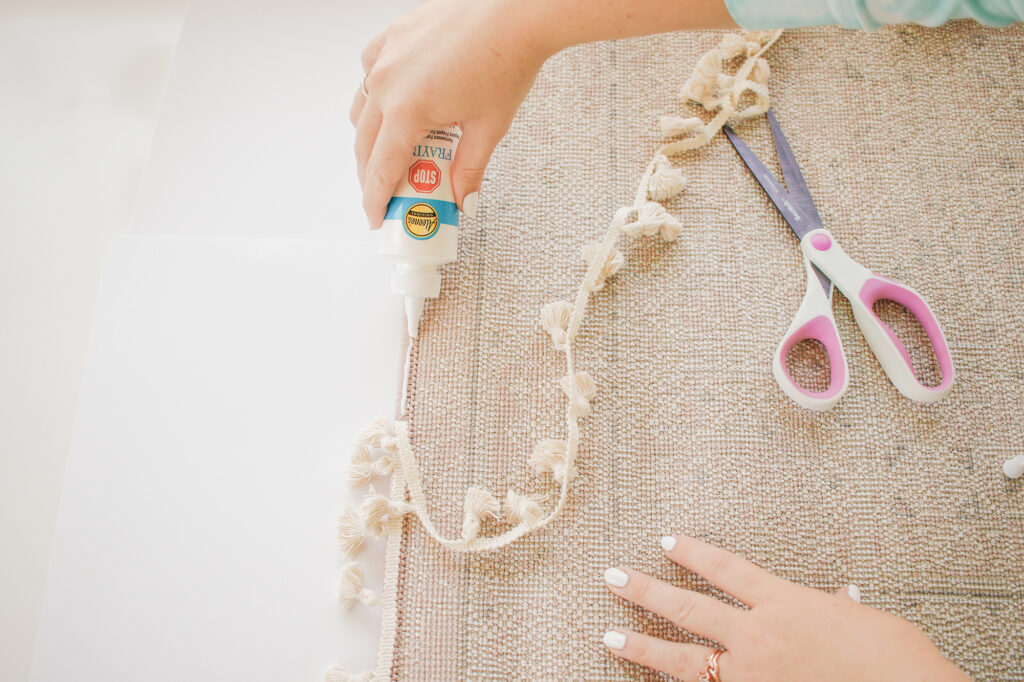
- Next, flip your rug over, so that the backside is facing up, and add glue to the edge of the rug.
- Stick your trim onto the glue. Glue your tassel trim down first, so that it is on top.
- Add glue on top of your first trim, or just behind it on the rug. Then, glue down your second trim, I glued my fringe trim down next.
- Repeat these steps on the other end of your rug, let it dry, and then you’re done!
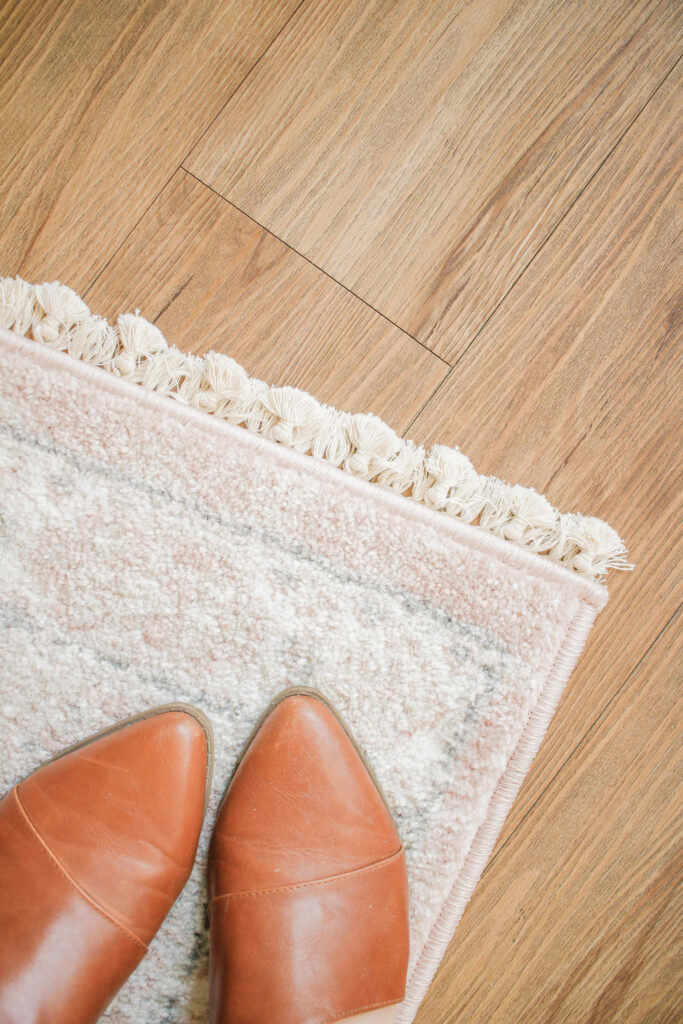
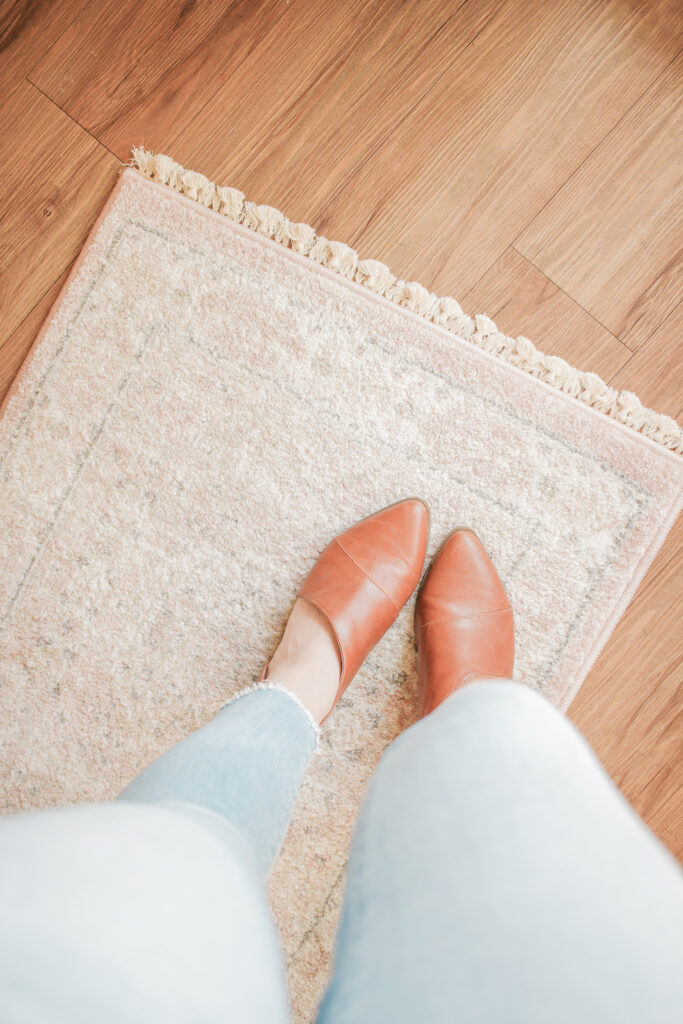
Now it’s time to cozy up your space with your new updated rug! Yay! I tend to always be drawn to rugs with tassels, and tend to shop specifically for rugs with tassels, but now I don’t have to cause I can just add my own. This is one of the quickest and easiest DIYs, and I think I’ll be using it a few more times because… you know… can’t have too many rugs!!
This DIY Easy Tassel Rug post was created in partnership with Aleene’s Original Glues. All content and opinions are my own! Thank you for supporting the sponsors that help keep Mikyla Creates going!!
This is an absolutely stunning rug-makeover! I too am drawn to tassels because they seem to amplify a space. I just had my hardwood floors resurfaced and my kitchen rug seems a little less-appealing compared to my shiny floors… I think after a good wash and a tassel facelift it will be good as new — thanks for the idea!