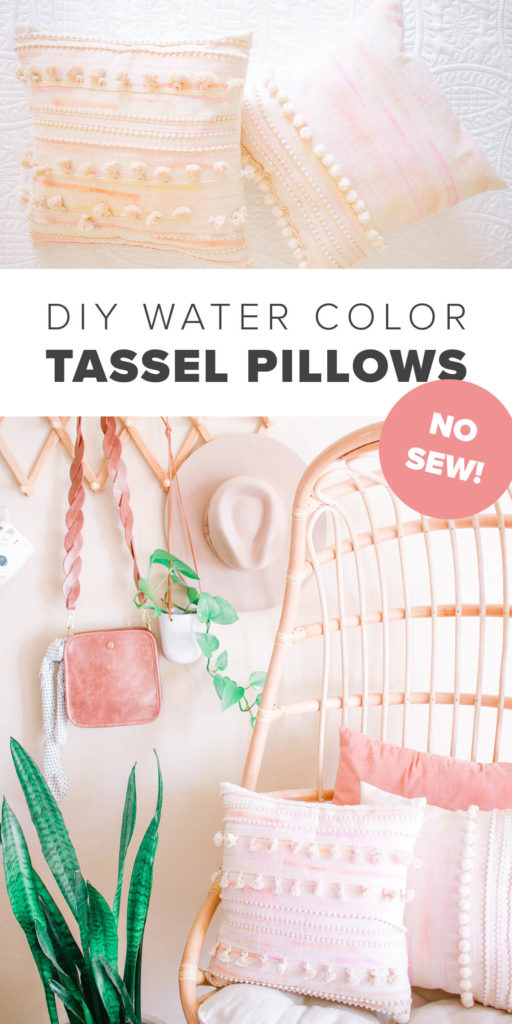
DIY Watercolor Tassel Pillows
I’ll admit that when I came up with the idea for these DIY watercolor tassel pillows, I was veryyy nervous about whether or not they’d turn out. I thought they might look cheap, BUT they look store bought (if I do say so myself). They are so, so easy (no sewing required), plus they are cheap to make! If you’re like me and addicted to throw pillows (I’m not even joking), you know that tassel pillows like these are expensive! So this DIY is a win is so many ways!
Watch The Video Tutorial Here:
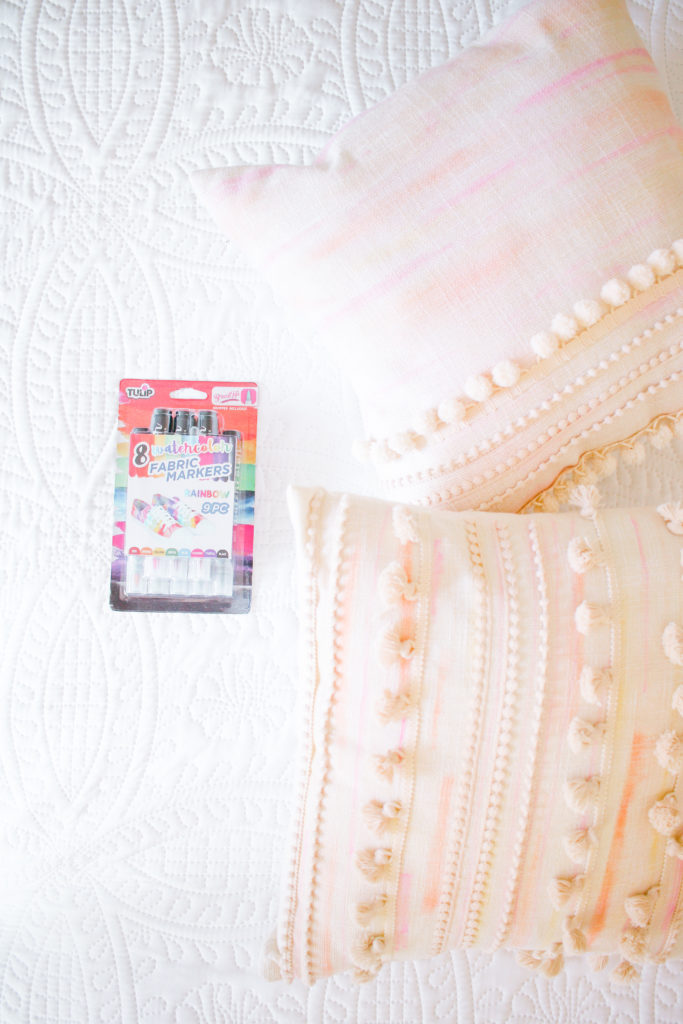
Tulip Color asked me to create something with their Watercolor Fabric Markers and I was STOKED because how cool are they?! I’ve always been obsessed with watercolor patterns, so these markers open up a WORLD of possibilities – you could create so many fun things with them! I was itching to create a DIY pillow since I never have (how is that possible!?) and these were PERFECT! I love how they add a pop of color to the pillows, and how pretty and watercolor-y they look!
PS. This DIY Wall Hanging looks super cute paired with these pillows!
Everyone I’ve showed these pillows have tried to convince me to sell them, and considering how ridiculously easy they are to make, that tells me that this DIY is a winner! So, without further ado – let’s get started!
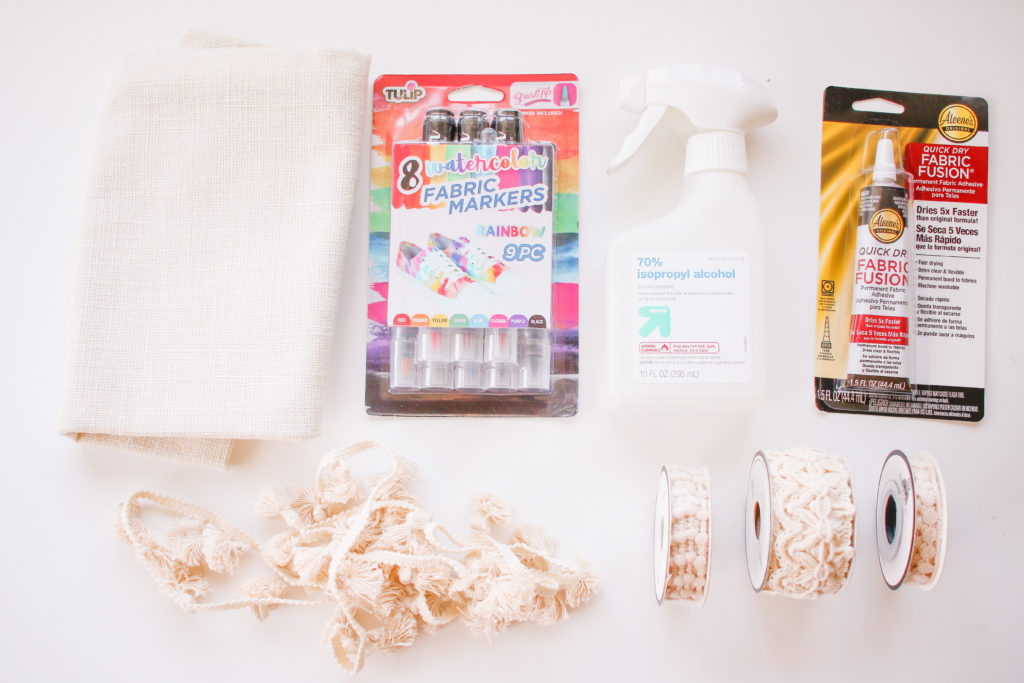
SUPPLIES:
Tulip’s Watercolor Fabric Markers in Rainbow
Aleene’s Quick Dry Fabric Fusion Glue
70% Rubbing Alcohol
Various Trims (I got all of mine from the fabric section at Hobby Lobby).

DIRECTIONS:
- Line the inside of your pillow cover with wax paper so that the color doesn’t leak through. Choose your color scheme, then use those colors to draw lines across your pillow cover.
- Spray with rubbing alcohol. Let dry.
- Add more color – this time making much thicker lines randomly on your pillow cover, spray (lightly) immediately after your draw the line, while the ink is still wet. The rubbing alcohol is what makes the color spread, so the more you spray, the more it’ll spread. It will also spread more if the ink is still wet. Keep adding color until you’re happy with it! Let dry, then wash.
- Lay your trim out on your pillow.
- Using Aleene’s Fabric Fusion, glue down each piece of trim to your pillow. Let dry.
- Stuff your pillow, either with an existing pillow, or with fluff. Throw it on your couch and enjoy the beauty! Done!
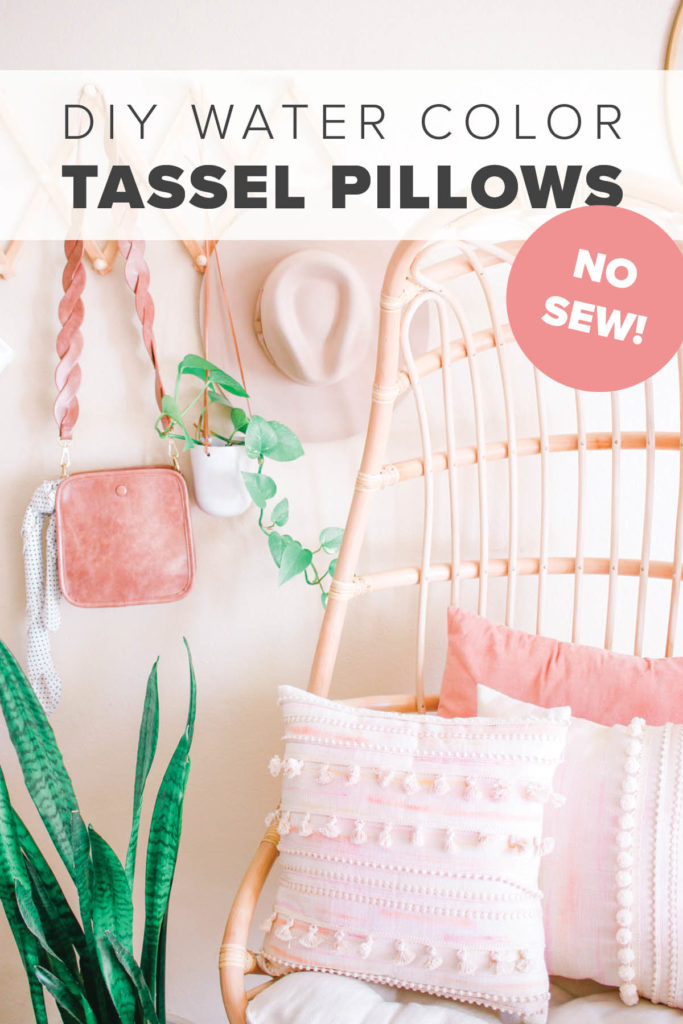
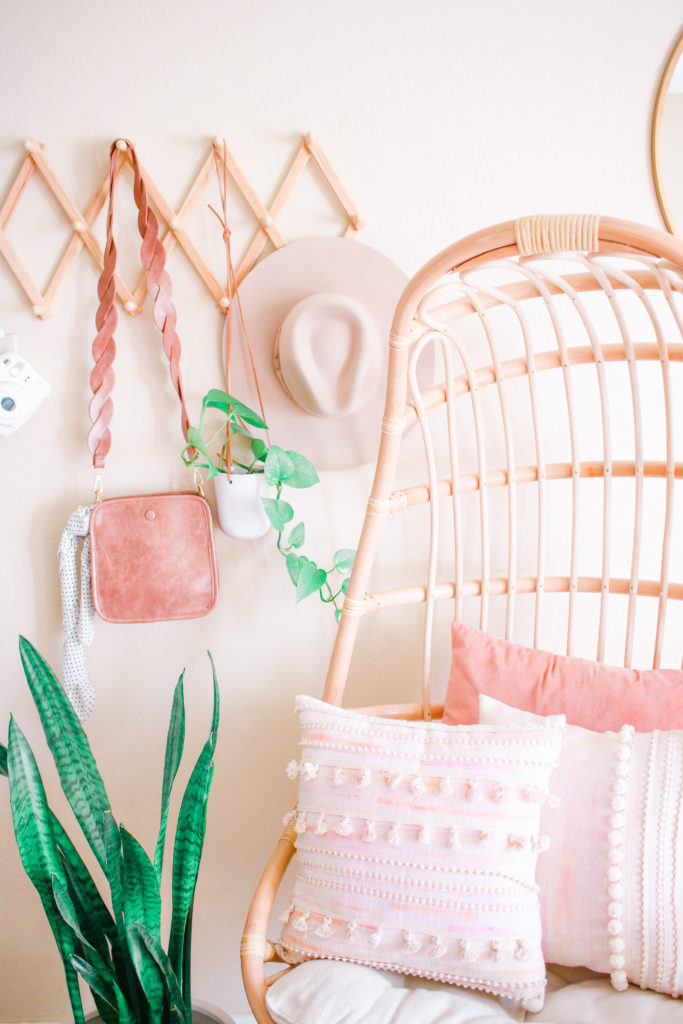
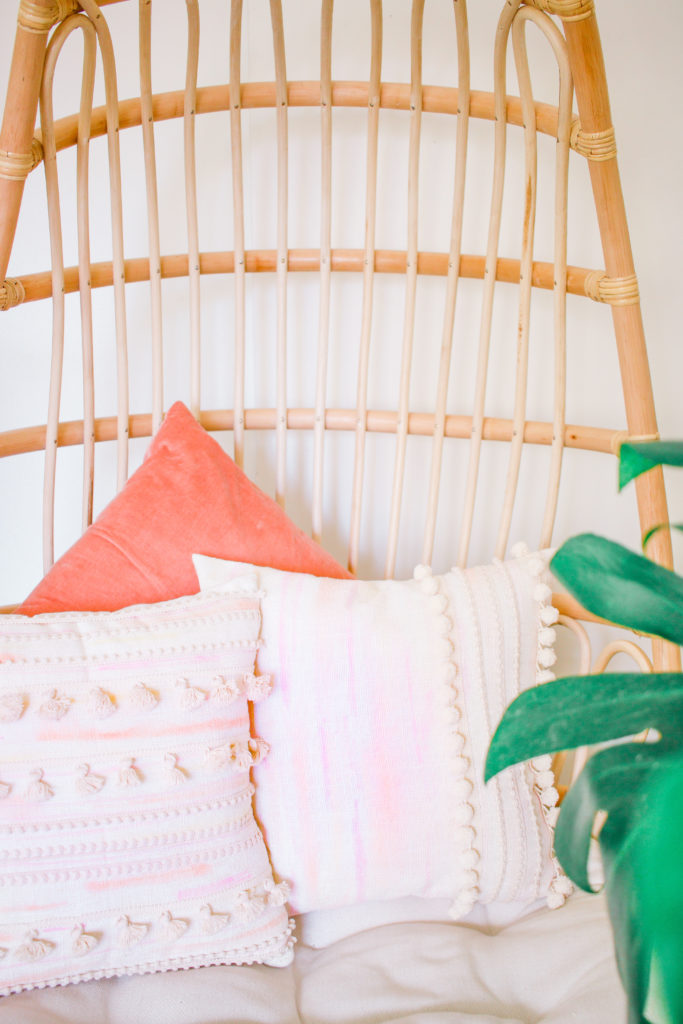
The Finished DIY Watercolor Tassel Pillows:
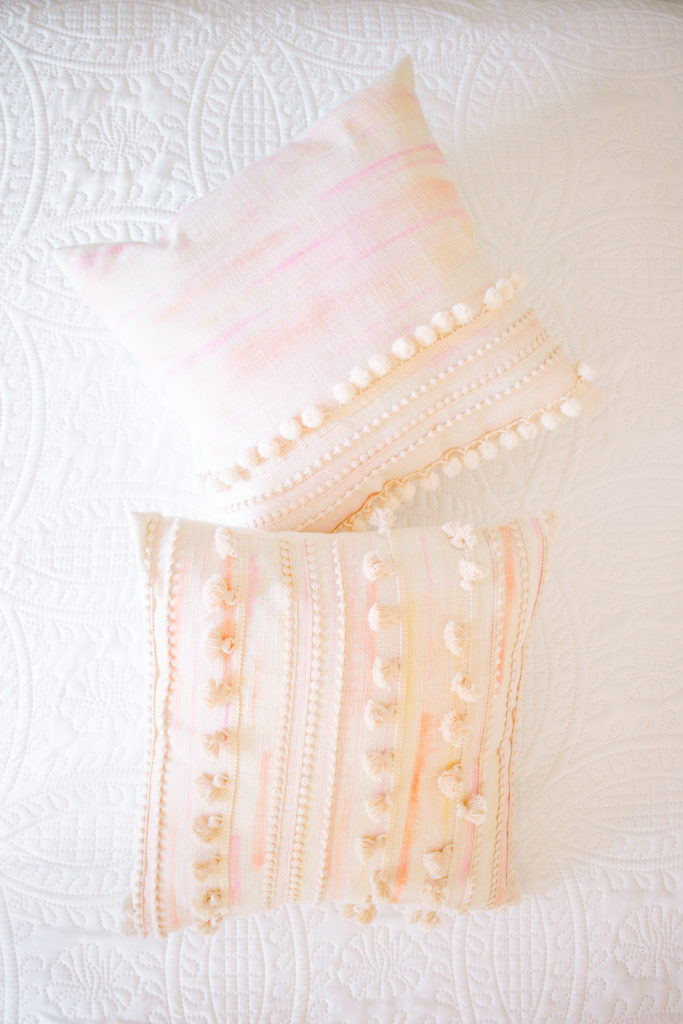
Guyssss am I the only one stoked about this, or it just because I love pretty throw pillows and saving money?! Haha, for real though, I hope you guys love this easy DIY, please tag or DM me @mikylacreates if you make them! Also, make sure to try Tulip’s Watercolor Fabric Markers, because they really are so fun to use & the possibilities are endless!!
This post was created in partnership with Tulip Color. All content and opinions are my own! Thank you for supporting the sponsors that help keep Mikyla Creates going!!