Okay, let me start by saying that I’ve never made a wall hanging before this one, I don’t know how to do macramé, and I don’t even know how to French braid my hair. All that to say, this DIY dyed wall hanging is so simple to make!
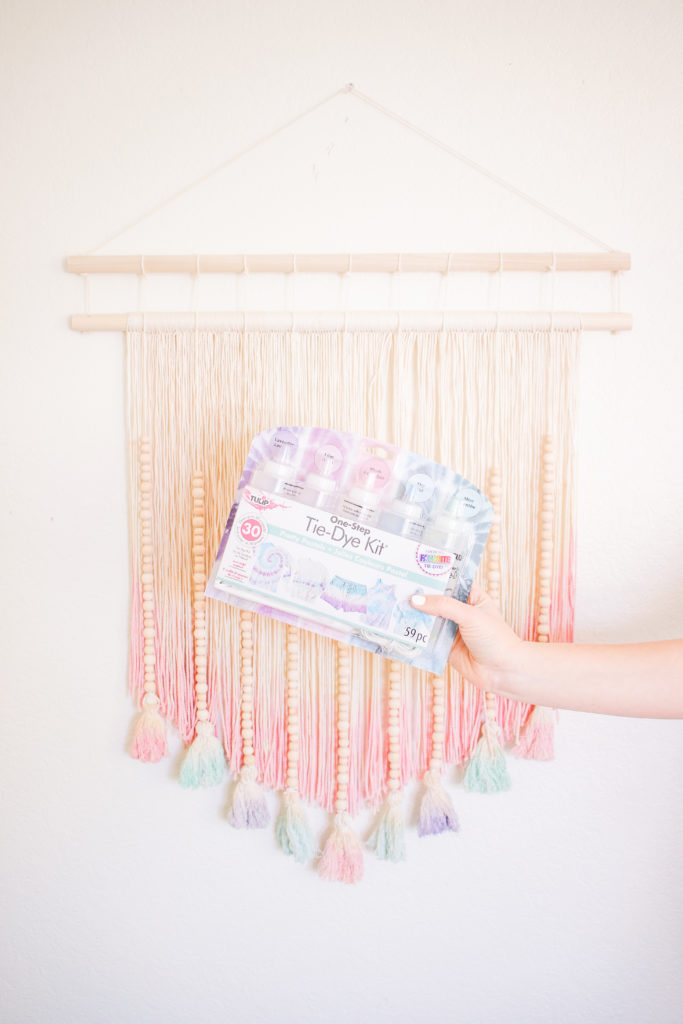
Tulip Color asked me to create something with their Pretty Pastels Tie-Dye Kit, and I was STOKED because I LOVE the colors in this pack. They’re literally perfect *insert heart eyes here*. I’ve wanted to make a wall hanging for a while now, but I wanted it to be unique and not just like every other one you see. This Tie-dye pack was exactly what I needed!
DIY Wall Hanging Video Tutorial:
PS. Check out their post on this wall hanging here!
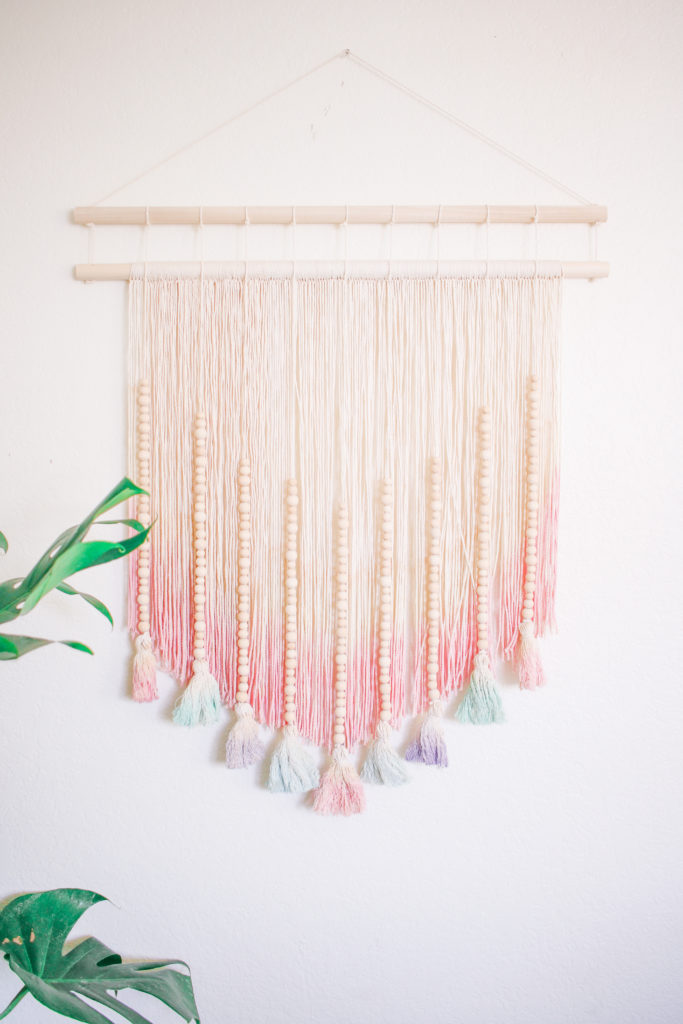
I LOVE that you could customize this wall hanging to match your style, with whatever colors you’d like! I also think it’d be fun to paint the wooden beads, which could look really pretty too. You could also make your wall hanging a lot smaller than mine. I’m tempted to make a mini one.
This DIY is definitely super easy, but it also time consuming, as there are a lot of repetitive steps. Which makes it the perfect TV DIY, aka the perfect thing to work on while you’re watching TV or movies in the evenings. It’s super relaxing to make, but I thought I’d give you a fair warning that it’s not super quick- though definitely a lot quicker than most DIY wall hangings, haha!
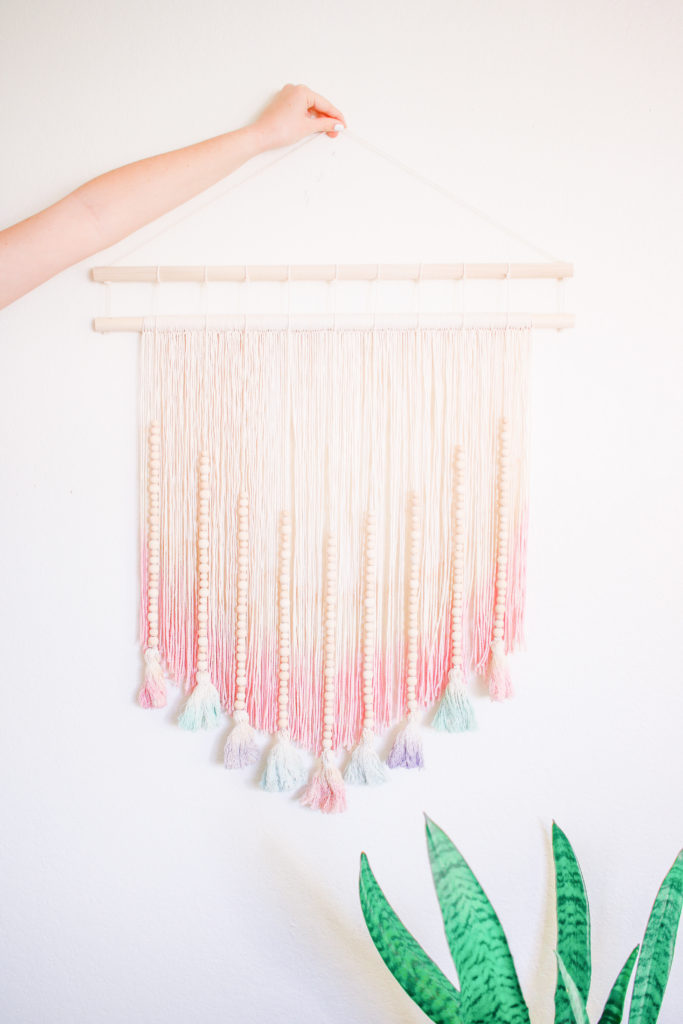
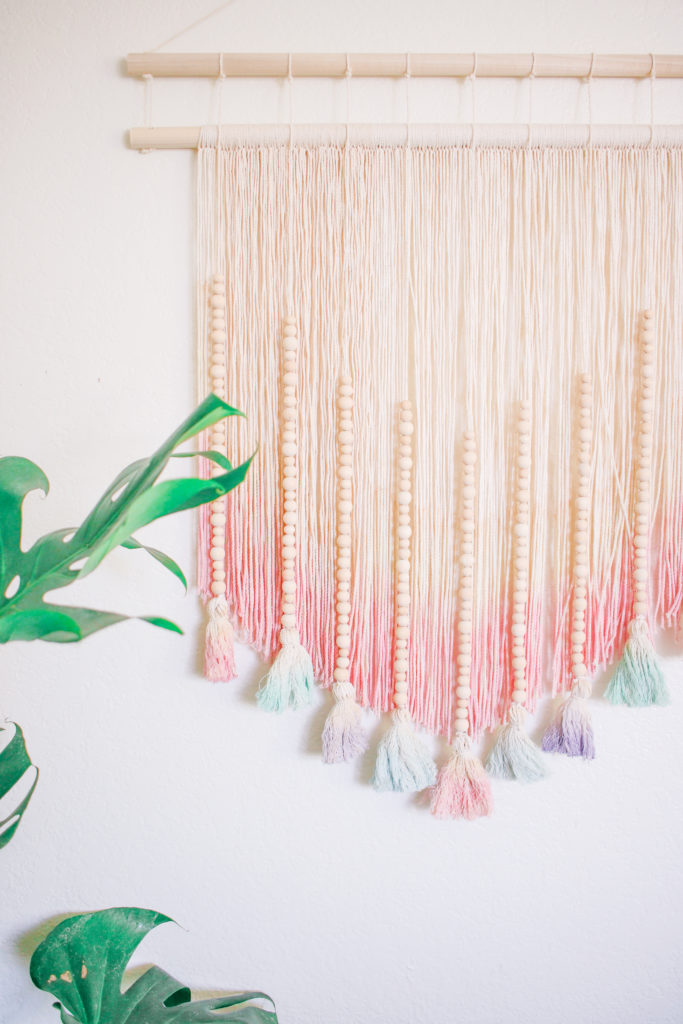
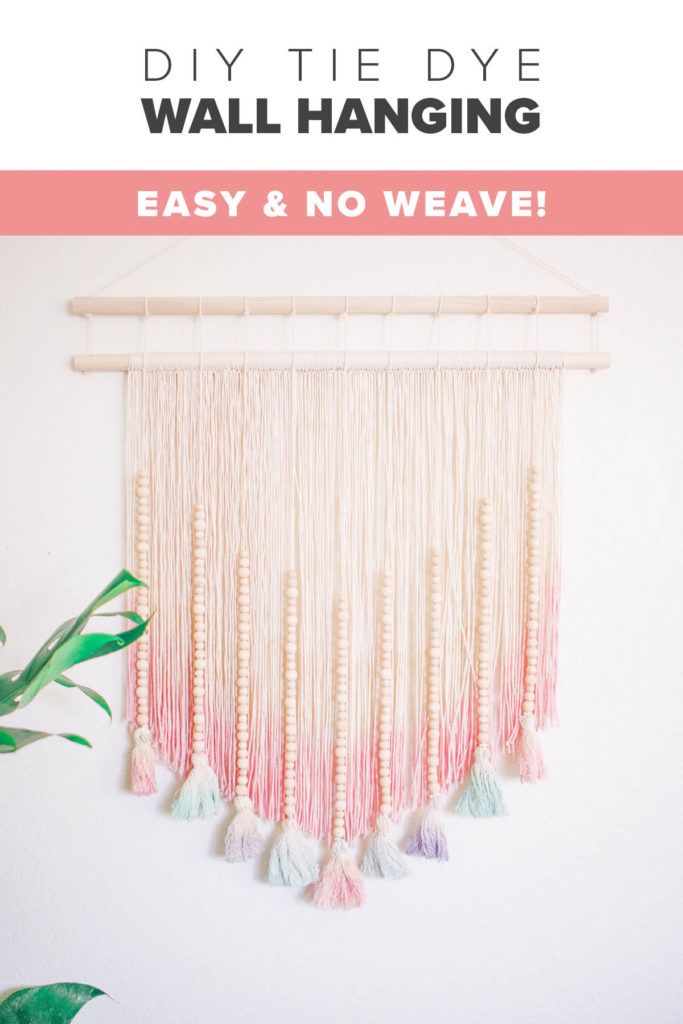
All that said, I am pretty much obsessed with how this DIY dyed wall hanging turned out.. it’s just so pretty! Anyway let’s get started!!
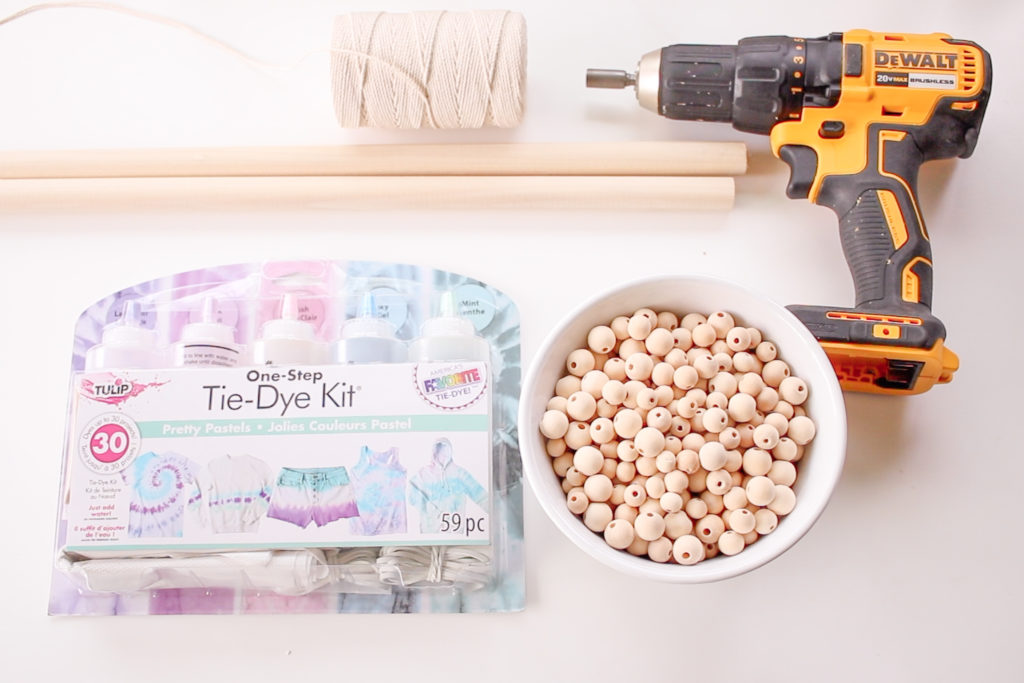
SUPPLIES:
Tulip’s Pretty Pastels Tie-Dye Kit
Two Wooden Dowels
DIRECTIONS:
For The Wall Hanging:
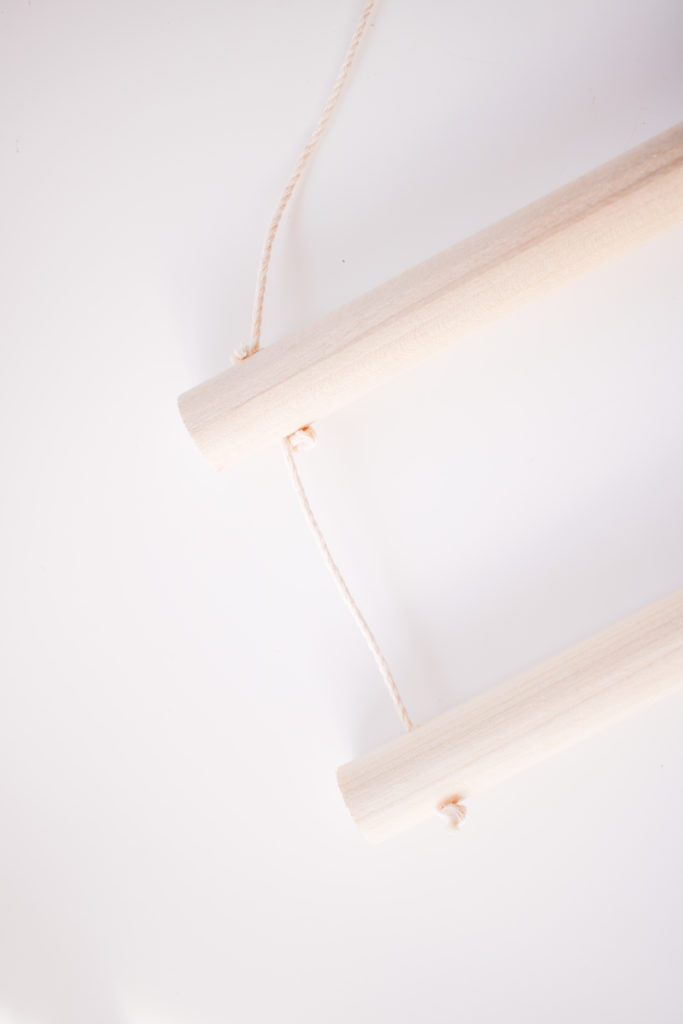
- Drill a hole through either side of both of your wooden dowels.
- Thread your string through the holes and have the two dowels hanging with one above the other, a few inches apart. Attach a string to the top that you can use to hang your wall hanging.
- Cut a bunch of long strips of string (you won’t know how many you’ll need so just cut a bunch to get started). Length of string, and number of strings will increase based on how long your dowels are.
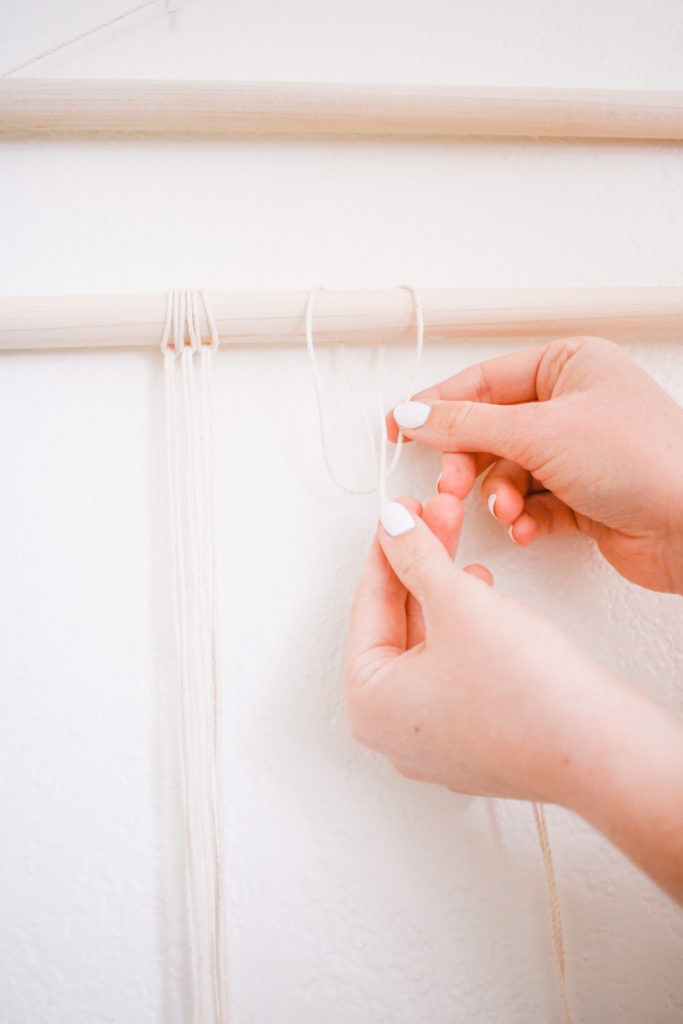
- Fold your string in half, put the folded end behind the bottom dowel, fold it over top of the dowel, bringing the bottom of the string through the loop you’ve created (see photo).
- Repeat this step all the way across your dowel (this is the time-consuming part).
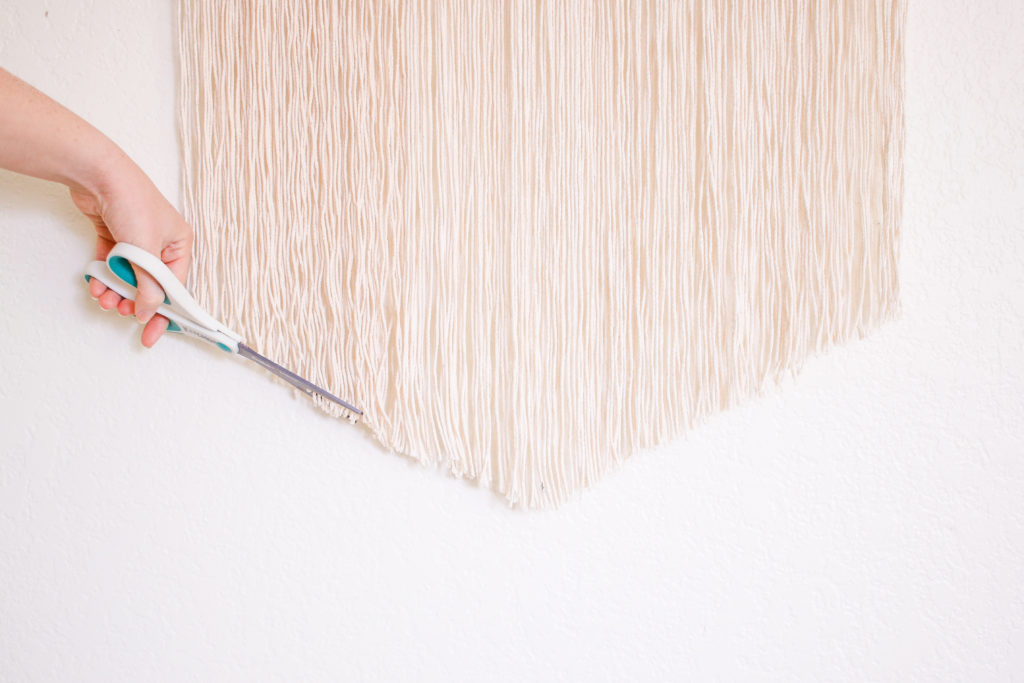
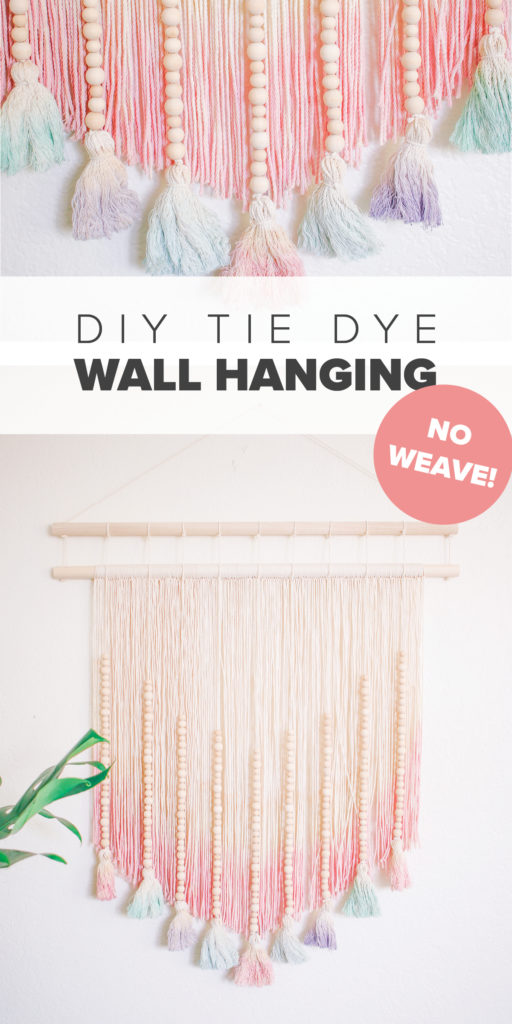
- Make a little mark on either side of your wall hanging, and at the bottom center by measuring to make sure it’s even. This will give you an idea of where to cut.
- Trim your wall hanging into a ‘V’ shape by using the markings you made. Make sure to get someone to stand back and be your eyes so that you cut it evenly!
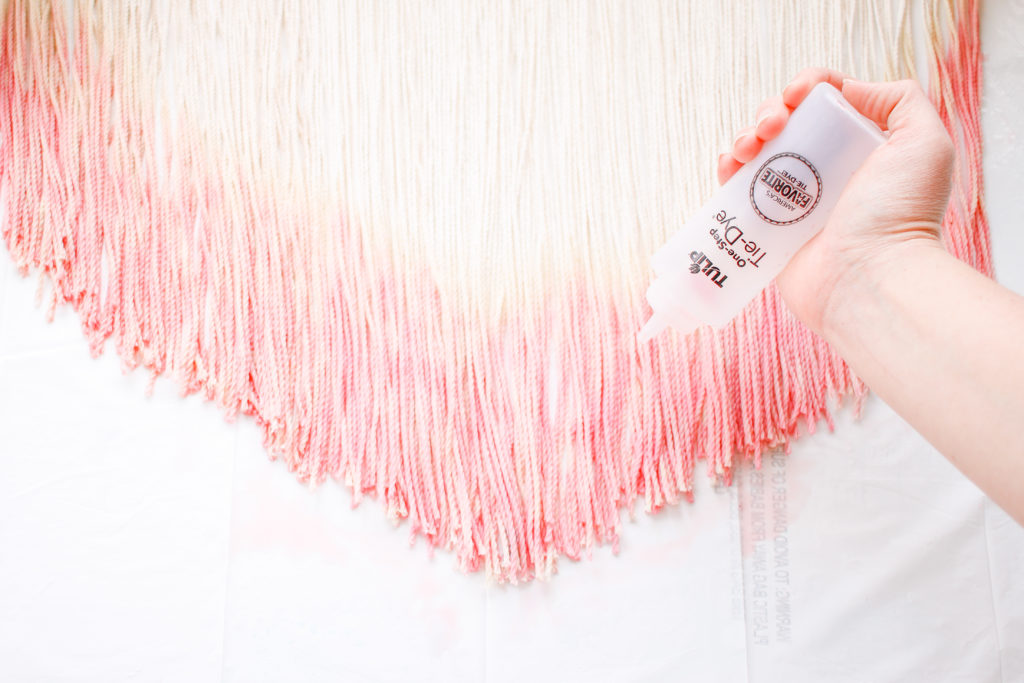
- Lay your wall hanging down onto a garbage back. Spray the area that you want to dye with water. Use the squeeze bottle from the kit and start squeezing the dye on you wall hanging. Let dry.
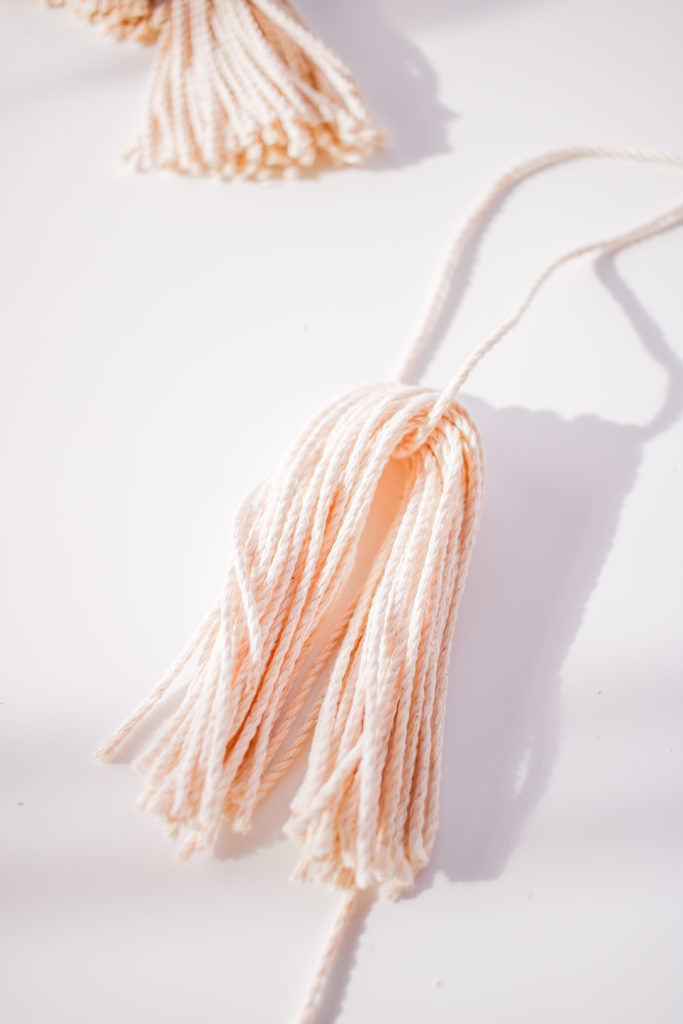

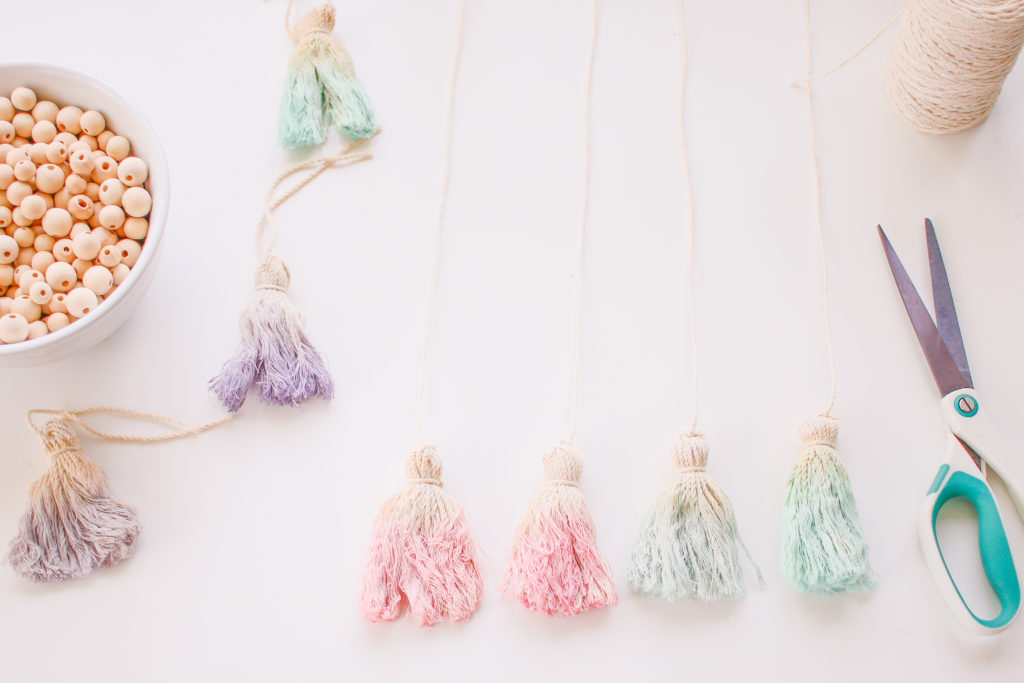

For the Tassels:
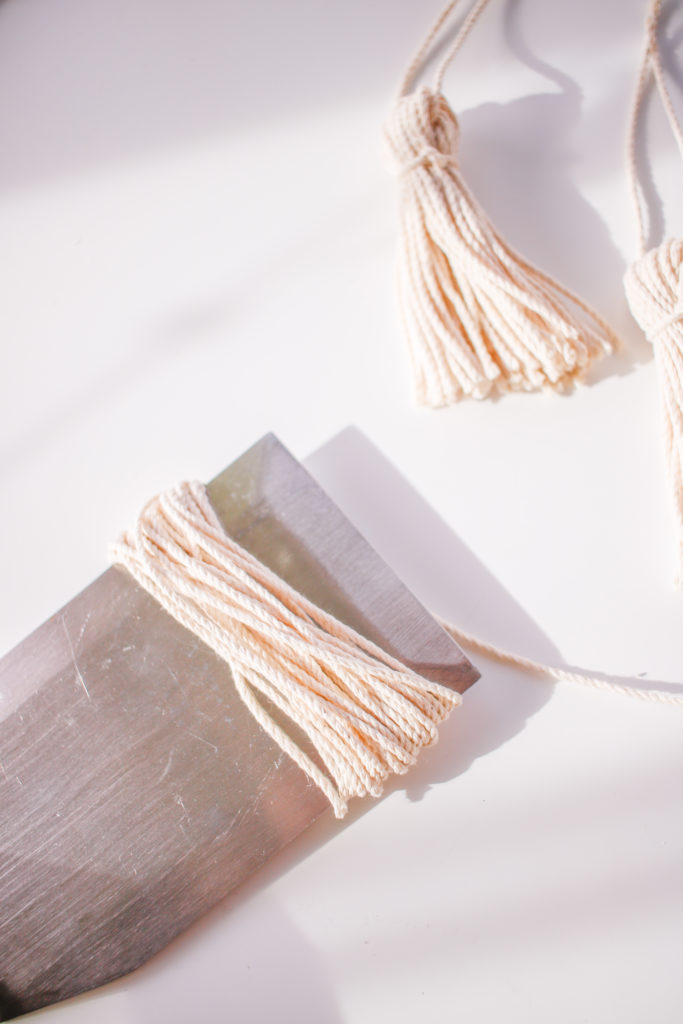
- Wrap your string around a spatula or something else that is roughly the length that you’d like your tassels to be. I wrapped my string 30 times.
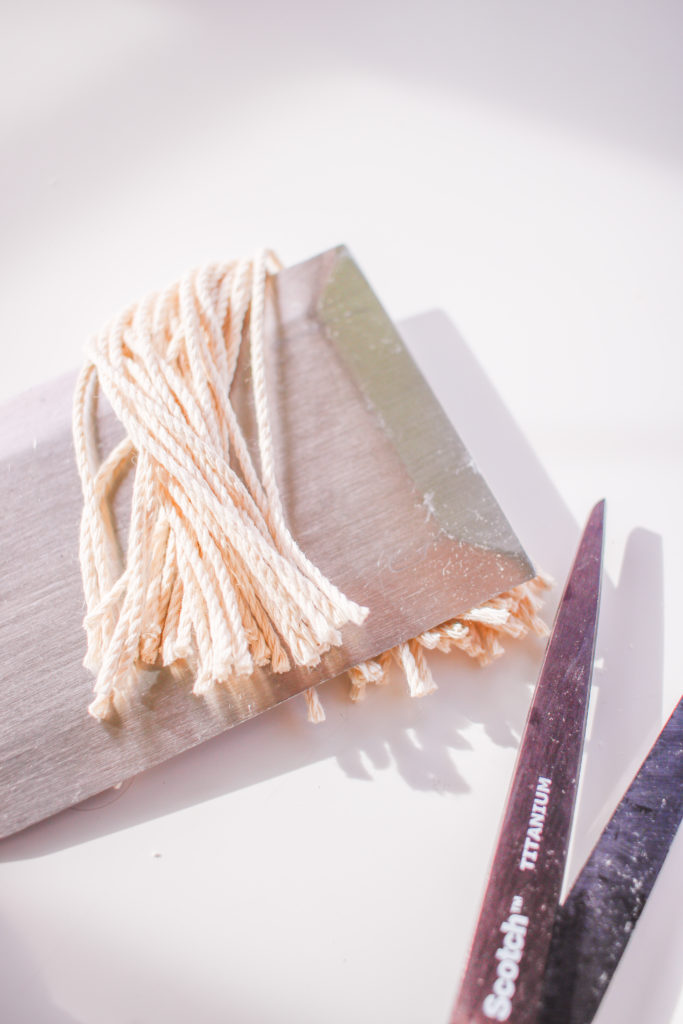
- Cut your string off of the spatula.
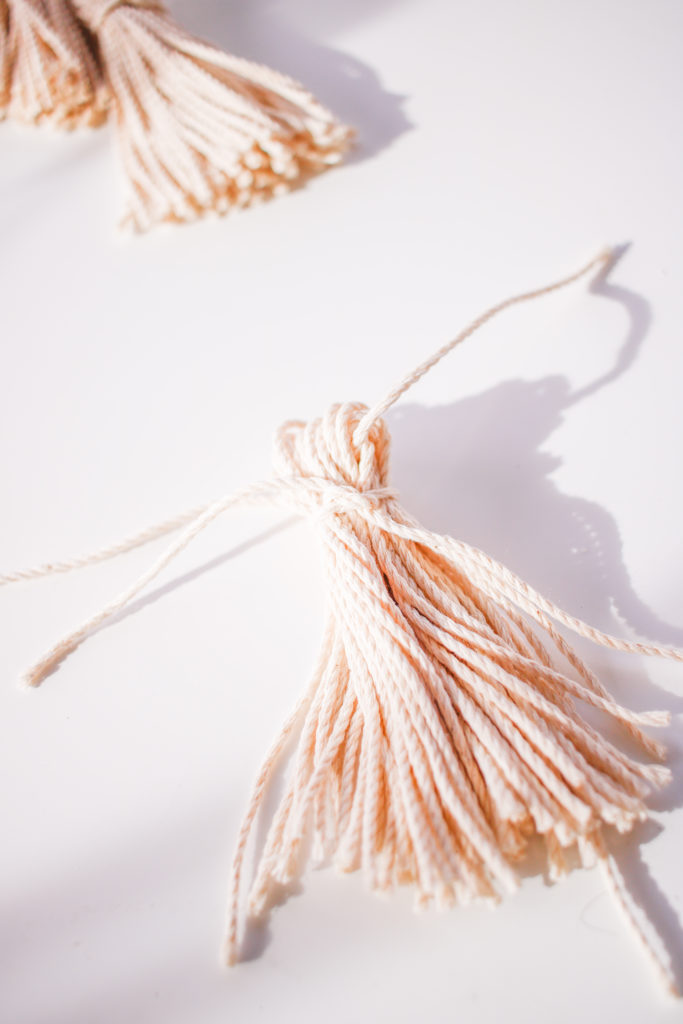
- Tie a string around the top section of your string, making a new loop at the top and put a string through the top loop.
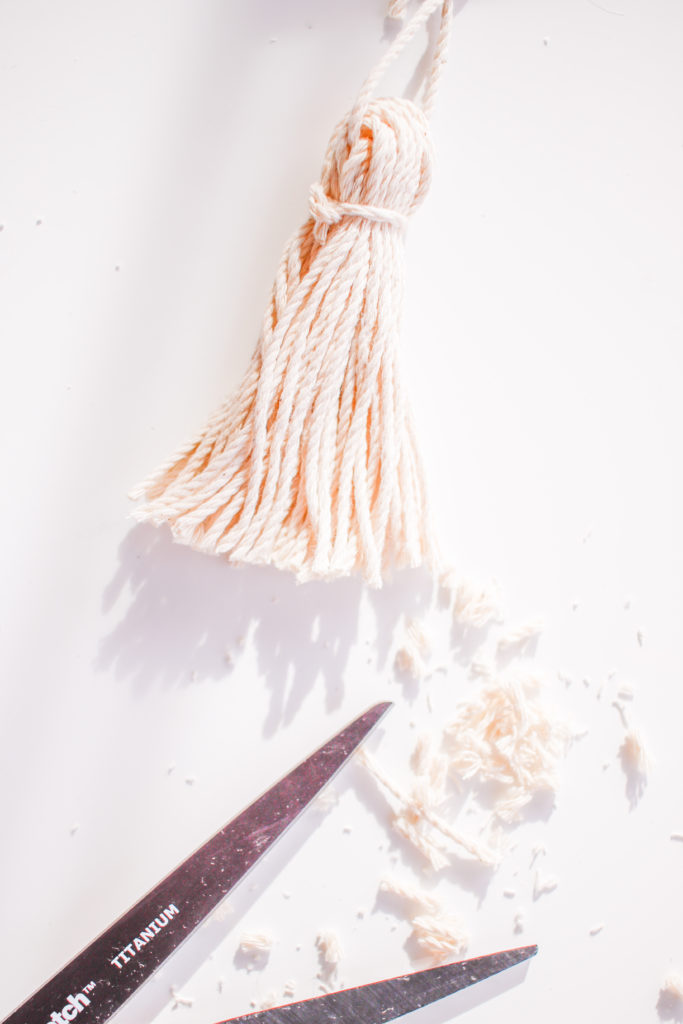
- Using a pet brush, brush out your tassels to get a fun texture (optional).
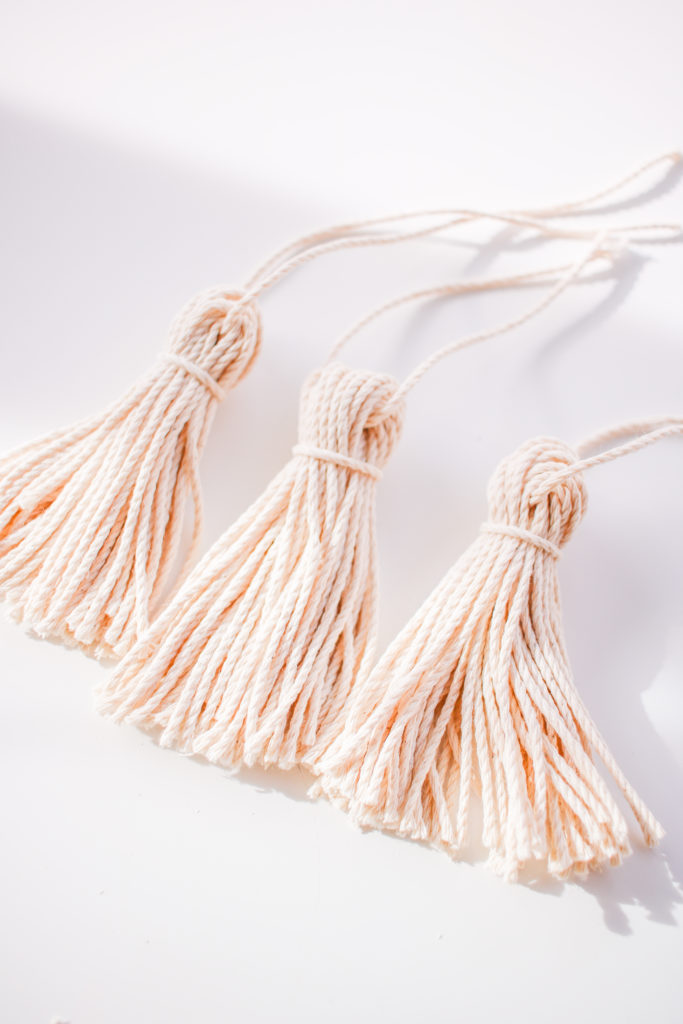
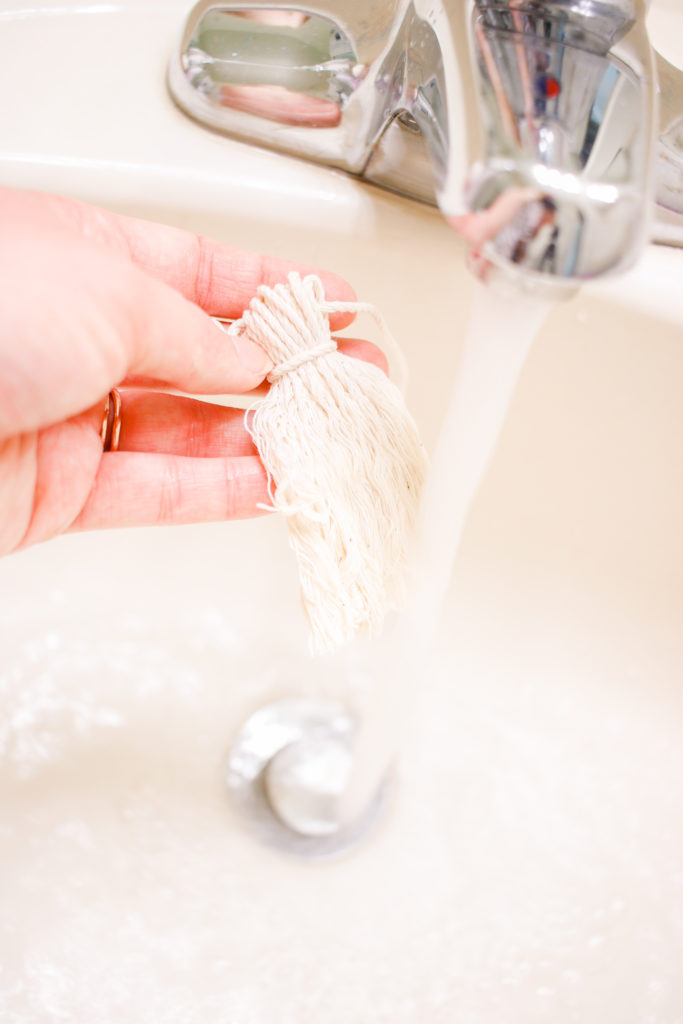
- Dampen the bottom of each of your tassels.
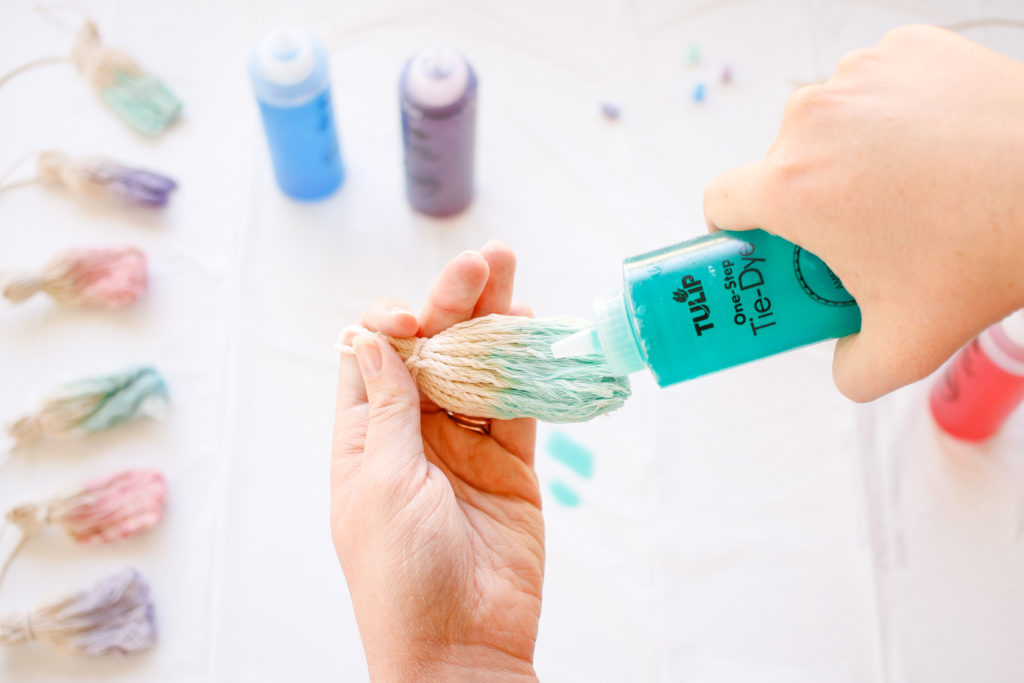
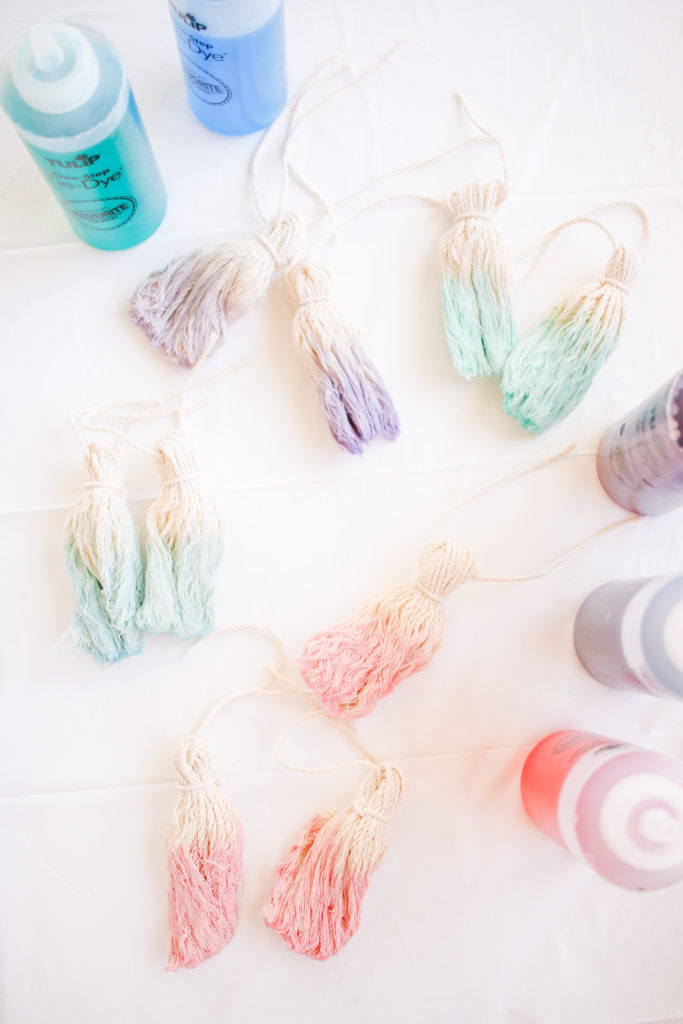
- Using your selected colors squeeze dye onto the bottom section of each tassel. Let dry.
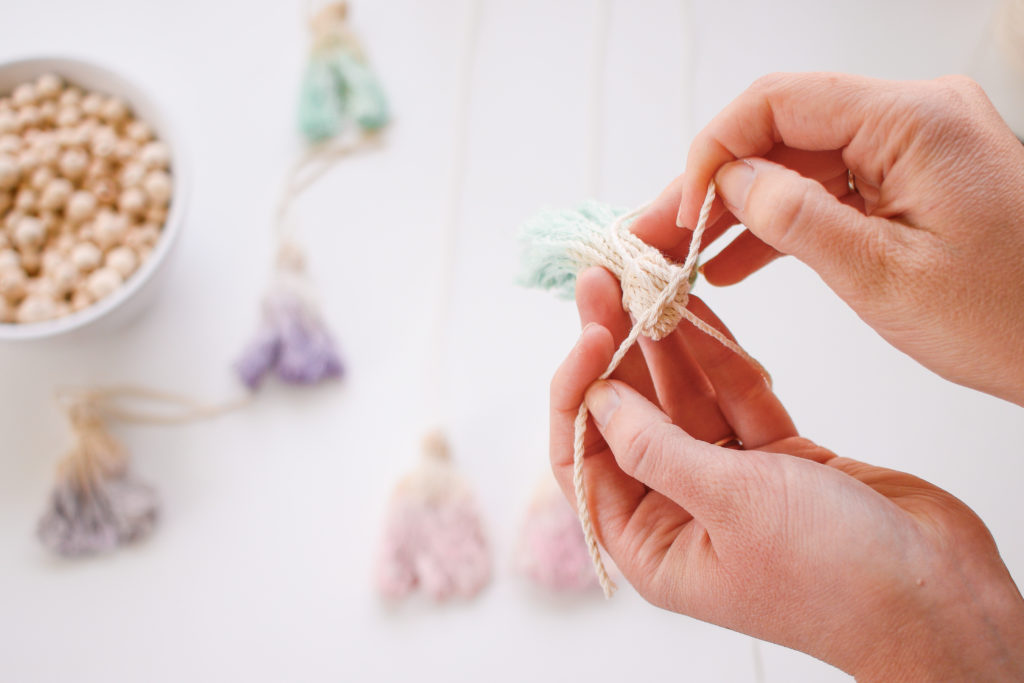
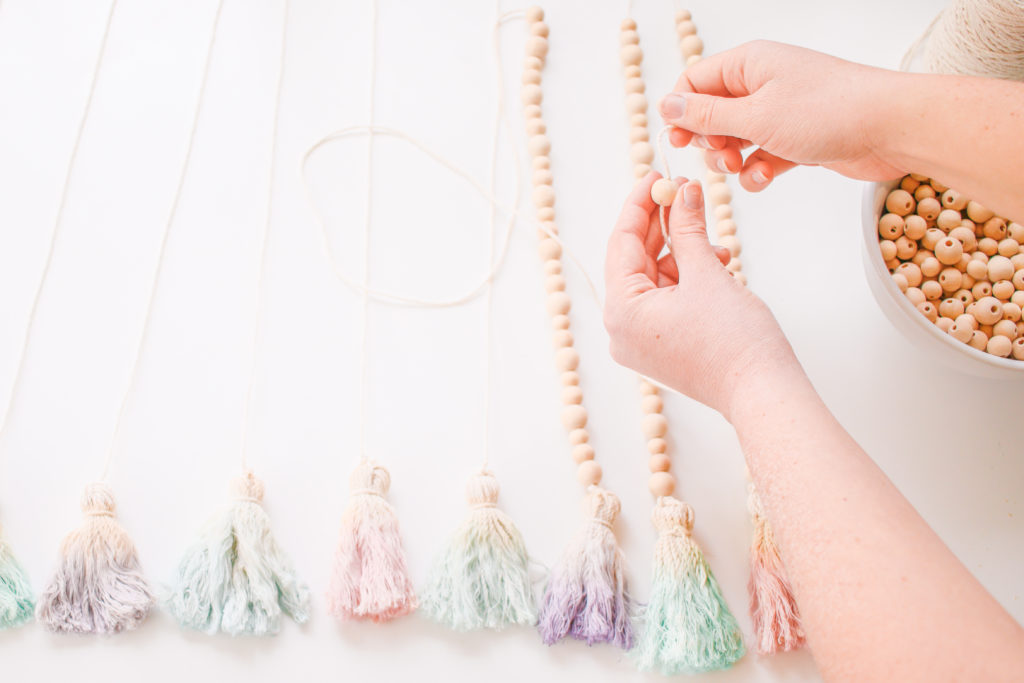
- Tie a long string to the top of each of your tassels.
- Thread beads onto that string, adding the same number of beads to each tassel.
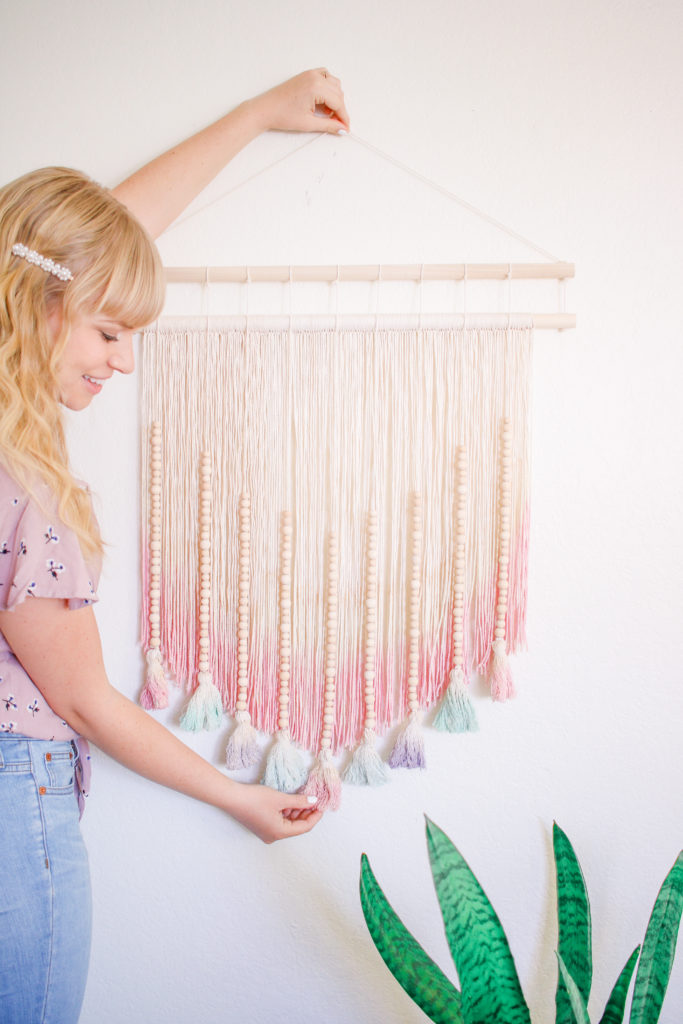
- Hang your tassels onto the top dowel of you wall hanging, hanging them so that they follow the ‘V’ of the wall hanging.
- YAY! You’re done!!
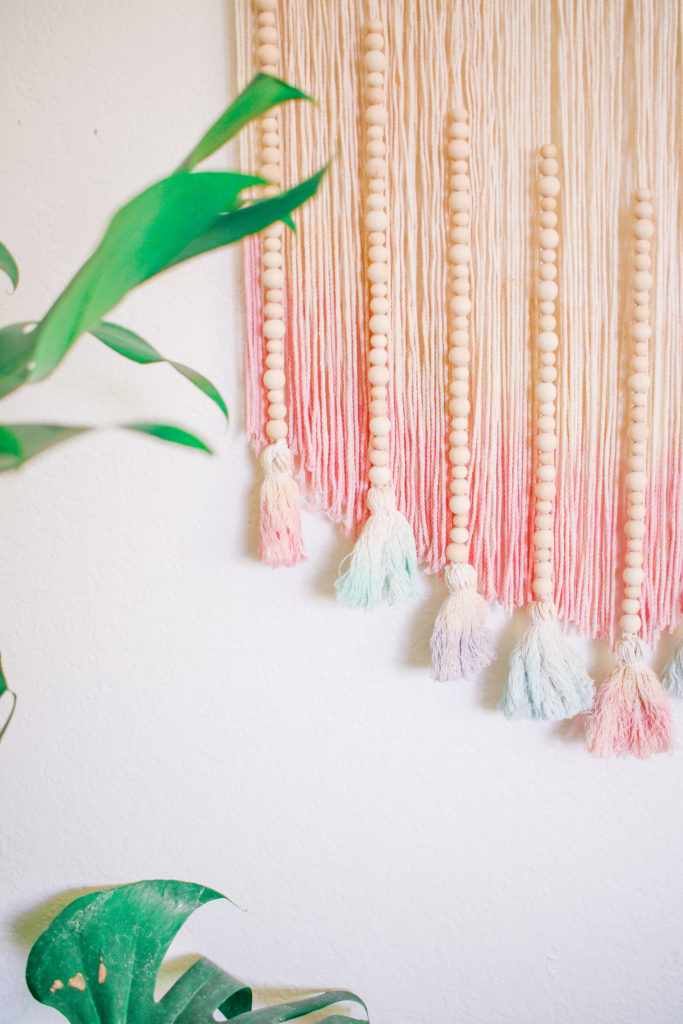
I honestly LOVE, LOVE how this wall hanging turned out so much, I just want to keep making them!! They would also make AMAZING gifts!! I hope you guys love it as much as I do! Please, please tag or DM me @mikylacreates if you make one! Also, check out all of Tulip’s Tie Dye kits! They have SUCH pretty color combos!!
ALSO! Find the rest of my Spring DIYs here!
This post was created in partnership with Tulip Color. All content and opinions are my own! Thank you for supporting the sponsors that help keep Mikyla Creates going!!
7 comments on “DIY Dyed Wall Hanging”