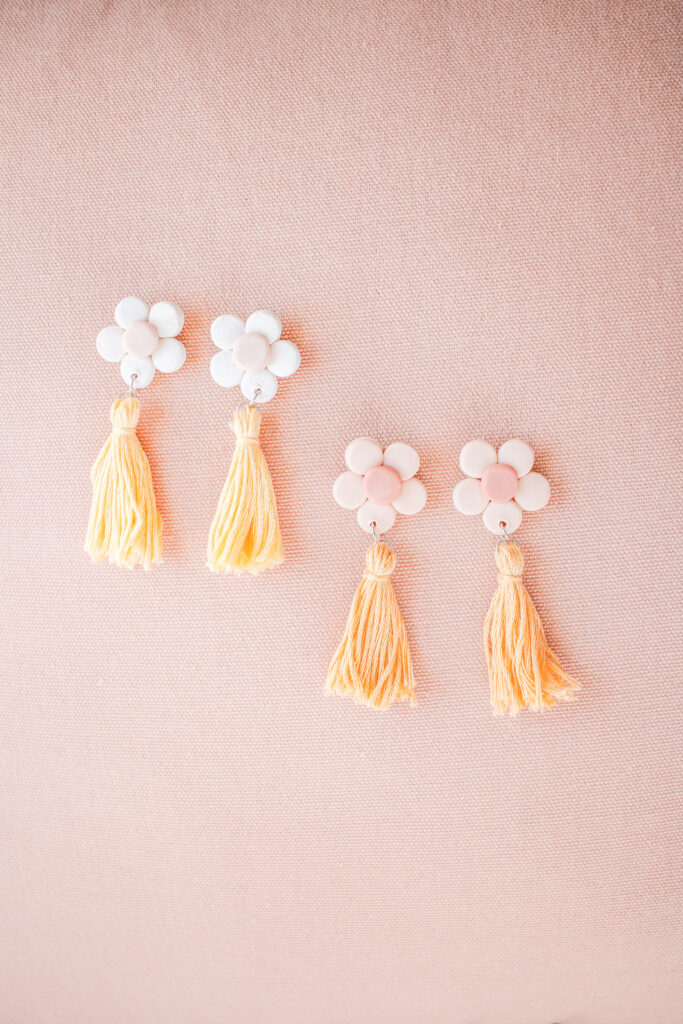
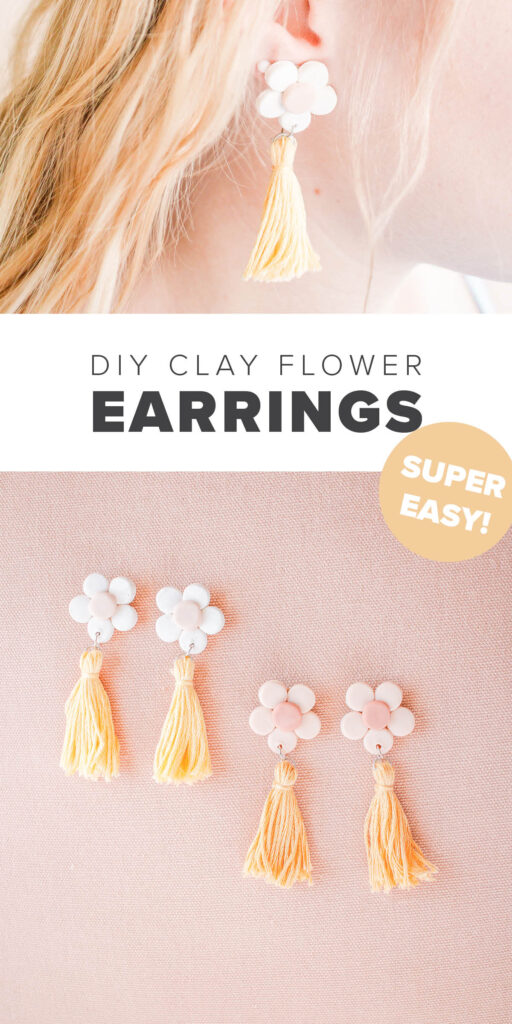
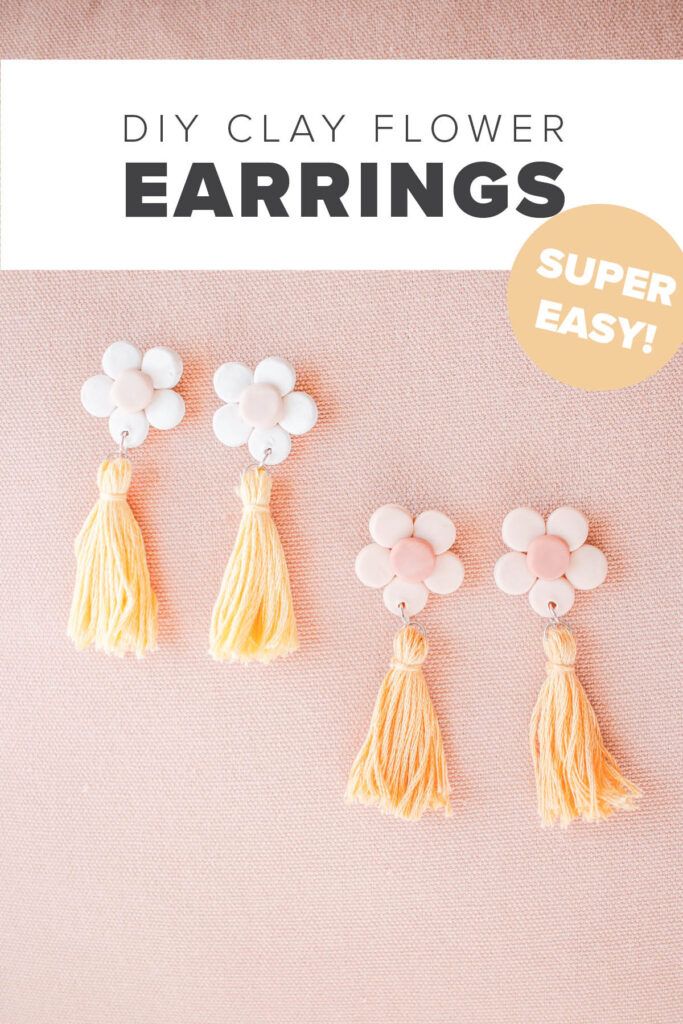
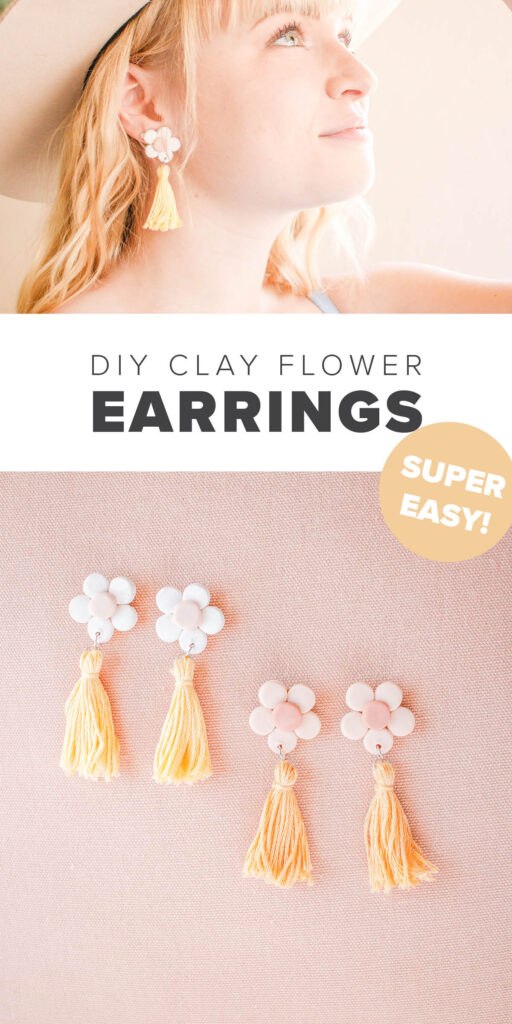
DIY Clay Flower Tassel Earrings
Hey guys! So, I think I’m a little bit addicted to making DIY earrings because they are just sooo easy, fun and relaxing, and since we’re in quarantine it seemed like the perfect time to post another earring DIY! I’ve posted these DIY rainbow earrings and this DIY earring holder, both of which are in the top five of my most popular posts EVER (!!).
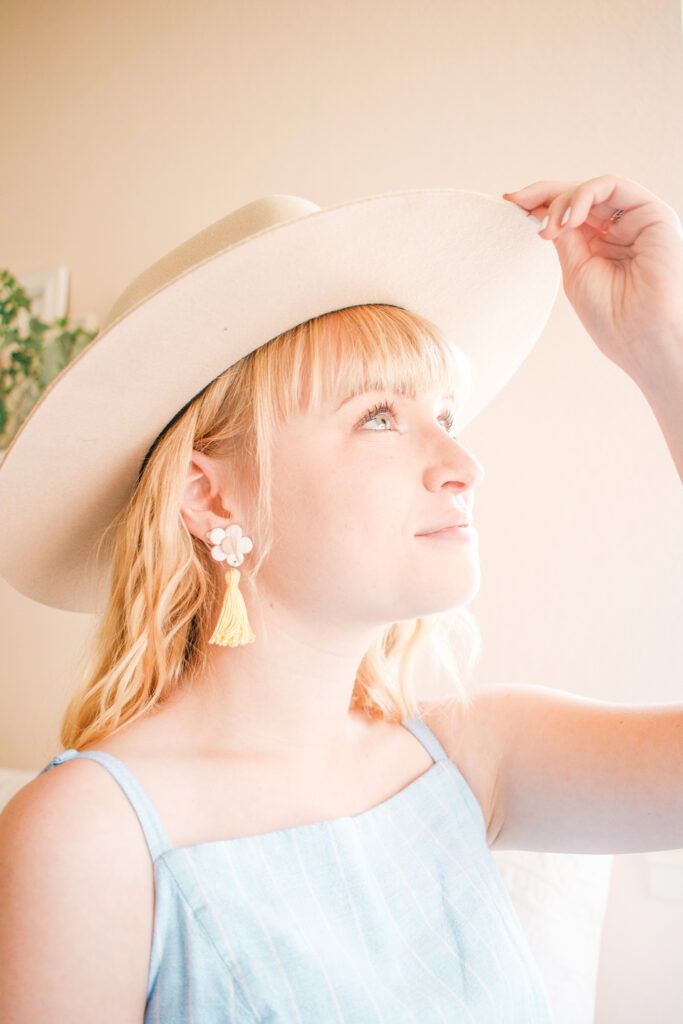
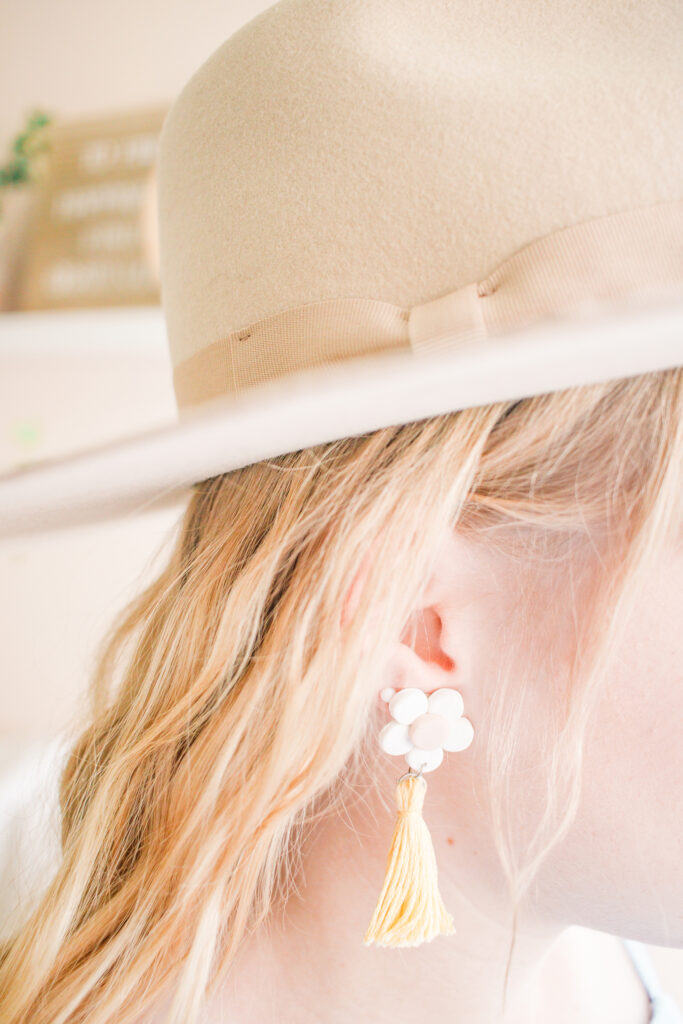
Anywayssss, I got the idea for this DIY because I reallyyyy wanted to make tassel earrings AND I have been obsessed with daisies lately lol! Like these daisy shorts are too cute for me to handle, and this purse!! Ugh, I just want daisies on everything I own #realtalk.
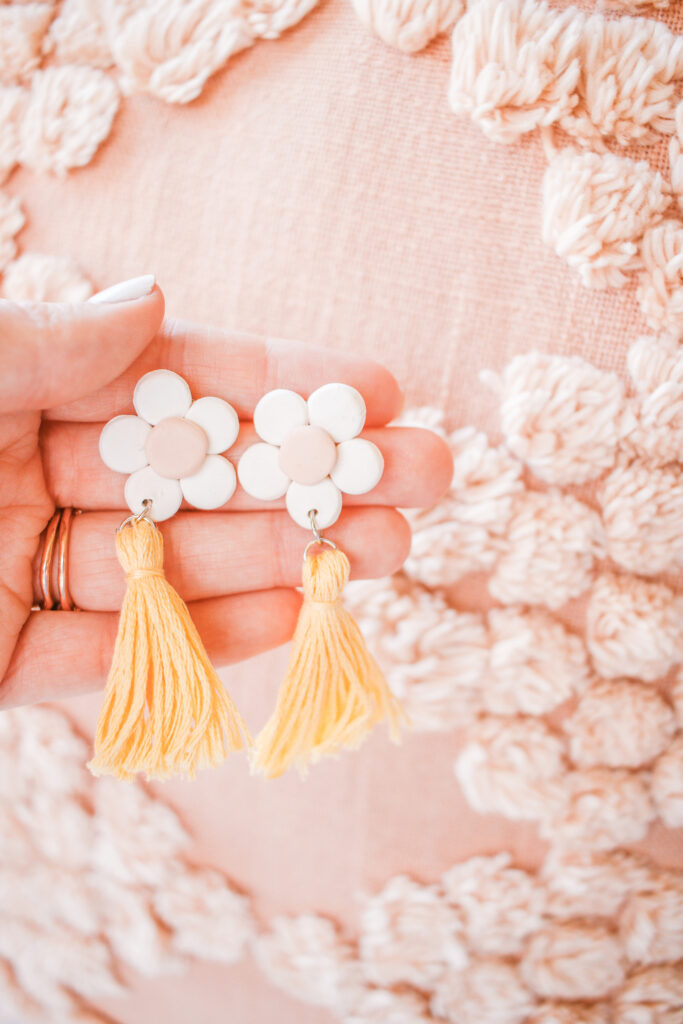
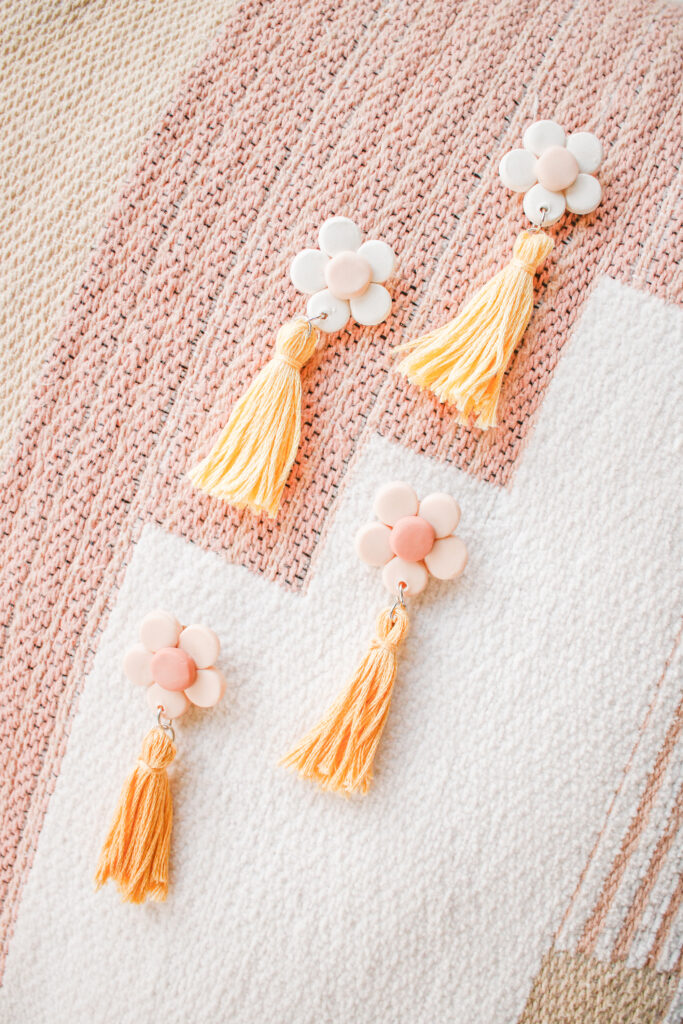
I am loving how these flower earrings turned out, plus they were so much easier than I even expected, which is always a nice surprise! You could easily make two pairs in an hour, but, be warned, earring making is pretty addicting – ha!
Okay, this DIY is pretty simple, so let’s just get to it so you can start wearing your perfect summer earrings!
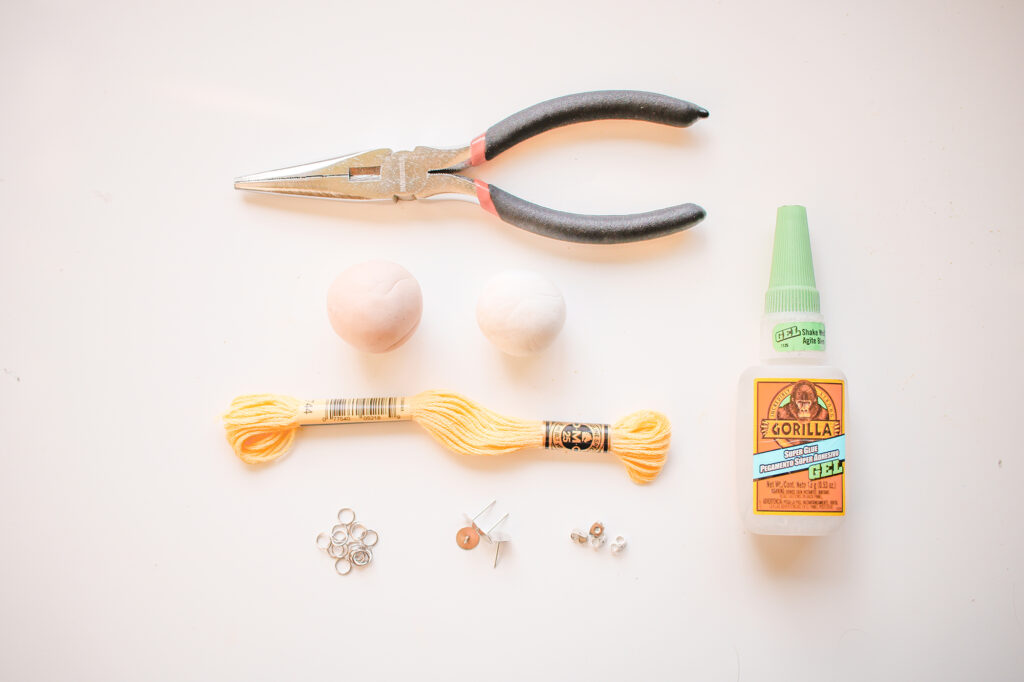
SUPPLIES:
Yellow Embroidery Thread
Sculpey (polymer clay) – I used 2 colours, white and very light pink.
Small lid (to cut out circles)
8mm earring post & clutch (mine came in a pack)
Super Glue
Pliers
Needle
DIRECTIONS:
Alrighty, so I’ve broken the steps into three parts: How to make the clay flowers, how to make the tassels, and how to attach the tassel to the flower and finish up your earrings! Let’s go!
How to Make the Clay Flowers:
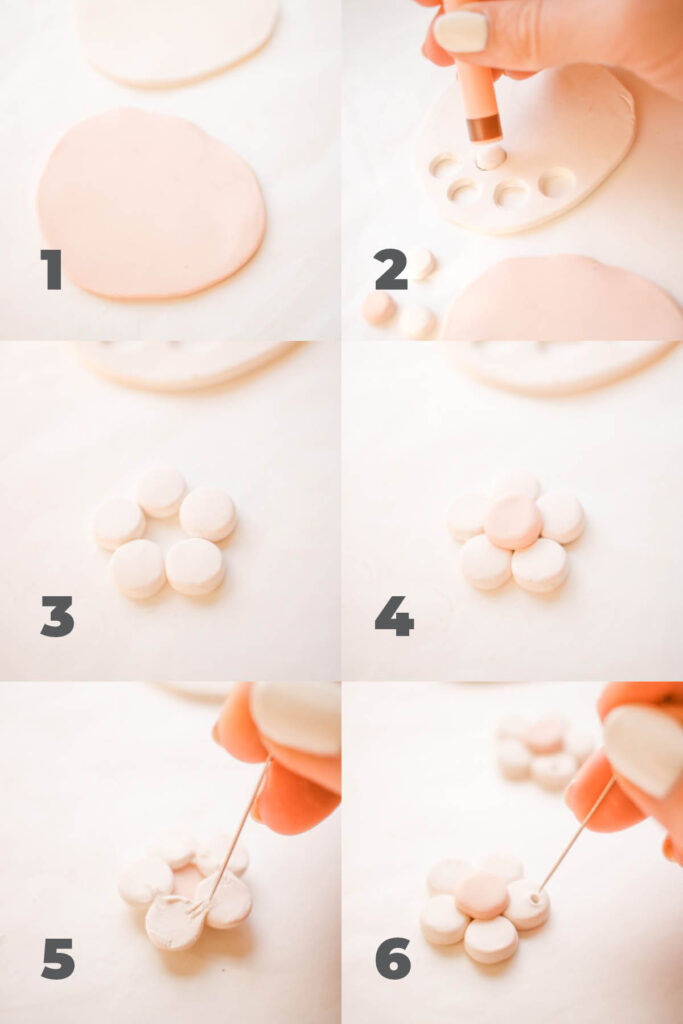
- Roll out your two colors of sculpey.
- Use a small lid (I used my eyebrow pencil lid) to cut out 10 white circles and two pink circles.
- Arrange white circles in a flower shape.
- Press your pink circle on top of the white circles, in the center.
- Use a needle to score the back of your flower so that the petals stay together.
- Use the same needle to make a hole in one of your petals, large enough for your jump ring. Teh bake according to the package instructions.
How to Make the Tassels:
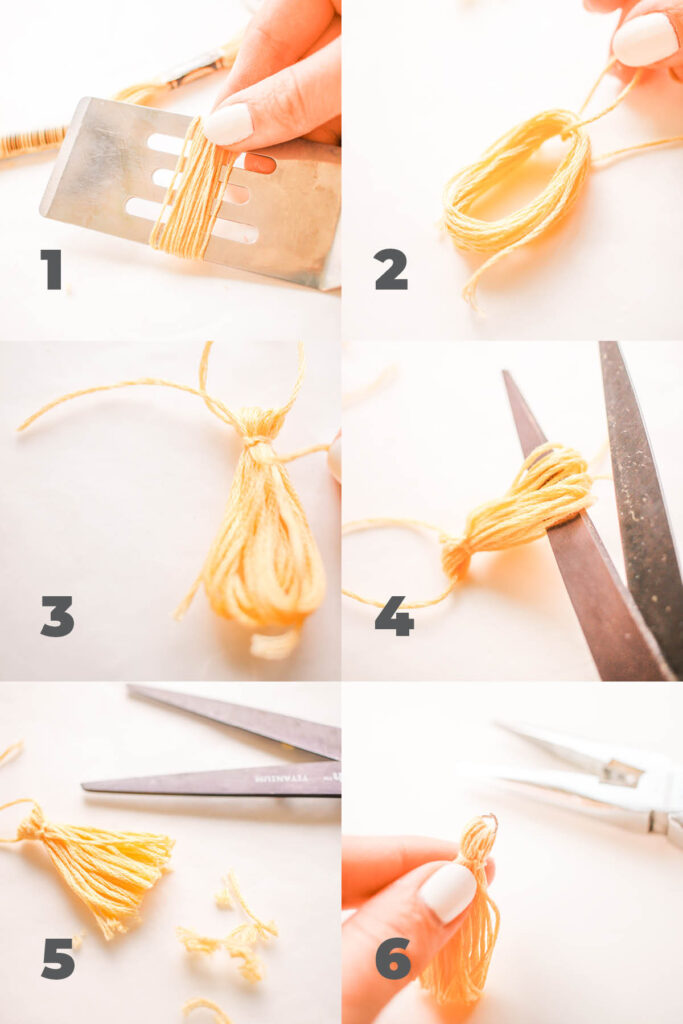
- Wrap your embroidery thread around your spatula (or something else that’s a similar size) twenty times.
- Slide thread off and put a short piece of thread through the loop.
- Tie another piece of thread around the top of your thread.
- Cut apart the bottom of the tassel.
- Trim the tassel so that it’s even.
- Attach a jump ring through the top loop of your tassel, and take the string out.
How to Attach the Flowers to the Tassels:
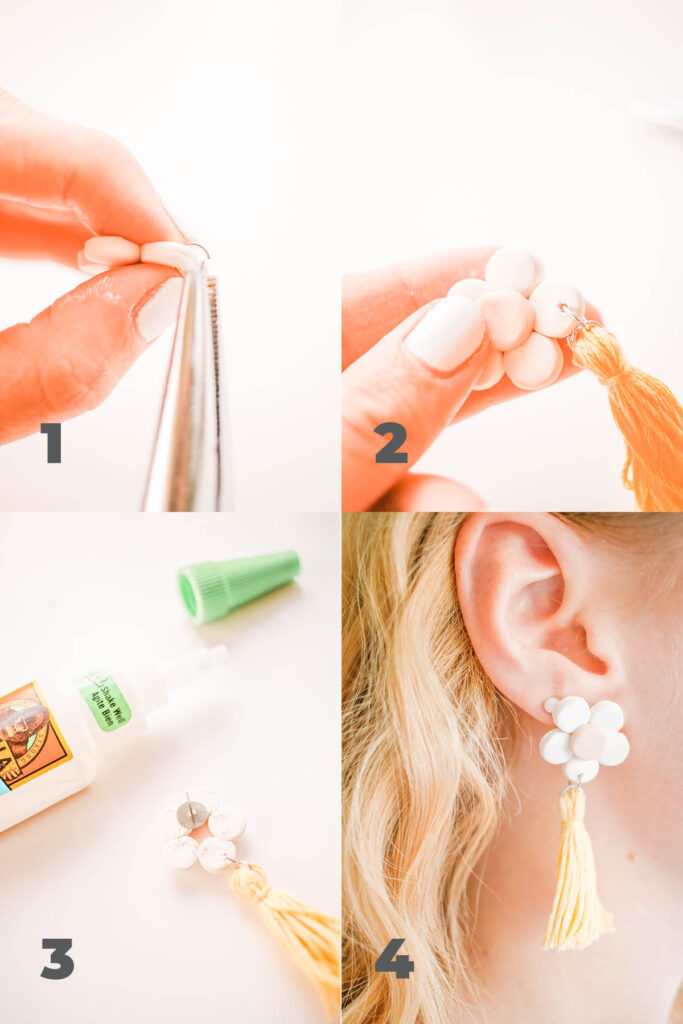
- Using your pliers, attach a jump ring through the hole in your flower, do not close.
- Take the jump ring on your tassel and attach to the flower jump ring, close with pliers.
- Use super glue to attach earring backing to your clay flower.
- Let dry, and then rock your new daisy earrings!
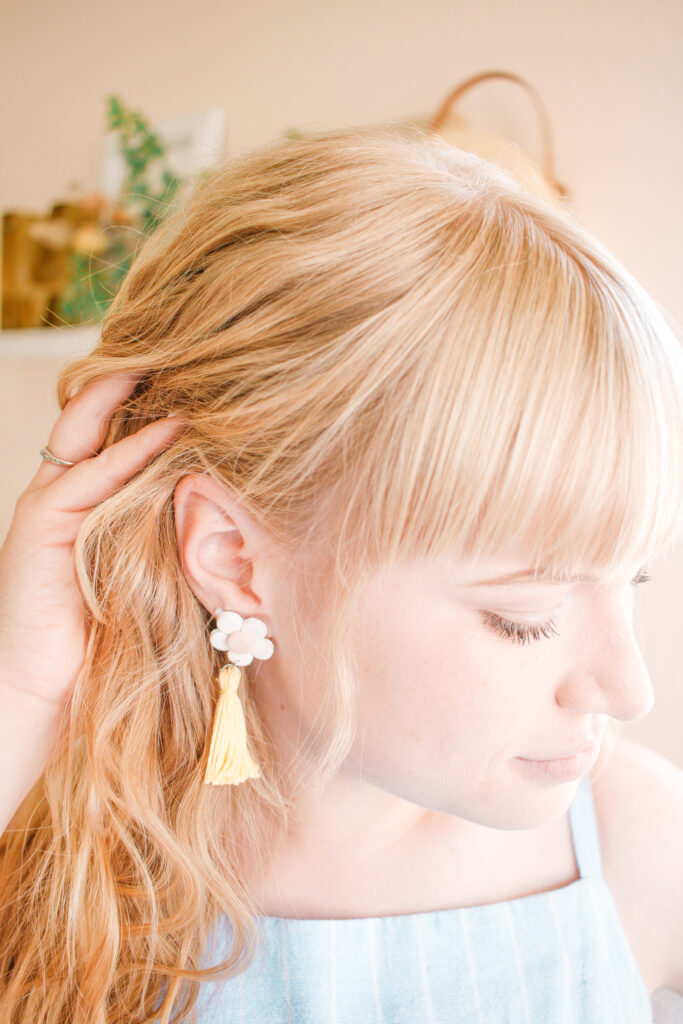
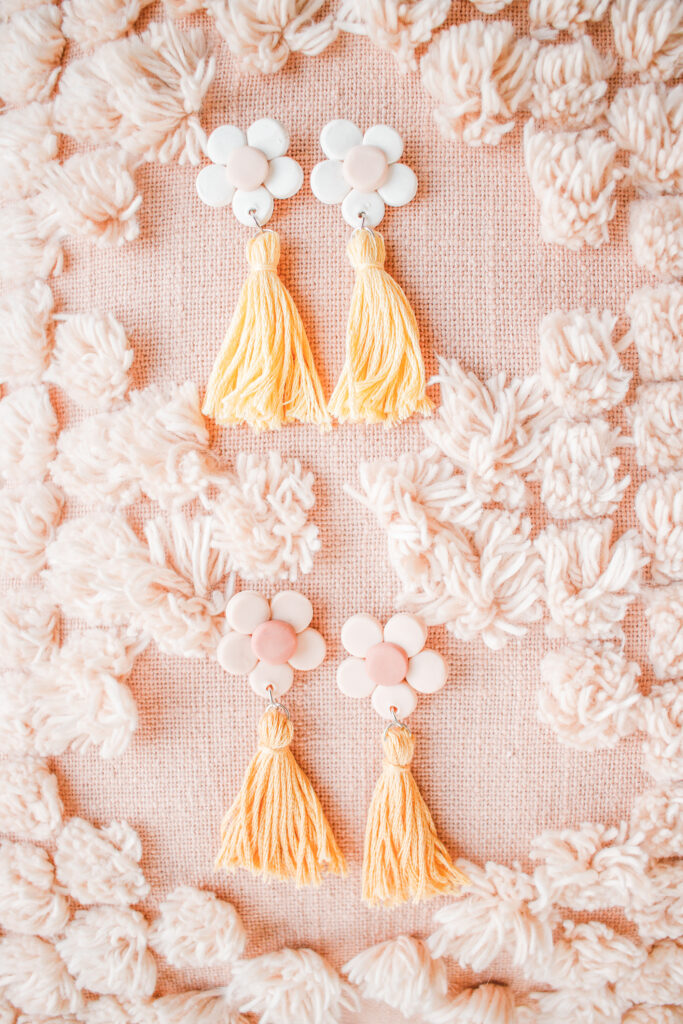
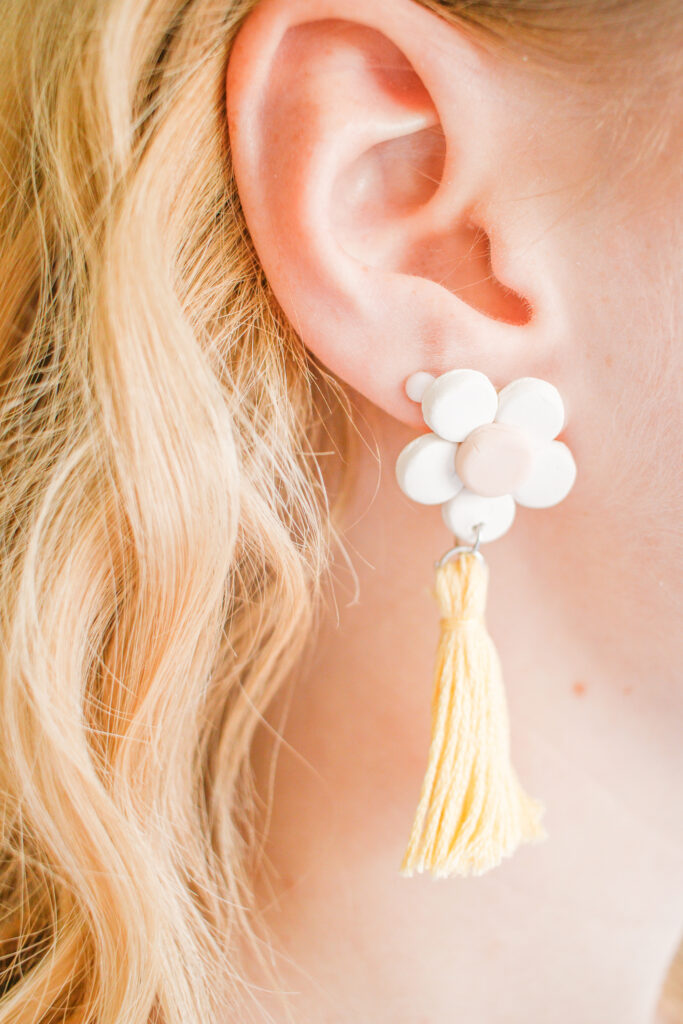
Guyssss I love these DIY clay flower tassel earrings!! They are so dang happy and fun! I hope you have just as much fun making them as I did, I also watched Gilmore Girls while I made them which obviously helped 😉 Once you make these you will probably be addicted to earring making, so you might as well make these next, and then this earring holder to store your new earrings! Happy earring making!! 🙂

1 comment on “DIY Clay Flower Tassel Earrings”