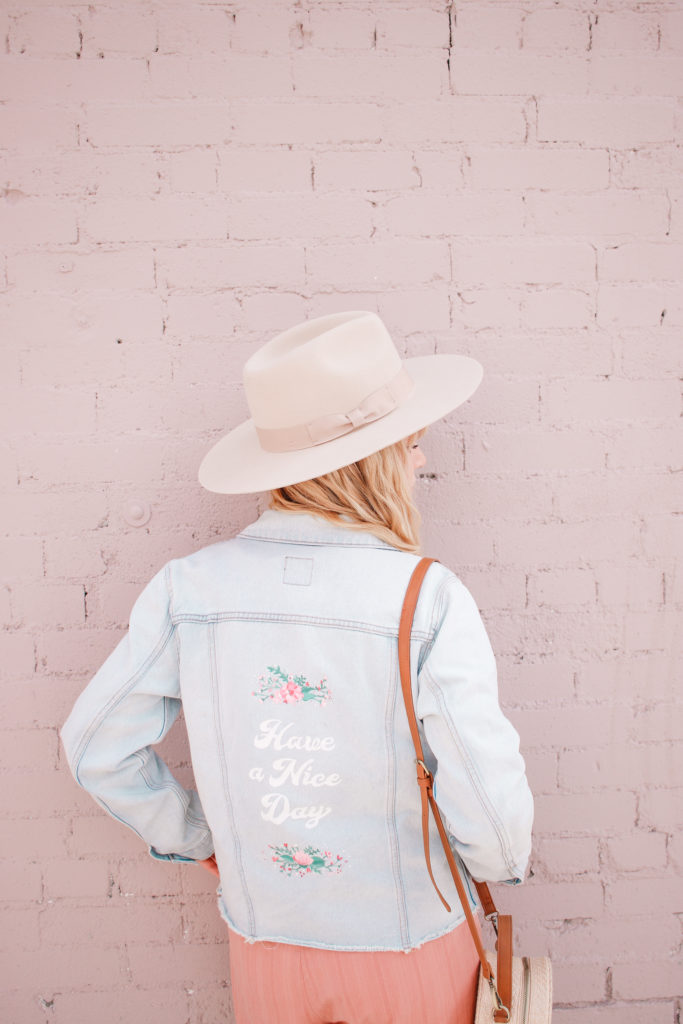
DIY Painted Floral Jean Jacket
Have you ever gone to one of those paint nights? I actually haven’t. However, I have on multiple occasions had a Bob Ross painting party. Which is where we watch an episode of Bob Ross on Netflix and paint along with him as he explains what to do, which is basically the same thing if you ask me – ha! This DIY is basically like one of those paint nights. Except, instead of painting ‘happy trees’ on a canvas that you’ll inevitably end up throwing away, you get to paint trendy flowers on a jean jacket that you’ll wear forever!
Watch the Video Tutorial Here:
PS. These DIY earrings would look super cute with this jacket!!
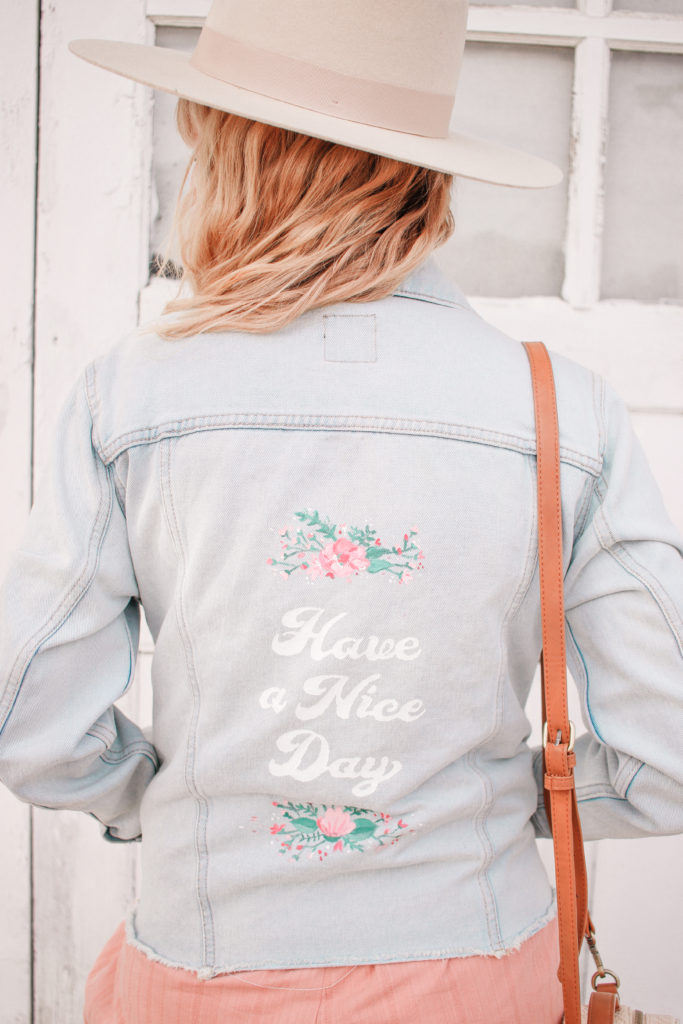
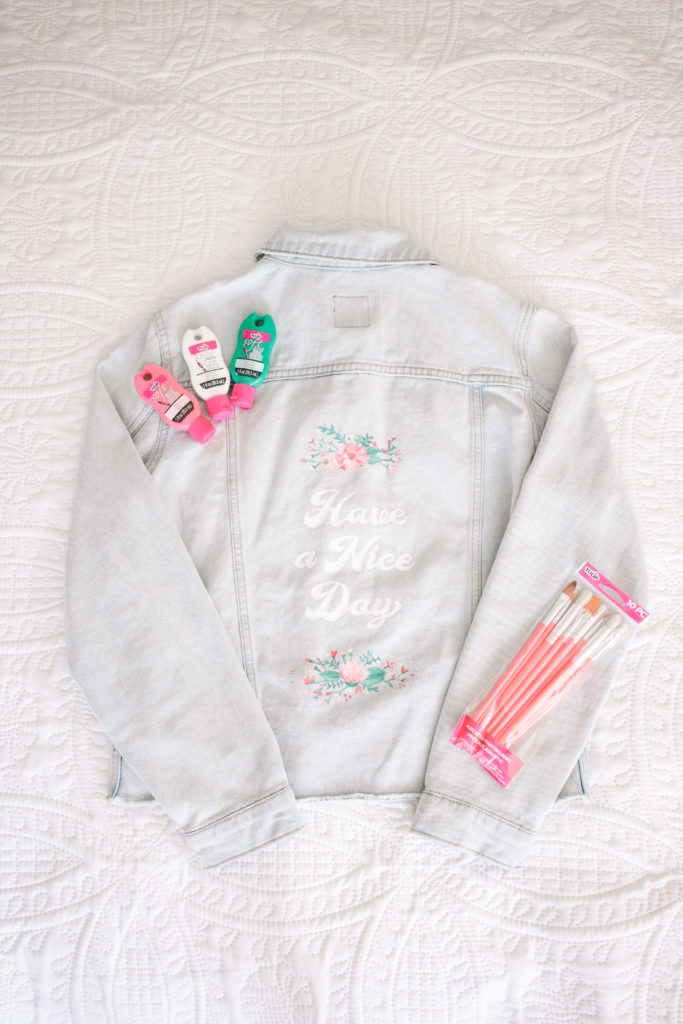
When Tulip Color asked me to create a DIY using their paint brush set and fabric paints I immediately got REALLY (I mean really) excited and inspired. I ended up seeing a bunch of painted jean jackets, most of which seemed to be for brides with ‘Mrs. Whatever’ painted on the back, or my personal favorite – ‘Wife of the Party’ (haha)! I loved how they looked, but thought it would be even cuter with a fun saying that anyone could wear anytime – not just at a wedding.
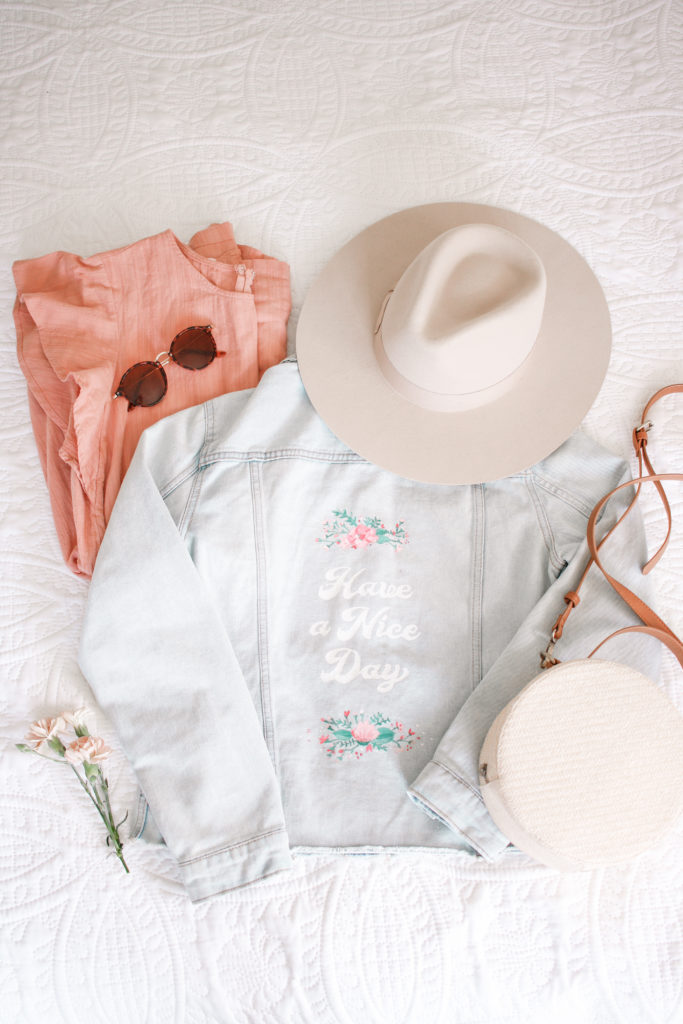
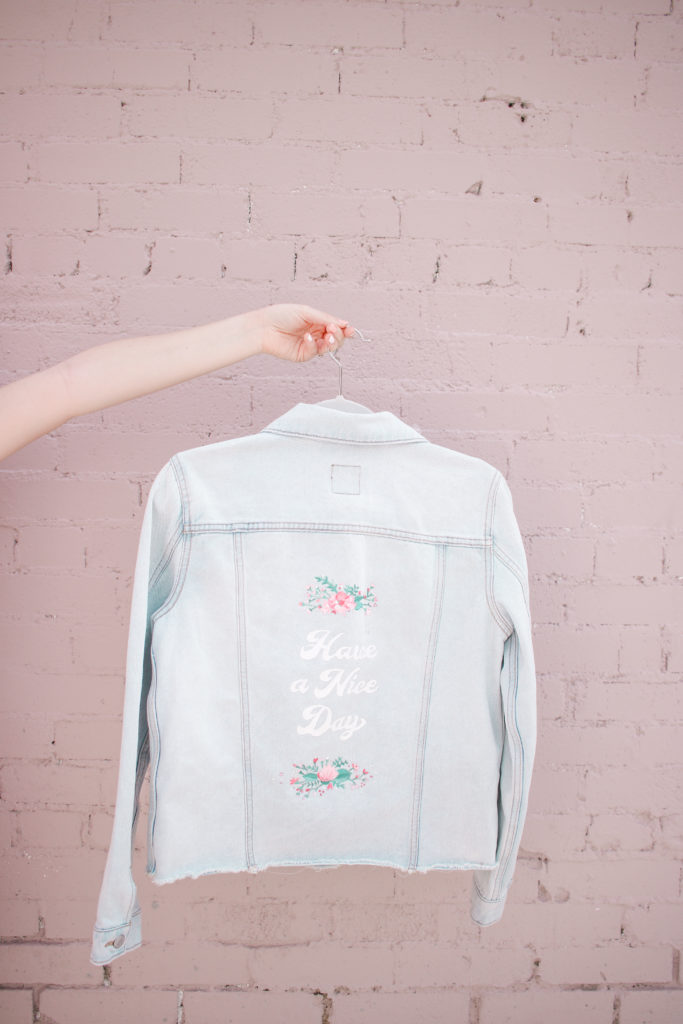
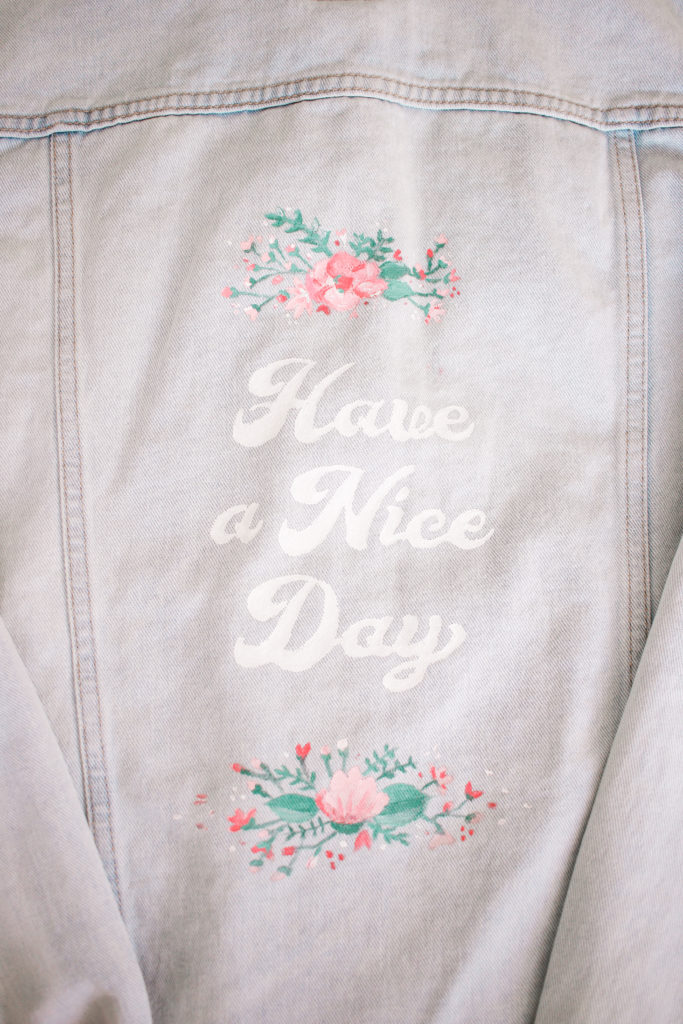
I think the saying I chose ‘Have a Nice Day’ is so cute because it’s like a nice message to someone as you’re walking away, or to a stranger waiting in line behind you at the grocery store. You obviously could choose ANY quote, and there are so many fun ones out there – just Pinterest it up!
Alrighty, we should probably get started, this DIY is actually pretty simple, however, the directions are long because I really tried to explain all my little tricks to painting these flowers without artistic ability! I don’t consider myself an artist, and you might not either. Honestly though, in the words of Bob Ross “We don’t make mistakes, we just have happy accidents.”
Ps. I looked up Bob Ross quotes while writing this post, and they made me so happy that I thought I’d link them here 🙂
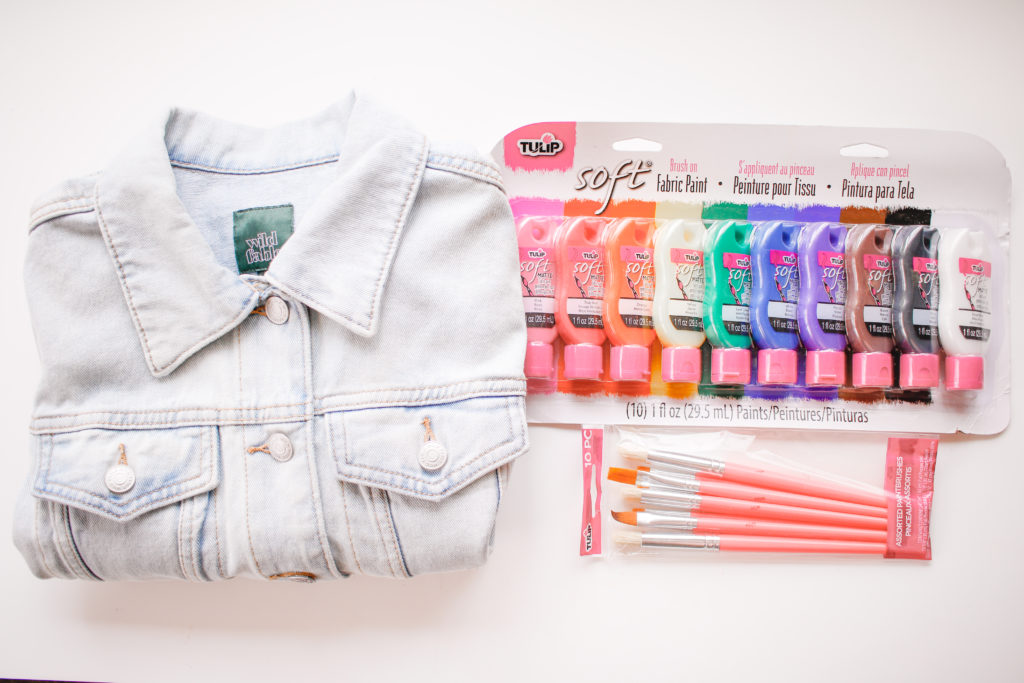
SUPPLIES:
Jean Jacket
This is the exact one I used and I LOVE it!
Projector (optional)
Get the Design I used Below:
DIRECTIONS:
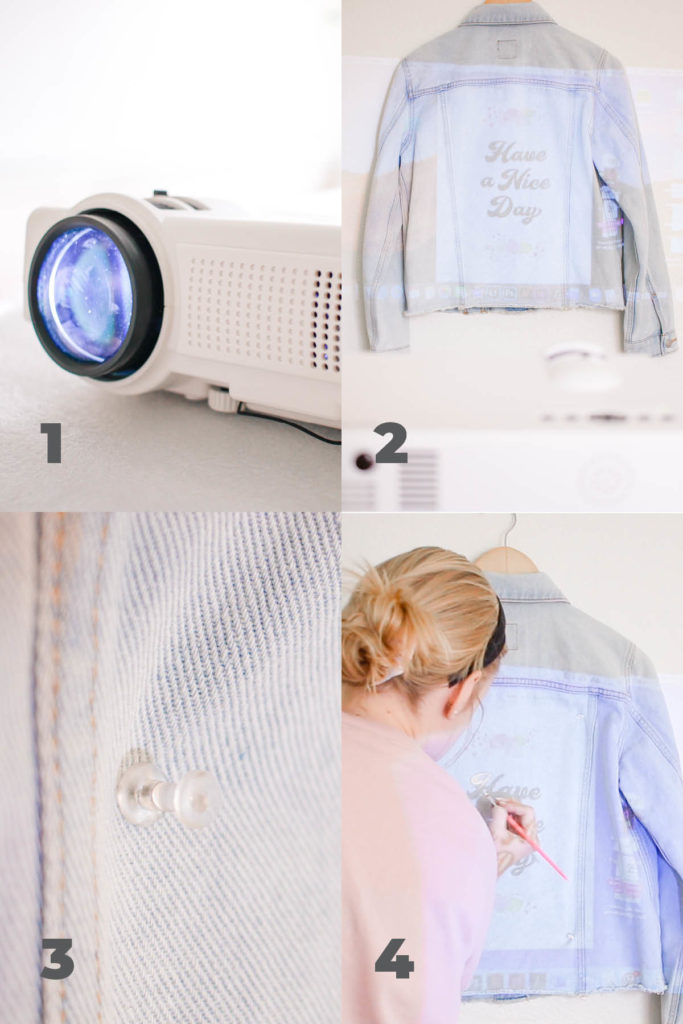
FOR THE LETTERS:
- Okay, so I chose to use my projector to project my design (you can download my design below) onto my jacket so that I could trace the letters, and to give me a rough outline for my flowers. If you don’t have a projector, THAT’S OKAY! You can go freehand, or you can print out your quote, cut out the letters and trace them onto your jacket. You won’t need the projector to paint your flowers!
- If you do choose to use a projector, just connect it to your computer and project your text onto your jacket!
- I hung my jean jacket on the wall and then added four thumb tacks around where my design would go so that my jacket was smooth and wouldn’t move around as I painted.
- Once I had my text projected onto my jacket I just painted on top of it with white – easy peasy!
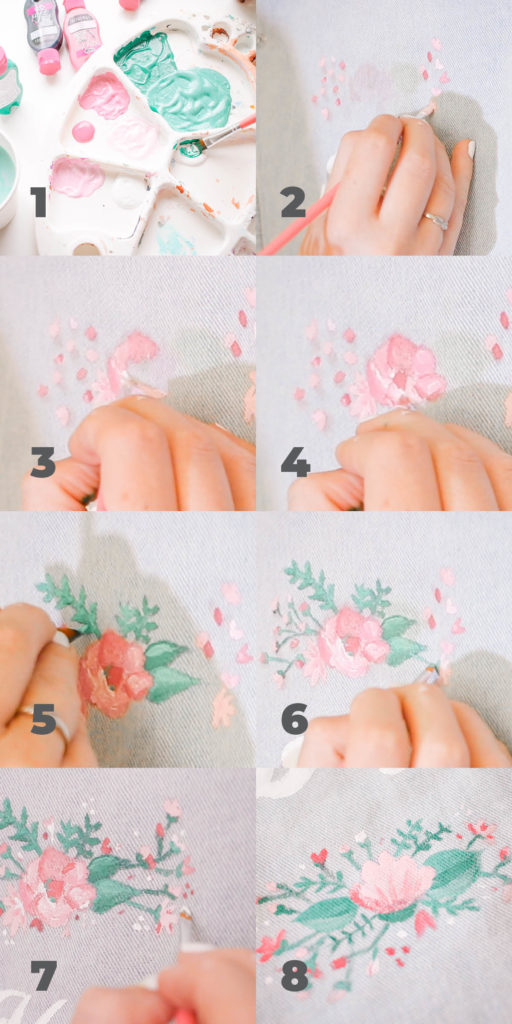
FOR THE FLOWERS:
**Make sure to reference my brush guide at the bottom of this post, so that you know which brushes to use for which step – it helps a lot!! You can purchase the brushes I used here!
Ps. I kept my projector on while painting the flowers so that I could get the placement of the flowers right, but I really didn’t use it – this is where the creativity comes in!
- Mix your paint! I made four shades of pink and two shades of green. For the pink I mixed in a little orange to give a peachy look. For the green I mixed in a little brown for a more muted look.
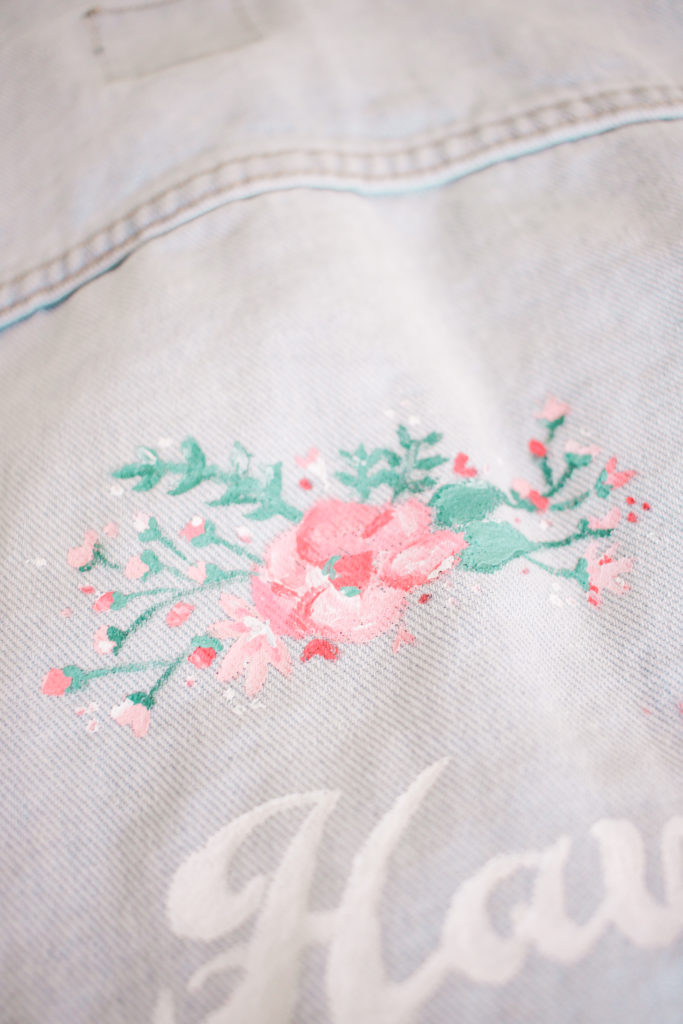
- Start with your tiny outer flower and buds – this part is easy, you basically just make little dots and ovals for these in different shades of pink, do this on either side of where your focal flower will go.
- Then start on your focal flower by painting petals in different shades to show dimension – darker in back, lighter in front. Use your darkest shade of pink for the center.
- Go back over all of your flowers and add little strokes of white and dark pink – which is very easy to do, I honestly don’t put much thought into it, but it adds dimension and makes you look like a pro!
- Paint your foliage! Paint two larger leaves on the right side of your focal flower- dark in back, light in front. Then add little branches sticking out around your focal flower in various shades of green. You just paint one long line, with little lines coming off of it. Then, Add shading to your leaves!
- Take your teeniest brush and paint stems coming from your focal flower going to your tiny outer flowers.
- Now for the fun part! Add little dots of paint all around your floral design, this gives the illusion of lots of detail, I like to make my dots in groups of three.
- Repeat these steps for your bottom flowers.
Look at that you’re an artist!!
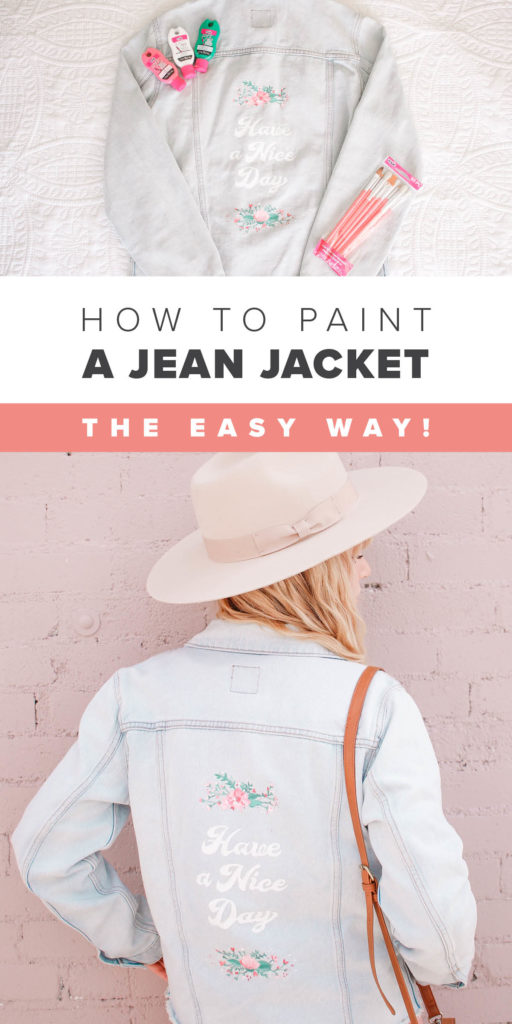
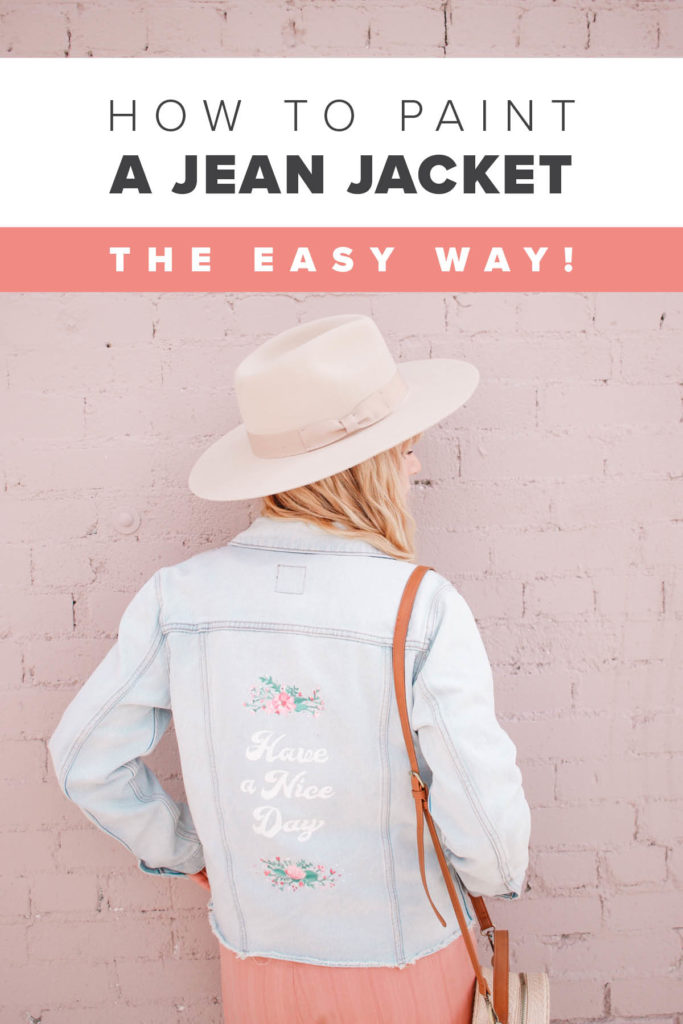
The Finished DIY Painted Floral Jean Jacket:
BRUSHES I USED:

Use this brush for the small flowers
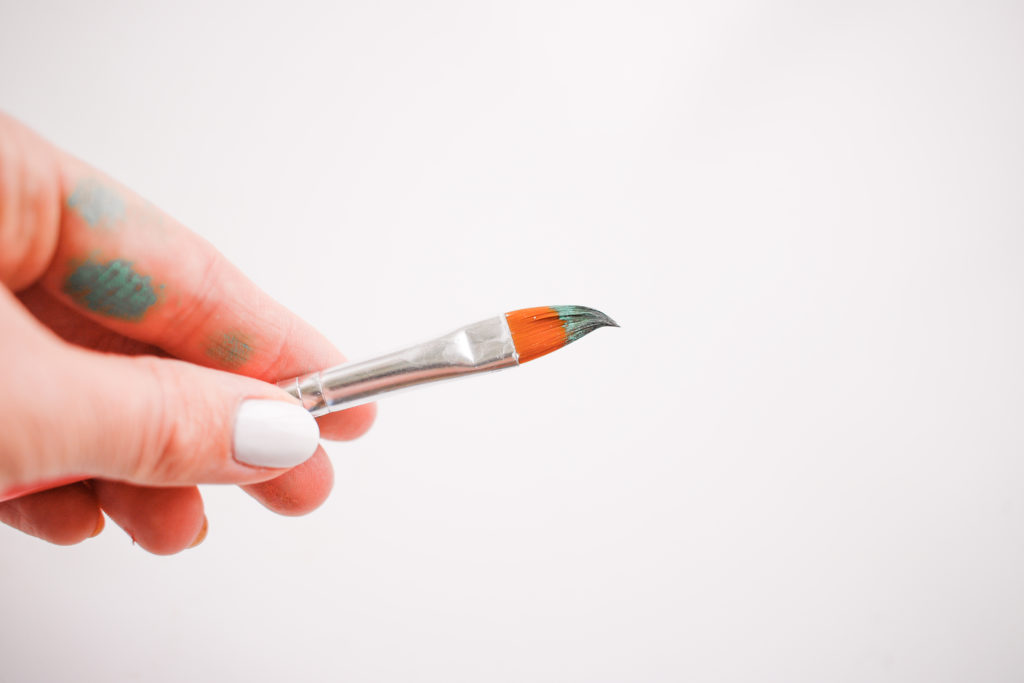
Use this brush for the larger flower petals and all of the leaves (it is PERFECT for this)!
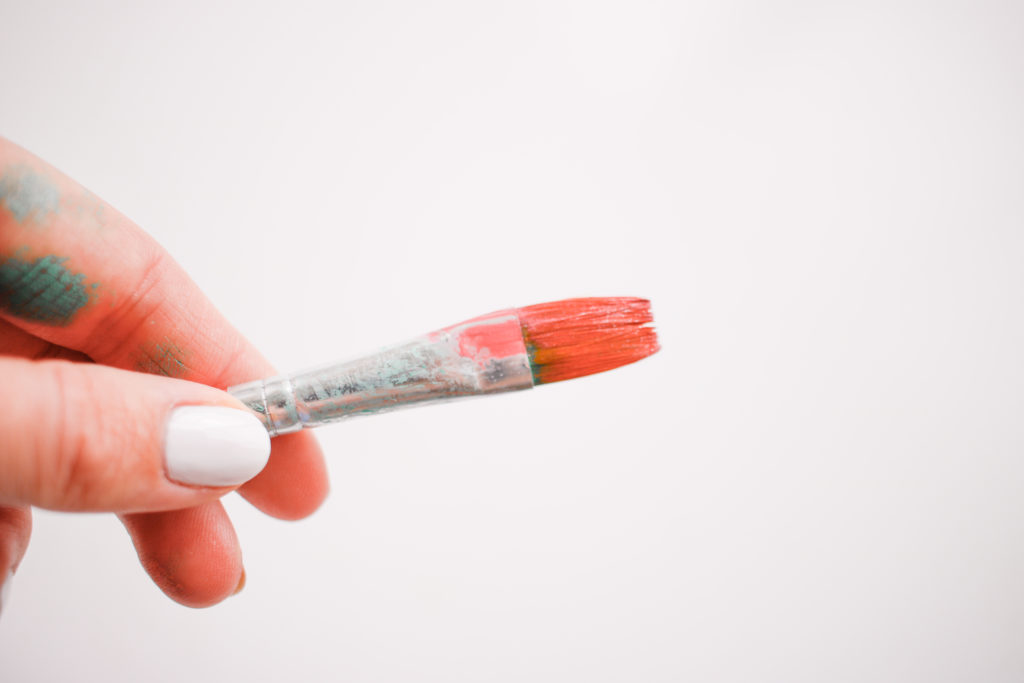
This brush for mixing paint
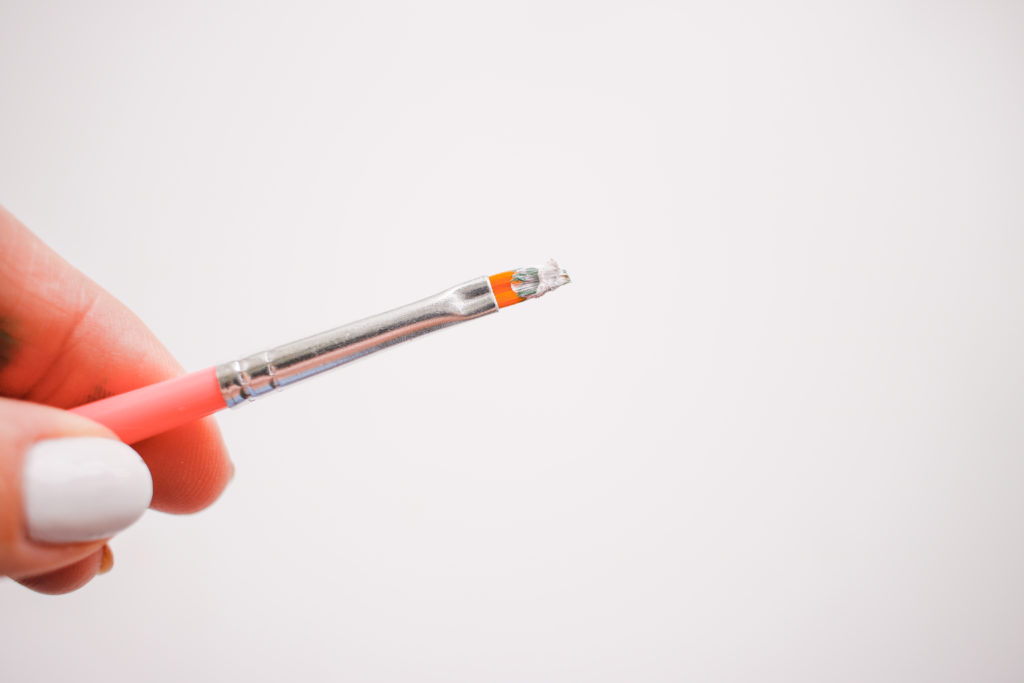
This brush for painting the stems of the flowers.
I hope that was helpful, and that you aren’t intimidated – it really is SO much easier than it looks!! I am for real SO stoked about how it turned out, I will be wearing it on repeat! Anyways, make sure to check out Tulips Fabric Paint AND their brushes – as someone who has painted a lot I can tell you that these are nice brushes!

As always pretty please tag or DM me @mikylacreates if you make this DIY painted floral jean jacket, it would make my day – plus we could match 🙂 This post was created in partnership with Tulip Color. All content and opinions are my own! Thank you for supporting the sponsors that help keep Mikyla Creates going!!
1 comment on “DIY Painted Floral Jean Jacket”