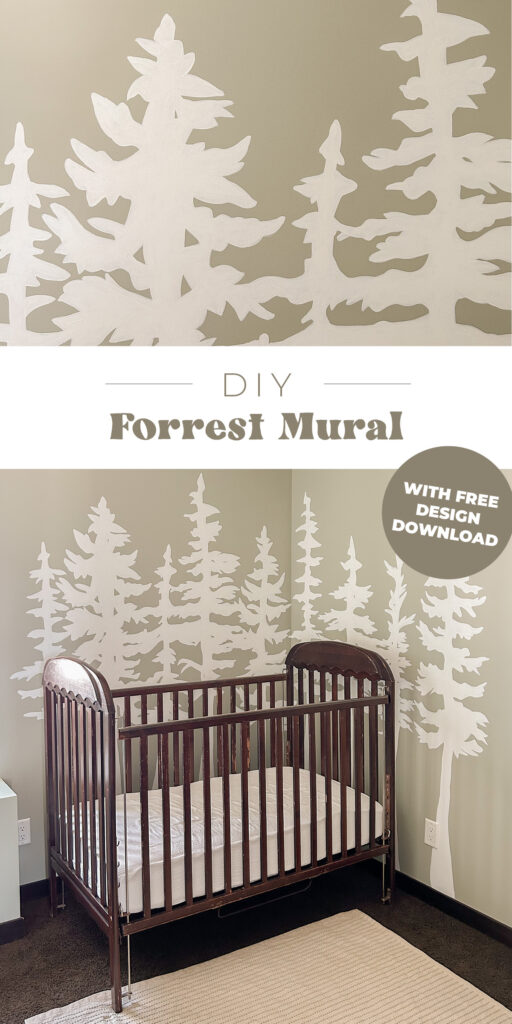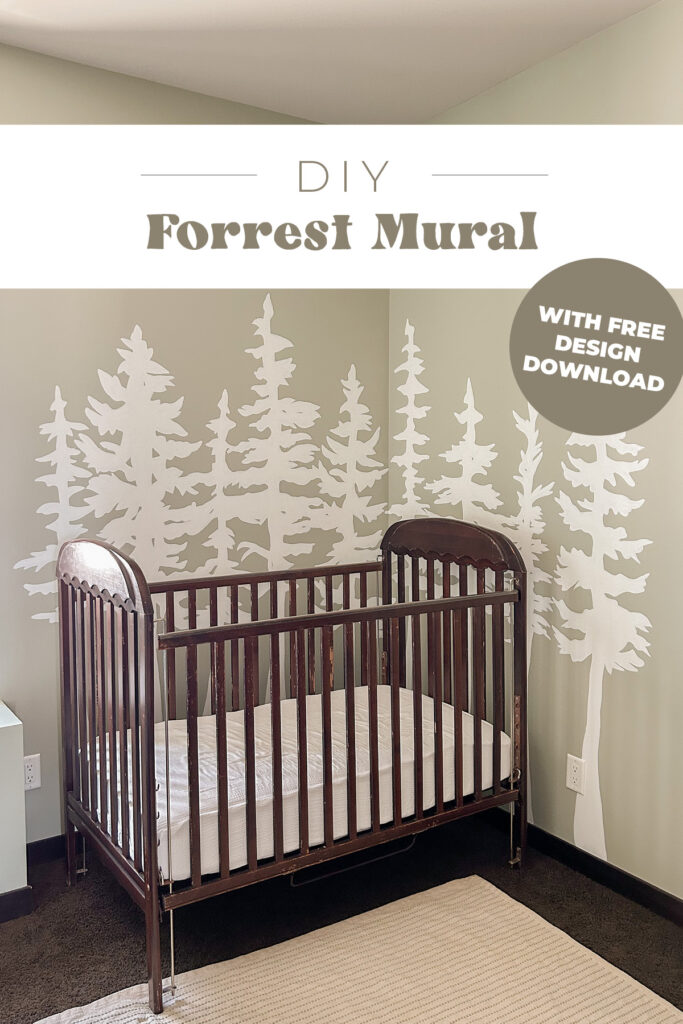
DIY Forest Mural With a Projector
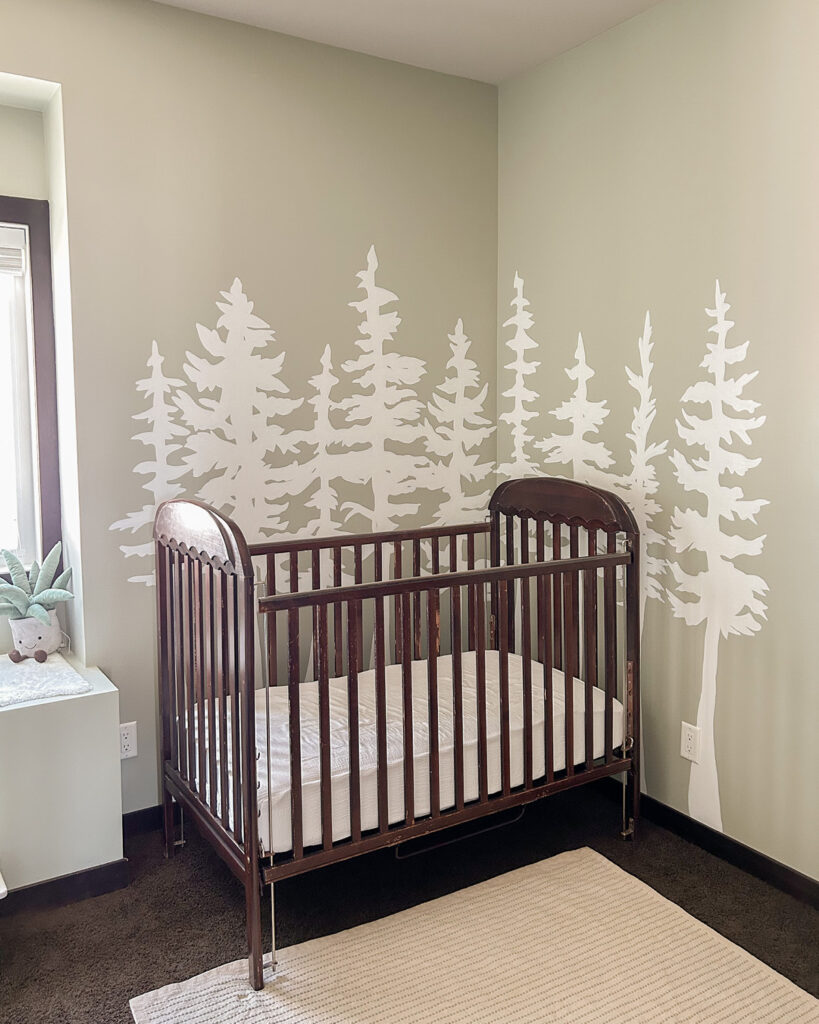
My mom has been working on decorating a room for Bekam to stay in when he sleeps over at their place, and she asked me to paint a mural for it! She originally wanted one big tree, but I decided to go for a bunch of pine trees instead. I LOVE how it turned out, and since ya’ll loved my last projector mural (HERE) I thought I’d give you another one! Keep scrolling for the mural design downloadable!
I’ll be honest, this mural was much more time consuming than this flower mural. For a few reasons: one is that the flower mural was just outlines, which makes it much quicker! The other reason is because I was painting white on a darker wall. If you’d like to make the mural easier I would paint green on a white wall instead. However, I love how the white on green looks!
Murals have become my go-to cause they are such a statement, so inexpensive and you can easily paint over them if you change your mind. I honestly think they’re the cheapest decor out there! Which is why I have 3 in my house – ha! You can find my floral one HERE, my abstract one HERE and my foliage painted wallpaper HERE!
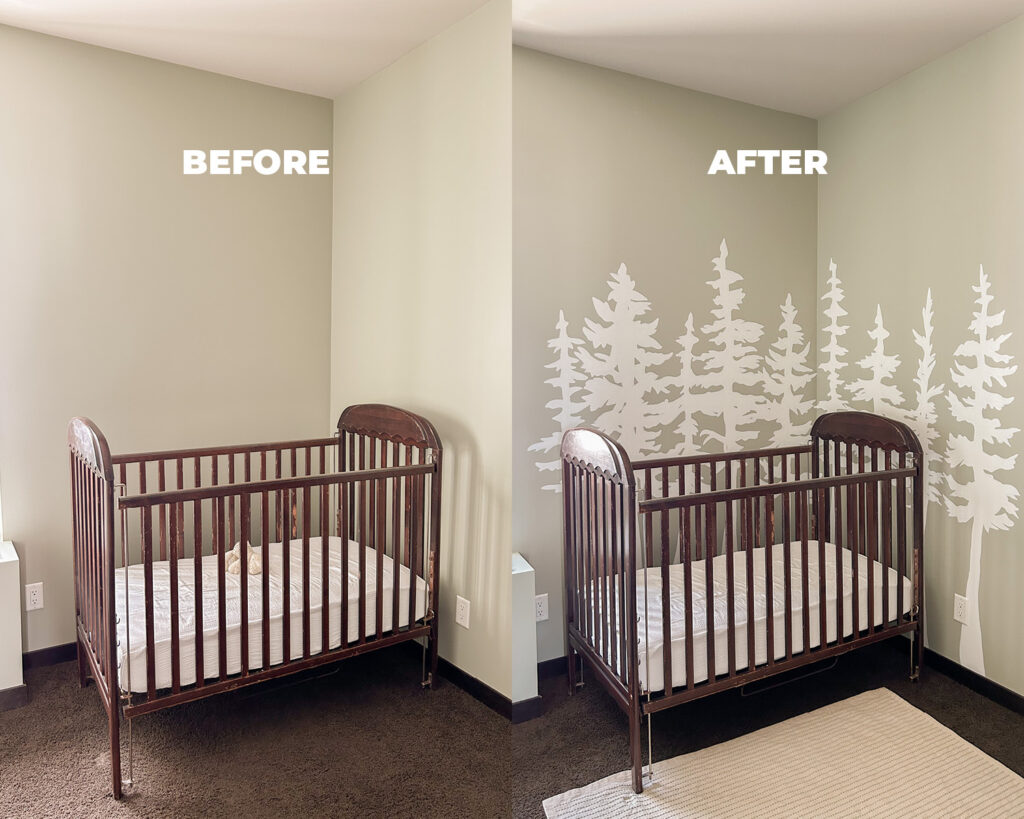
DIRECTIONS:
- Project the mural design onto the wall you wish to paint, I kept moving the projector around to get the trees in the spot that I liked them.
- Trace the trees onto the wall with pencil.
- Fill in the tree outlines with wall paint. A sample size would probably be enough.
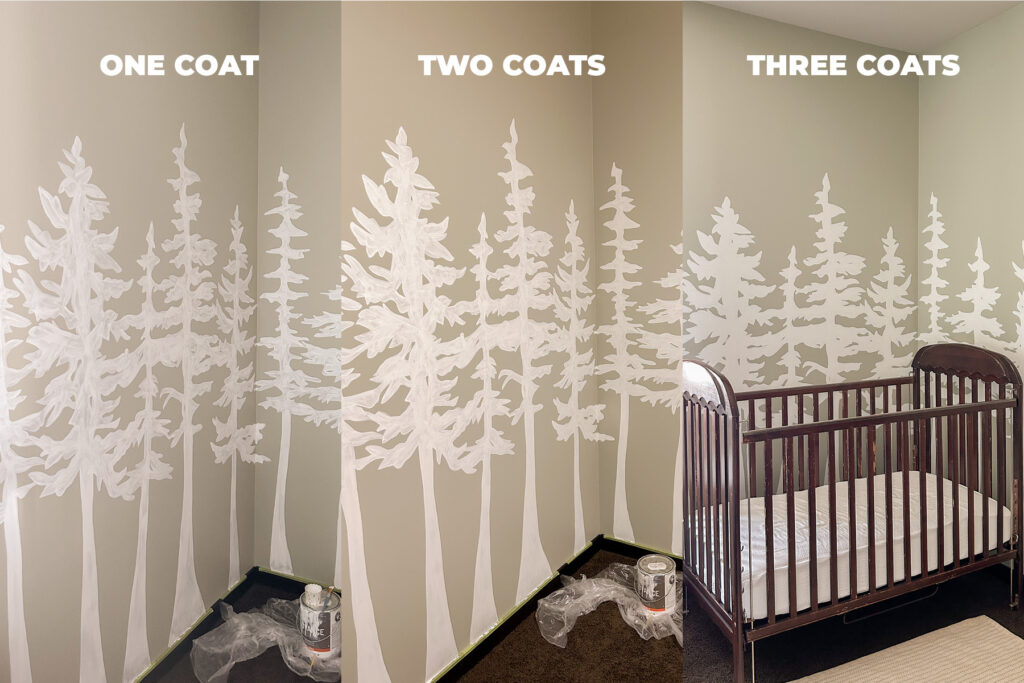
- I did 3 coats (see photo below) because I was painting a light color onto a darker wall, but if you choose a darker color on a white wall, I am sure you would only need 2.
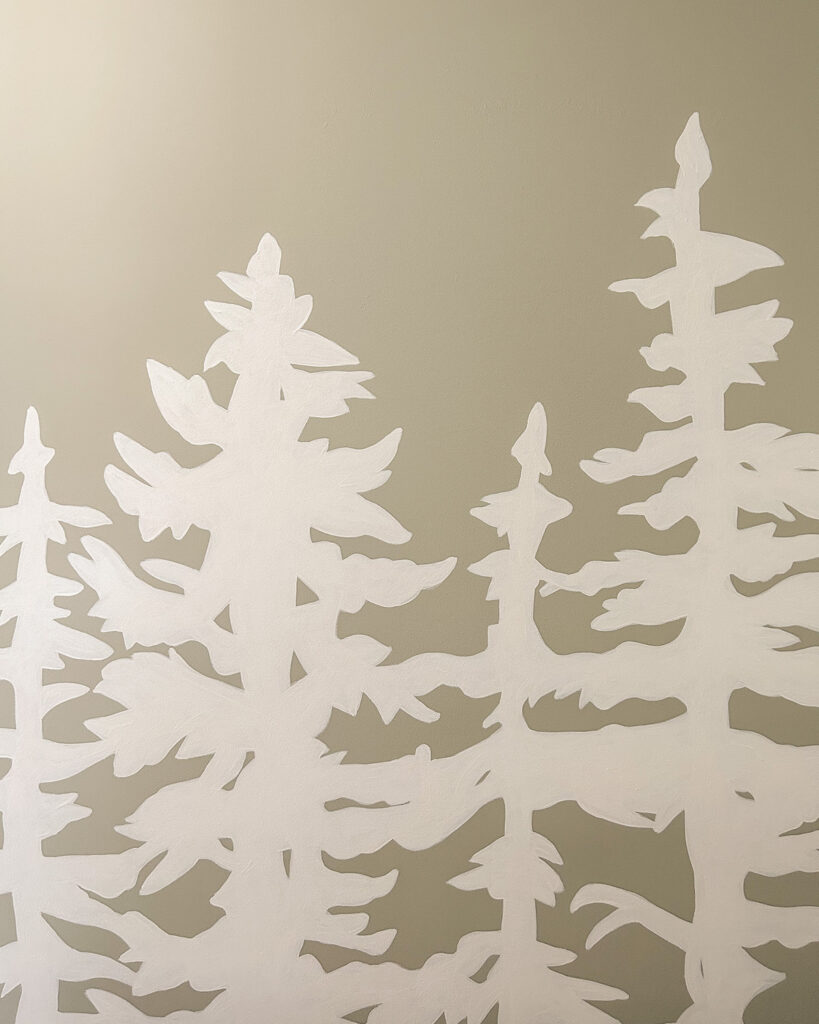
Download Forest Mural Design Here:
That’s it! A pretty straightforward and simple DIY that makes a HUGE impact! PLUS it only costs $5!! Cause all you need is sample size wall paint! If you paint your own pretty PLEASE tag or DM me on Instagram @mikylacreates. See ya next time!
