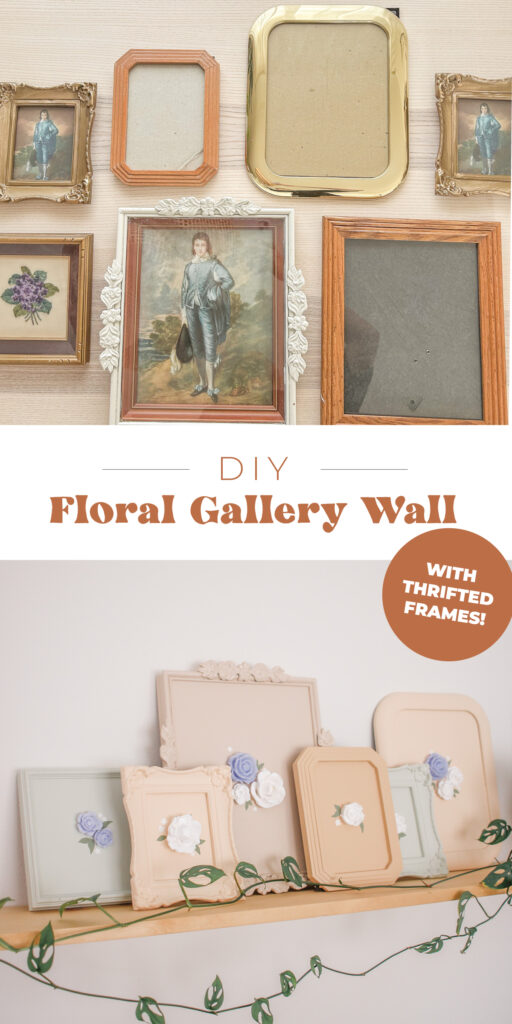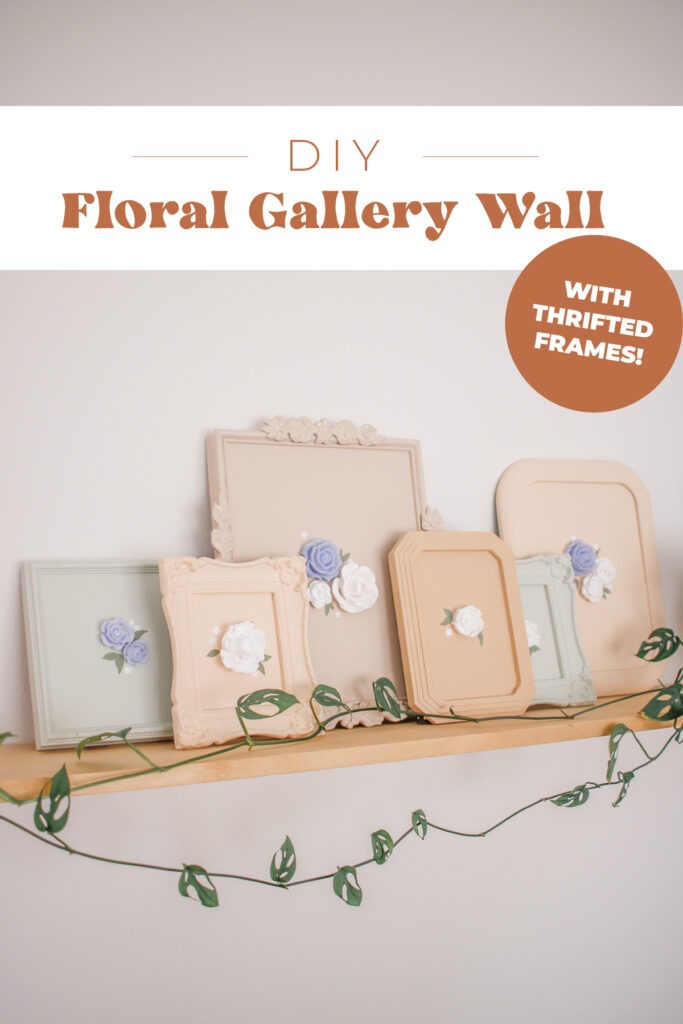
DIY Floral Gallery Wall
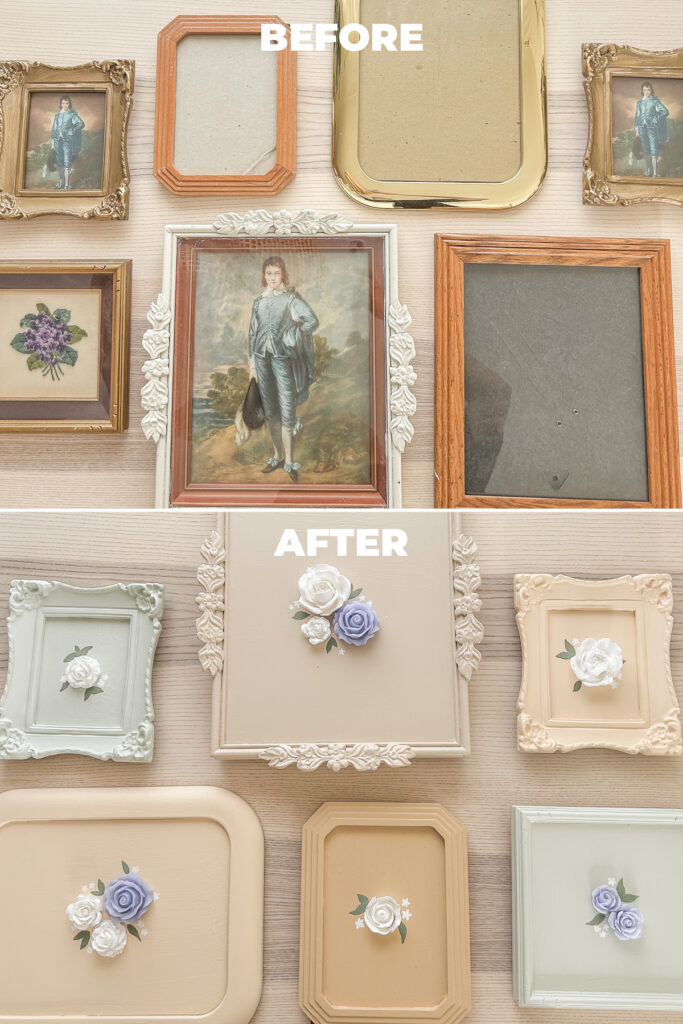
OKAY, so I’ve recently learned to love thrifting and if you do too then this DIY is perfect for you! I thrifted a bunch of frames and then transformed them into unique wall art for my home and it was EASY!! I painted the frames solid colors, which I love the look of, and then I added 3D flowers using liquid Sculpey! Don’t worry, it takes no talent, I just poured it in the mold and baked it!
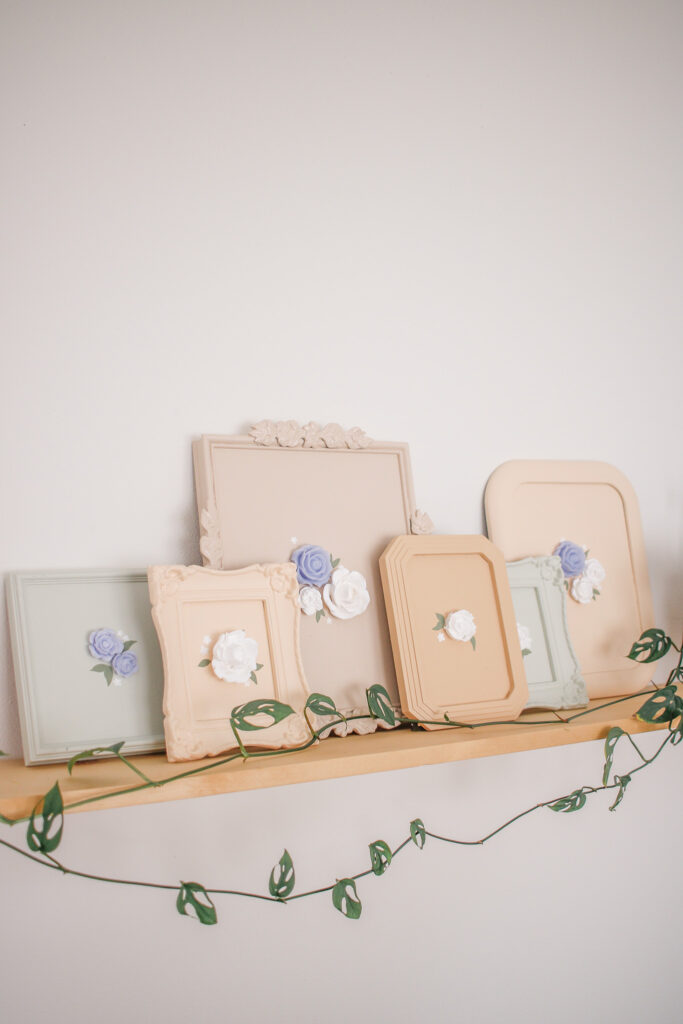
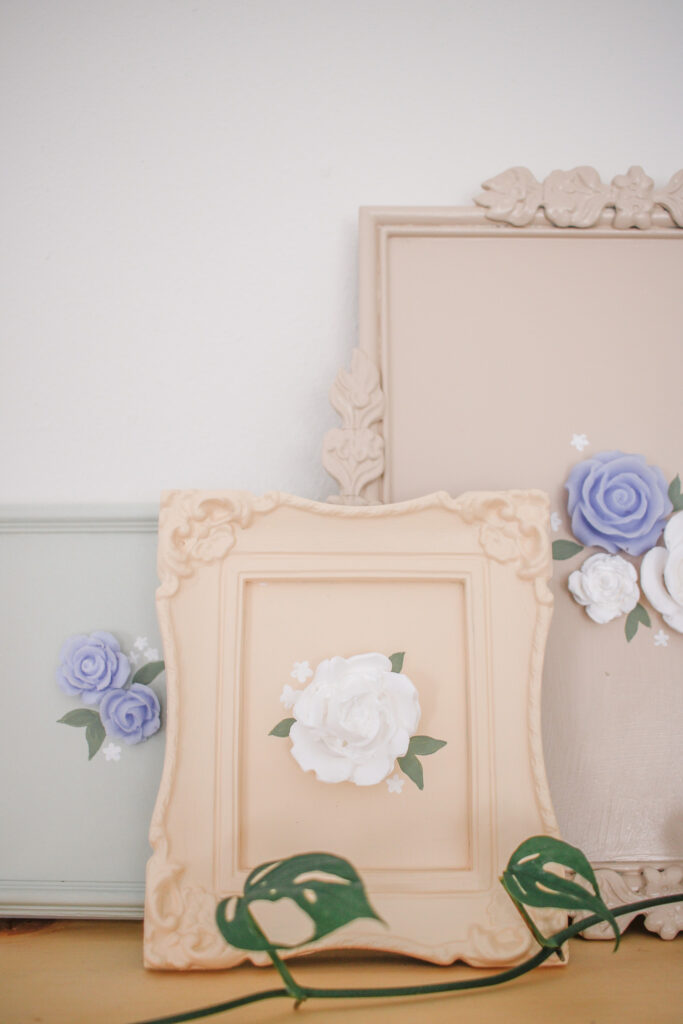
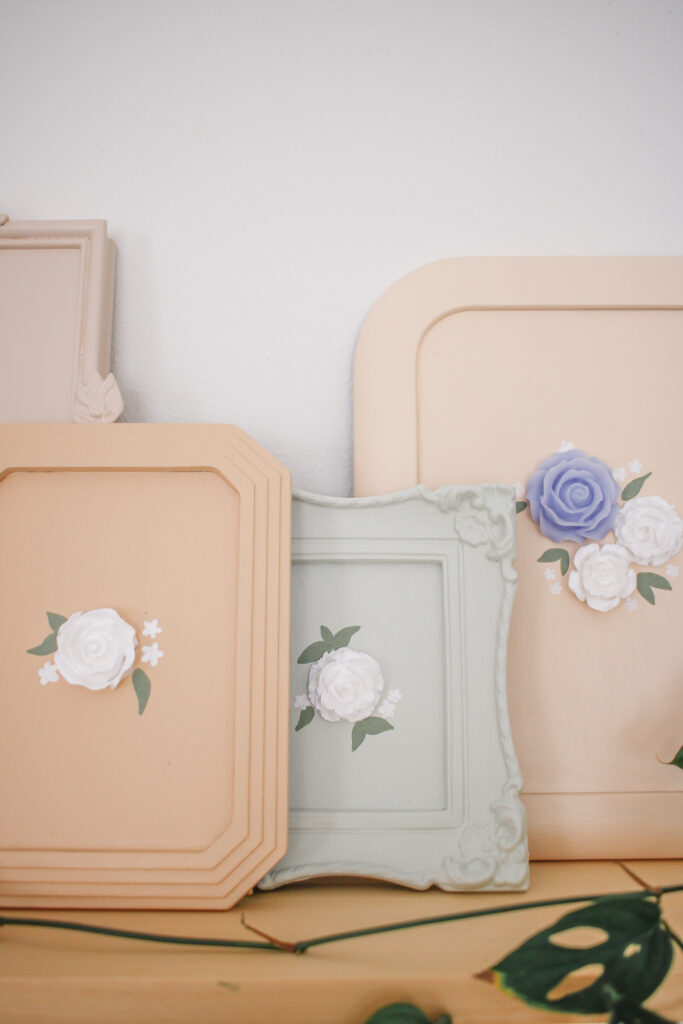
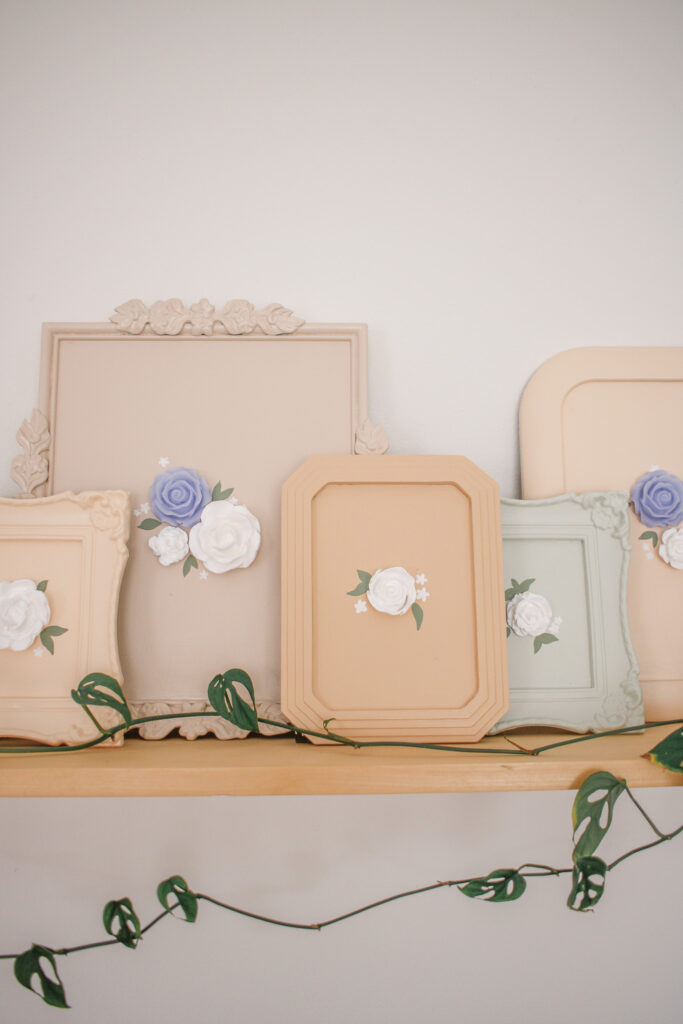
This is such an inexpensive art hack PLUS you can customize it to the colors of your home!! I feel like this is one of the more unique DIYs I’ve done and I’m so excited to share it with you!!
If you’re new here, Sculpey is my GO TO craft of choice, and liquid Sculpey is even cooler! It is similar to resin but SO much easier to work with!! I’ve done a few DIYs with liquid Sculpey already – like these dog tags and these dominos!
Let’s get started!!
SUPPLIES:
Liquid Sculpey
I used the colors ‘white’ and ‘Translucent Lavender’
Thrift Store Frames
Paint – I used various wall paint that I already had so that it would match our home!
White and green acrylic paint + paintbrushes
DIRECTIONS:
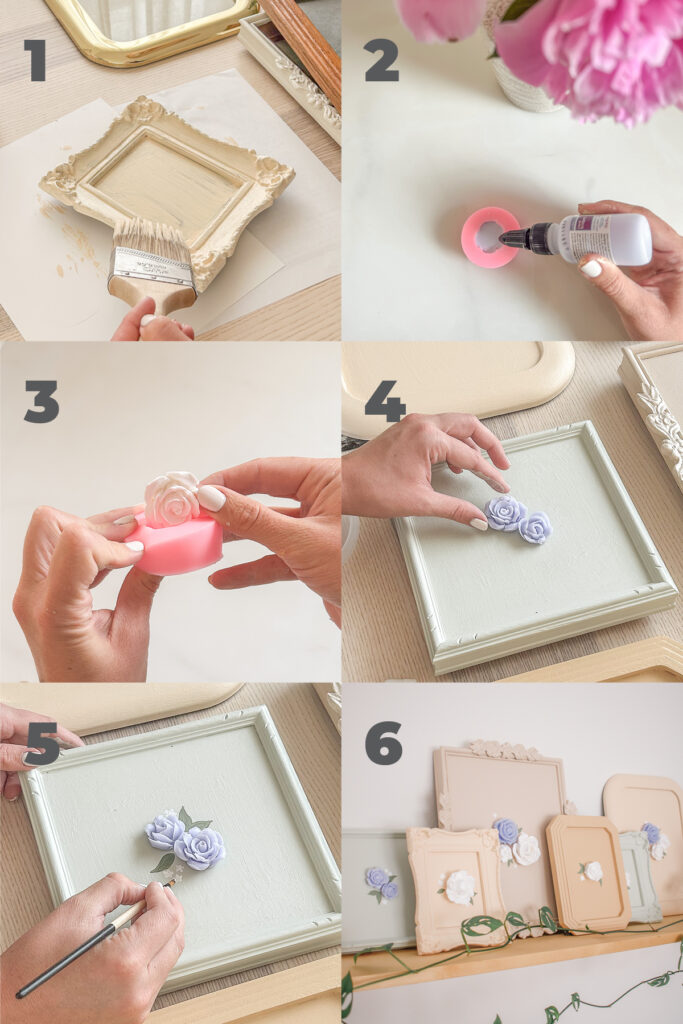
- Paint your frames! I used four different colors to paint my six frames. I arranged my frames how I wanted to display them and then decided what color I wanted to paint each!
- Make your Sculpey flowers! I used these molds to make my flowers! Simply squeeze your liquid Sculpey into the molds and then bake them according to package directions!
- Once the flowers are baked, pop them out of the molds!
- Use hot glue to glue the flowers onto your frames.
- Add leaves and tiny white accent flowers around your 3D flower(s)
- Display your beautiful wall art!
That’s it! Such a simple DIY! Of course you could use different shaped molds on your frames if flowers aren’t your thing! Like these letter molds, or these lego molds – the possibilities are endless!
See you soon for another DIY.. probably made with Sculpey 😉 If you make this DIY pretty please tag or DM me on Instagram @mikylacreates
