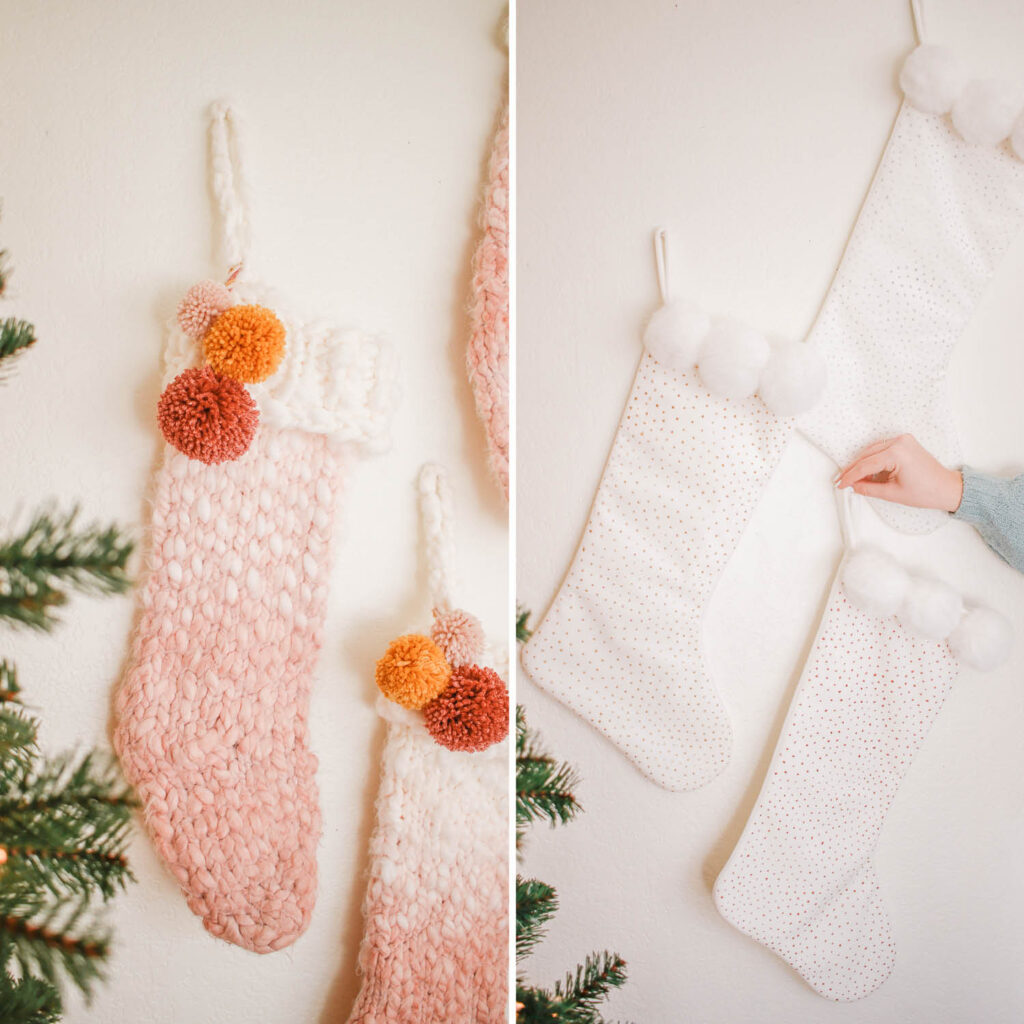
DIY Christmas Stockings – Two Styles!
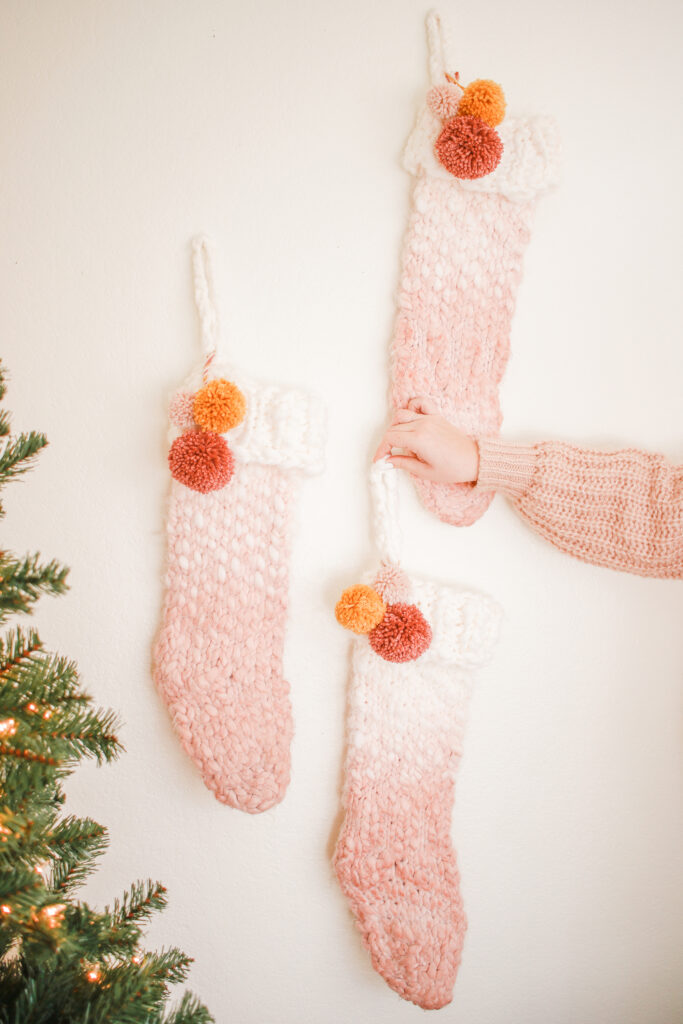
Hi there!! I am very, veryyyy excited about today’s DIY because I have been looking for cute stockings for years, and could seriously never find any that I loved. But, not anymore because I LOVE the ones I made for today’s DIY (Now I just have to decide which style to use), but seriously, I love them, and I cannot wait to hang them up and fill them this year!

PS. Check out more of my Christmas home decor DIYS – Advent Calendar, Christmas Wreath, Christmas Garlands, Christmas Ornaments.
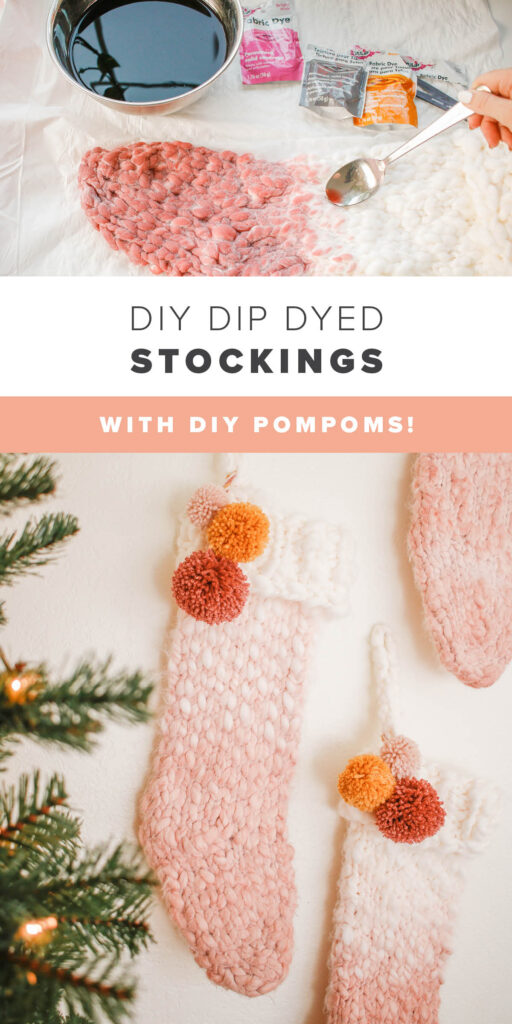
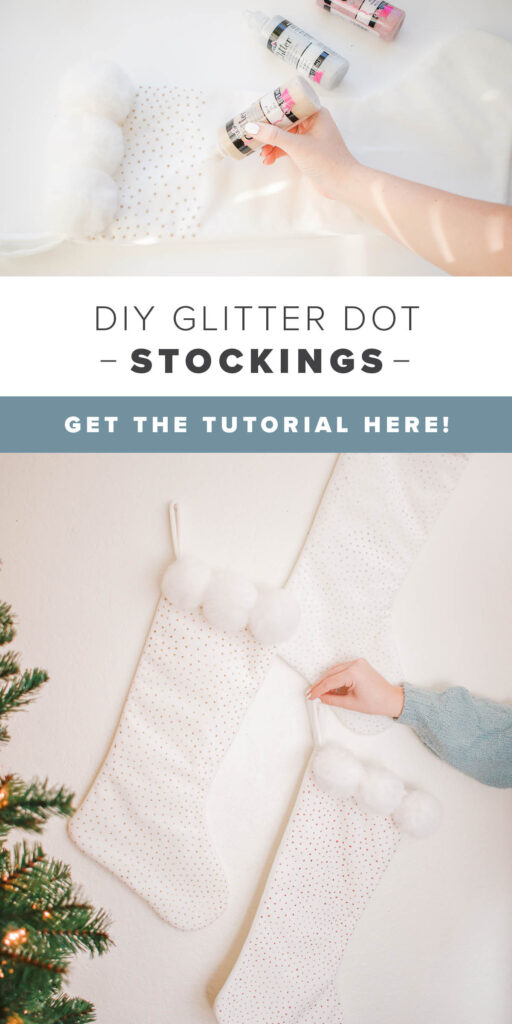
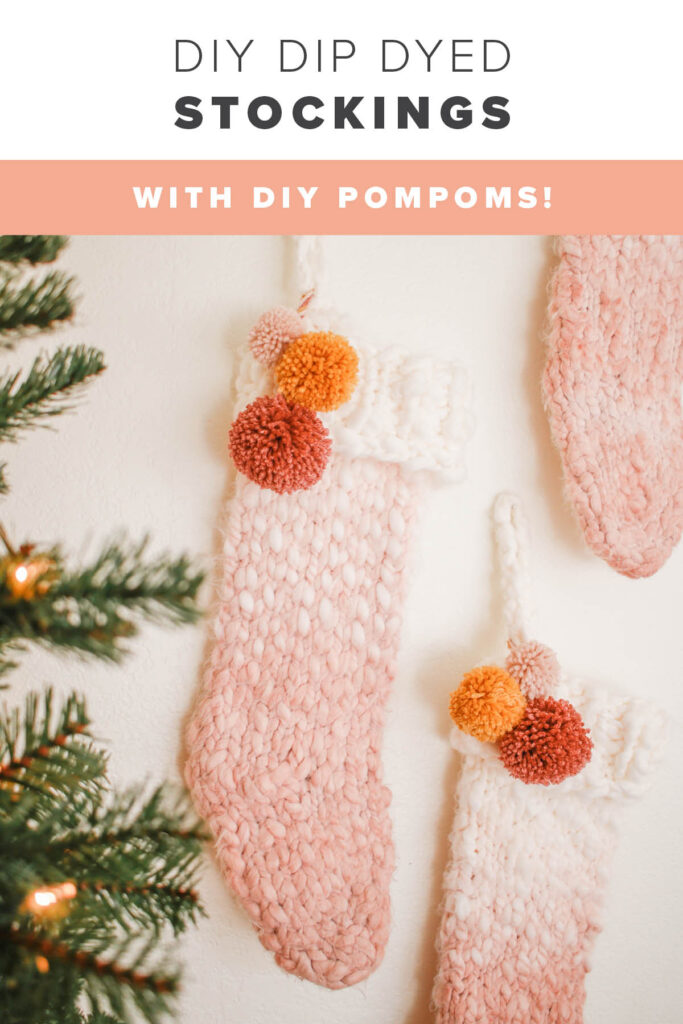
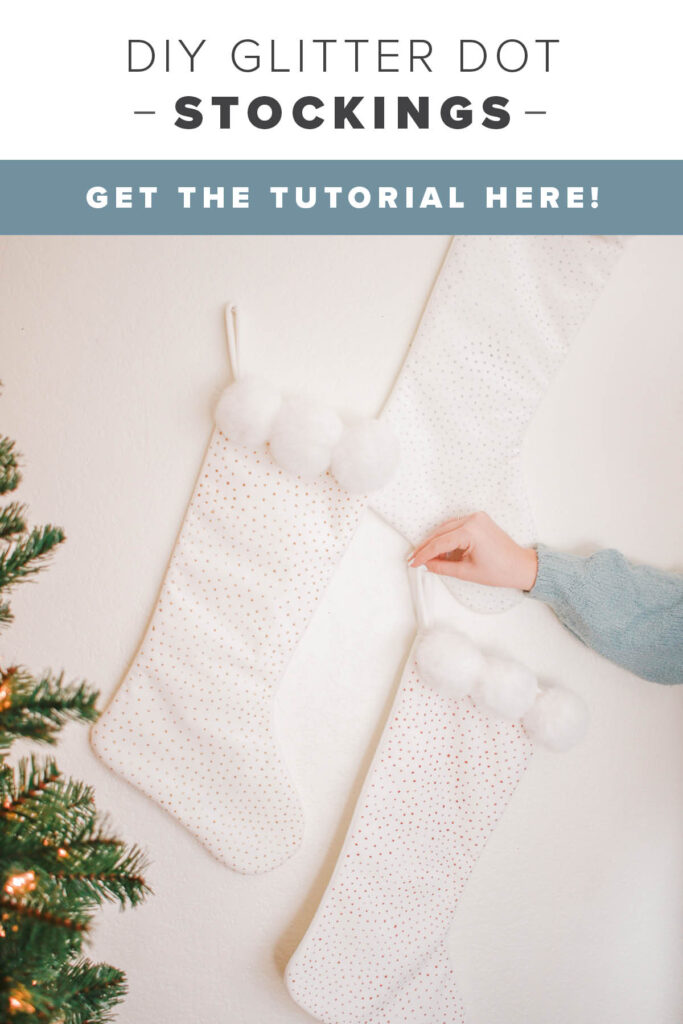
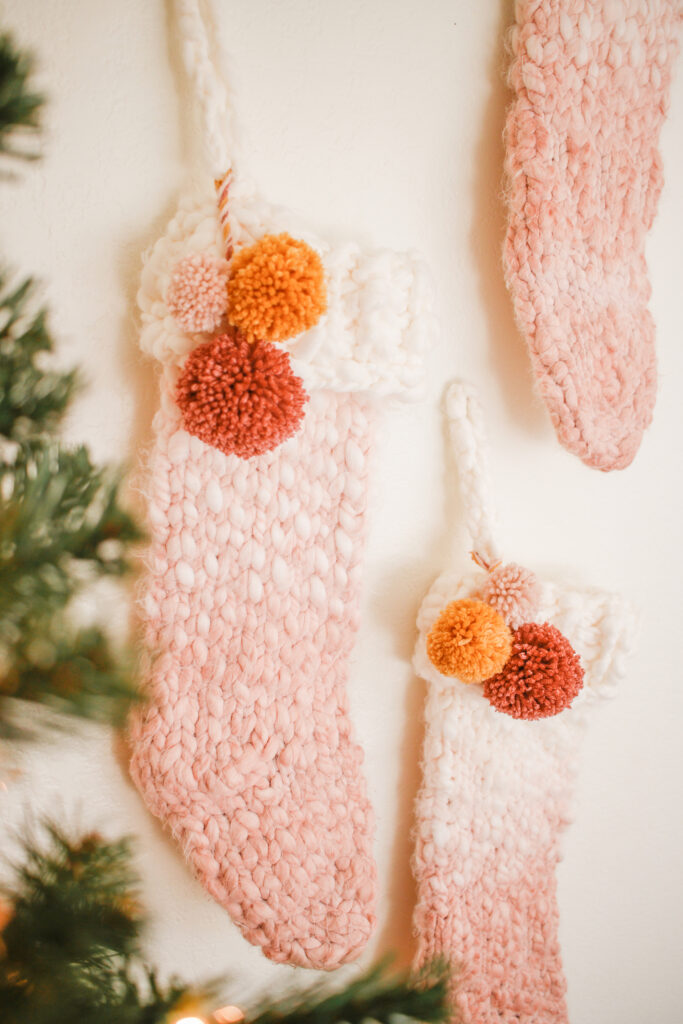
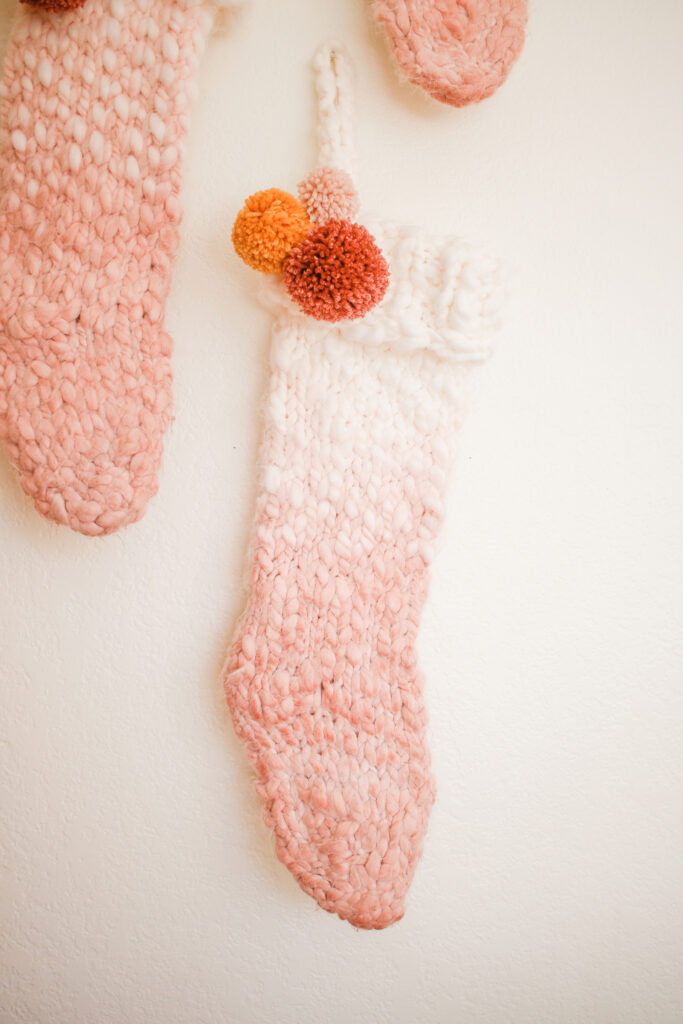
So, I decided to make TWO different styles of stockings AKA: two DIYs in one post! The first is a dip dyed stocking with pompoms and I used Tulip Color Hot Dyes to make them, but you could also use their tie dye! The second set of stocking are dotted glitter stockings for a more classic Christmas look, I used Tulip Color’s Glitter Fabric Paint to make those! I’d also love to know which you like better since they’re so different!
I personally like opening stocking stuffers more than actual gifts since my parents made stocking stuffers a big deal growing up, and we always got amazing stocking stuffers! So, it is so exciting to me that I now have the cutest stockings ever. Okay, let’s get started and make some stockings!
Dip Dyed Pompom Stockings:
SUPPLIES
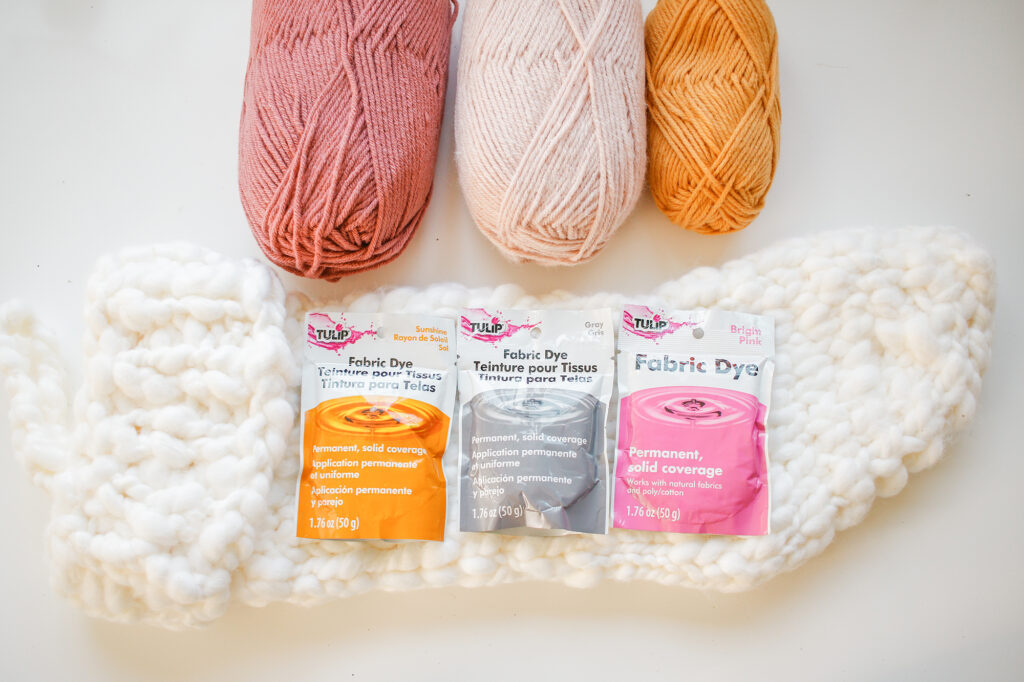
Tulip hot dyes in colors
Bright Pink
Gray
Sunshine
White, chunky knit stockings
These are the ones I bought, but here and here are similar ones.
Yarn in colors:
Dark pink
Light pink
Mustard yellow
^ I bought mine from Hobby Lobby
Pompom makers in various sizes
DIRECTIONS
To Dye Your Stockings:
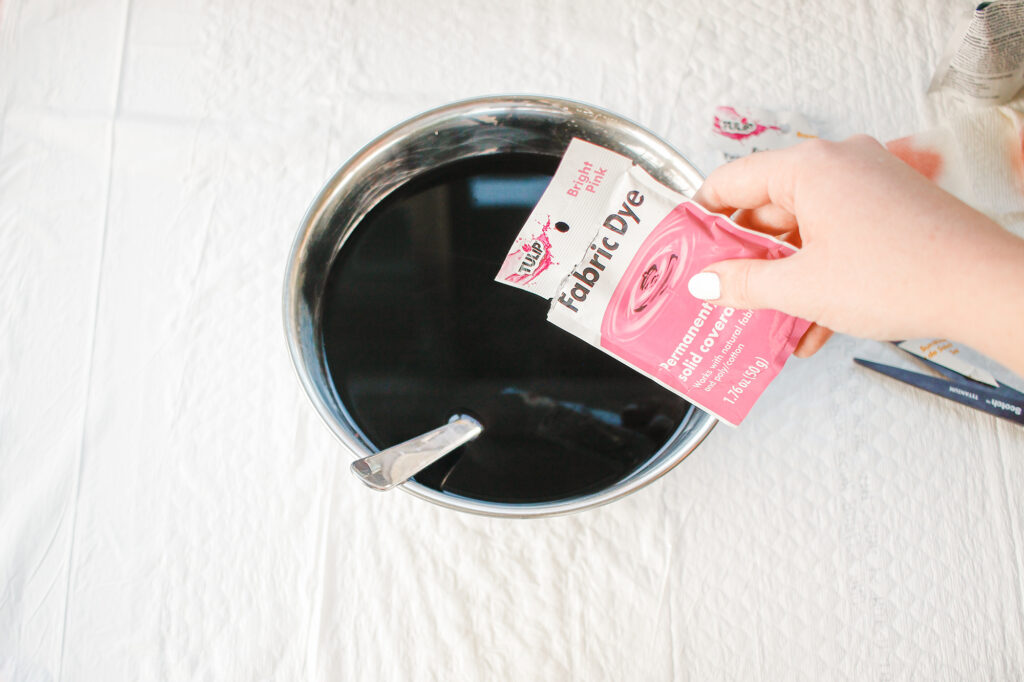
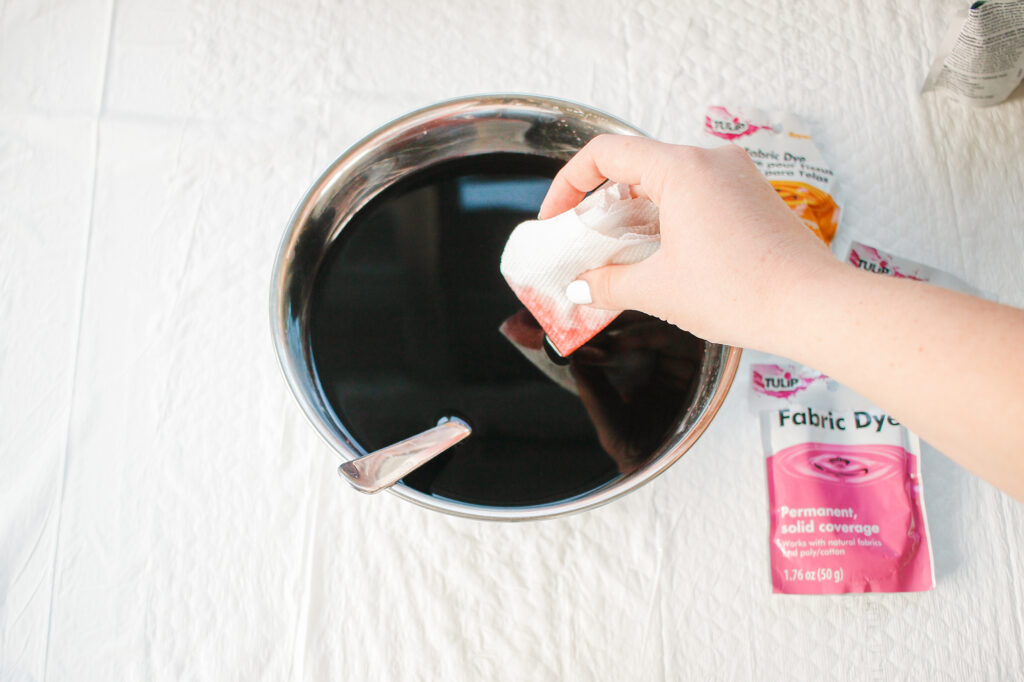
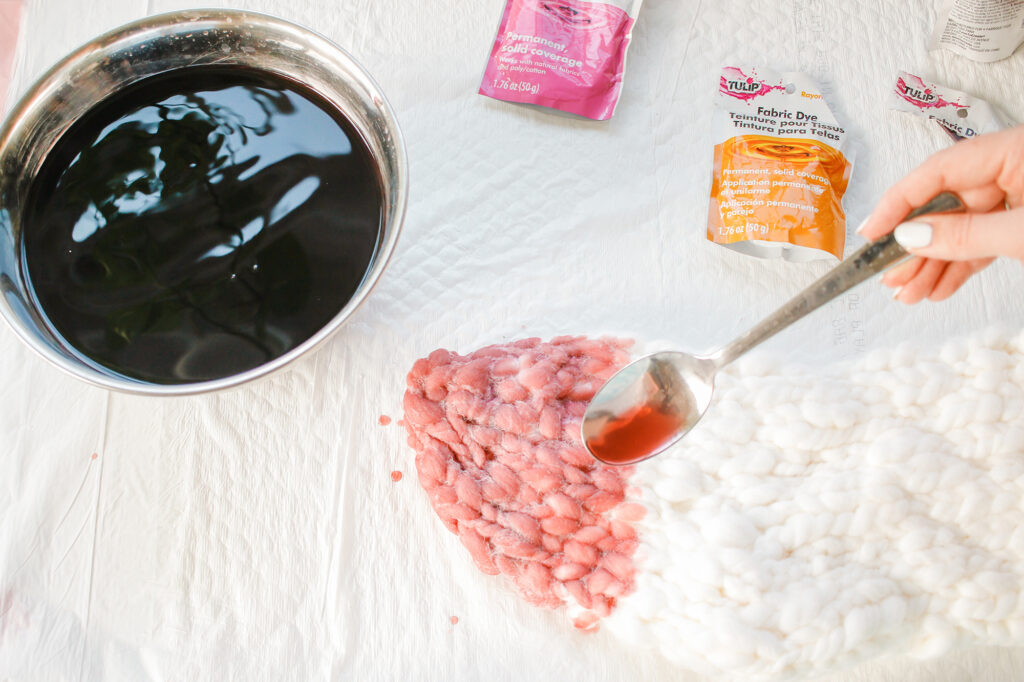
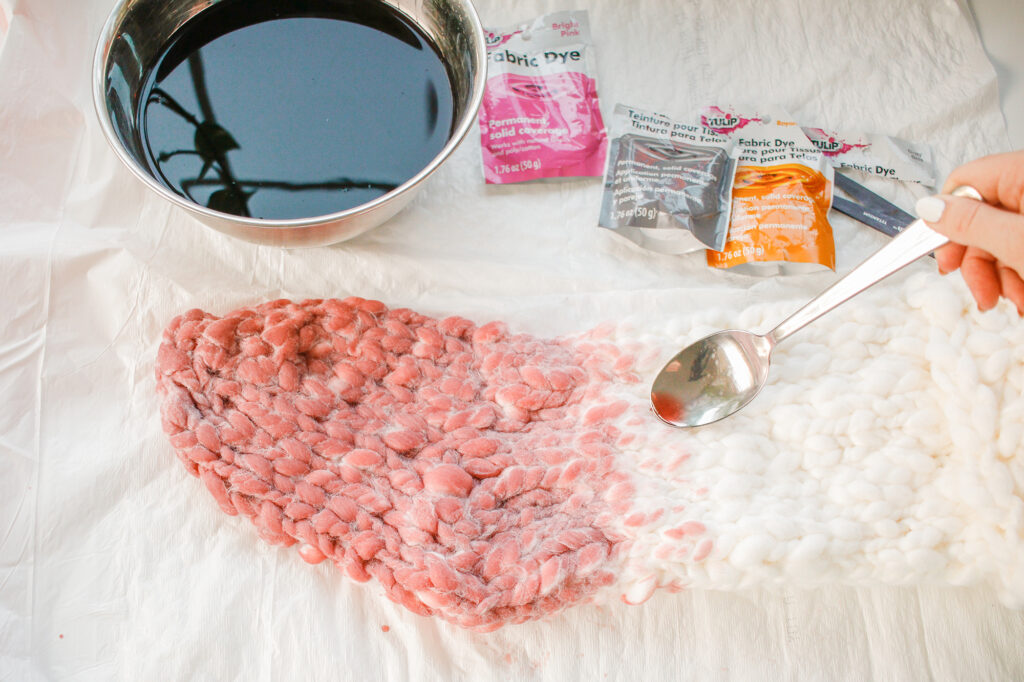
- First fill a large bowl with hot water and add a little salt.
- Time to make your custom color with your Tulip Color Hot Dyes! I added pink, yellow, and gray a little at a time and kept testing the color with a paper towel to see what I needed to add more of. It’s definitely not an exact science. You really just add your colors a little at a time until you get the color that you want! I wanted a muted peachy pink, which is why I chose gray, yellow and pink to mix together.
- Once you have mixed your perfect color, it’s time to dye your stockings! I tried both spooning on the dye and completely dipping the stocking. The dipping is definitely faster and easier, though it does take quite awhile to dry.
- The dye will spread naturally as it dries, especially if you choose to dip dye your stocking, making a really pretty ombre and gradient effect without you having to do anything #winning!
- Repeat with all of your stockings.
To Make the Pompoms:
*Make sure to watch the tutorial video above to see how to make the pompoms, as it is much easier to understand with visuals.
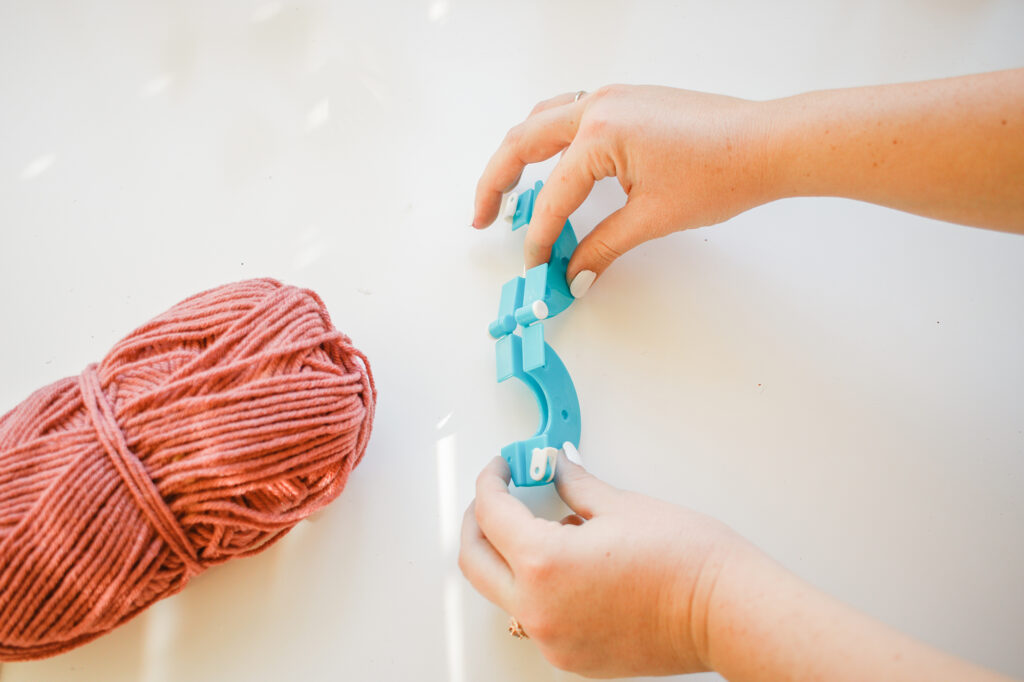
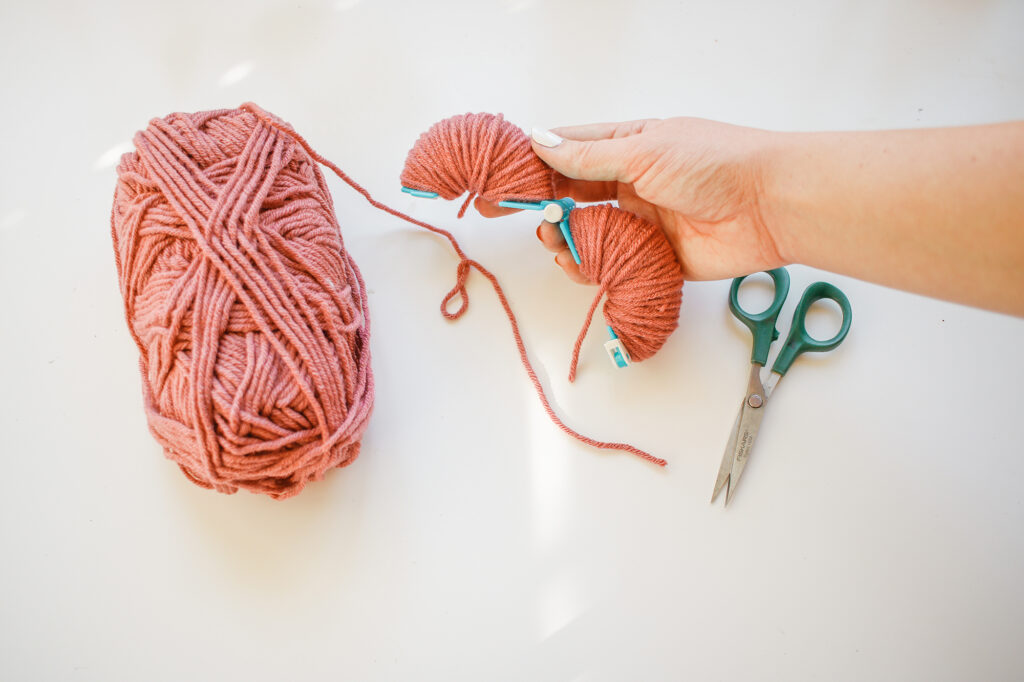
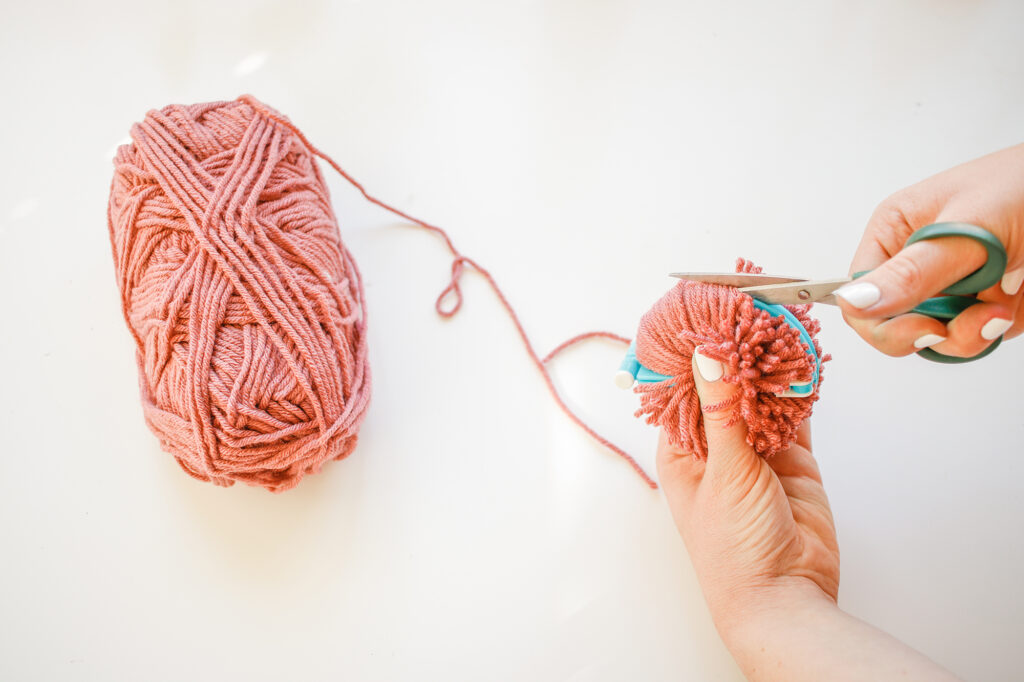
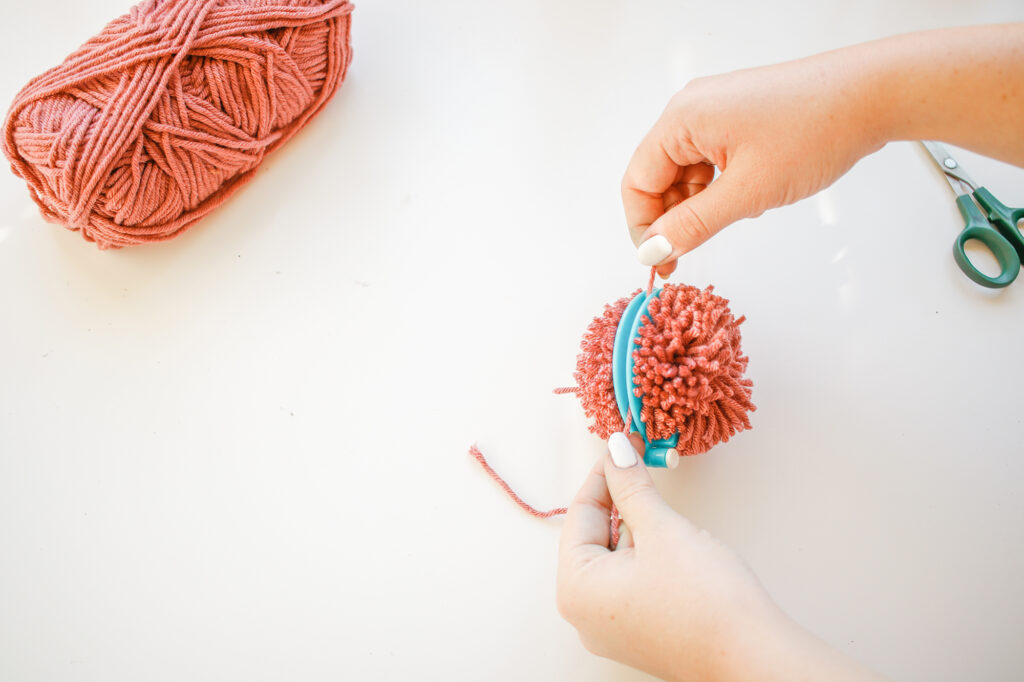
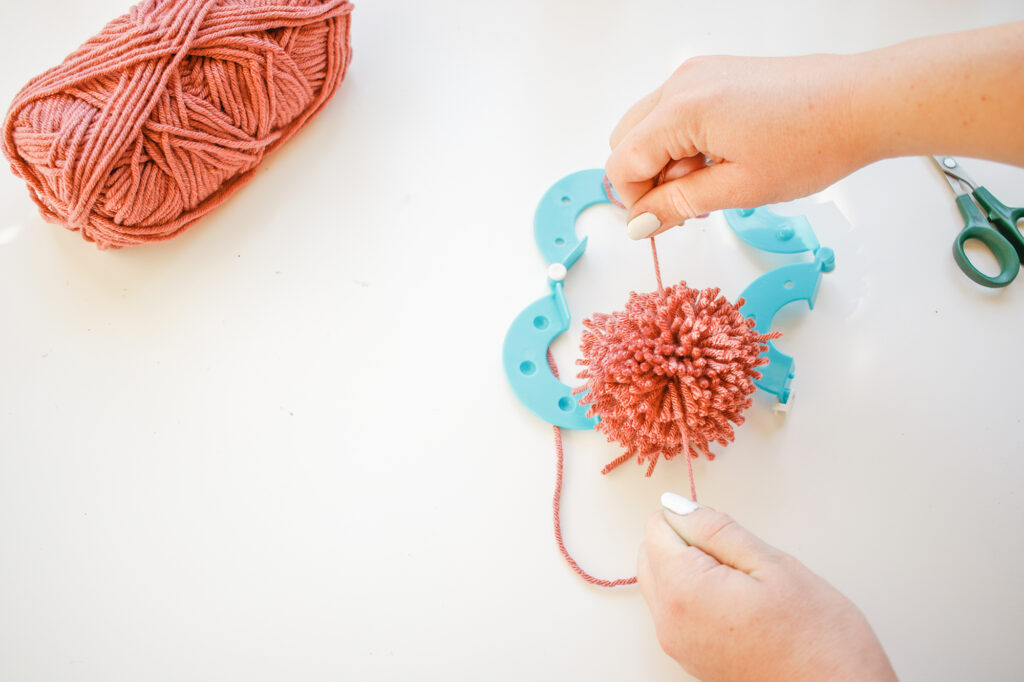
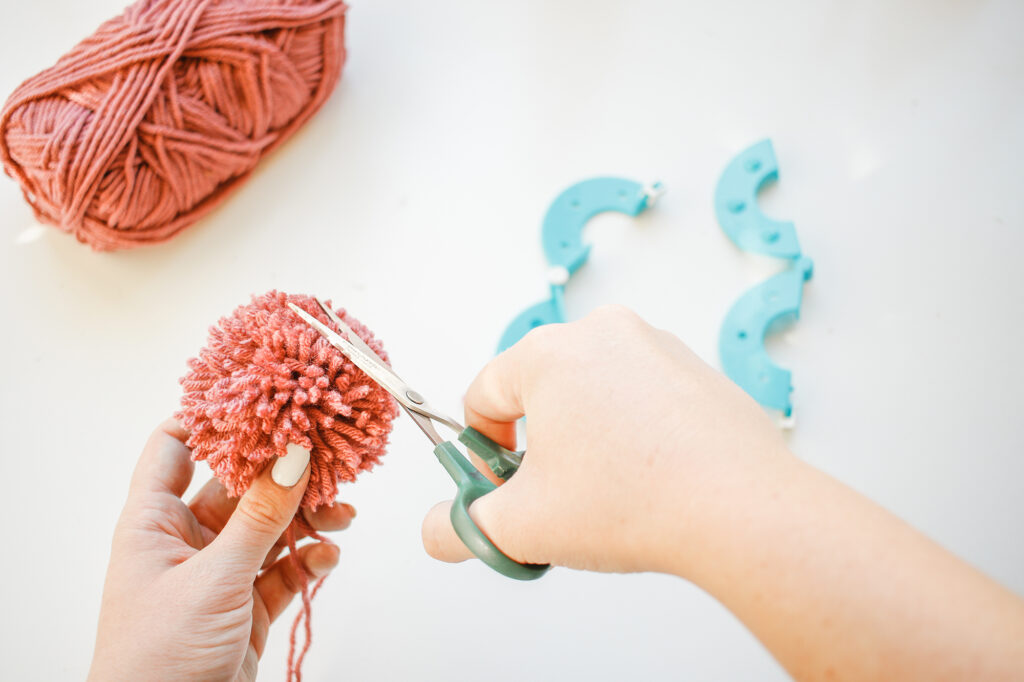
- I got a pompom maker set for about five bucks that included 4 different sizes of pompom makers, and for this DIY I used 3 sizes.
- Wrap your yarn onto each side of your pompom maker. I didn’t count how many times I wrapped it, I just wrapped the yarn as many times as would fit so that I got a really fluffy and full pompom!
- Once you’ve wrapped both sides, clip your pompom maker together, and cut the yarn apart all around the perimeter of your pompom maker.
- Tie a long string around your pompom, then take the pompom maker off. Now tighten the string as tightly as possible and knot it.
- Now the fun part! Trim your pom pom so that it is even all around. But, make sure not to trim off your two long strings!!
- Repeat these steps with your other colors and sizes.
- Tie your pompoms onto your stocking at varying heights, then trim the strings off.
Dotted Glitter Stockings:
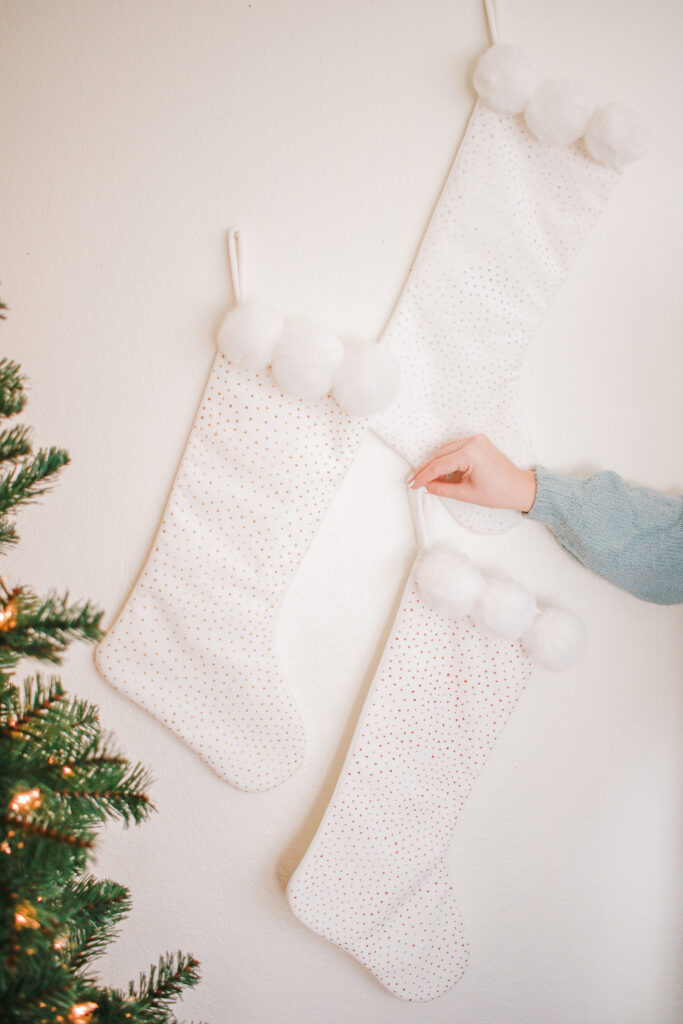
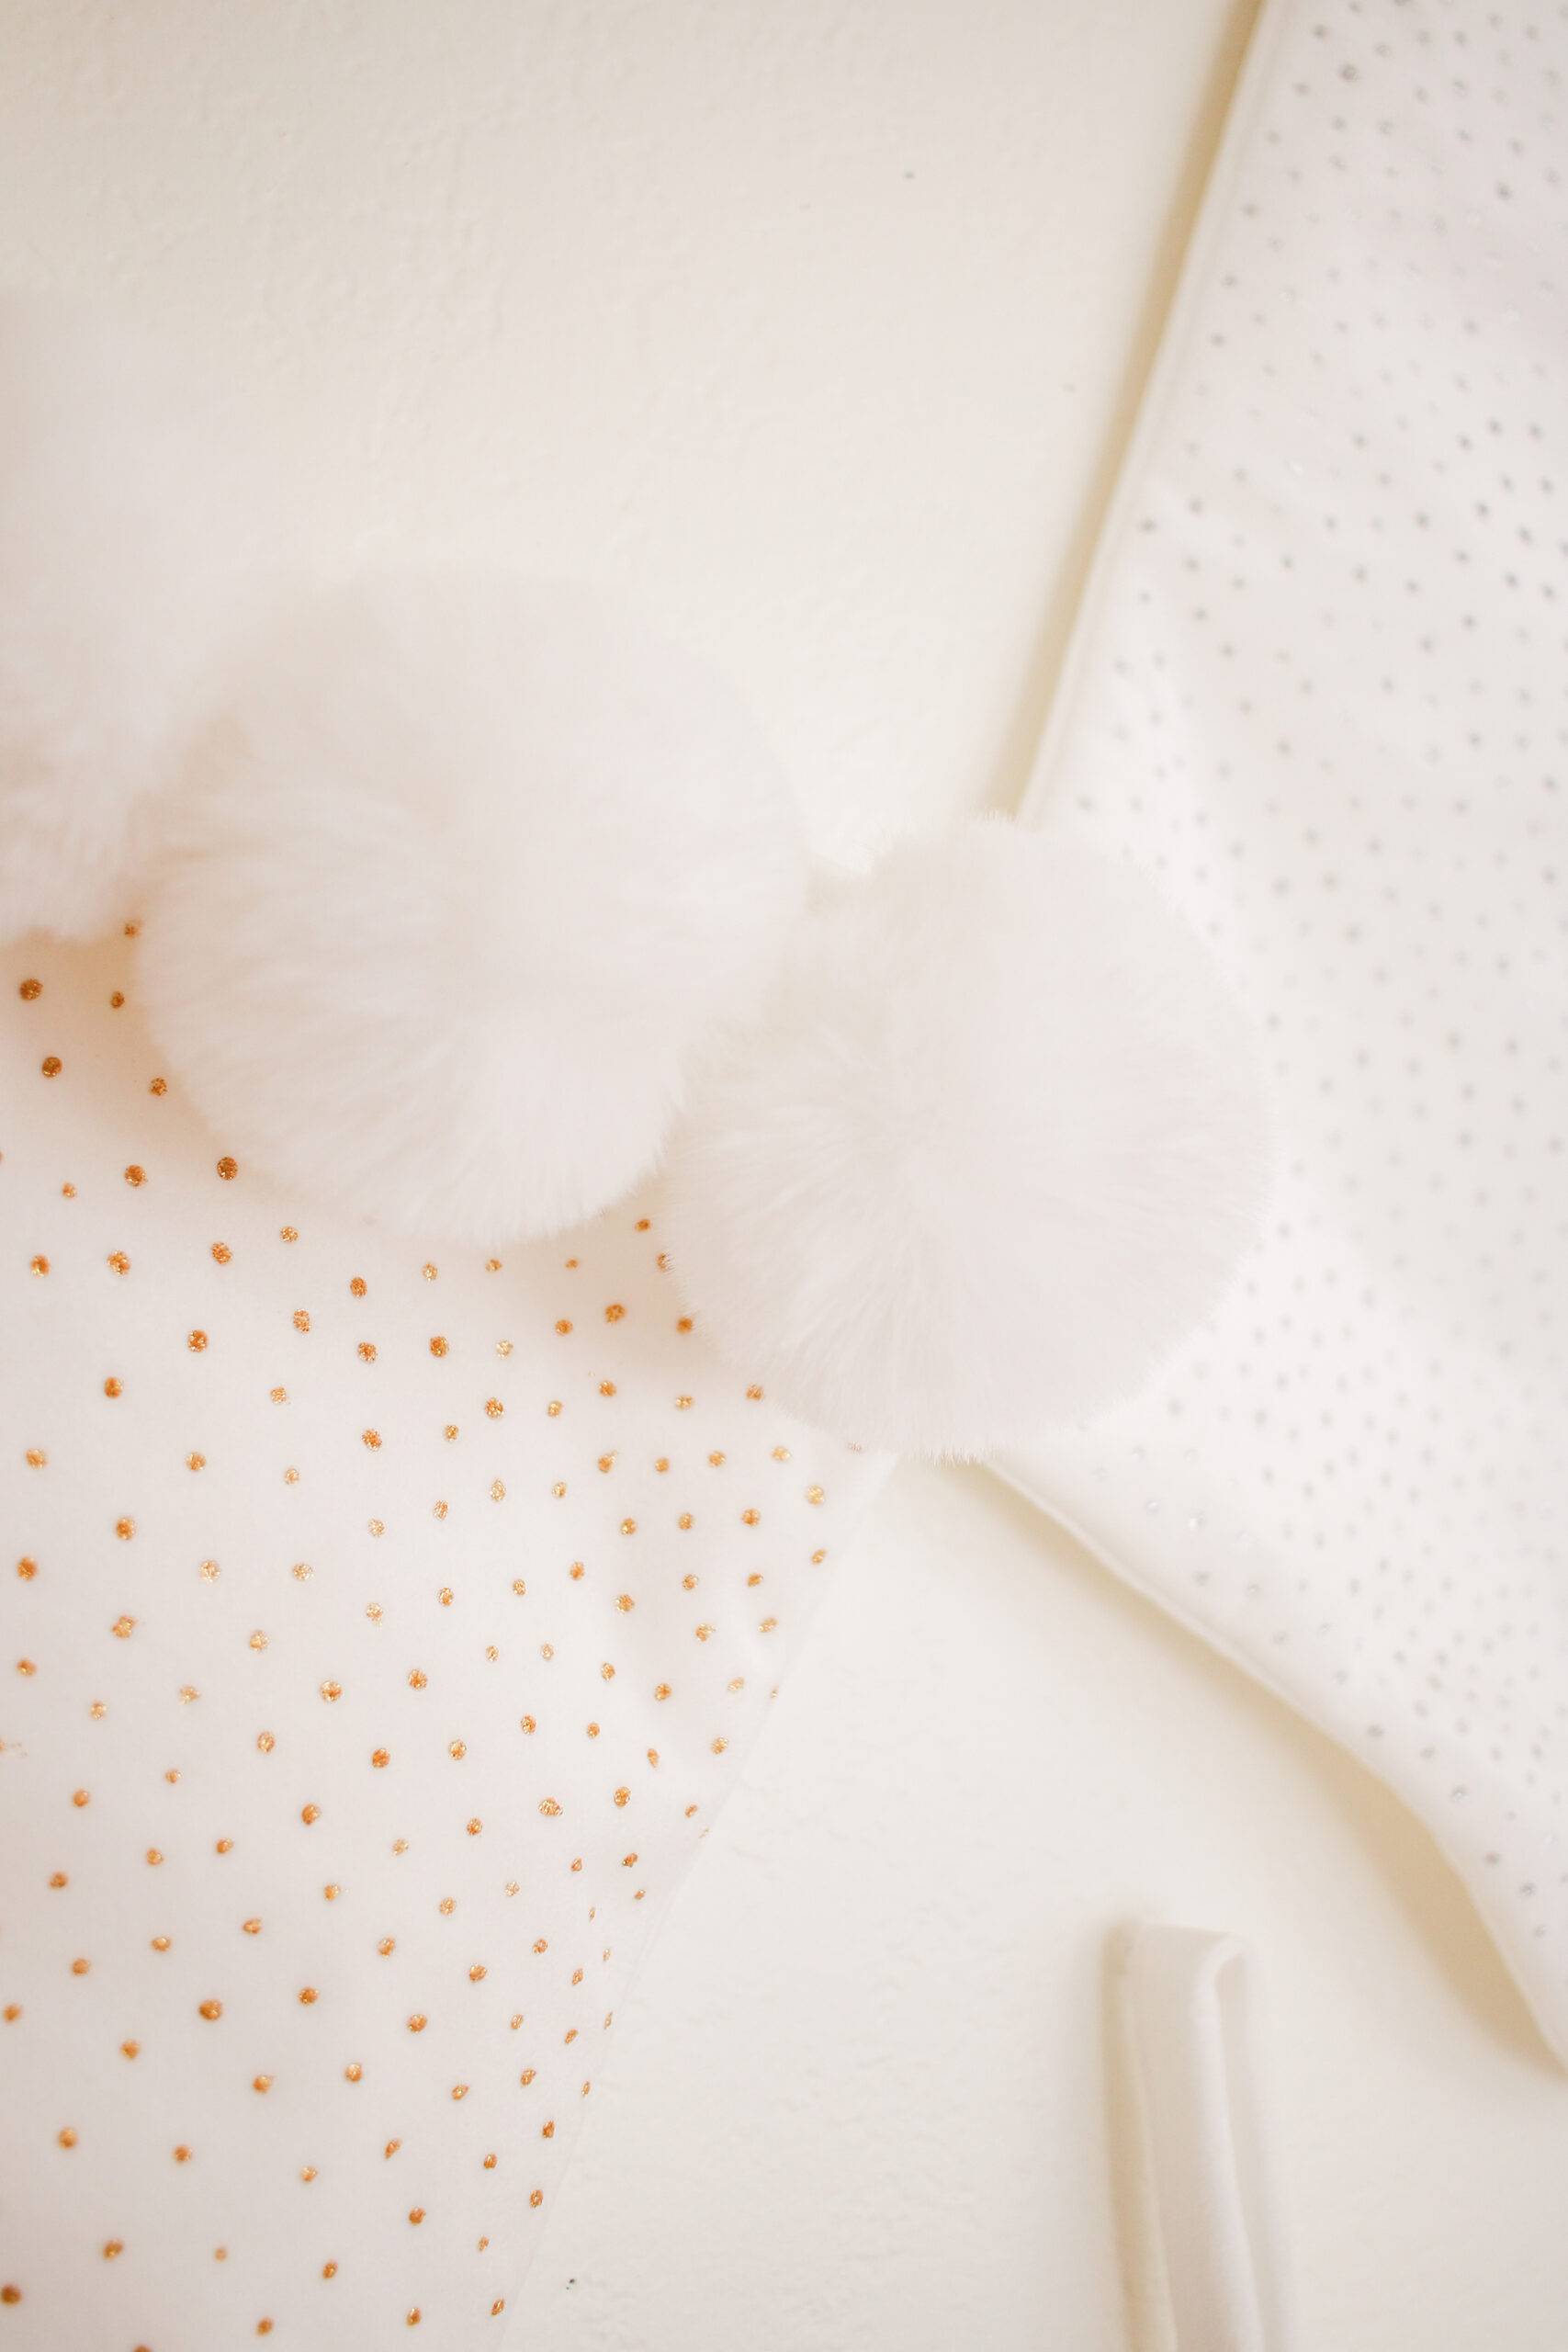
SUPPLIES
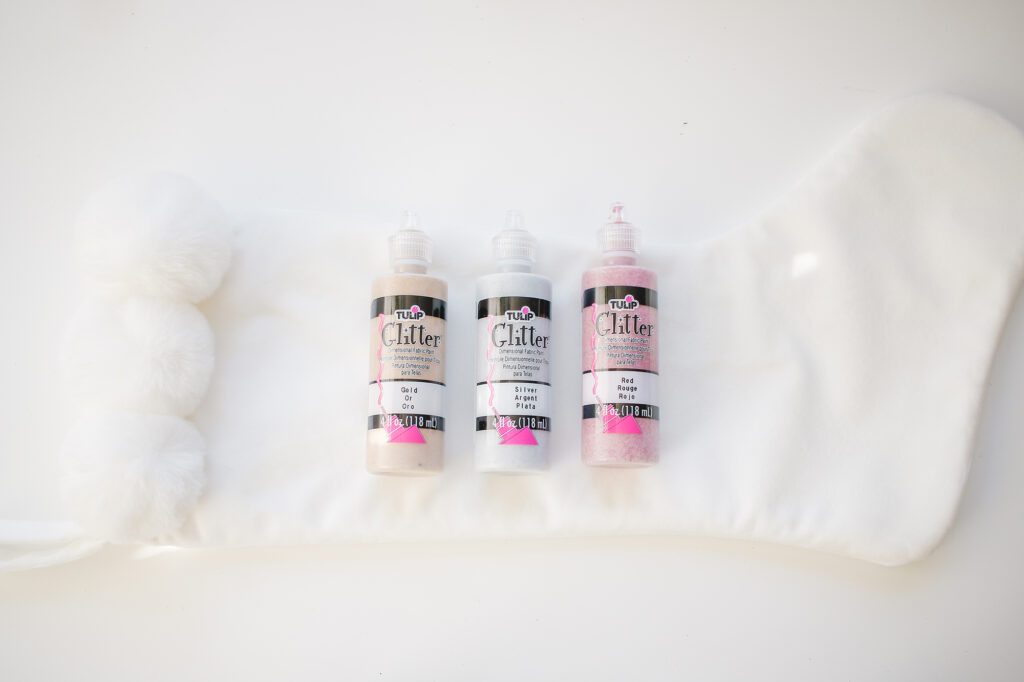
Tulip’s glitter puffy paint in 3 colors:
Gold
Silver
Red
DIRECTIONS
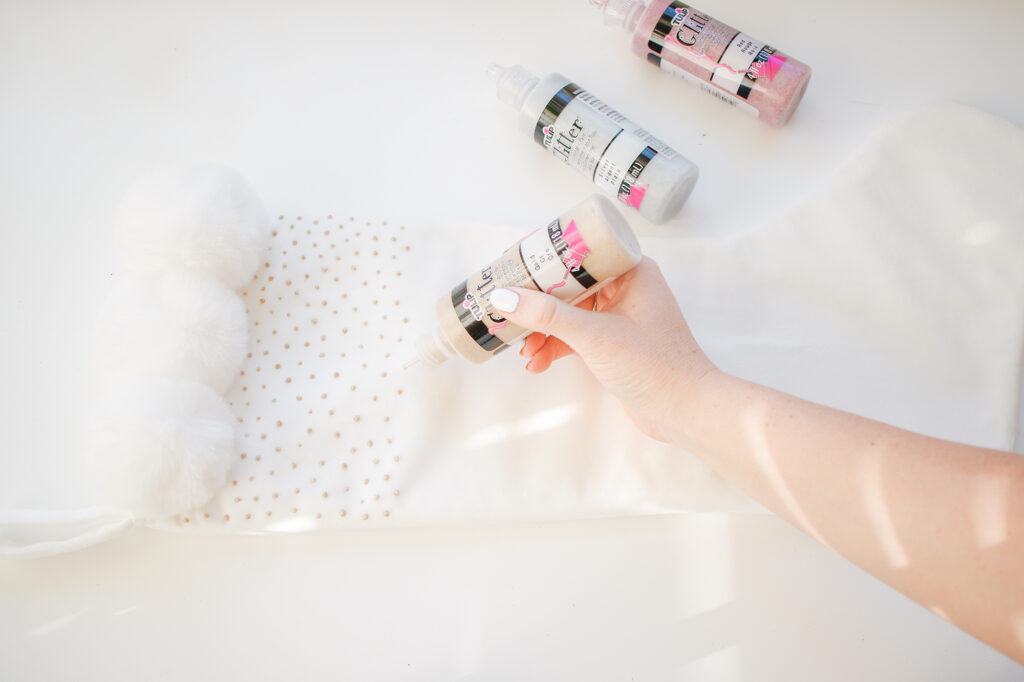
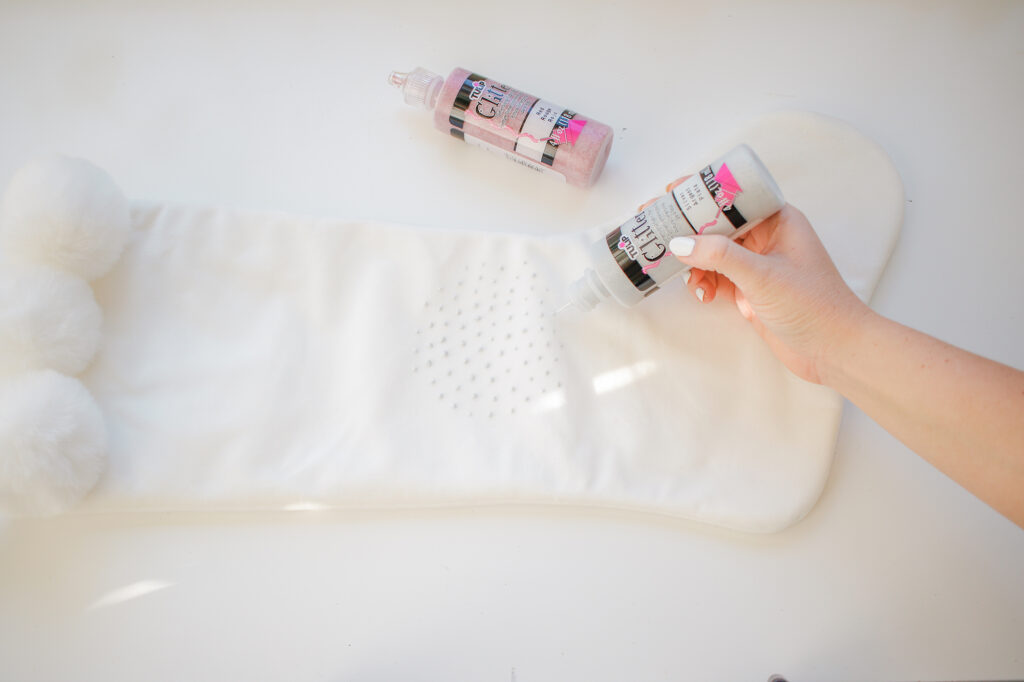
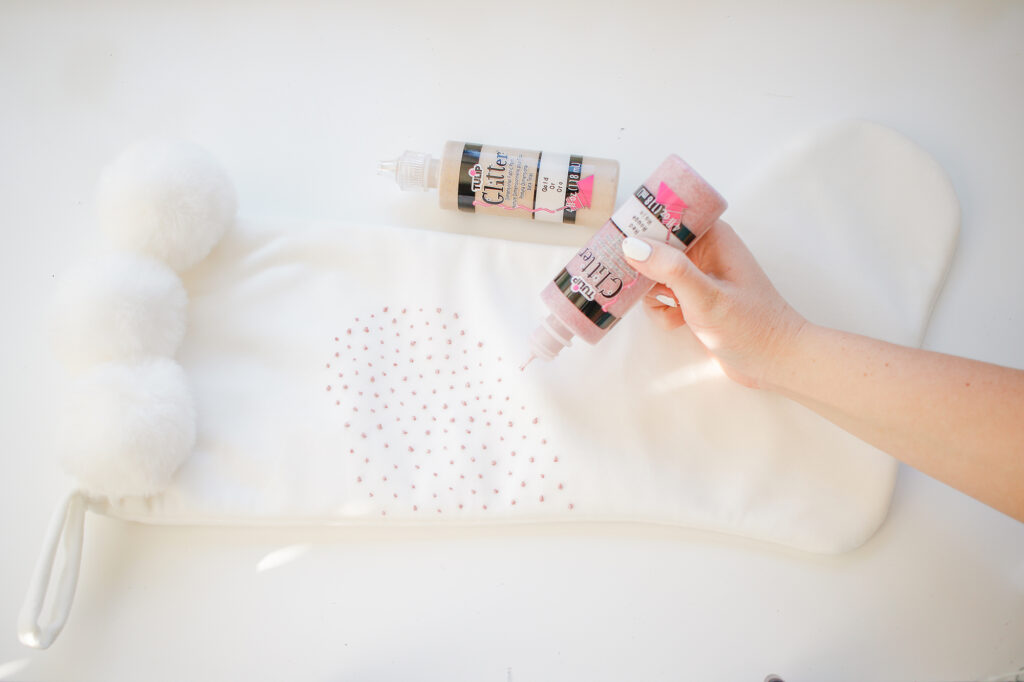
- Before you start making glitter dots on your stocking, I would practice first on a scrap piece of paper, since the paint is permanent.
- Lay your stocking on a flat surface, then take one of your bottles of glitter paint and hold your bottle at a 70 degree angle and carefully squeeze out teeny dots.
- Make sure to evenly space your dots, and also try to make them generally the same size. But, don’t worry if they aren’t perfect cause that just adds to the character!
- Keep making tiny dots until the front of your stocking is filled.
- Repeat these steps with your different colors of glitter paint on your other stockings.
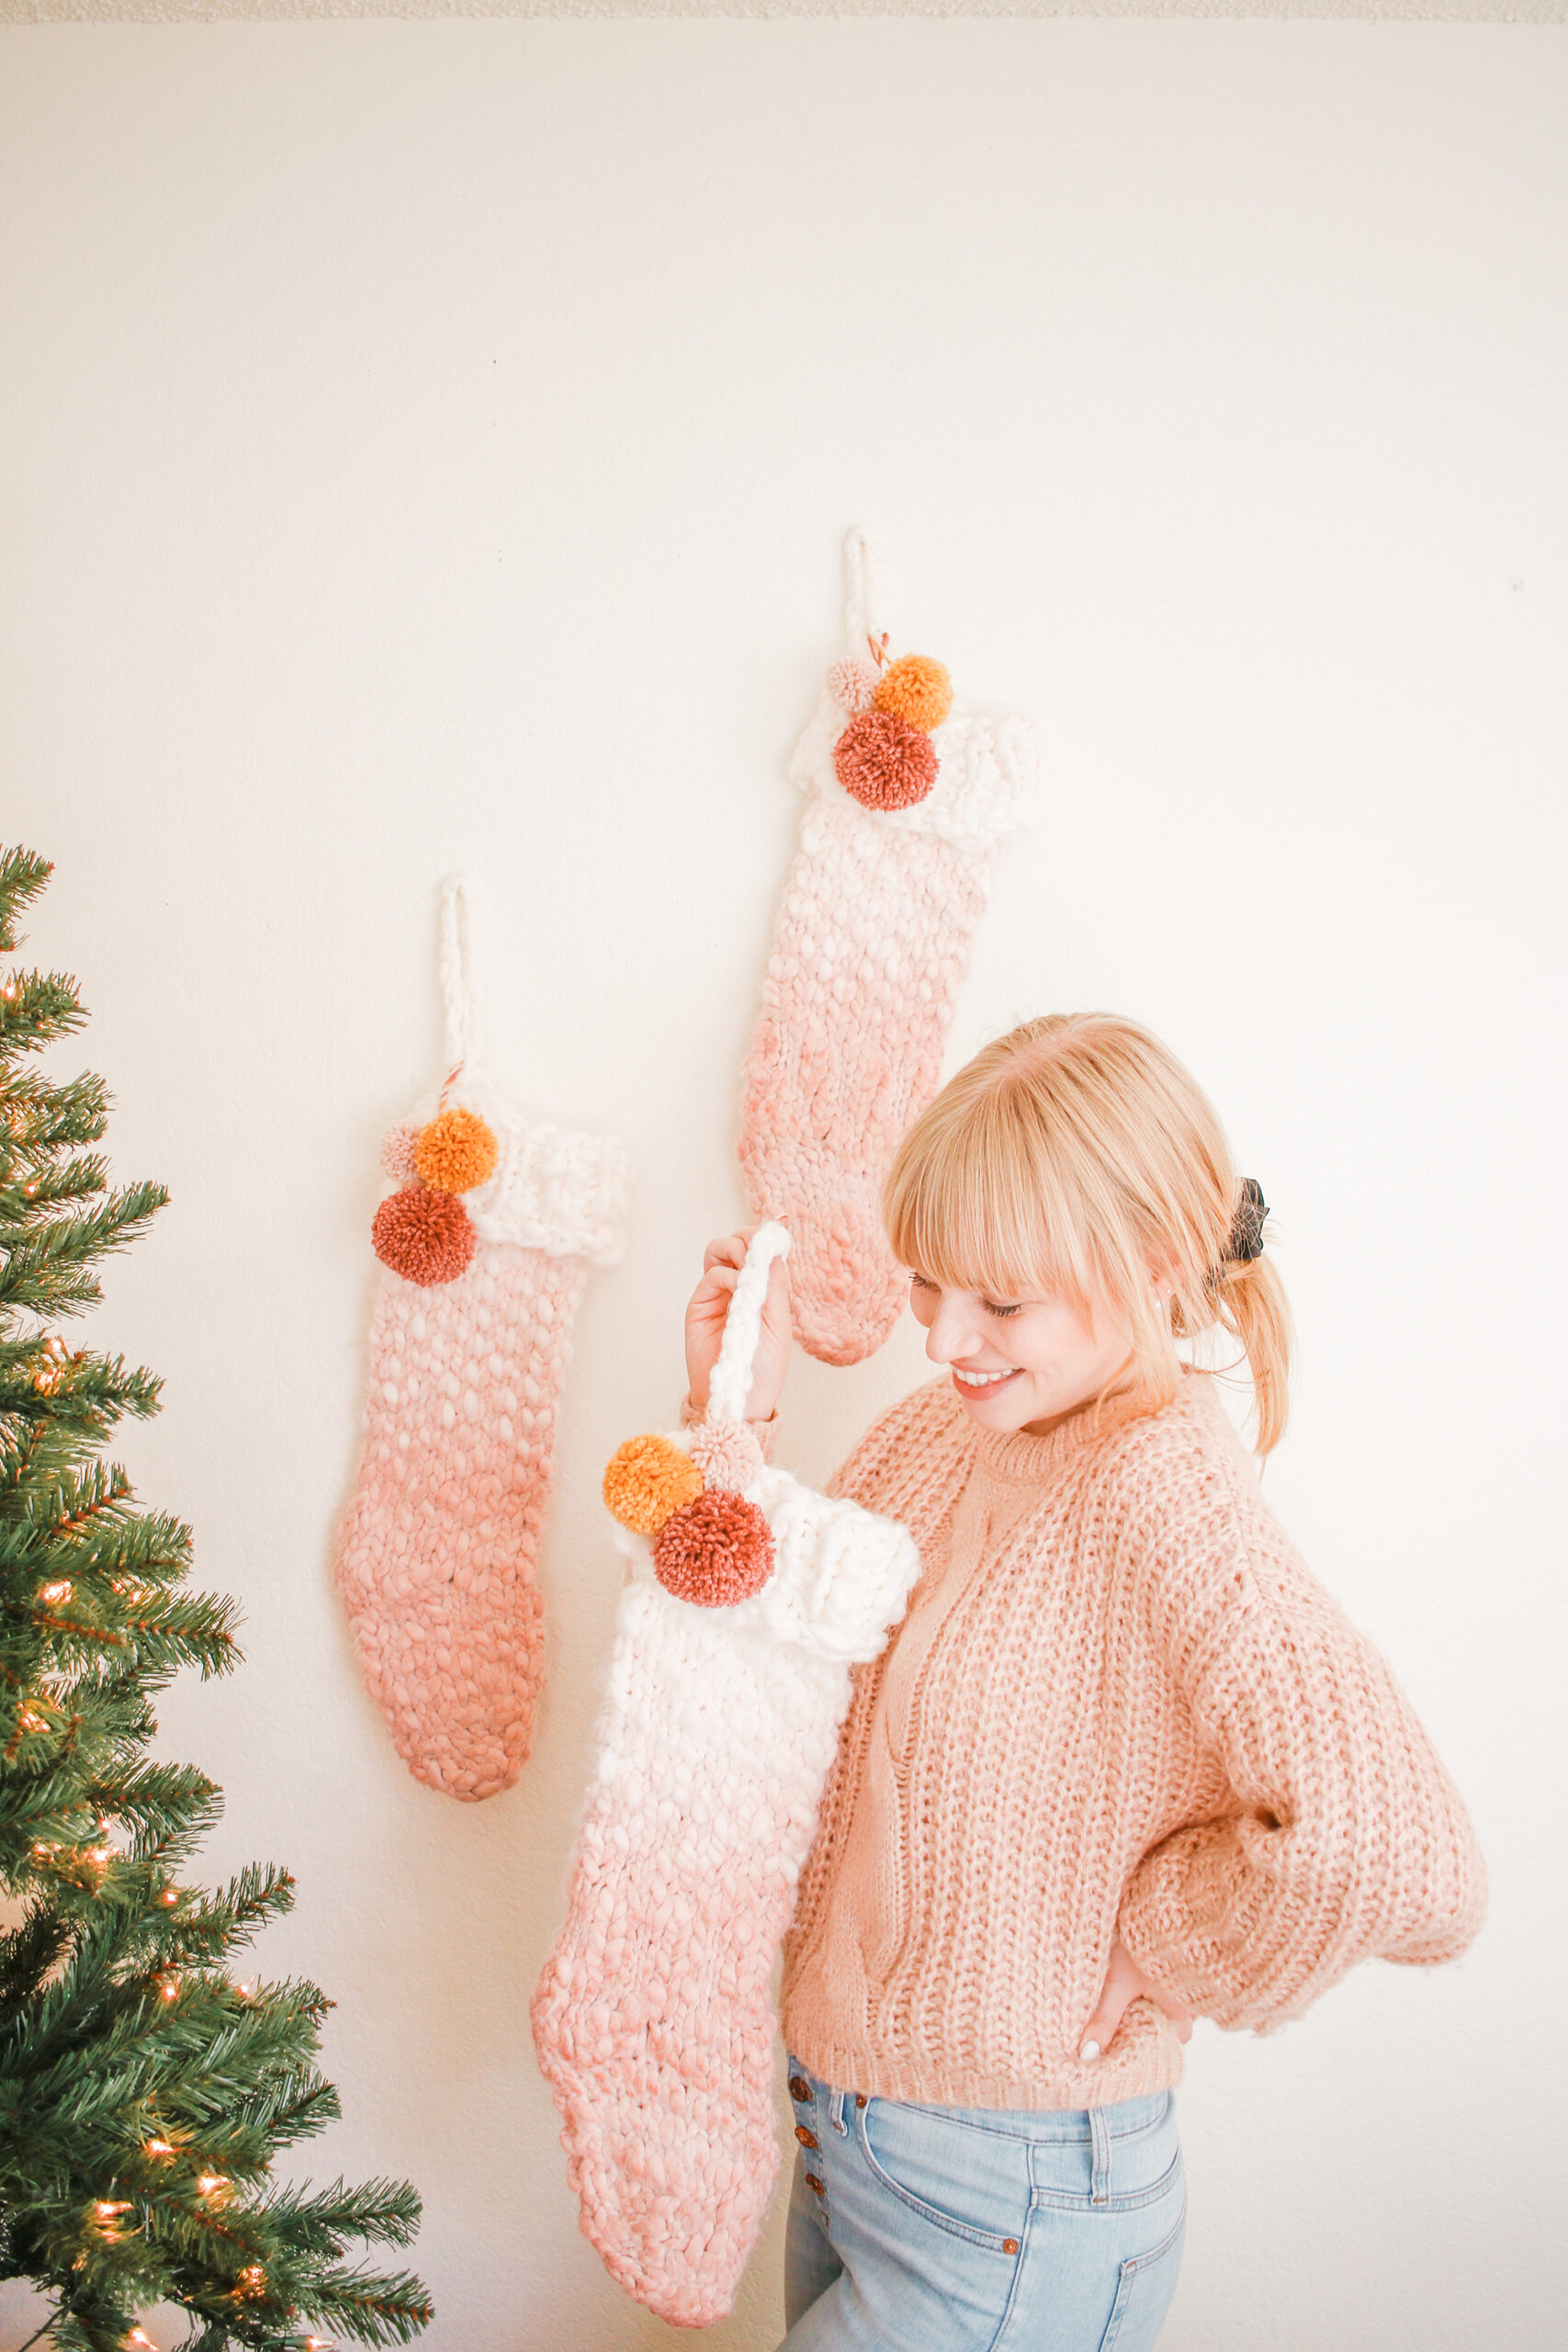
You’re done! You’ve got the cutest stockings ever is you ask me!! Now you get to fill up your stockings with all sorts of fun goodies! Merry Christmas!
This ‘DIY Christmas Stockings – Two Styles!’ post was created in partnership with Tulip Color. All content and opinions are my own! Thank you for supporting the sponsors that help keep Mikyla Creates going!!
