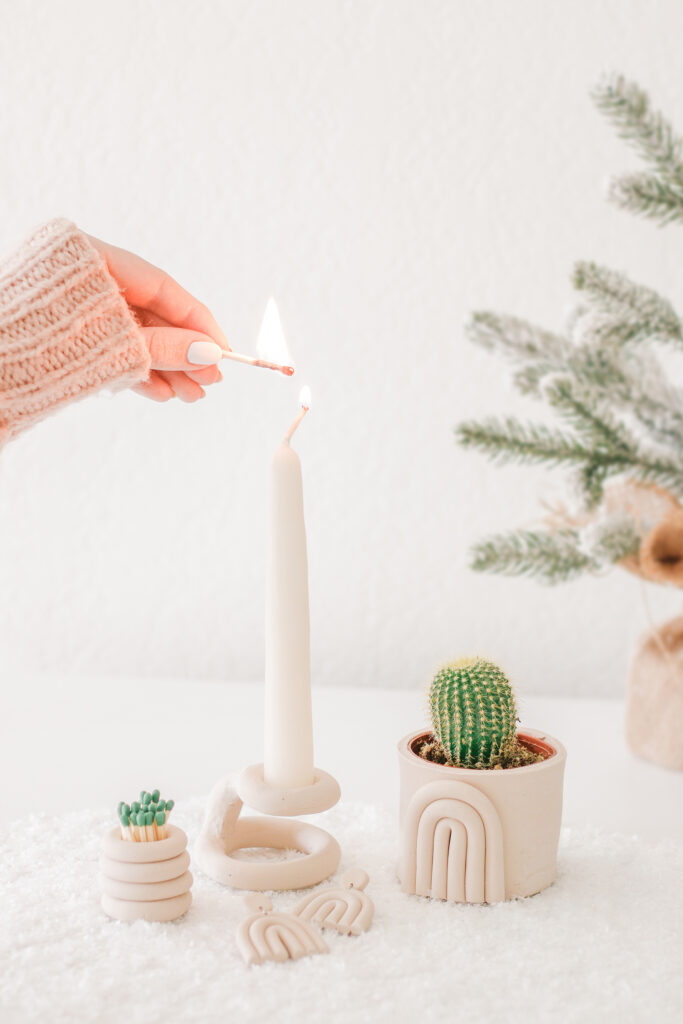
3 DIY Gifts Made of Clay
Hey there! This DIY is very exciting because I partnered with Emily from Dossier Blog to make a DIY for her 12 days of DIYs!! So, you can find this DIY as well as 11 other amazing Christmas DIYs from different bloggers over on her blog! So, go check those out! I love when bloggers support other bloggers and I’m honored that Emily asked me to be apart of this fun idea!!
PS. Check out more of my Christmas home decor DIYS – Advent Calendar, Christmas Wreath, Christmas Garlands, Christmas Ornaments.
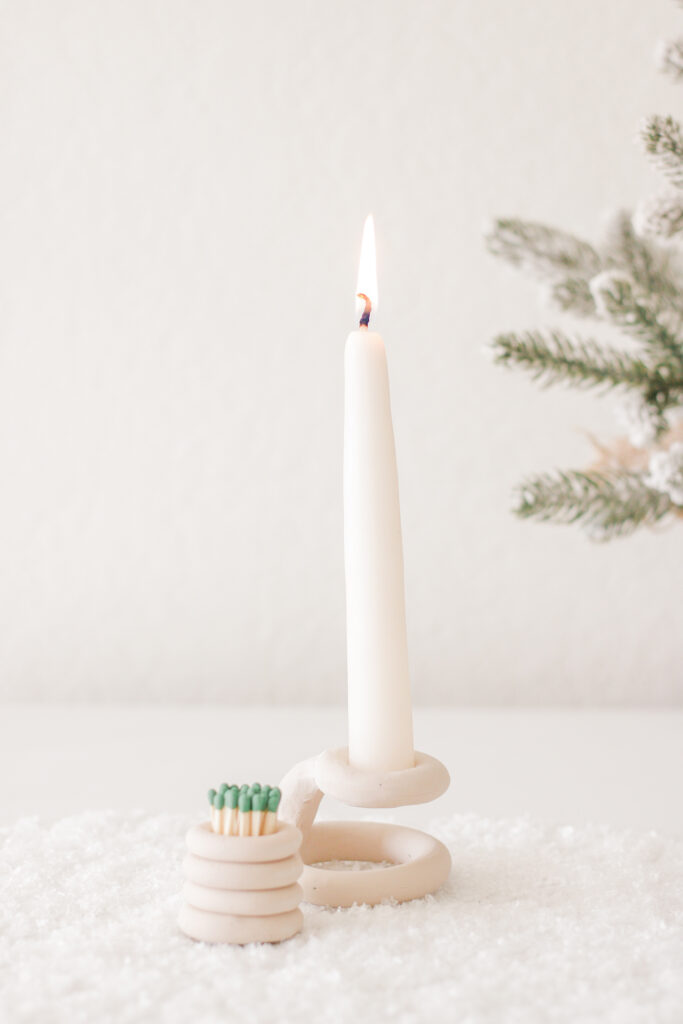
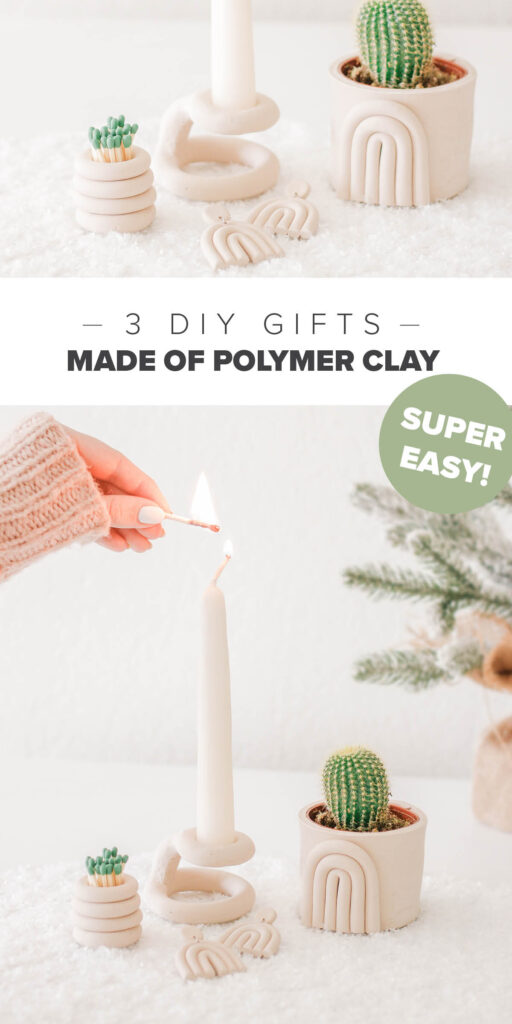
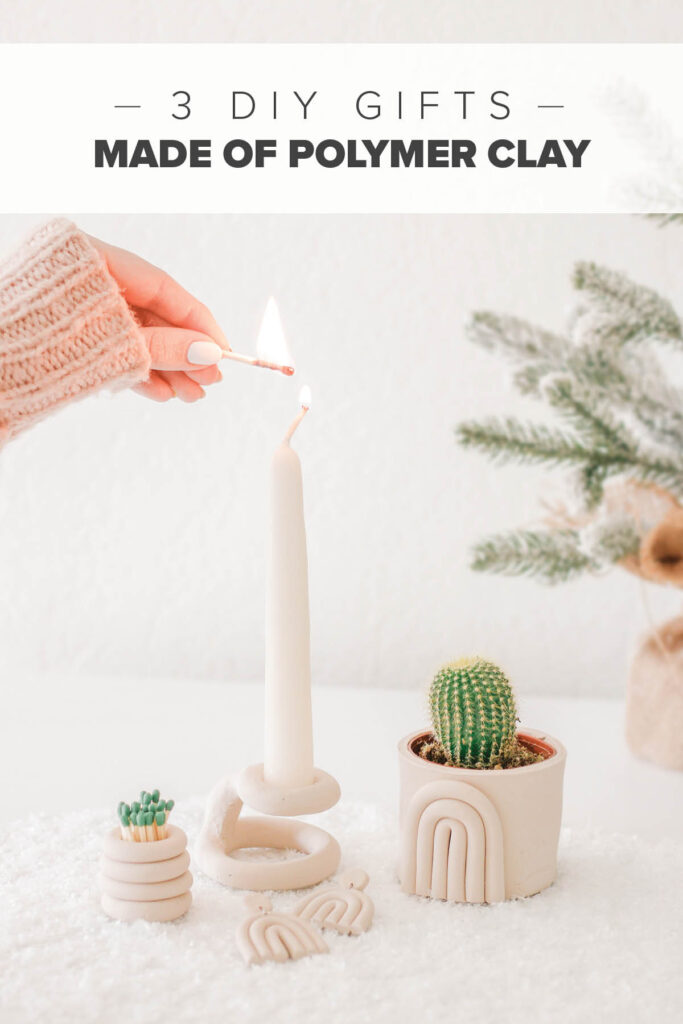
For my DIY I broke the rules a little and technically made 3 DIYs 😉 I wanted to give you guys some DIY Christmas gift ideas that look amazing but are also easy to make – so they are all made of oven bake clay! My love of oven bake clay runs DEEP, I have memories of making a little Santa Claus out of oven bake clay when I was about eight, and now I’m a grown adult and still making polymer clay crafts for Christmas. Some things never change I guess! Anyways, if eight year old Mikyla can do it then so can you!!
I think DIY gifts are SO special, now don’t get me wrong, I know we’ve all received a DIY gift where our response was “…thanks…” and then we threw it out – ha! However, all of my favorite gifts I’ve received and given have been DIY – they are just much more meaningful. Especially when they don’t look homemade or cheap, which is the case for the DIY gifts that I’m going to show you today! Oh, and one more thing – I LOVE that you also have the option to personalize DIY gifts, like choosing their favorite color of clay in this case. Anyways, let’s get started!
SUPPLIES:
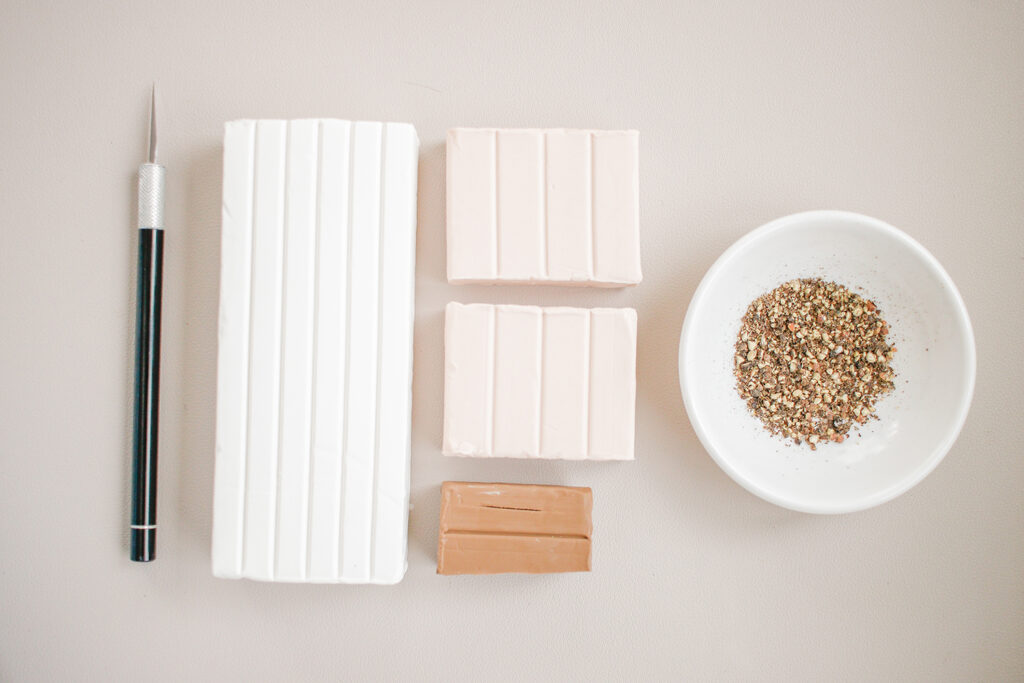
For All the Gifts:
Ruler
I used ‘Sculpey’ brand and I made my own custom color using:
-Brown Clay
-Light Pink Clay
-White Clay
-Pepper (yes, pepper)
For the Earrings:
Small lid (to cut out circles)
8mm earring post & clutch (mine came in a pack)
Super Glue
Pliers
Needle
DIRECTIONS:
To Mix the Clay:
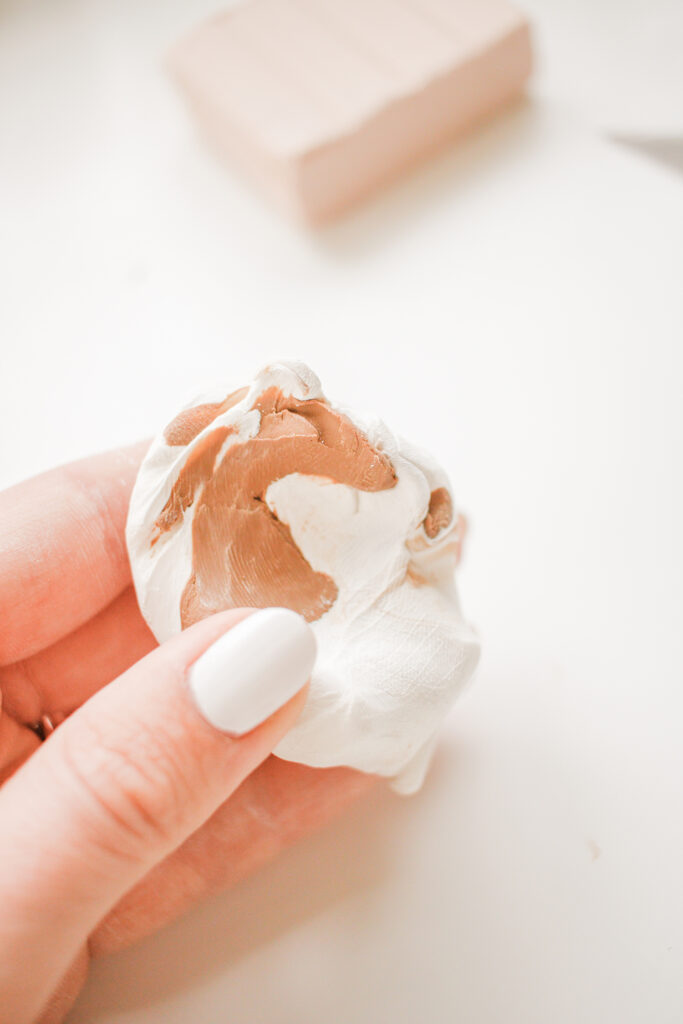
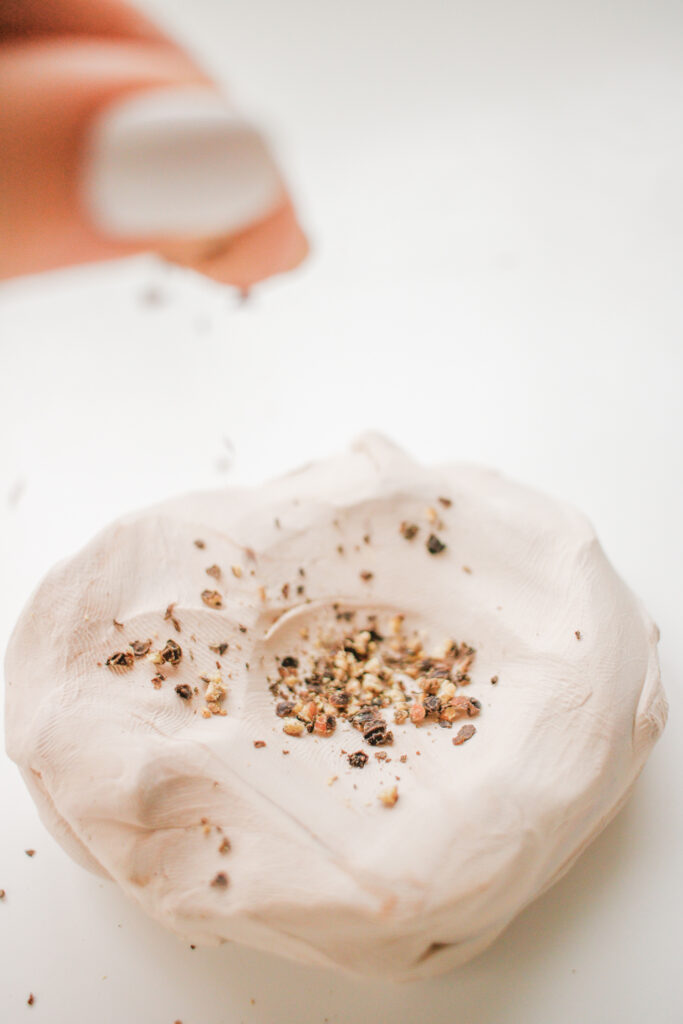
*This step is totally optional, I had a very specific color and vibe that I was going for, but you could just use one of their many colors without making a custom color and it would still look great.
- Mix a lot of white with a little brown until you reach your desired shade.
- Add in some light pink – I added quite a bit of light pink to create the pinky nude color I was going for.
- Again – this is optional, but I added some pepper to my clay and then mixed it in to give it some speckles and just to make it look more *artisan* -ha!
- Also keep in mind that you won’t need as much clay as you think you will, I had one block of each color and had a ton left over.
- Then attach your smaller circle to that 1” piece and smooth.
Candle & Match Holder:
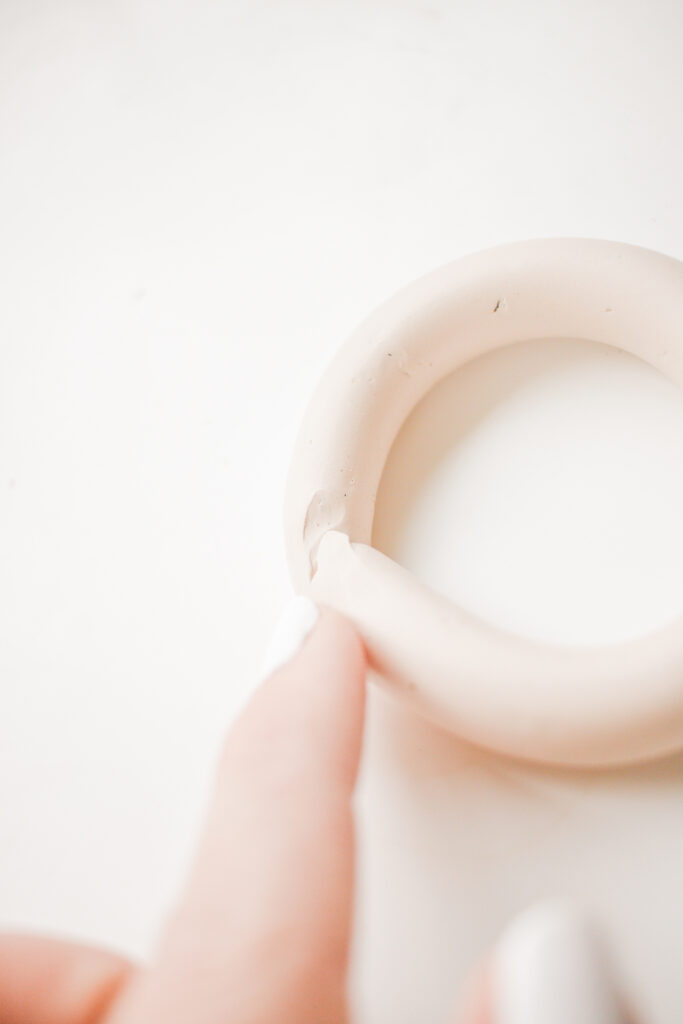
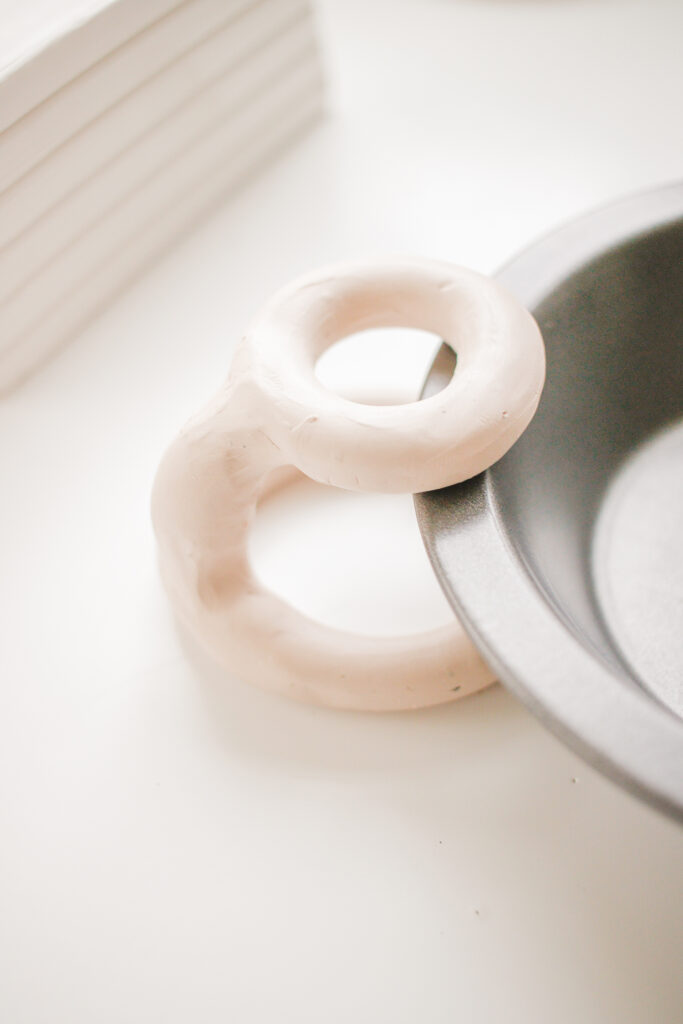
- Roll out your clay into a snake shape, about half an inch thick.
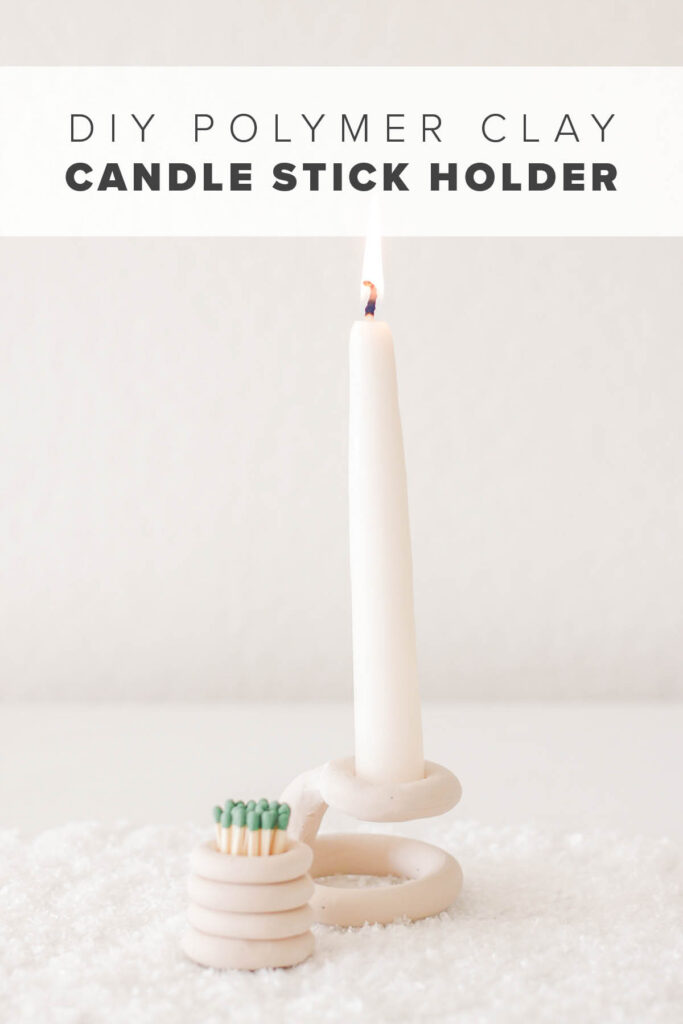
- Form your clay snake into two circles (one about 2.5”, and another about 1.5” in diameter) and then smooth the edges of each circle together with your finger.
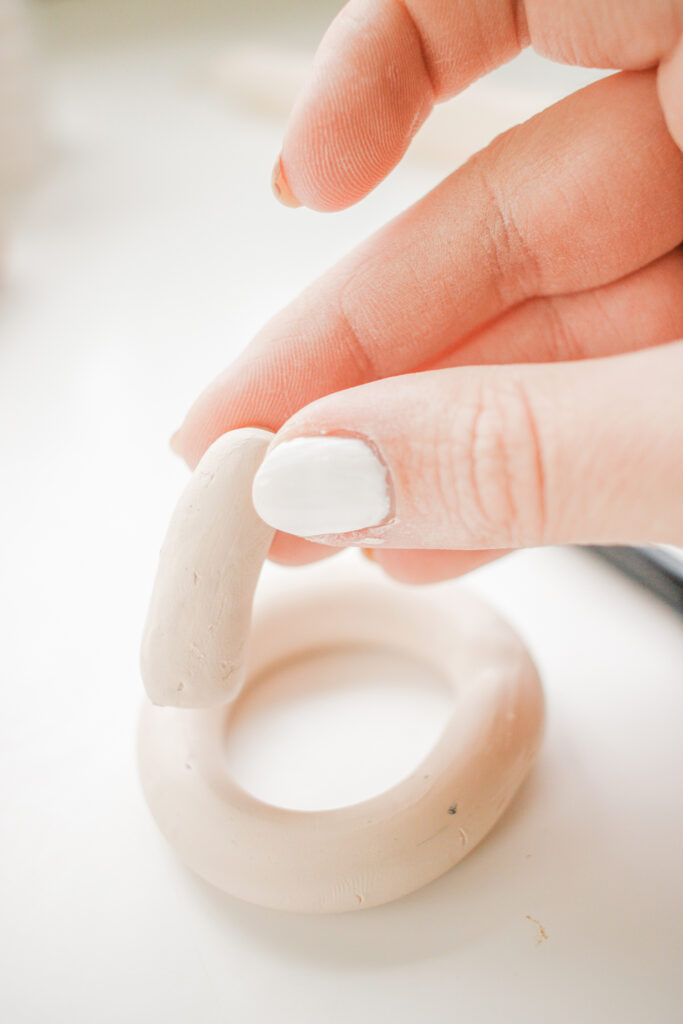
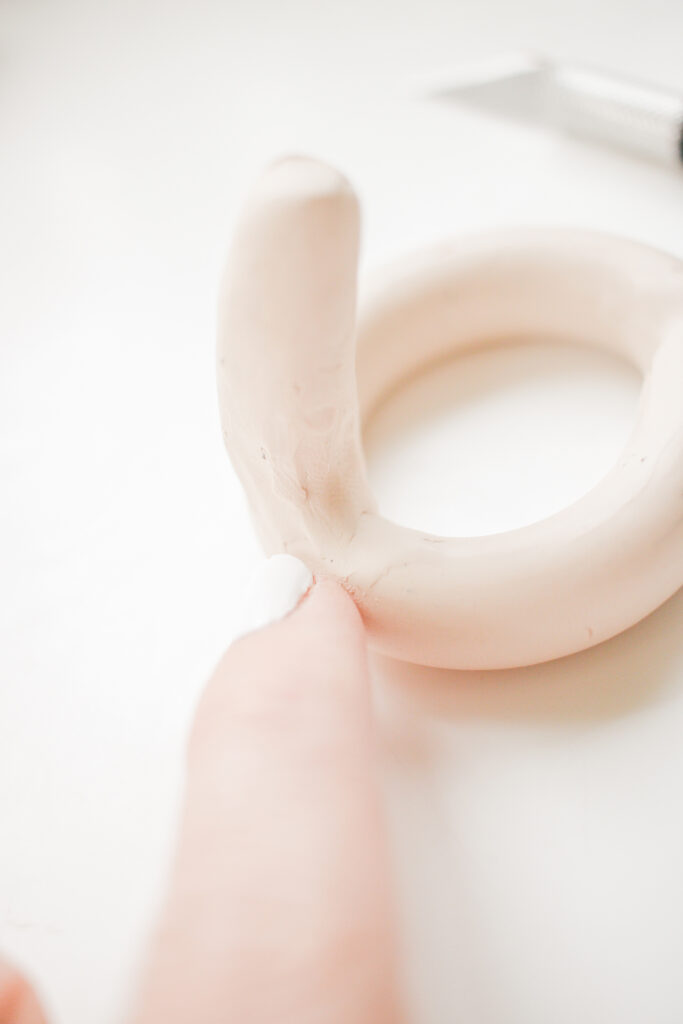
- Cut a 1” piece of your clay snake and attach it to the top of your larger circle by smoothing it with your finger.
- Then attach your smaller circle to that 1” piece and smooth.
- The candle holder will not stand up on its own before you bake it, so you will have to prop the top circle up while it is baking. So, find something that is oven safe and the right height that can hold it while in the oven. I used a mini pie pan. Just search your kitchen 🙂
- Once you’ve finished your candle holder you can make your match holder! Roll out another snake out of clay – this time a lot skinnier.
- Make 4 circles with your clay snake – about 1.5” in diameter for each. Then stack the circles on top of each other.
- Bake your candle and match holder in the oven according to package directions! Woo! That’s it!
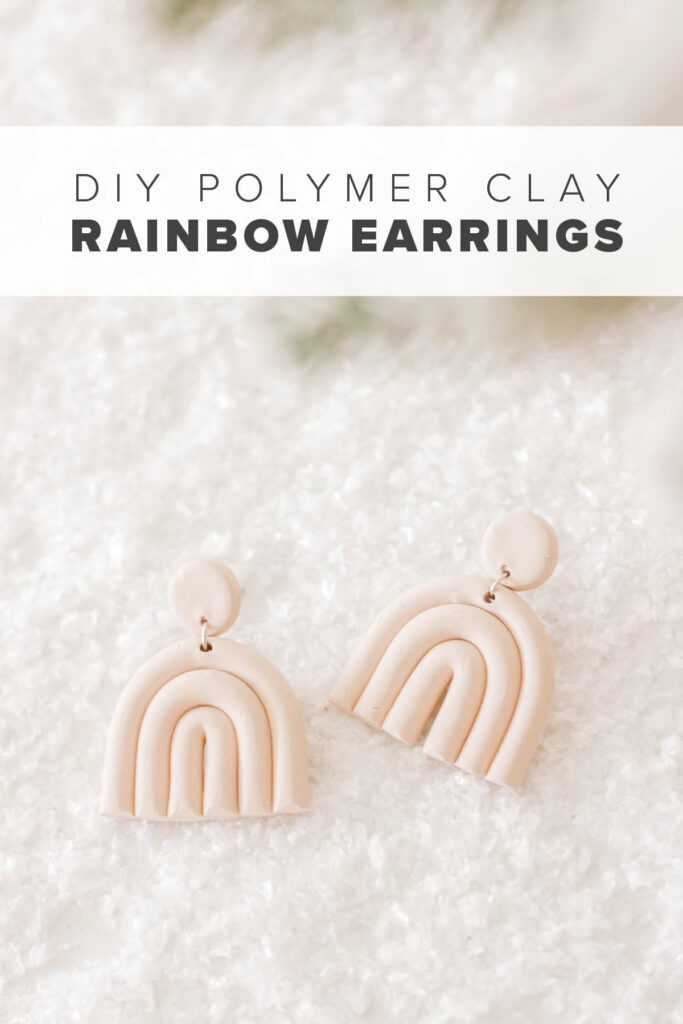
Arched Rainbow Earrings:
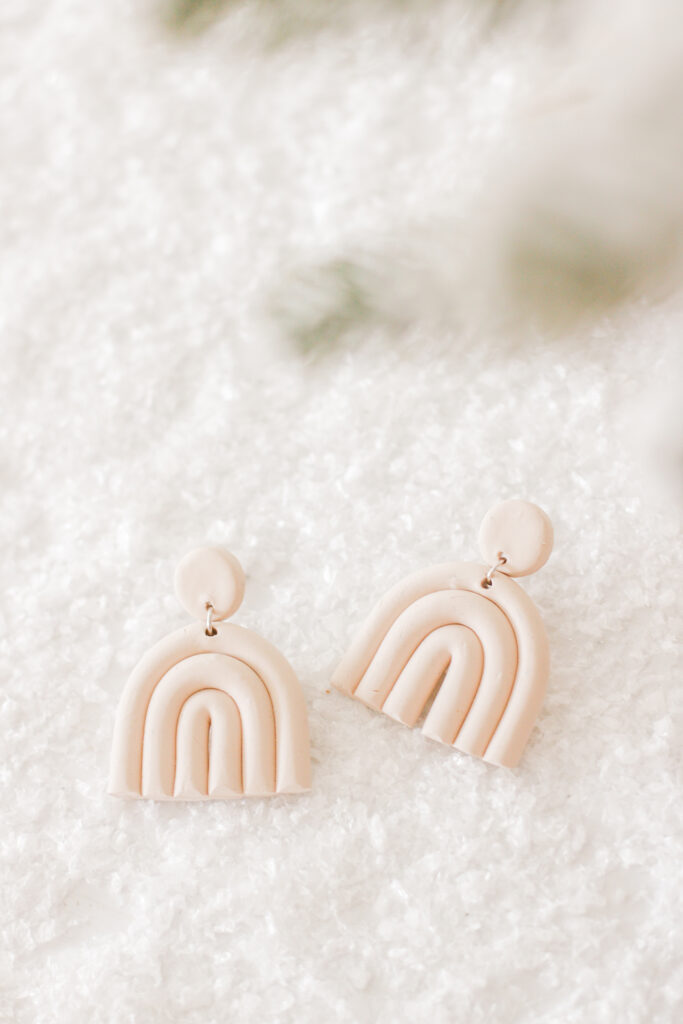
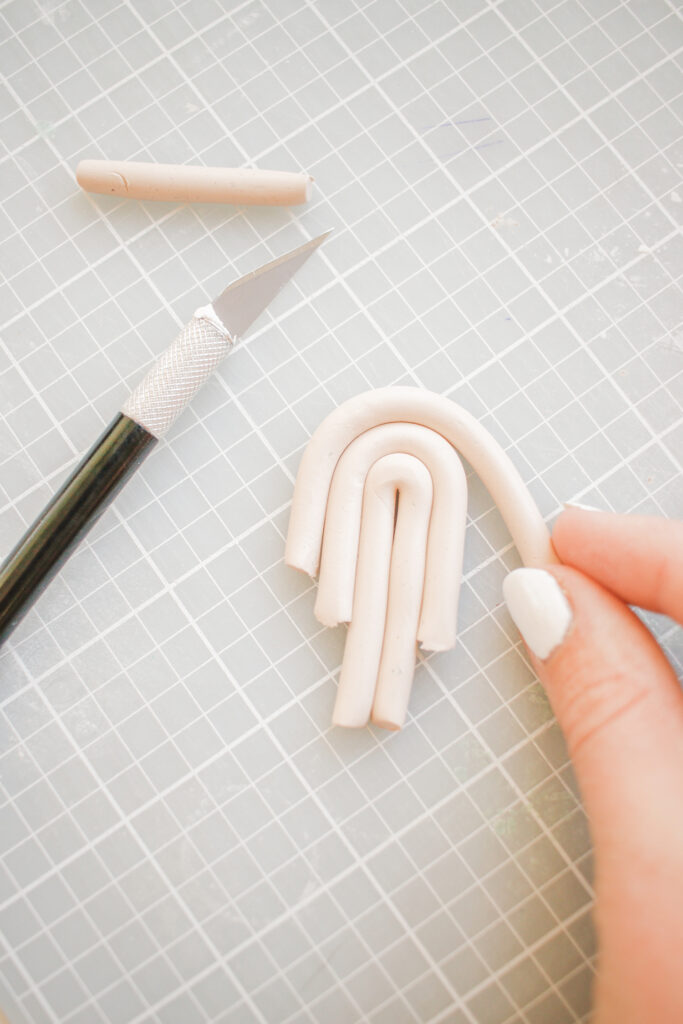
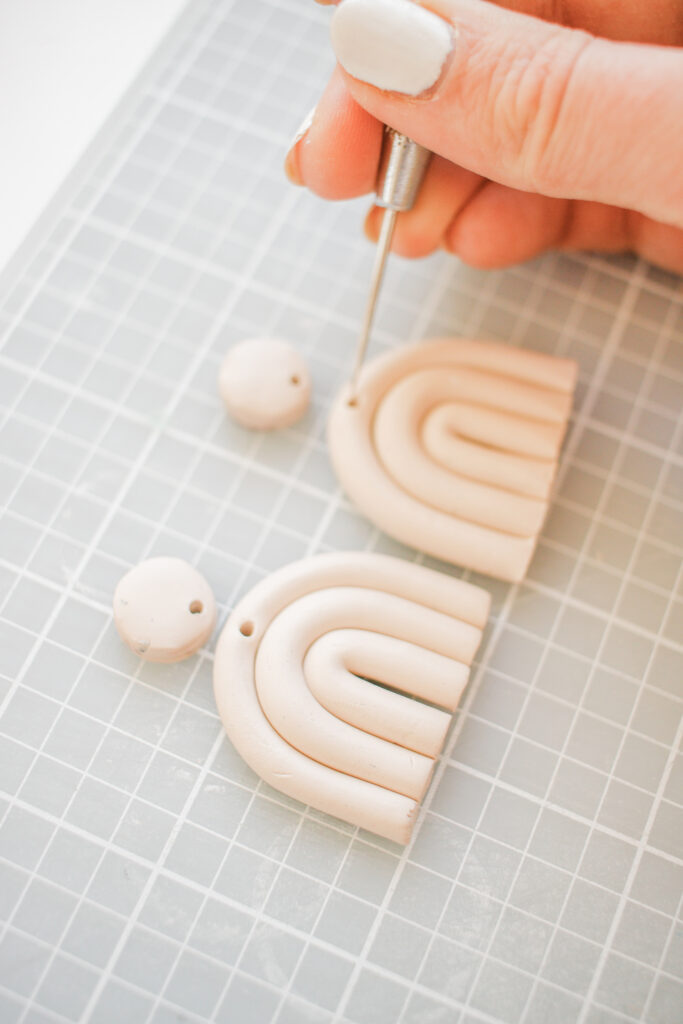
- Roll out long snakes of clay.
- Cut your clay snakes to be 4 inches long each.
- Take your bottom clay snakes and fold it in half, then fold your other two pieces on top of it.
- Repeat for your other earring.
- Using your exacto knife trim your rainbow so that it’s even. Then use that earring as a measurement to trim your other rainbow.
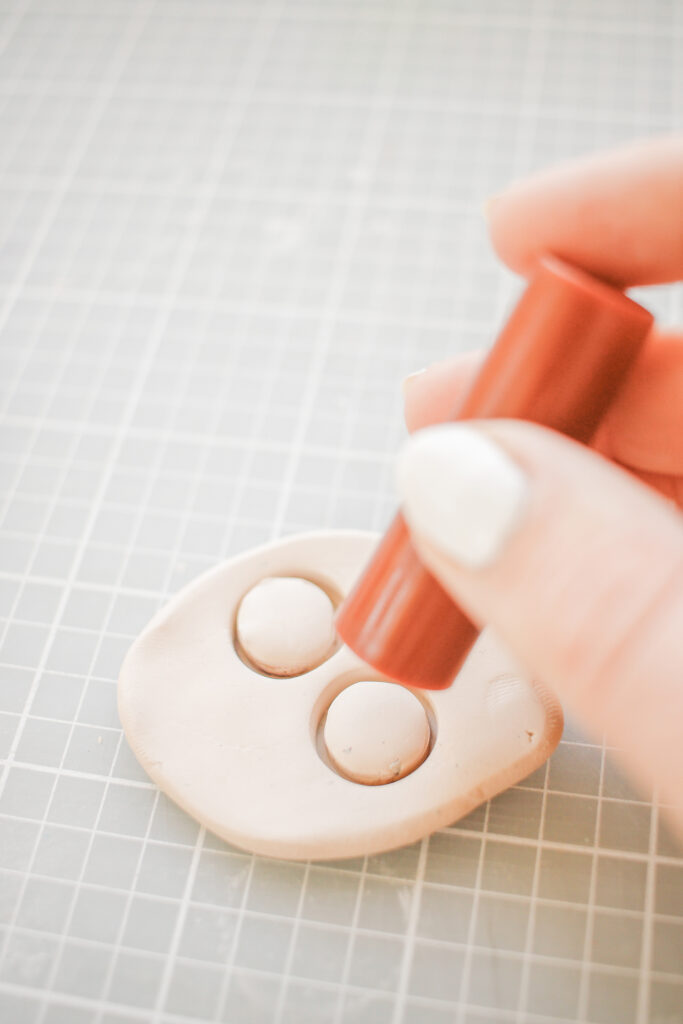
- Roll out clay in the color of the top of your rainbow, use a marker lid to cut out two circles.
- Use a needle to poke a hole in the top of each rainbow and bottom on each circle.
- Bake your earrings according to package instructions.
- One cooled use super glue to glue earring back onto your clay circles.
- Attach jump ring to the circle and rainbow with pliers, repeat for other earring.
- You’ve got yourself a brand new pair of earrings!!!
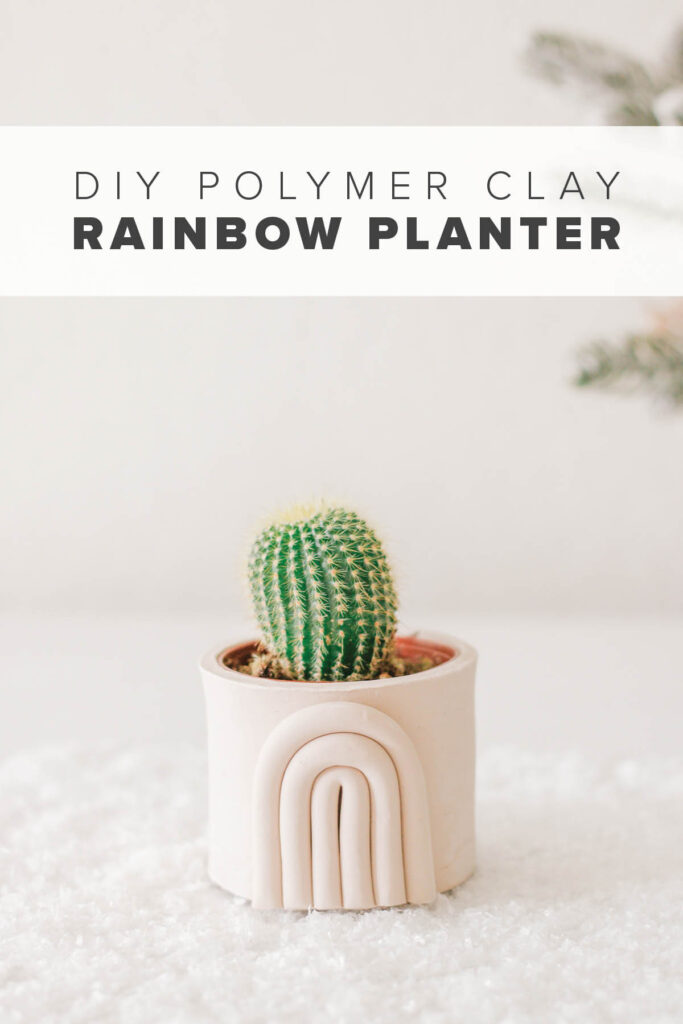
Planter Pot:
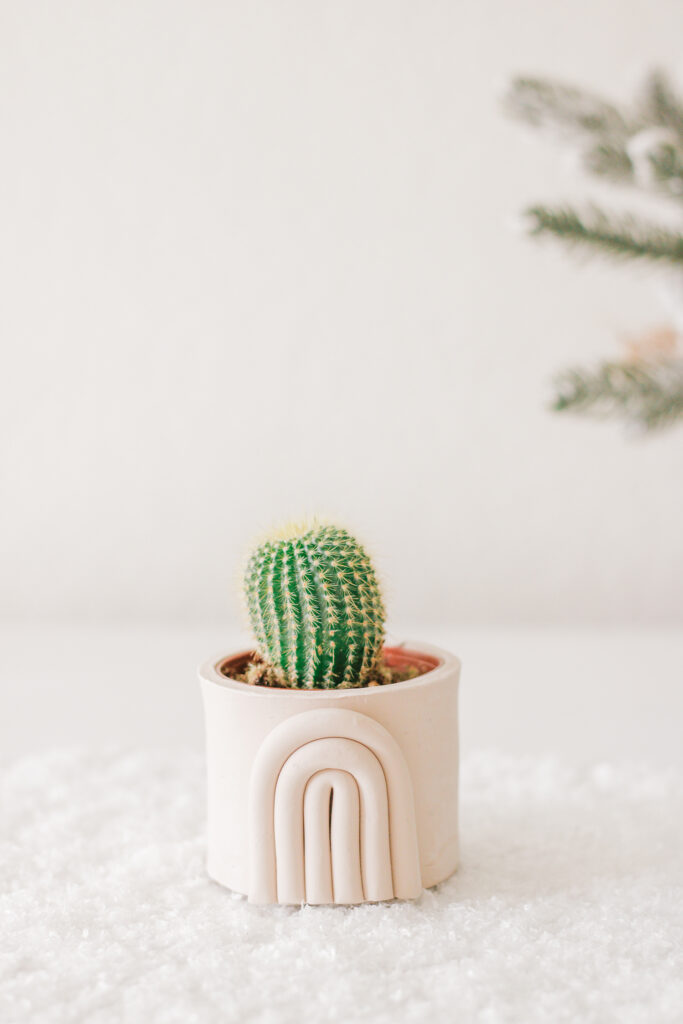
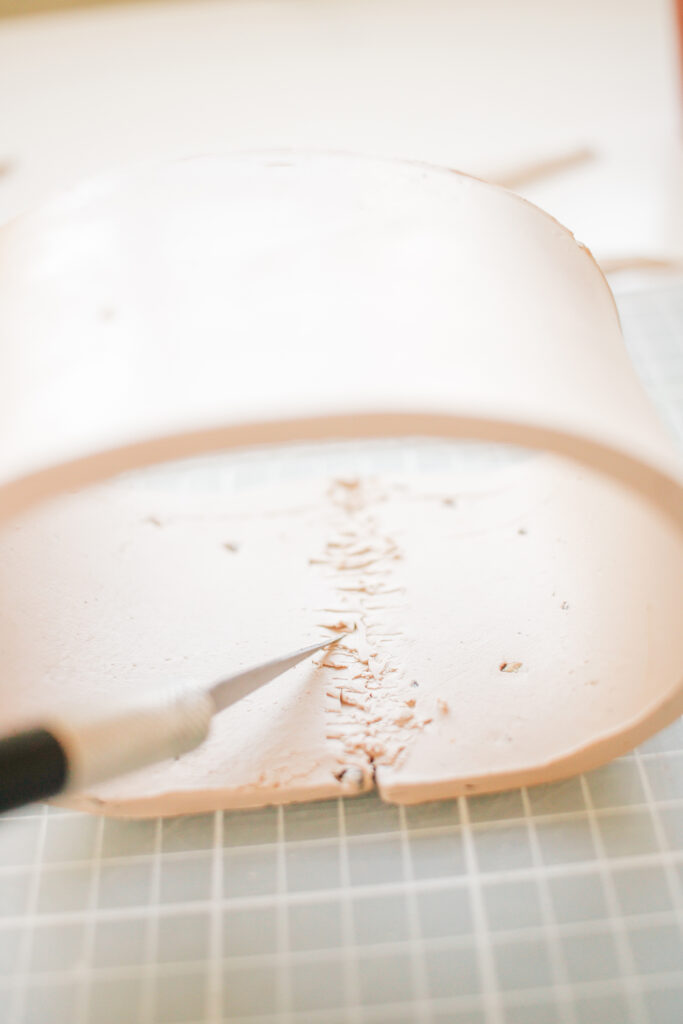
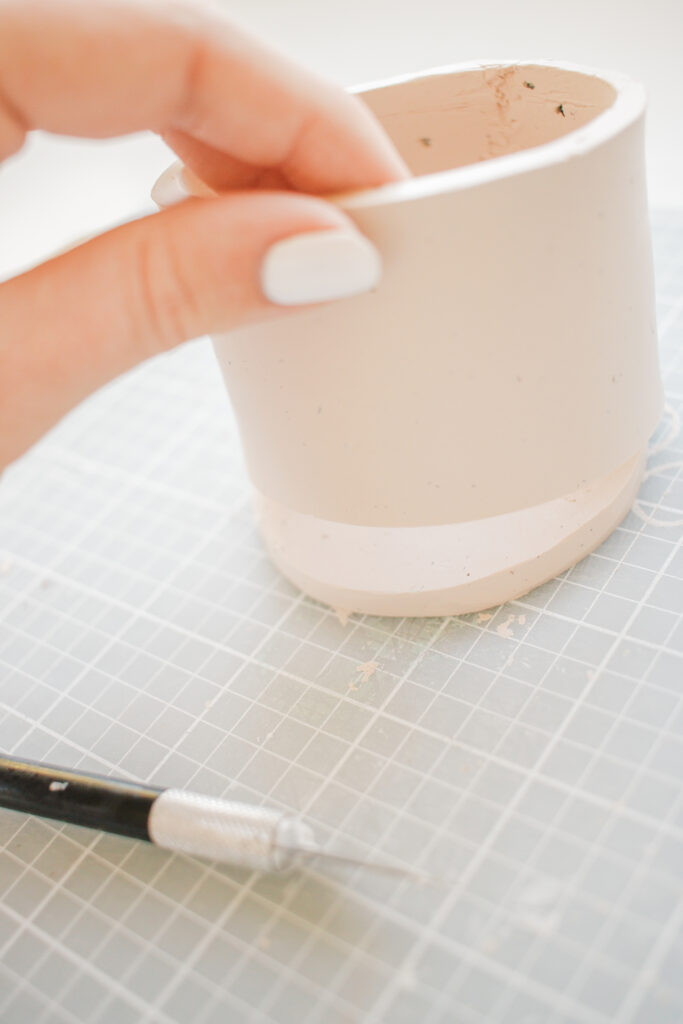
- Use a rolling pin to roll out your clay into a thin sheet – a little less than a ¼ inch.
- Using your ruler and exacto knife cut out a rectangle that is about 8”x2”.
- Attach the edges of your rectangle to form a cylinder. Then use your excato knife to score the inside of your pot to secure the edges together (as pictured).
- The smooth the edges on the outside with your finger.
- Find a bowl or vase that is about 2.5” in diameter and trace it onto your clay with your exacto knife to cut out a circle.
- Place your cylinder on top of your circle, then use your finger to attach the two together.
- I also scored the inside where the circle and cylinder meet to make sure that it was attached.
- Make a rainbow shape exactly like the steps in the earrings section – just a little bigger.
- Attach the rainbow to the front of your pot.
- Bake it according to package directions, then you’re ready to add a plant – yay!
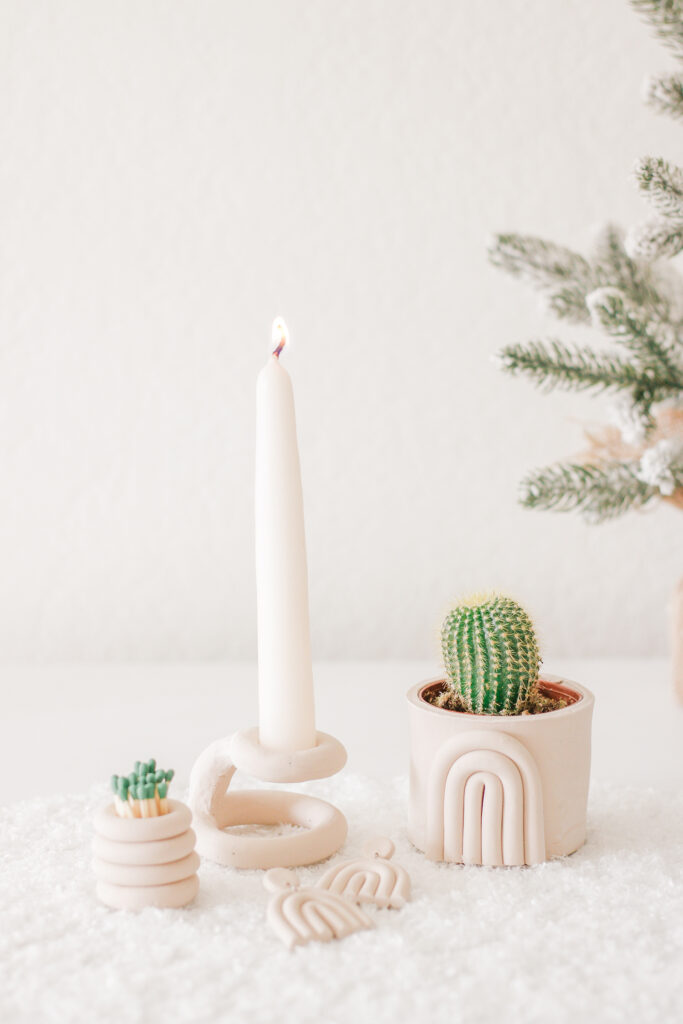
That’s it! The cutest, easiest, and trendiest homemade gifts if you ask me! I hope you guys loved making those as much as I did! Ps. They don’t have to be a gift, you can just make them for YOU too 😉 Pretty please tag or DM me @mikylacreates if you make any of these 3 DIY gifts made of clay so that I can see! A big thank you to Emily for letting me be apart of the 12 days of DIYs, and I’ll see you guys over on my blog 🙂 Bye!!

Wonderful post! We are linking to this great content on our website. Keep up the good writing. Kym Rayner Solly