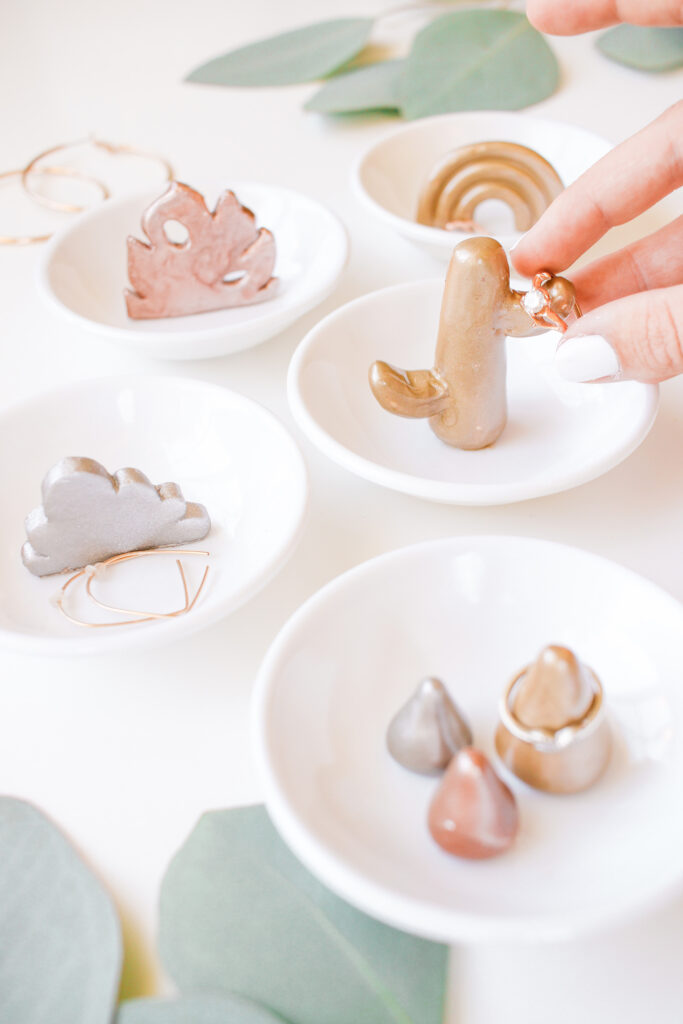
Ring dishes are literally so useful, I have one holding my hoop earrings, one holding my enamel pins, you can also use them as a place to put your keys, to put change, the possibilities are endless! They are also so cute, they’re a decoration and they’re functional. I mean, what’s not to love?!
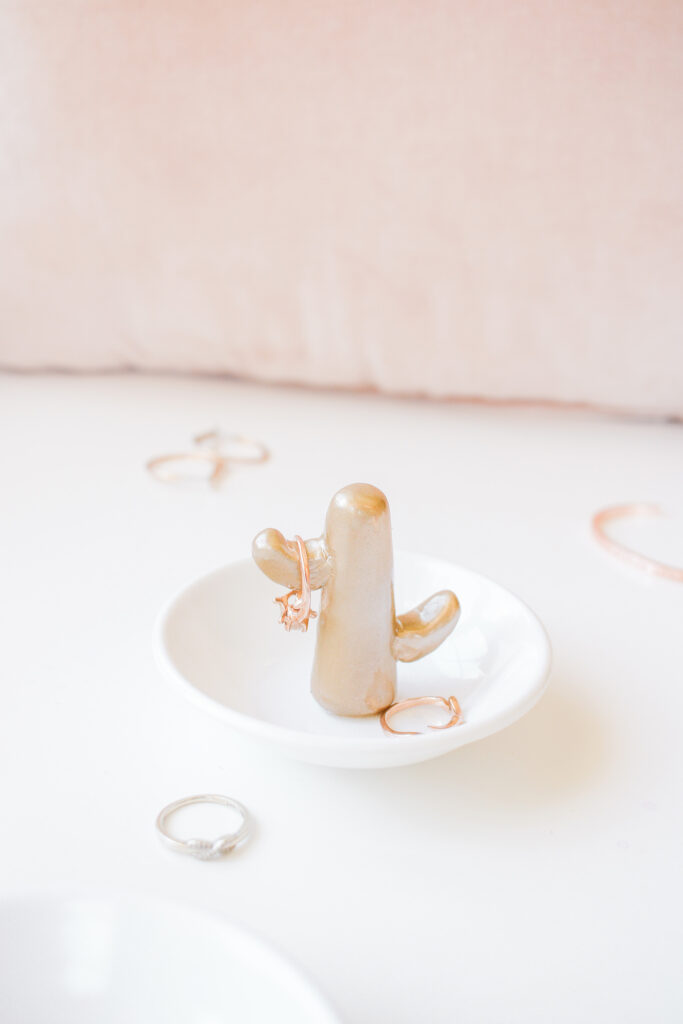
Oh, I thought of another amazing thing about ring dishes (surprise), they are also SO fun to make! I only planned on making three, but I ended up making five because I just couldn’t stop – ha! I’ve seen a lot of sculptural ring dishes around and you probably have too, which was my inspiration for this project! However, they usually have cats or the Eiffel tower on them, and I didn’t really want either of those things on a ring dish. That’s where this DIY comes in, because you get to choose anything you want to go on your ring dish! Which would also make the perfect gift because you can personalize it to that person!
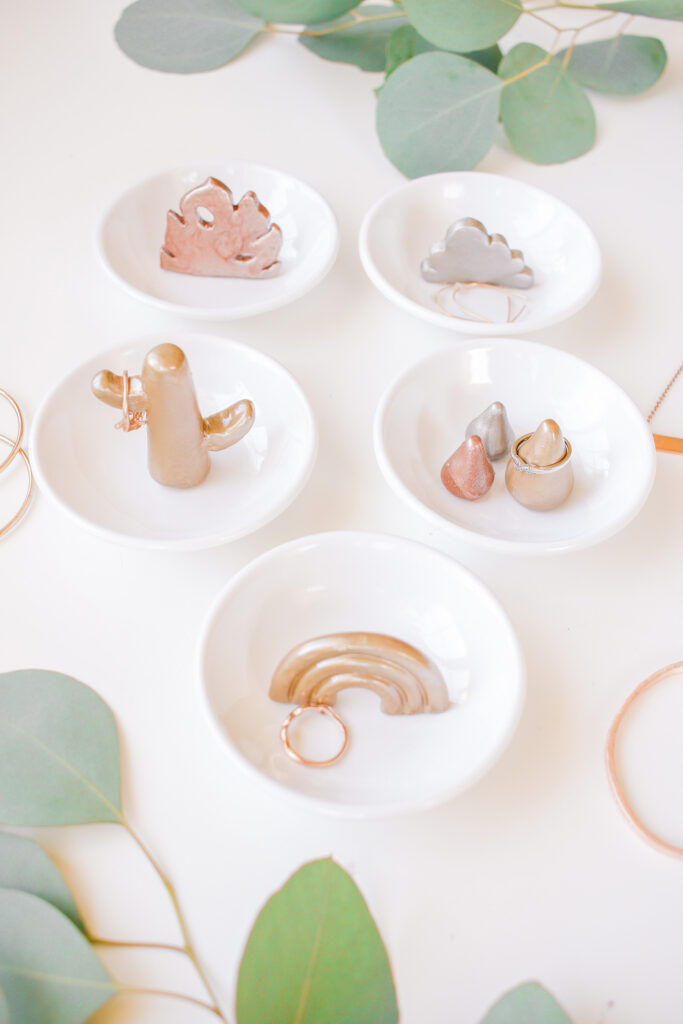
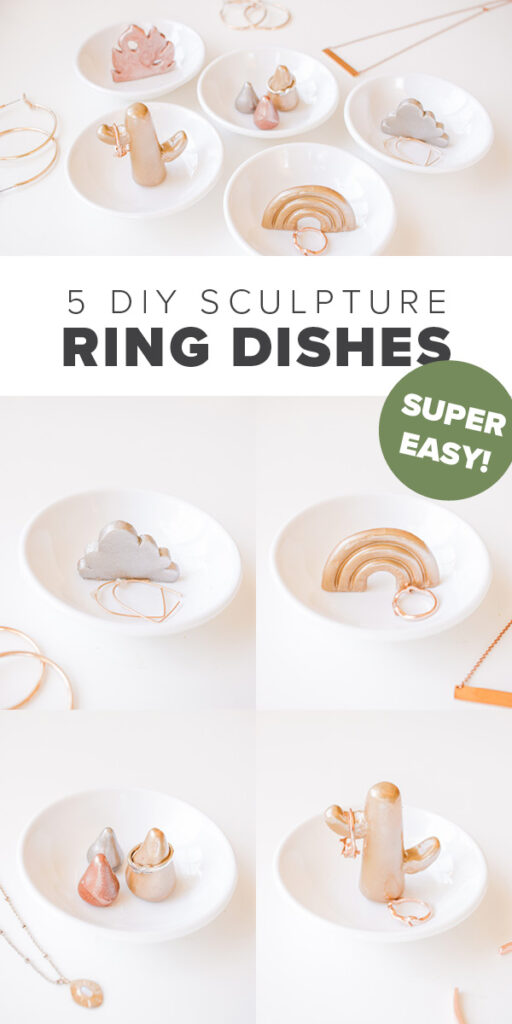
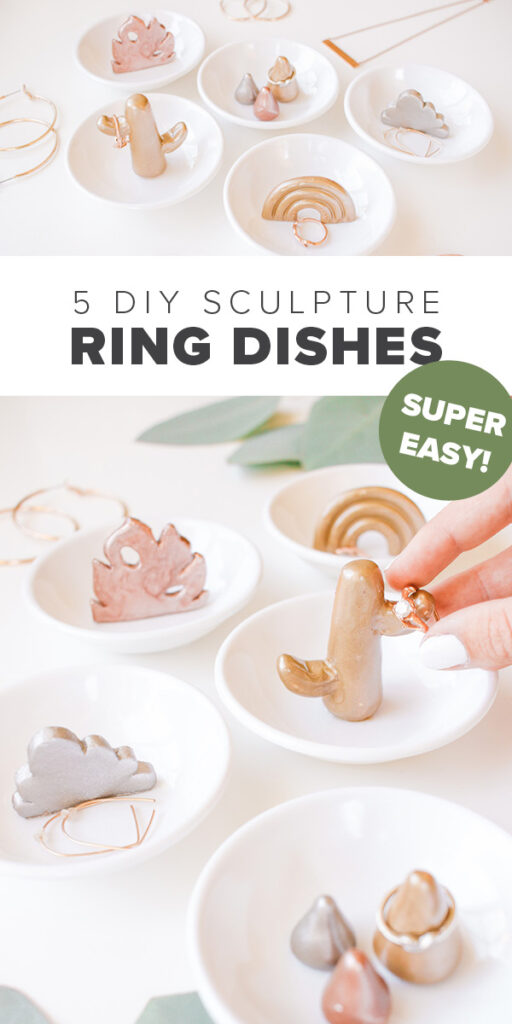
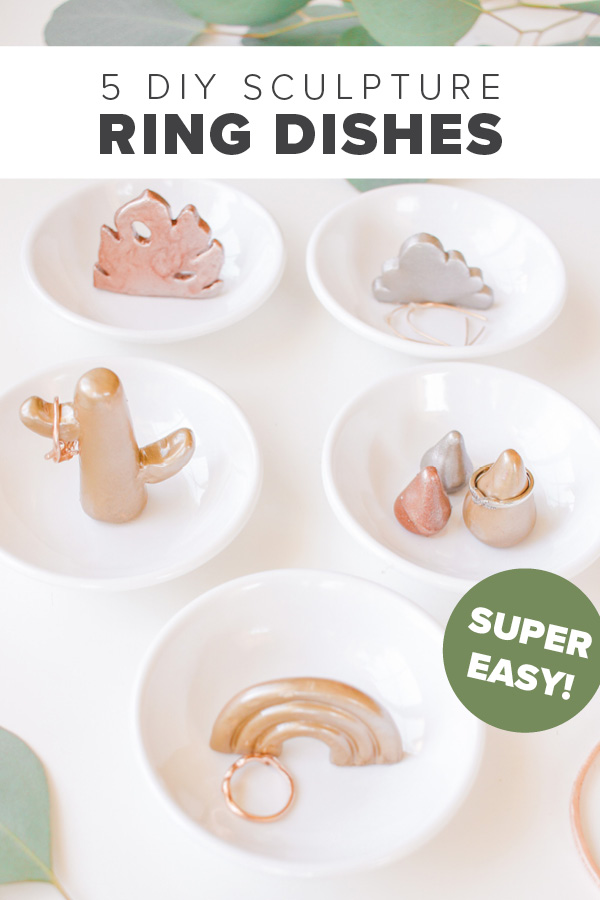
So, for my ring dishes I chose a rainbow (my personal fave) a cloud, mountains, a monstera leaf and a cactus! I think they turned out so cute, and they are so simple and easy. How fun would a ring dish making party be?! Answer: VERY fun!
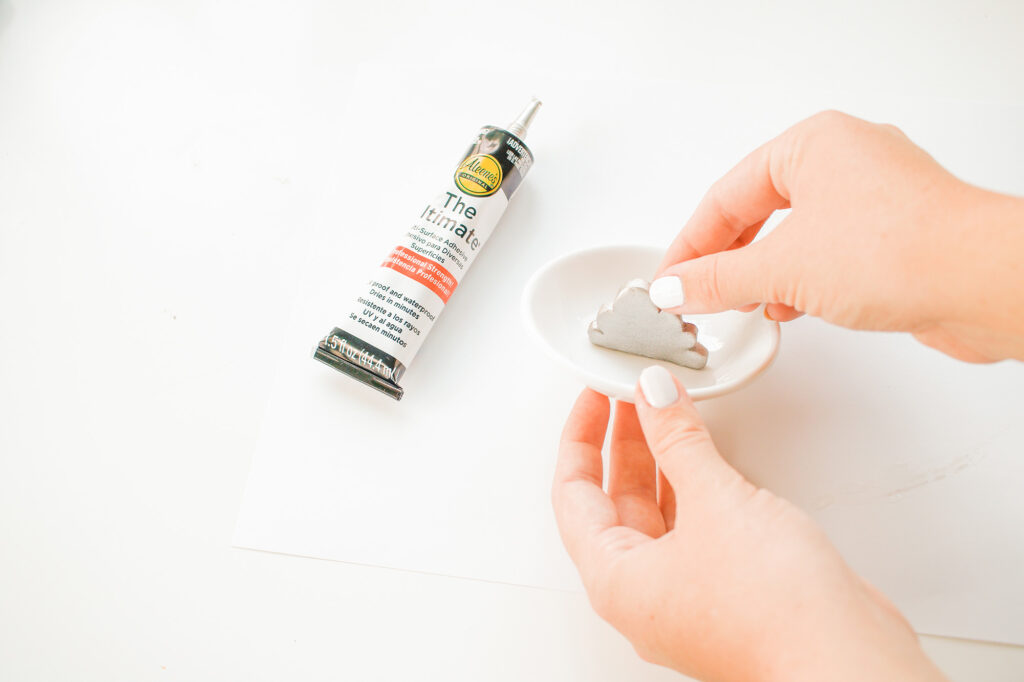
I partnered with Aleene’s Original Glues for this post, and I used their ‘The Ultimate’ glue that you can use on tons of different surfaces including ceramic! It holds really well and doesn’t take long to dry! If you’re a frequent DIYer then you for sure NEED this glue in your craft closet – there are a million uses for it!
Okay, I think it’s time to get to making our ring dishes!
SUPPLIES:
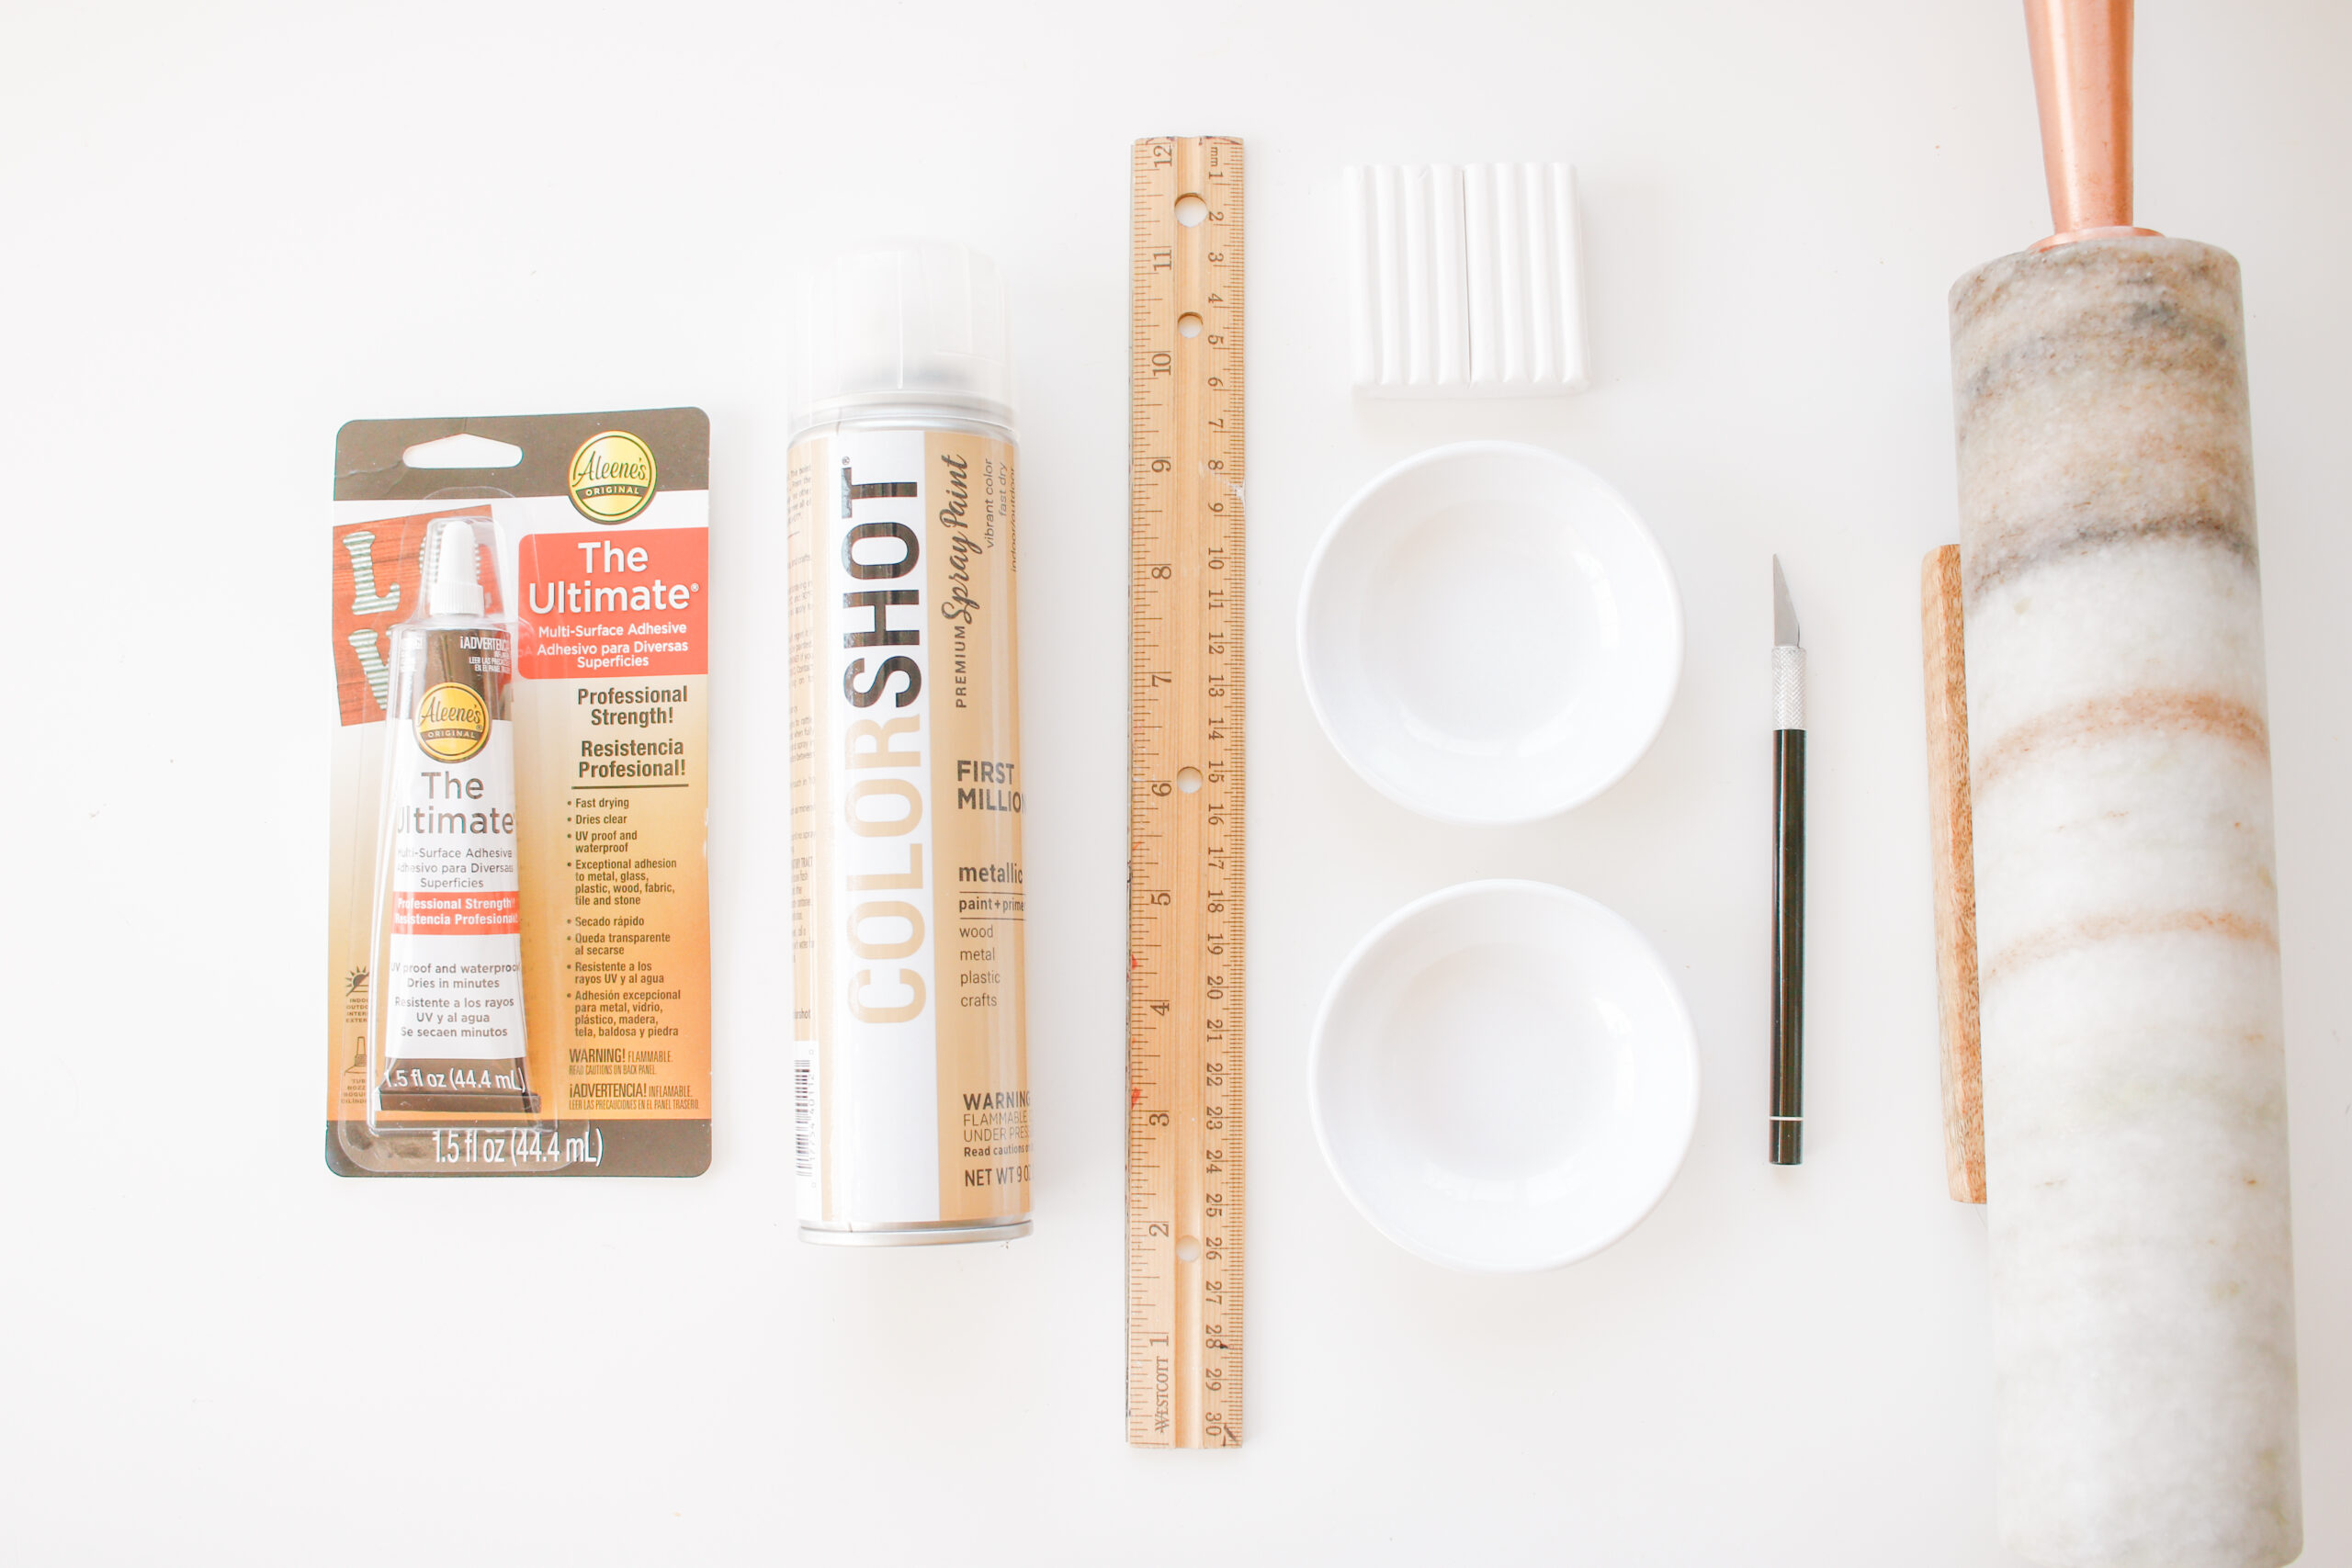
Aleene’s ‘The Ultimate’ Glue
Gold Spray Paint
A Ruler
White Oven Bake Clay
Plain White Ring Dishes (ceramic or plastic)
An Exacto Knife
A Rolling Pin
DIRECTIONS:
For the Rainbow:
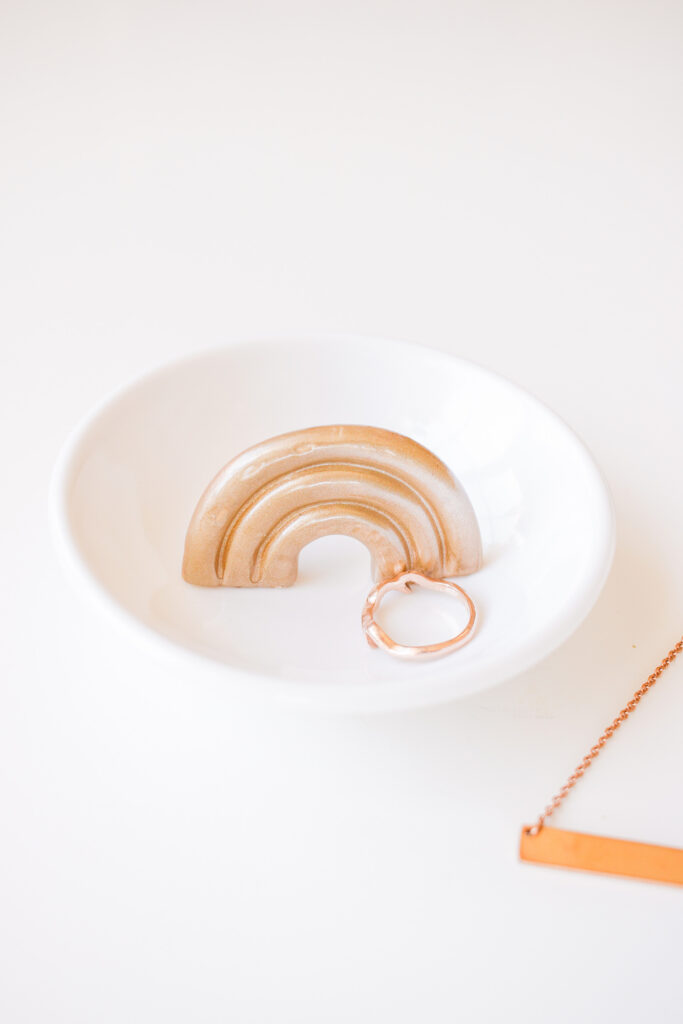
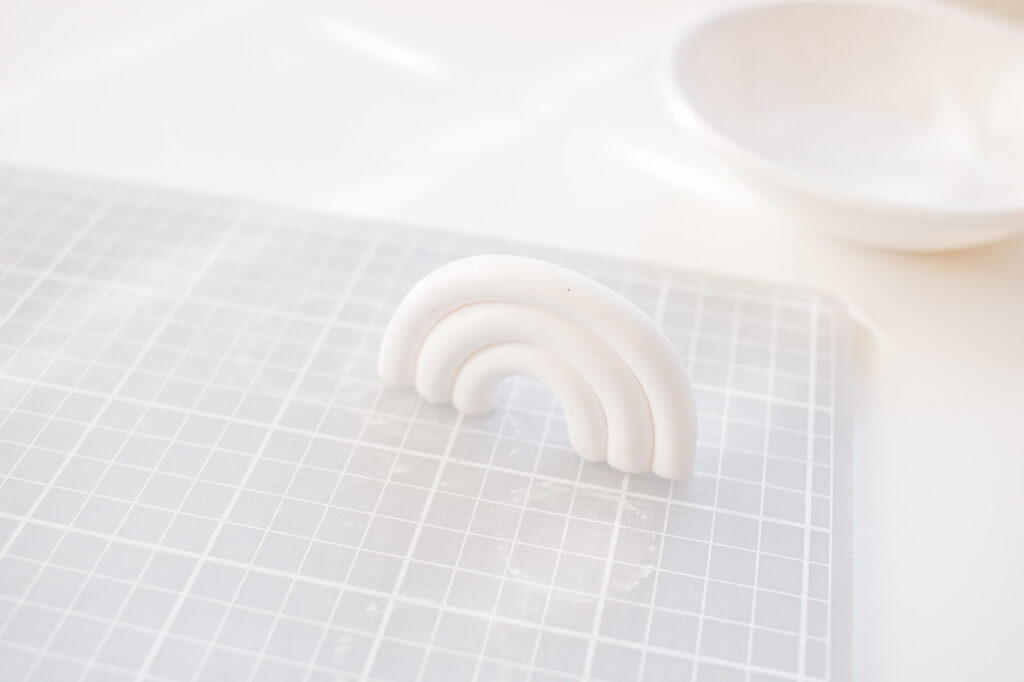
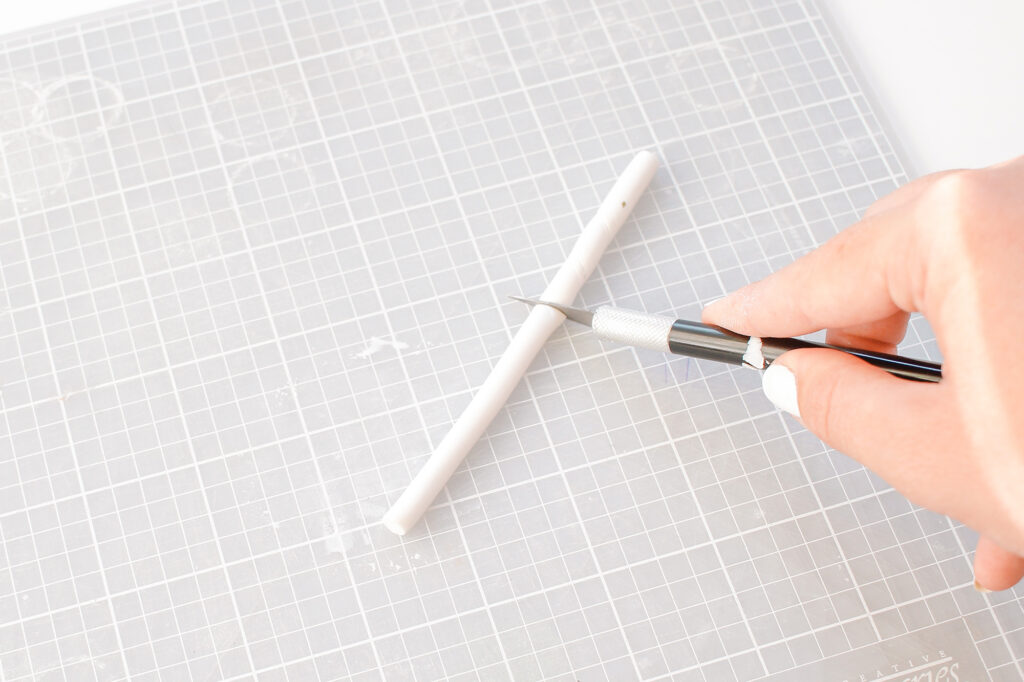
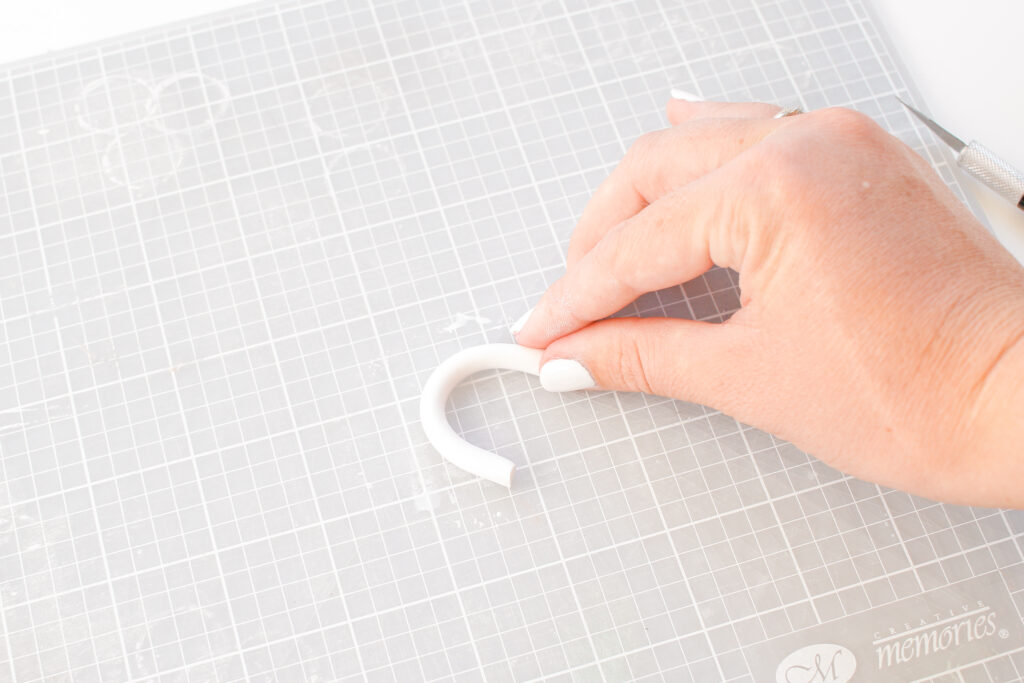
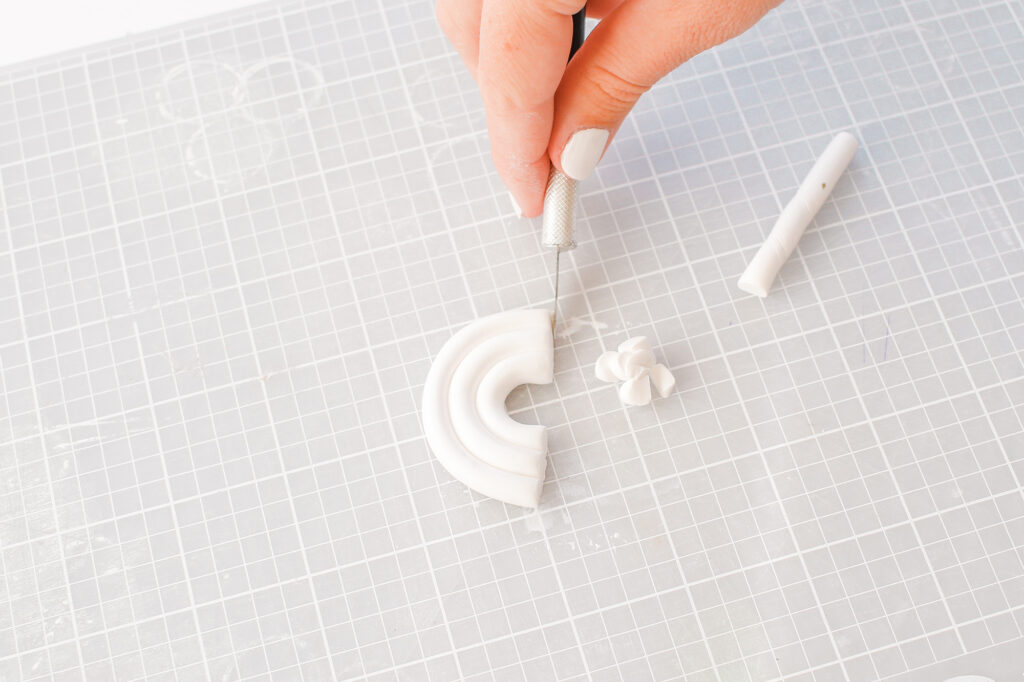
- Form a ball out of your clay and roll into a long strand.
- Cut a piece (about 2 inches long) and bend it into an arch.
- Cut two more pieces and add them underneath your first arch.
- Trim the excess pieces off the bottom to make the base of the rainbow straight.
- Bake your clay according to the package directions.
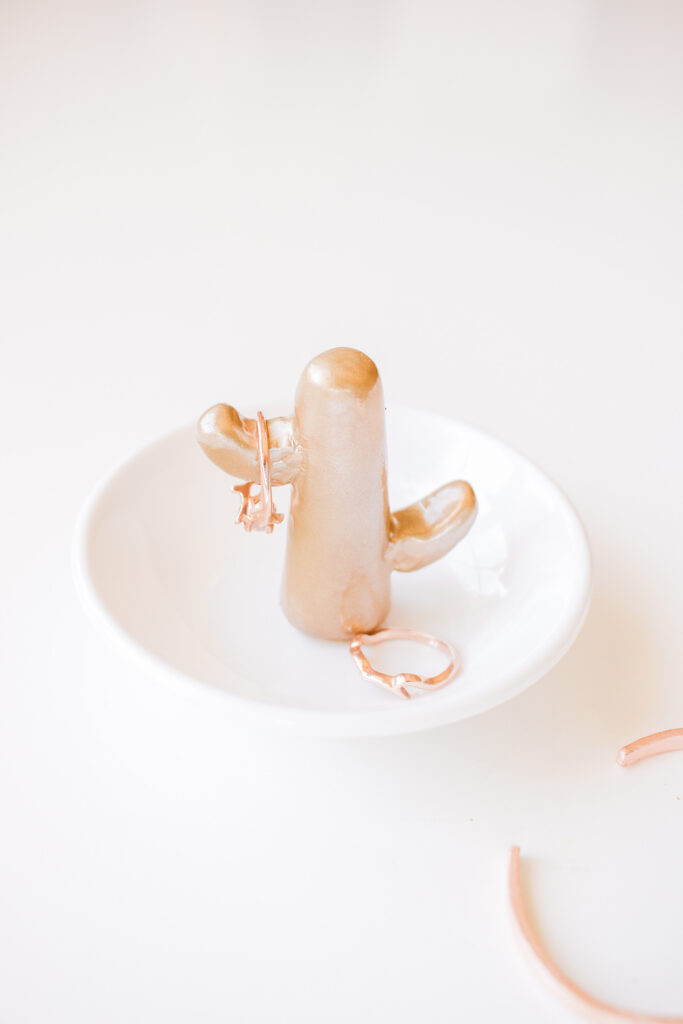
- Spray paint your rainbow in the color of your choice (I chose gold).
- Glue it onto your ring dish using Aleene’s ‘The Ultimate’ glue.
For the Cactus:
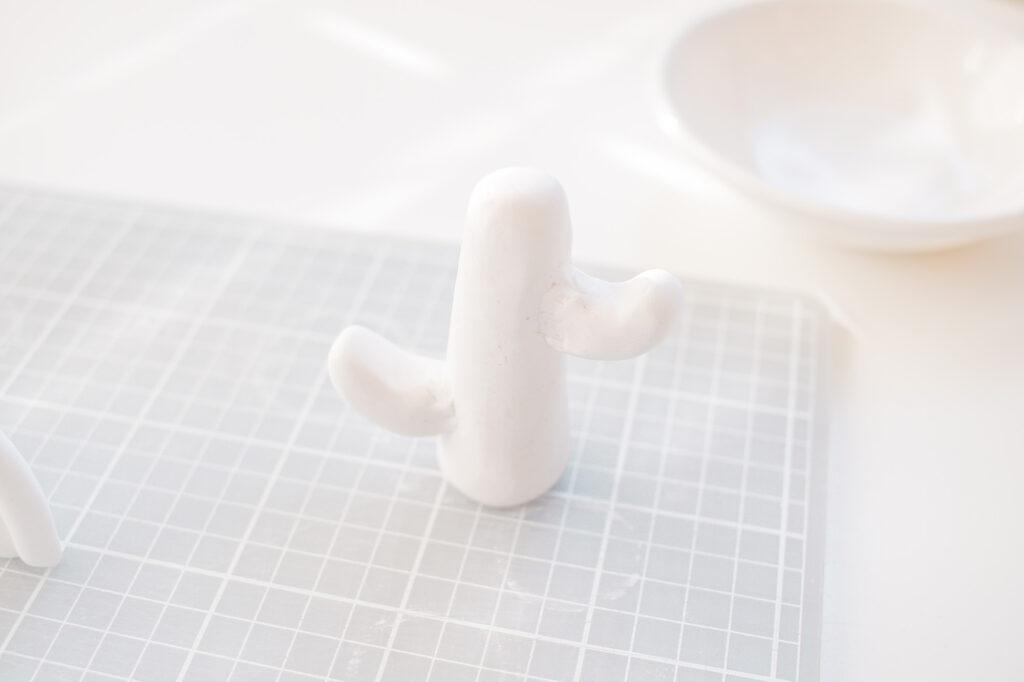
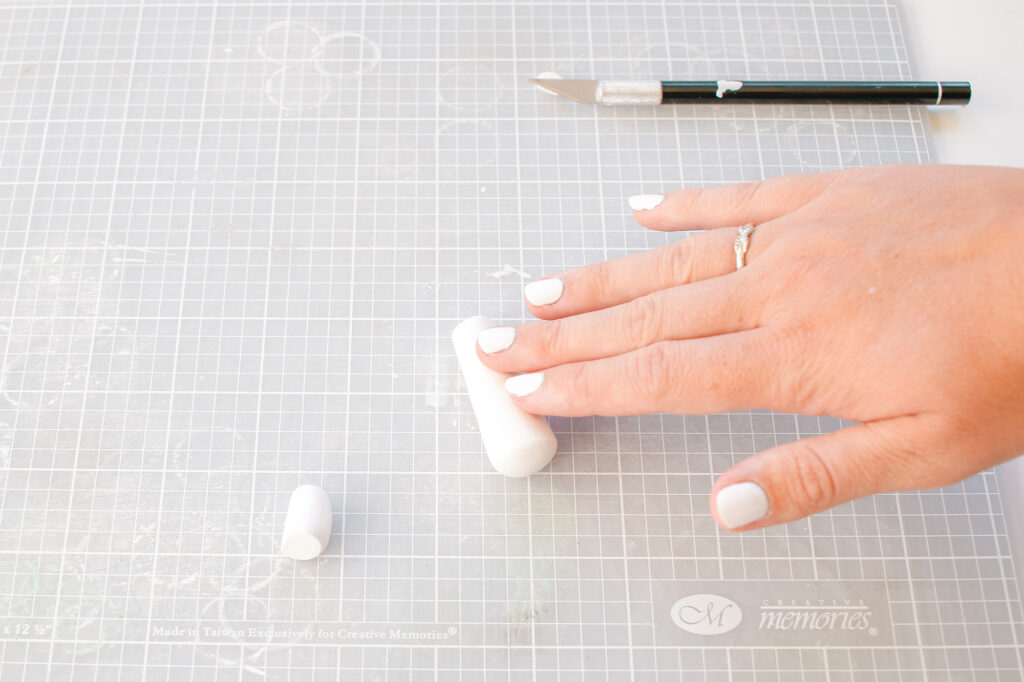
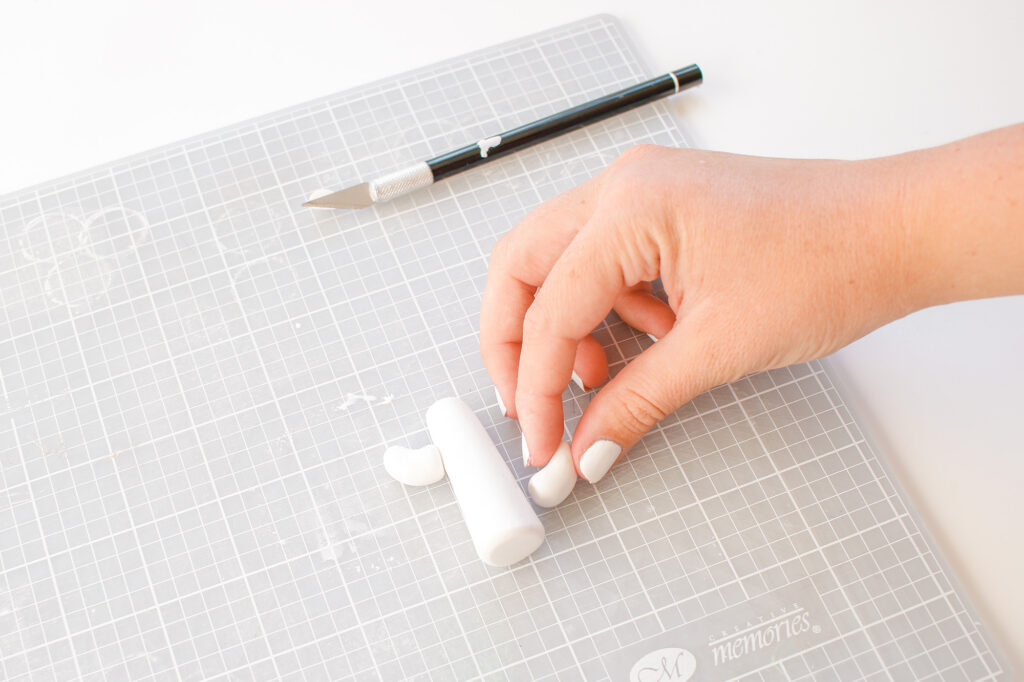
- Roll your clay into a ball and then roll it out into a thick cylinder, making it the cactus trunk.
- Roll out two smaller cylinders for the branches, bend them upward a little and attach to the cactus trunk.
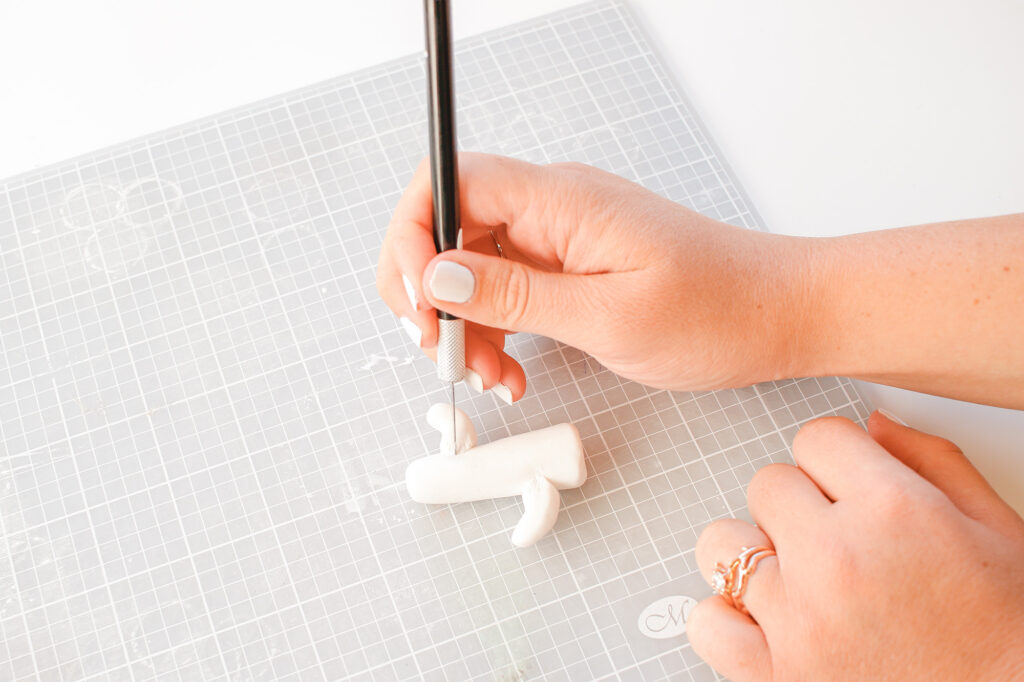
- Using your exacto knife, score the branches onto the trunk to secure, and then smooth it out with your finger.
- Bake your clay according to the package directions.
- Spray paint your rainbow in the color of your choice (I chose gold).
- Glue it onto your ring dish using Aleene’s ‘The Ultimate’ glue.
For the Monstera Leaf:
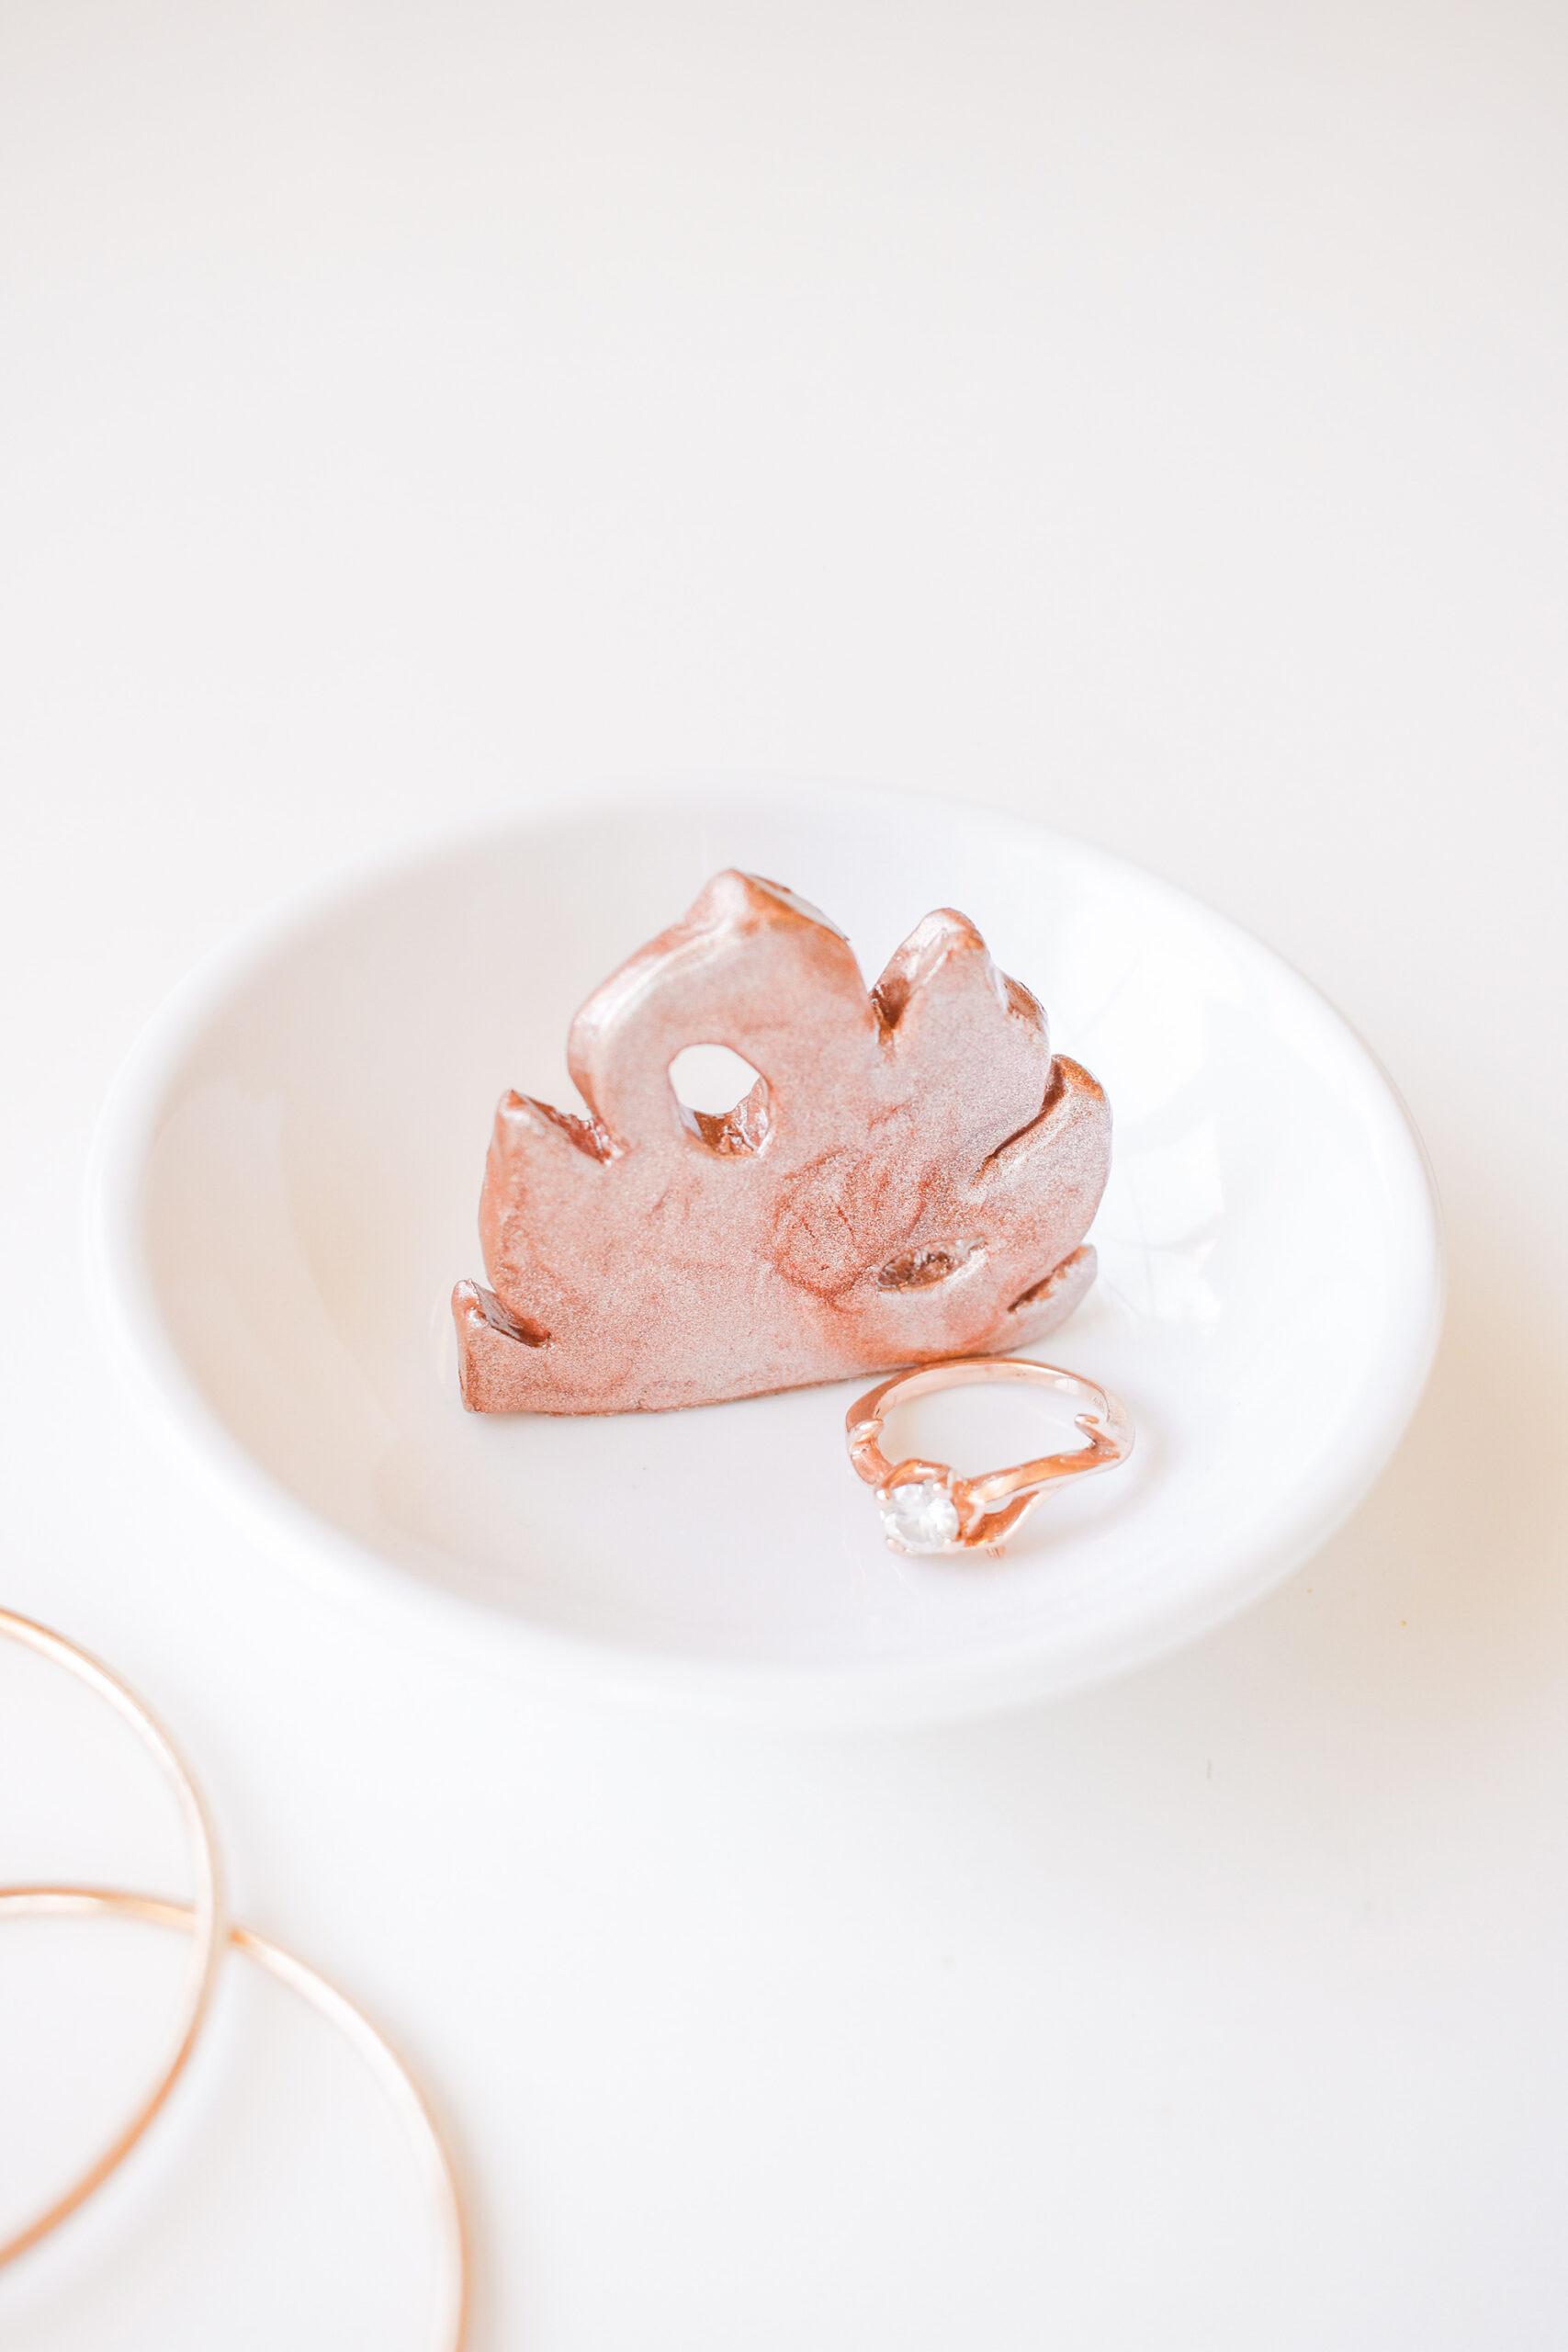
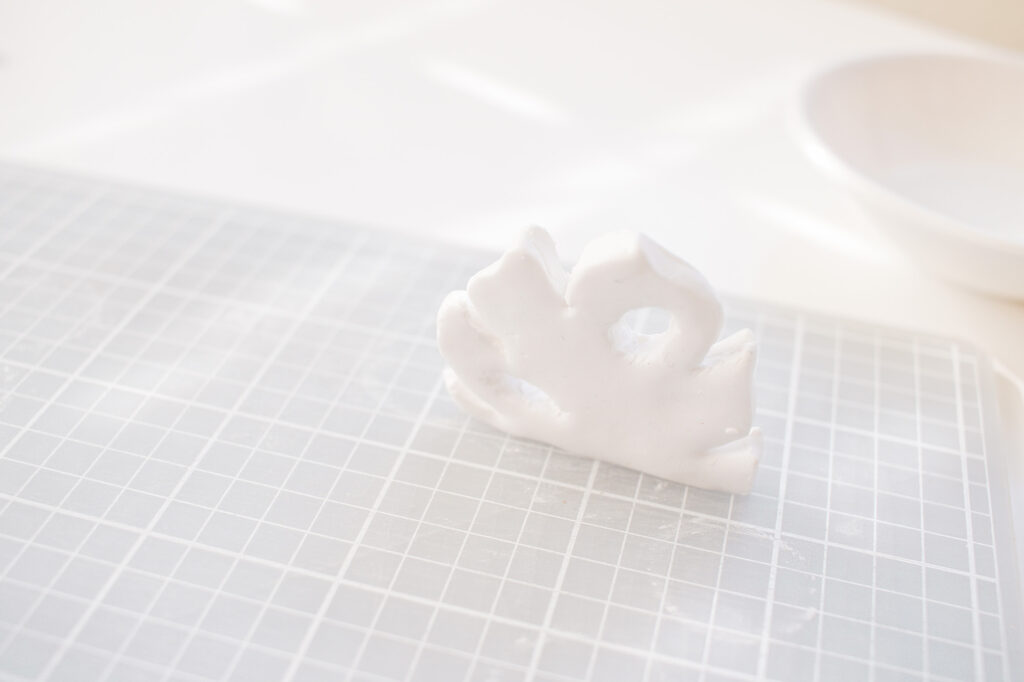
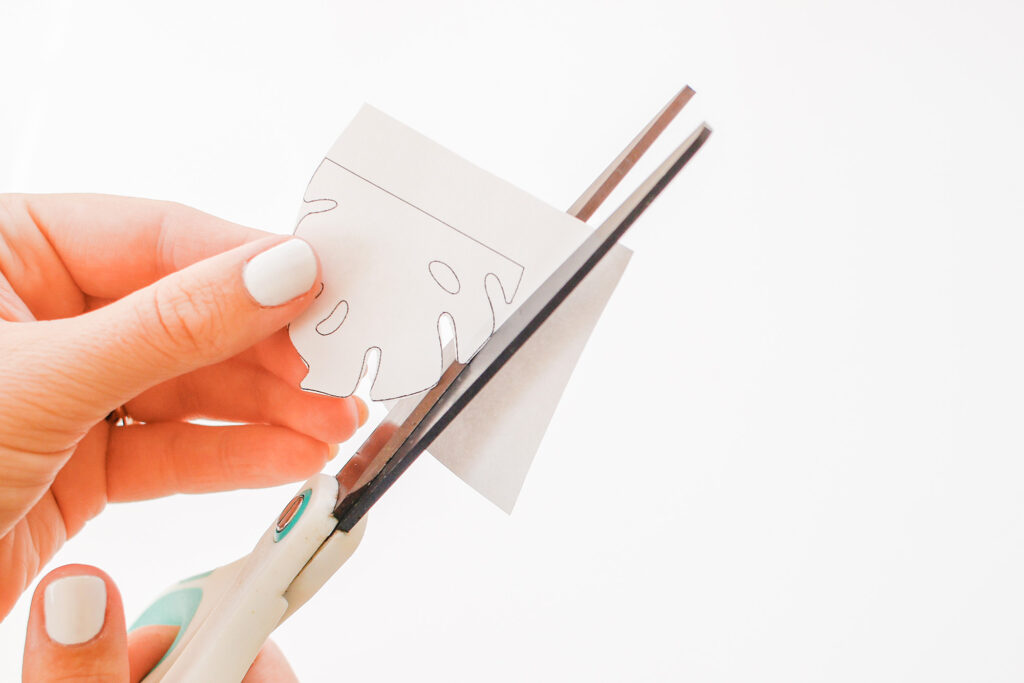
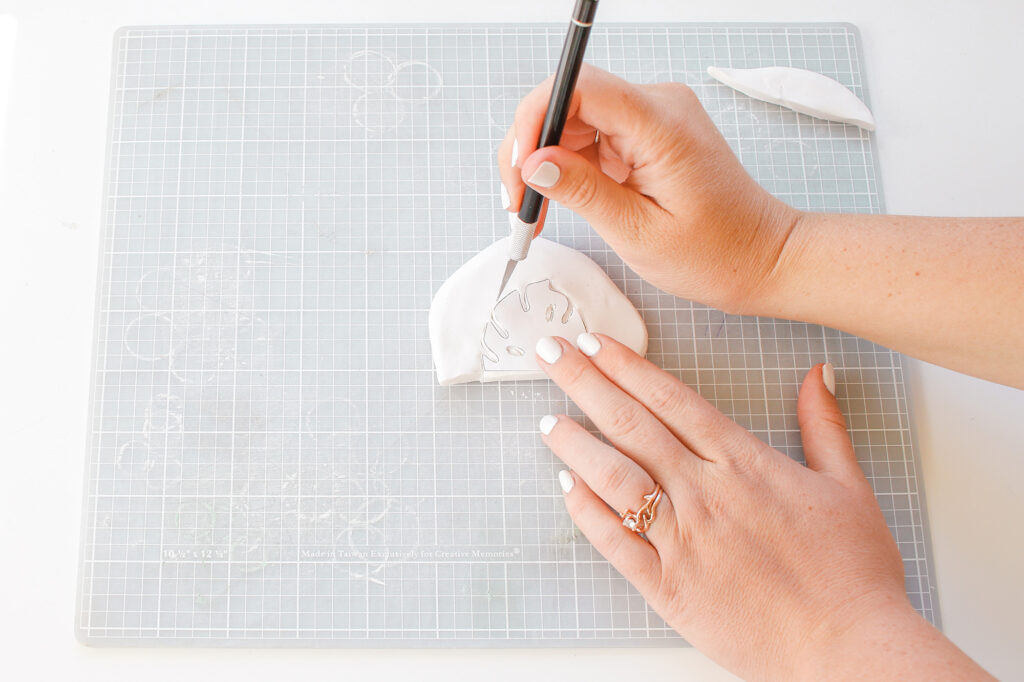
- Form a ball out of your clay and roll it flat with your rolling pin.
- Print out or draw a monstera leaf onto paper and cut it out.
- Place your paper onto your clay and cut around it when your exacto knife. Remove the outer pieces.
- Bake your clay according to the package directions.
- Spray paint your rainbow in the color of your choice (I chose copper).
- Glue it onto your ring dish using Aleene’s ‘The Ultimate’ glue.
For the Cloud:
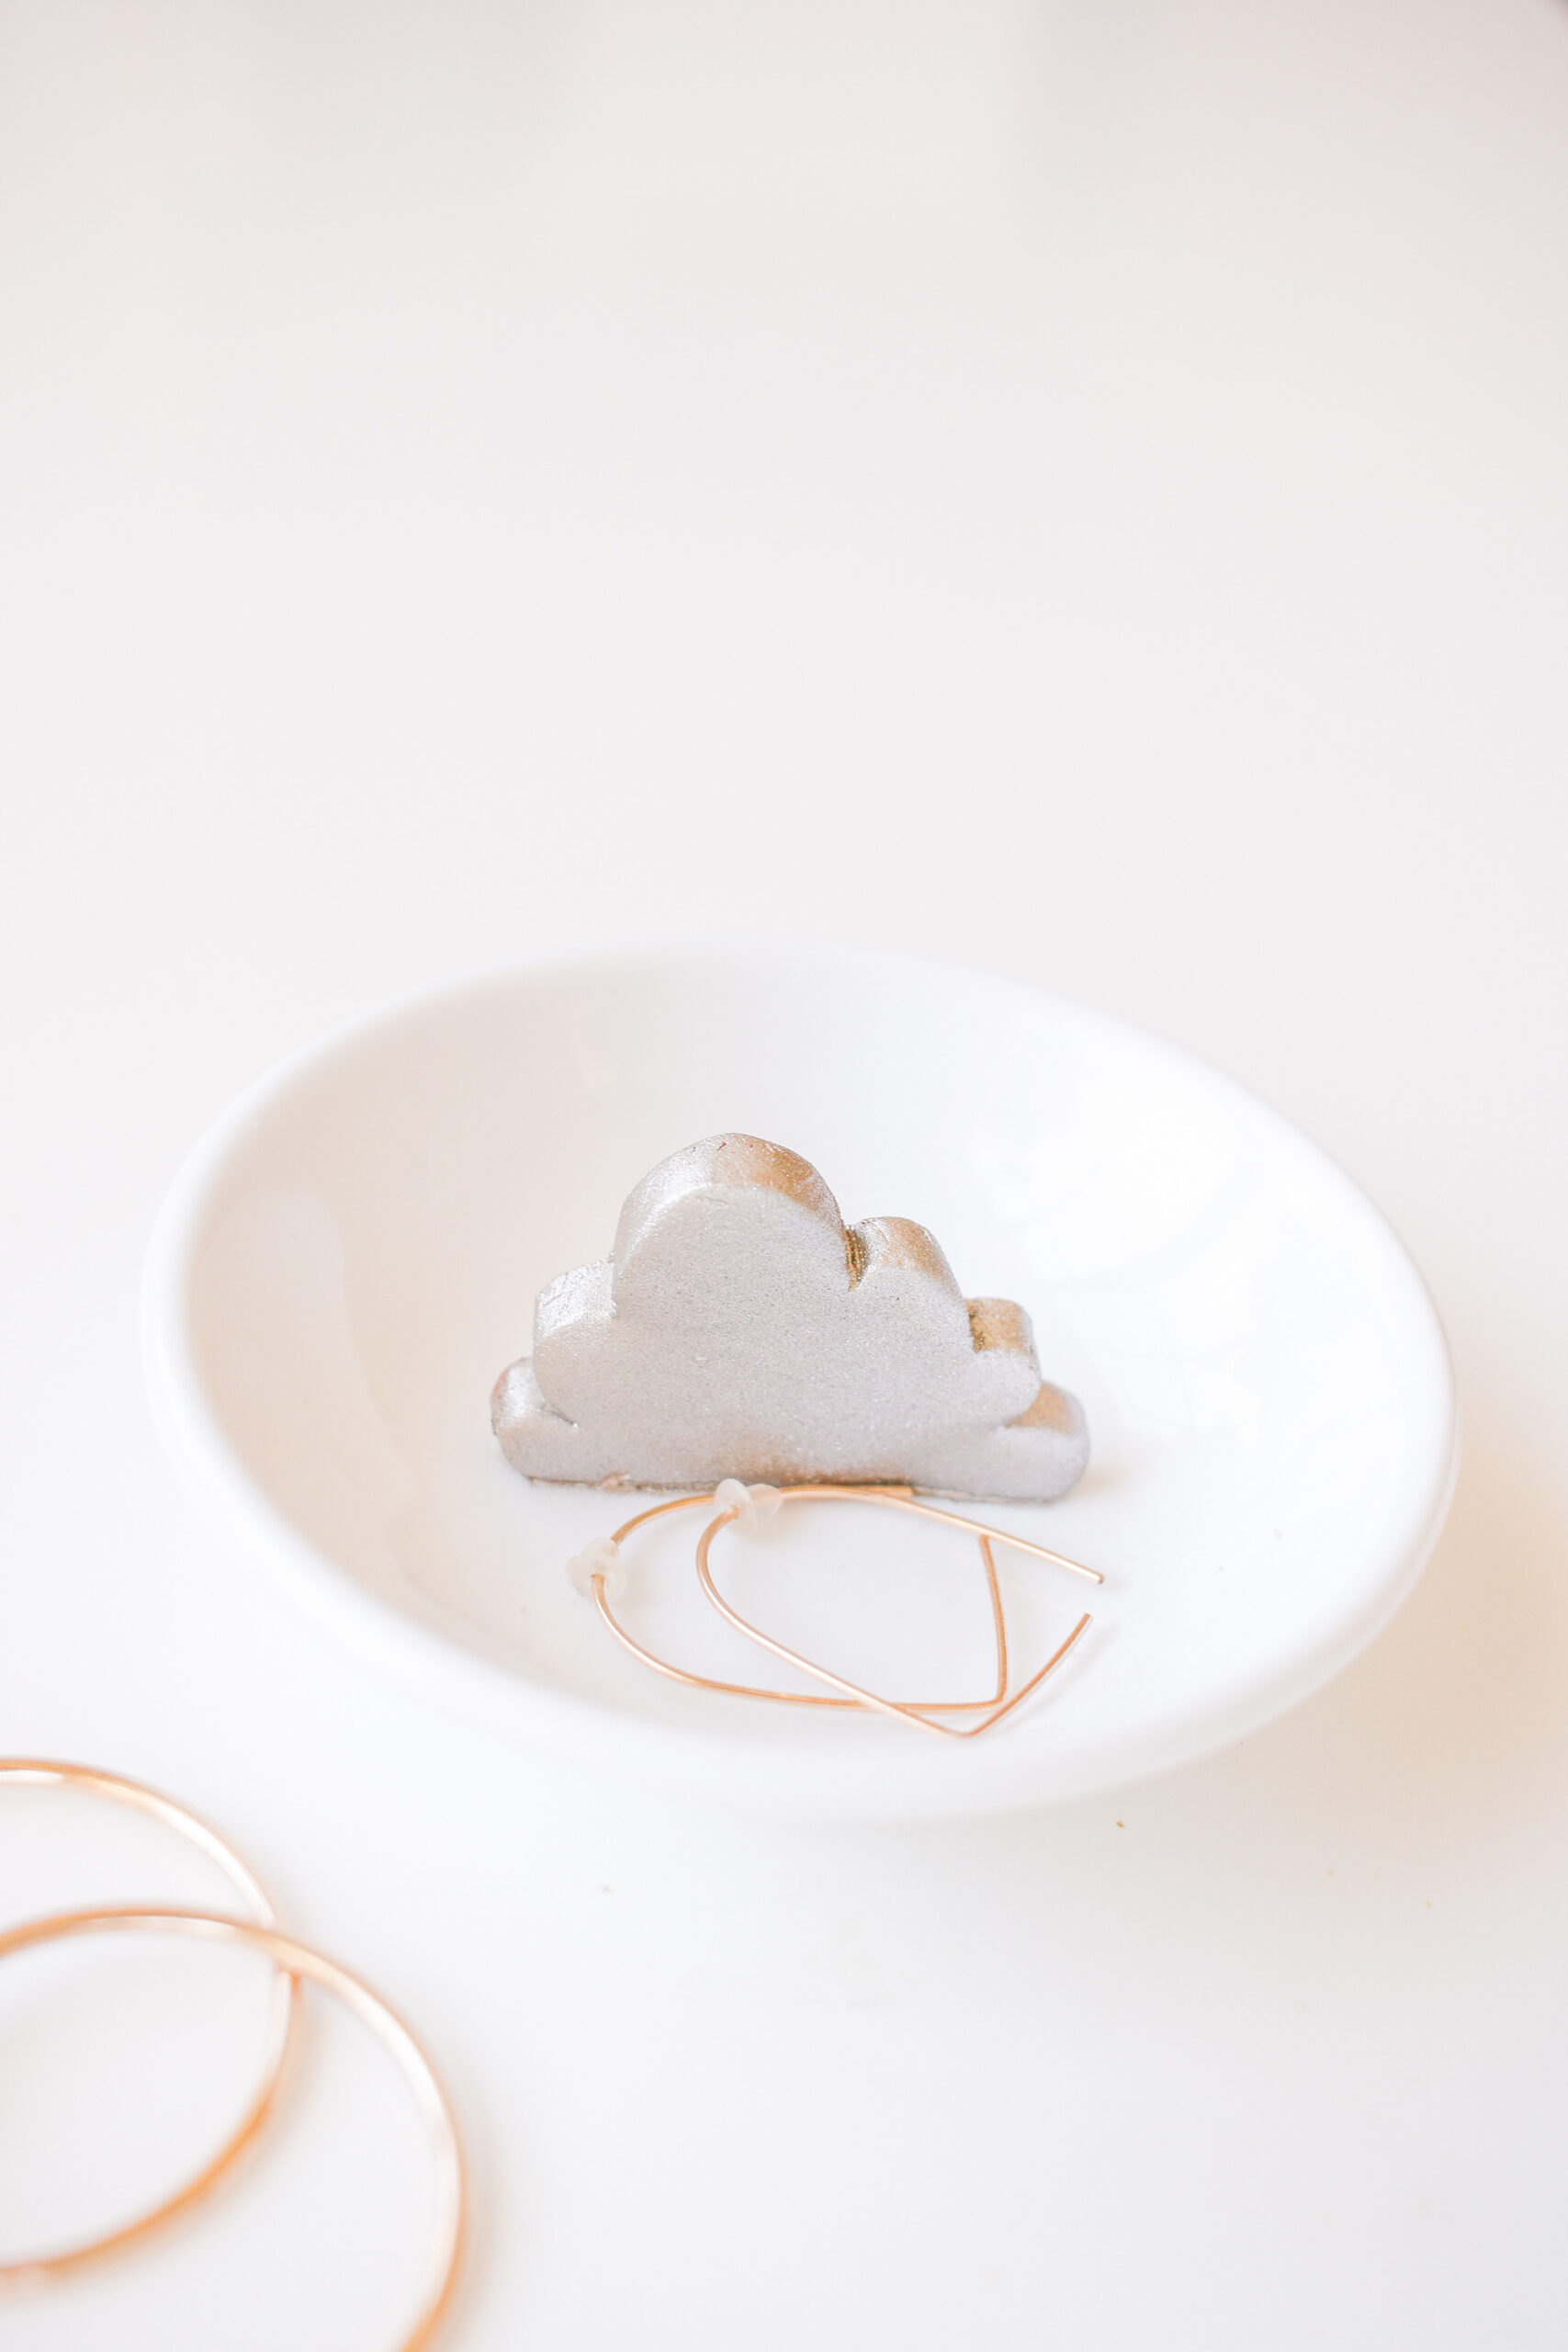
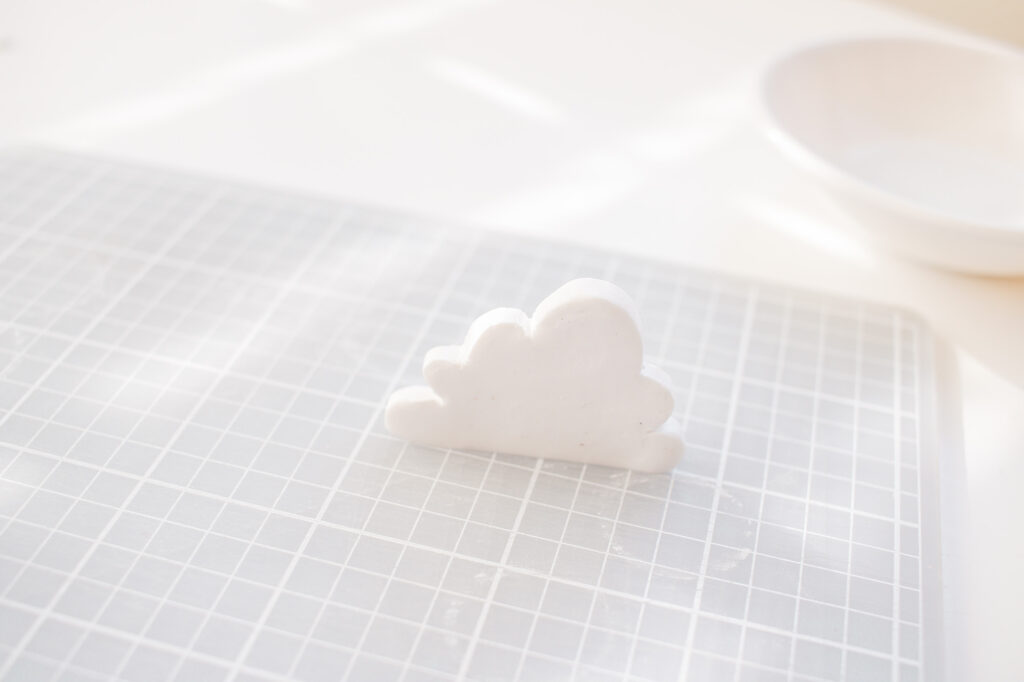
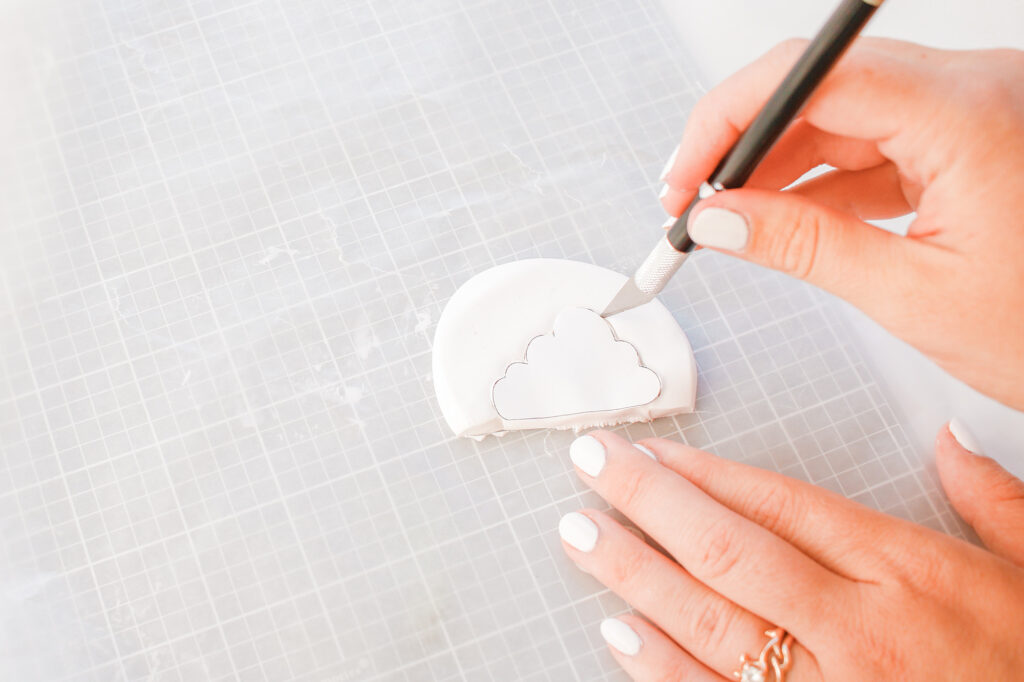
- Form a ball out of your clay and roll it flat with your rolling pin.
- Print out or draw a cloud shape onto paper and cut it out.
- Place your paper onto your clay and cut around it when your exacto knife. Remove the outer pieces.
- Bake your clay according to the package directions.
- Spray paint your rainbow in the color of your choice (I chose silver).
- Glue it onto your ring dish using Aleene’s ‘The Ultimate’ glue.
For the Mountains:
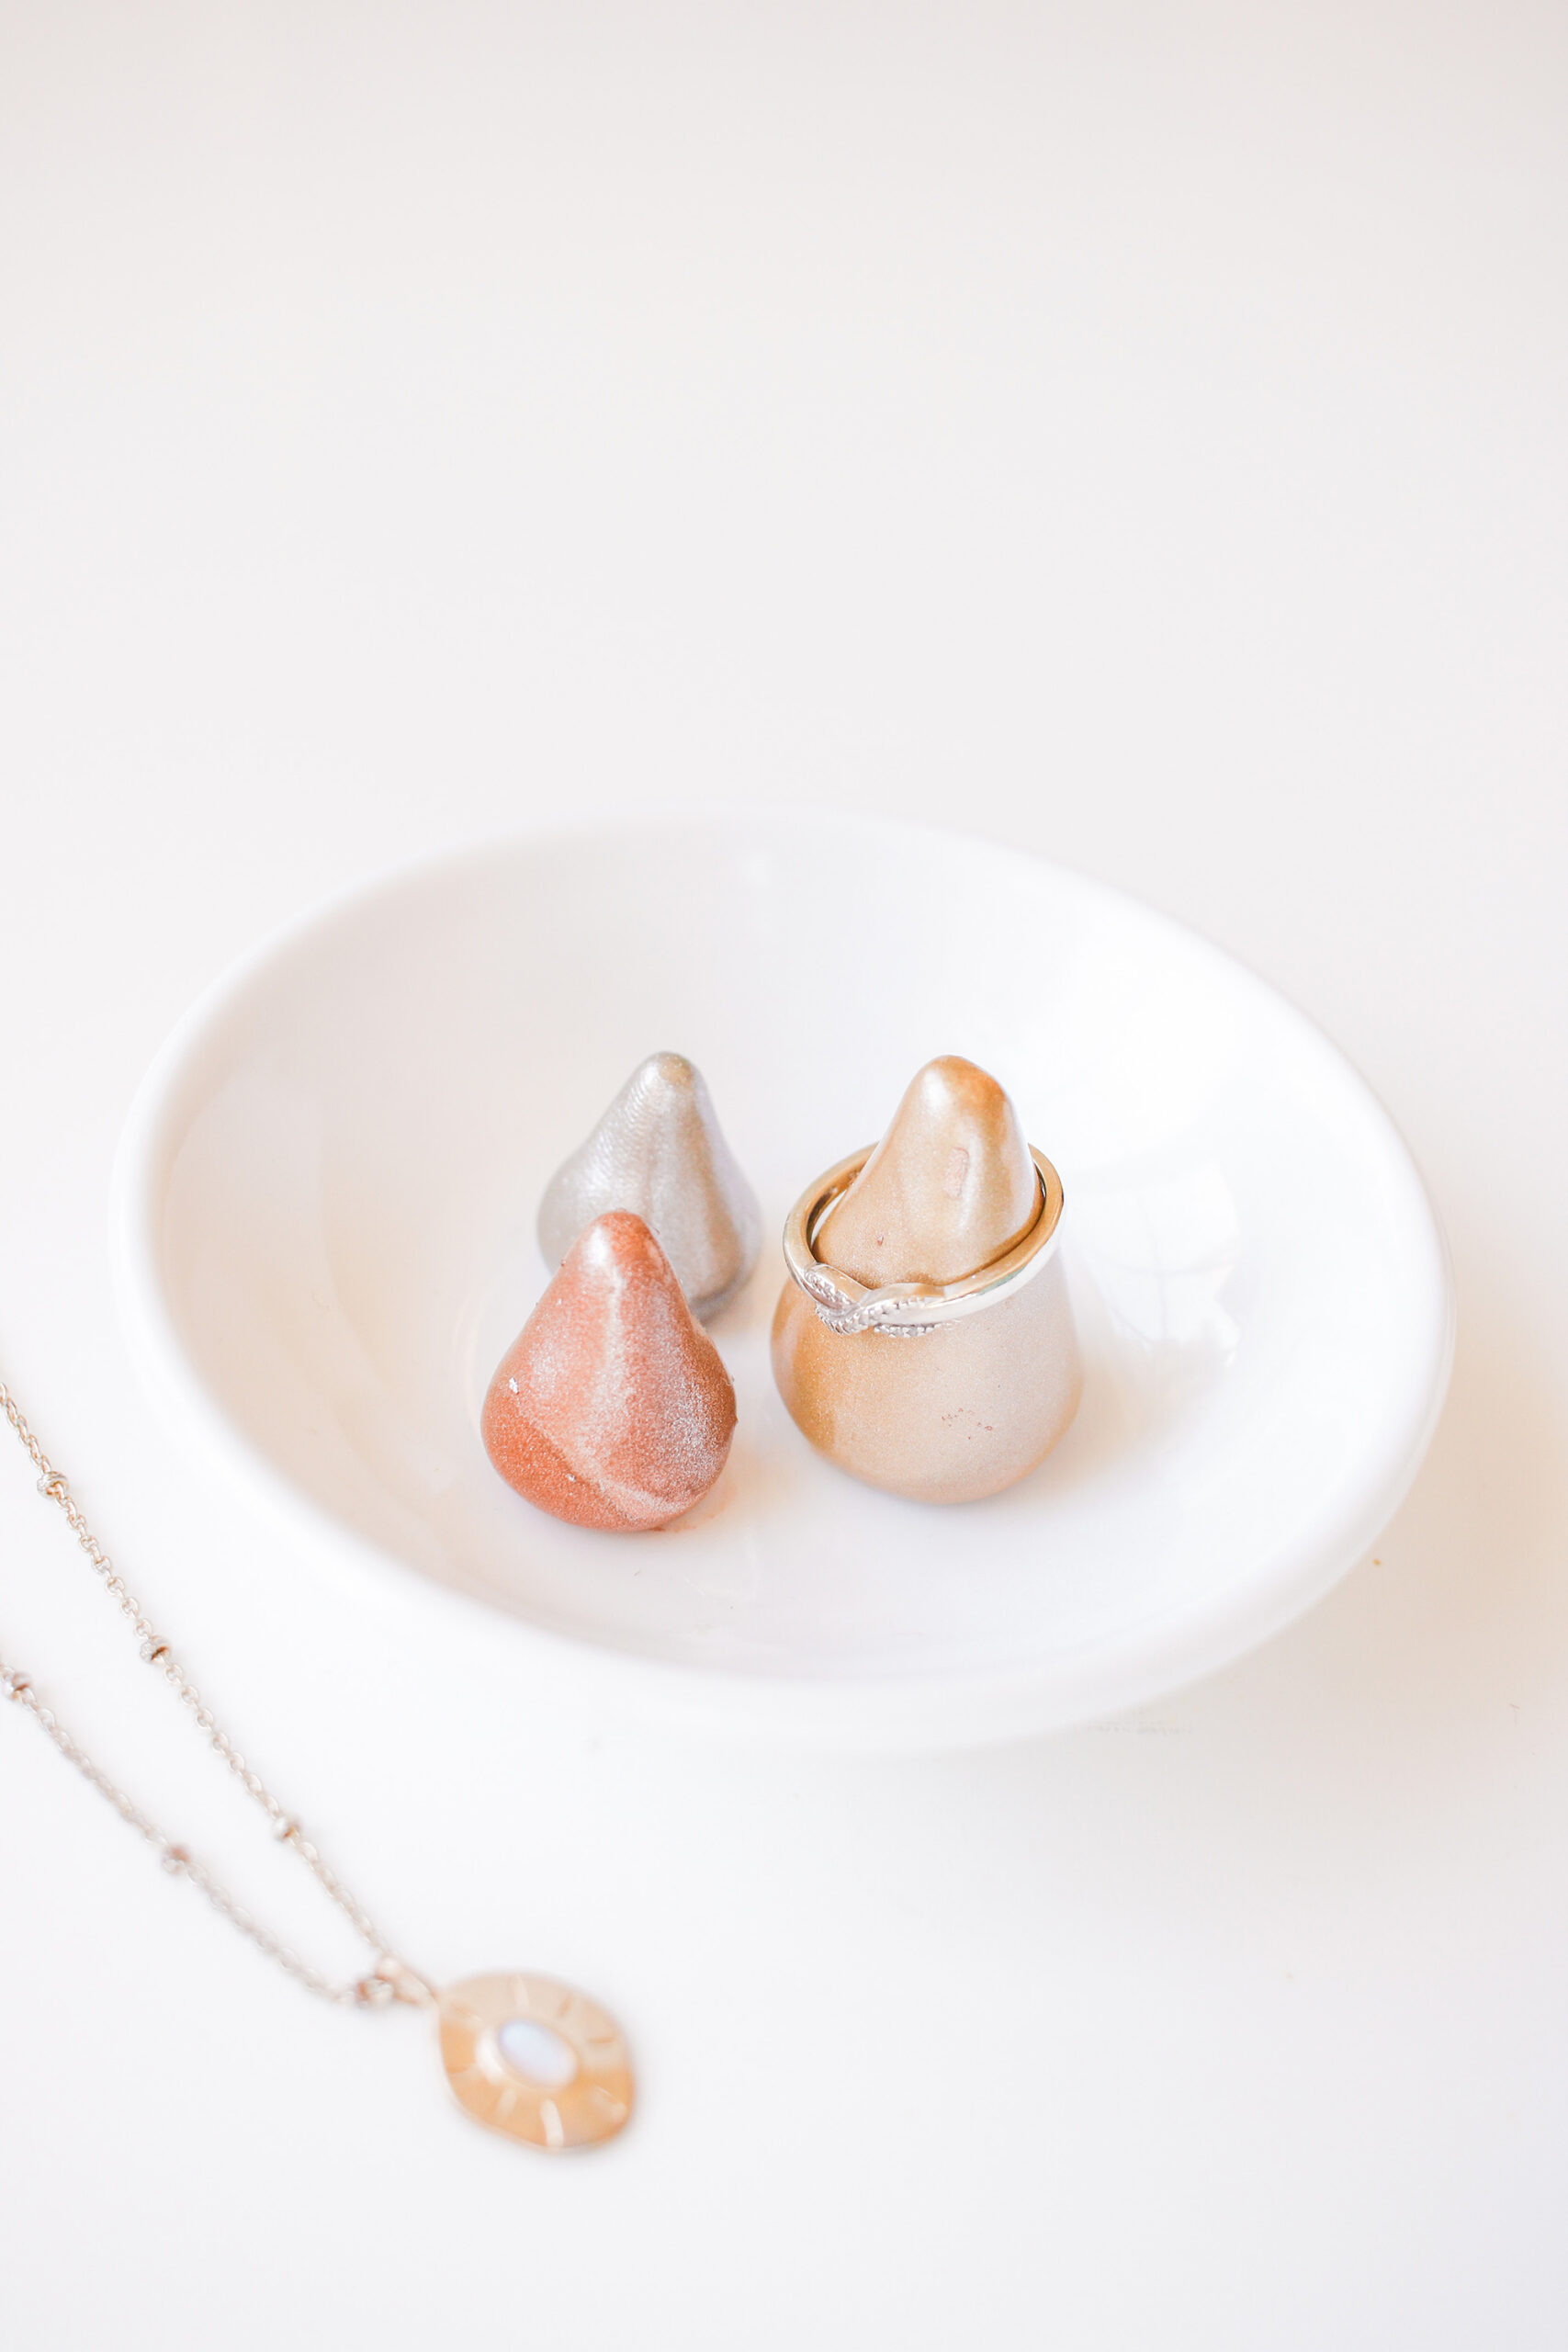
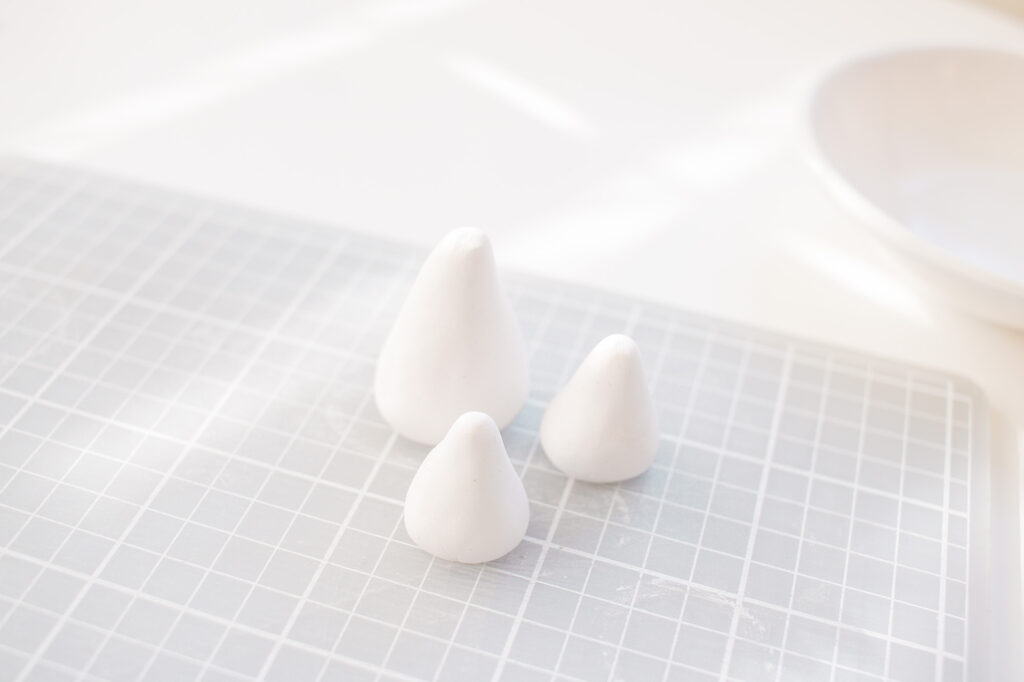
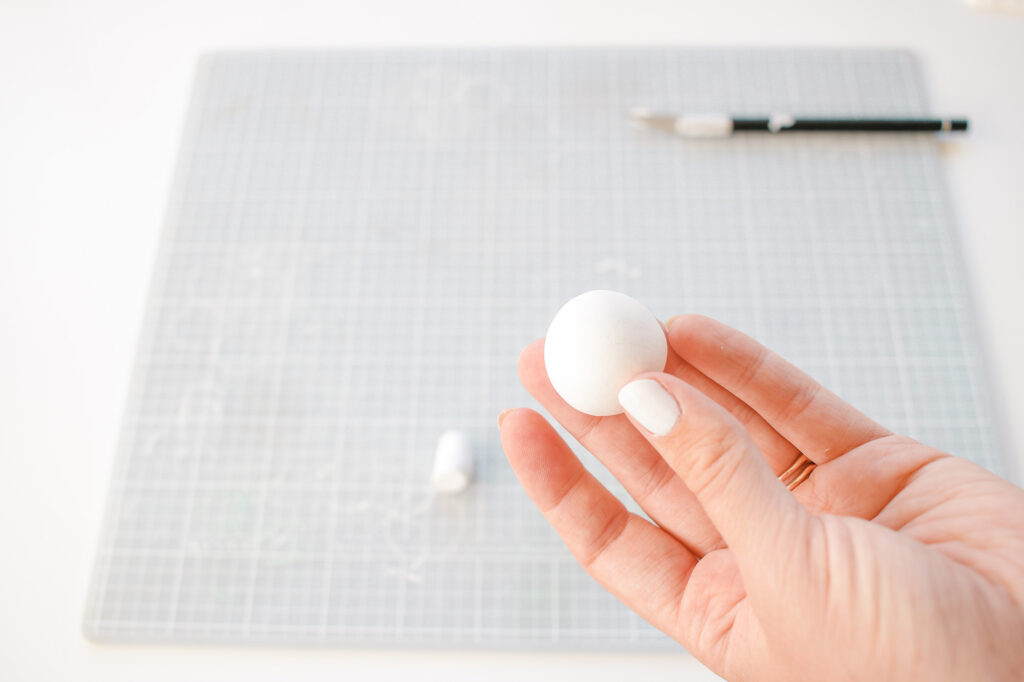
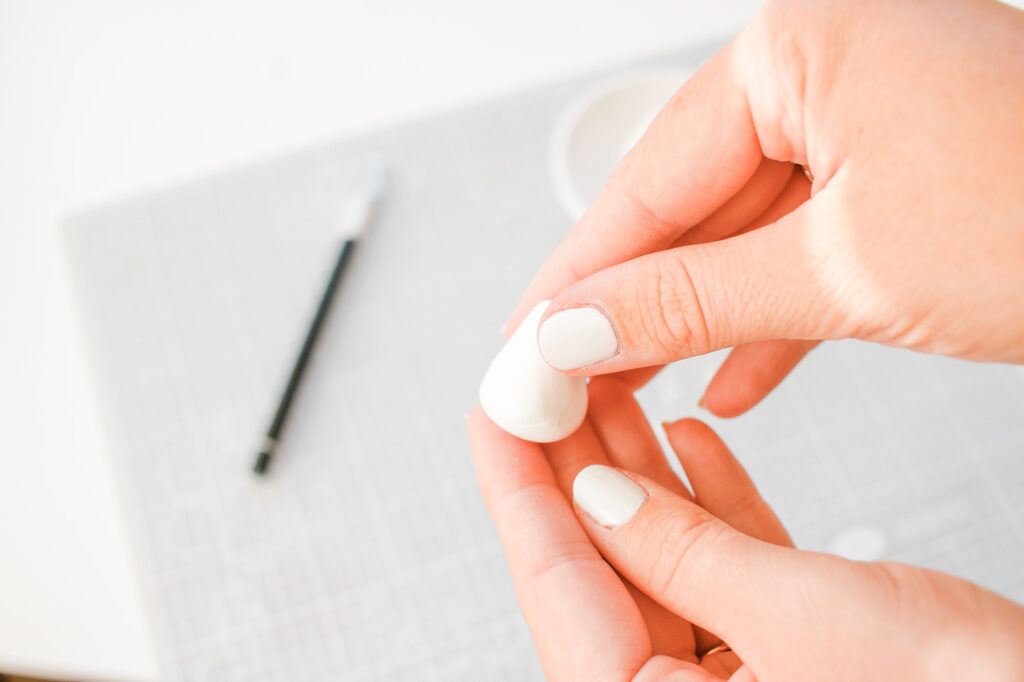
- Form three clay balls, in three different sizes.
- Pinch at the top of each and roll to form a cone or mountain shape.
- Flatten the bottom of each ‘mountain’.
- Bake your clay according to the package directions.
- Spray paint your rainbow in the color of your choice (I chose a different color for each mountain – gold, silver and copper).
- Glue it onto your ring dish using Aleene’s ‘The Ultimate’ glue.
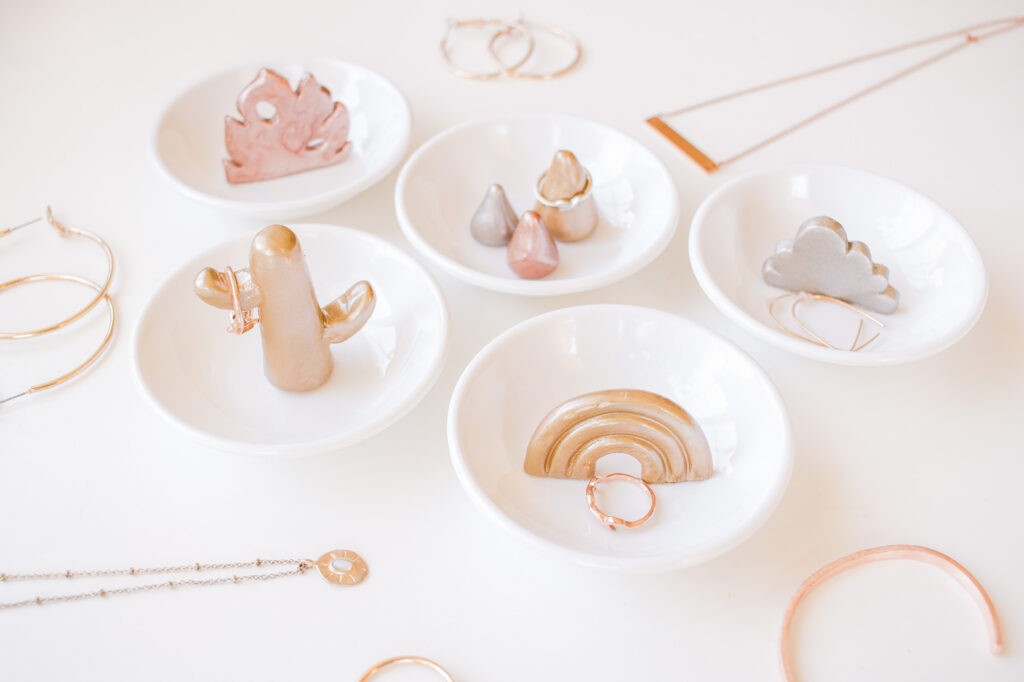
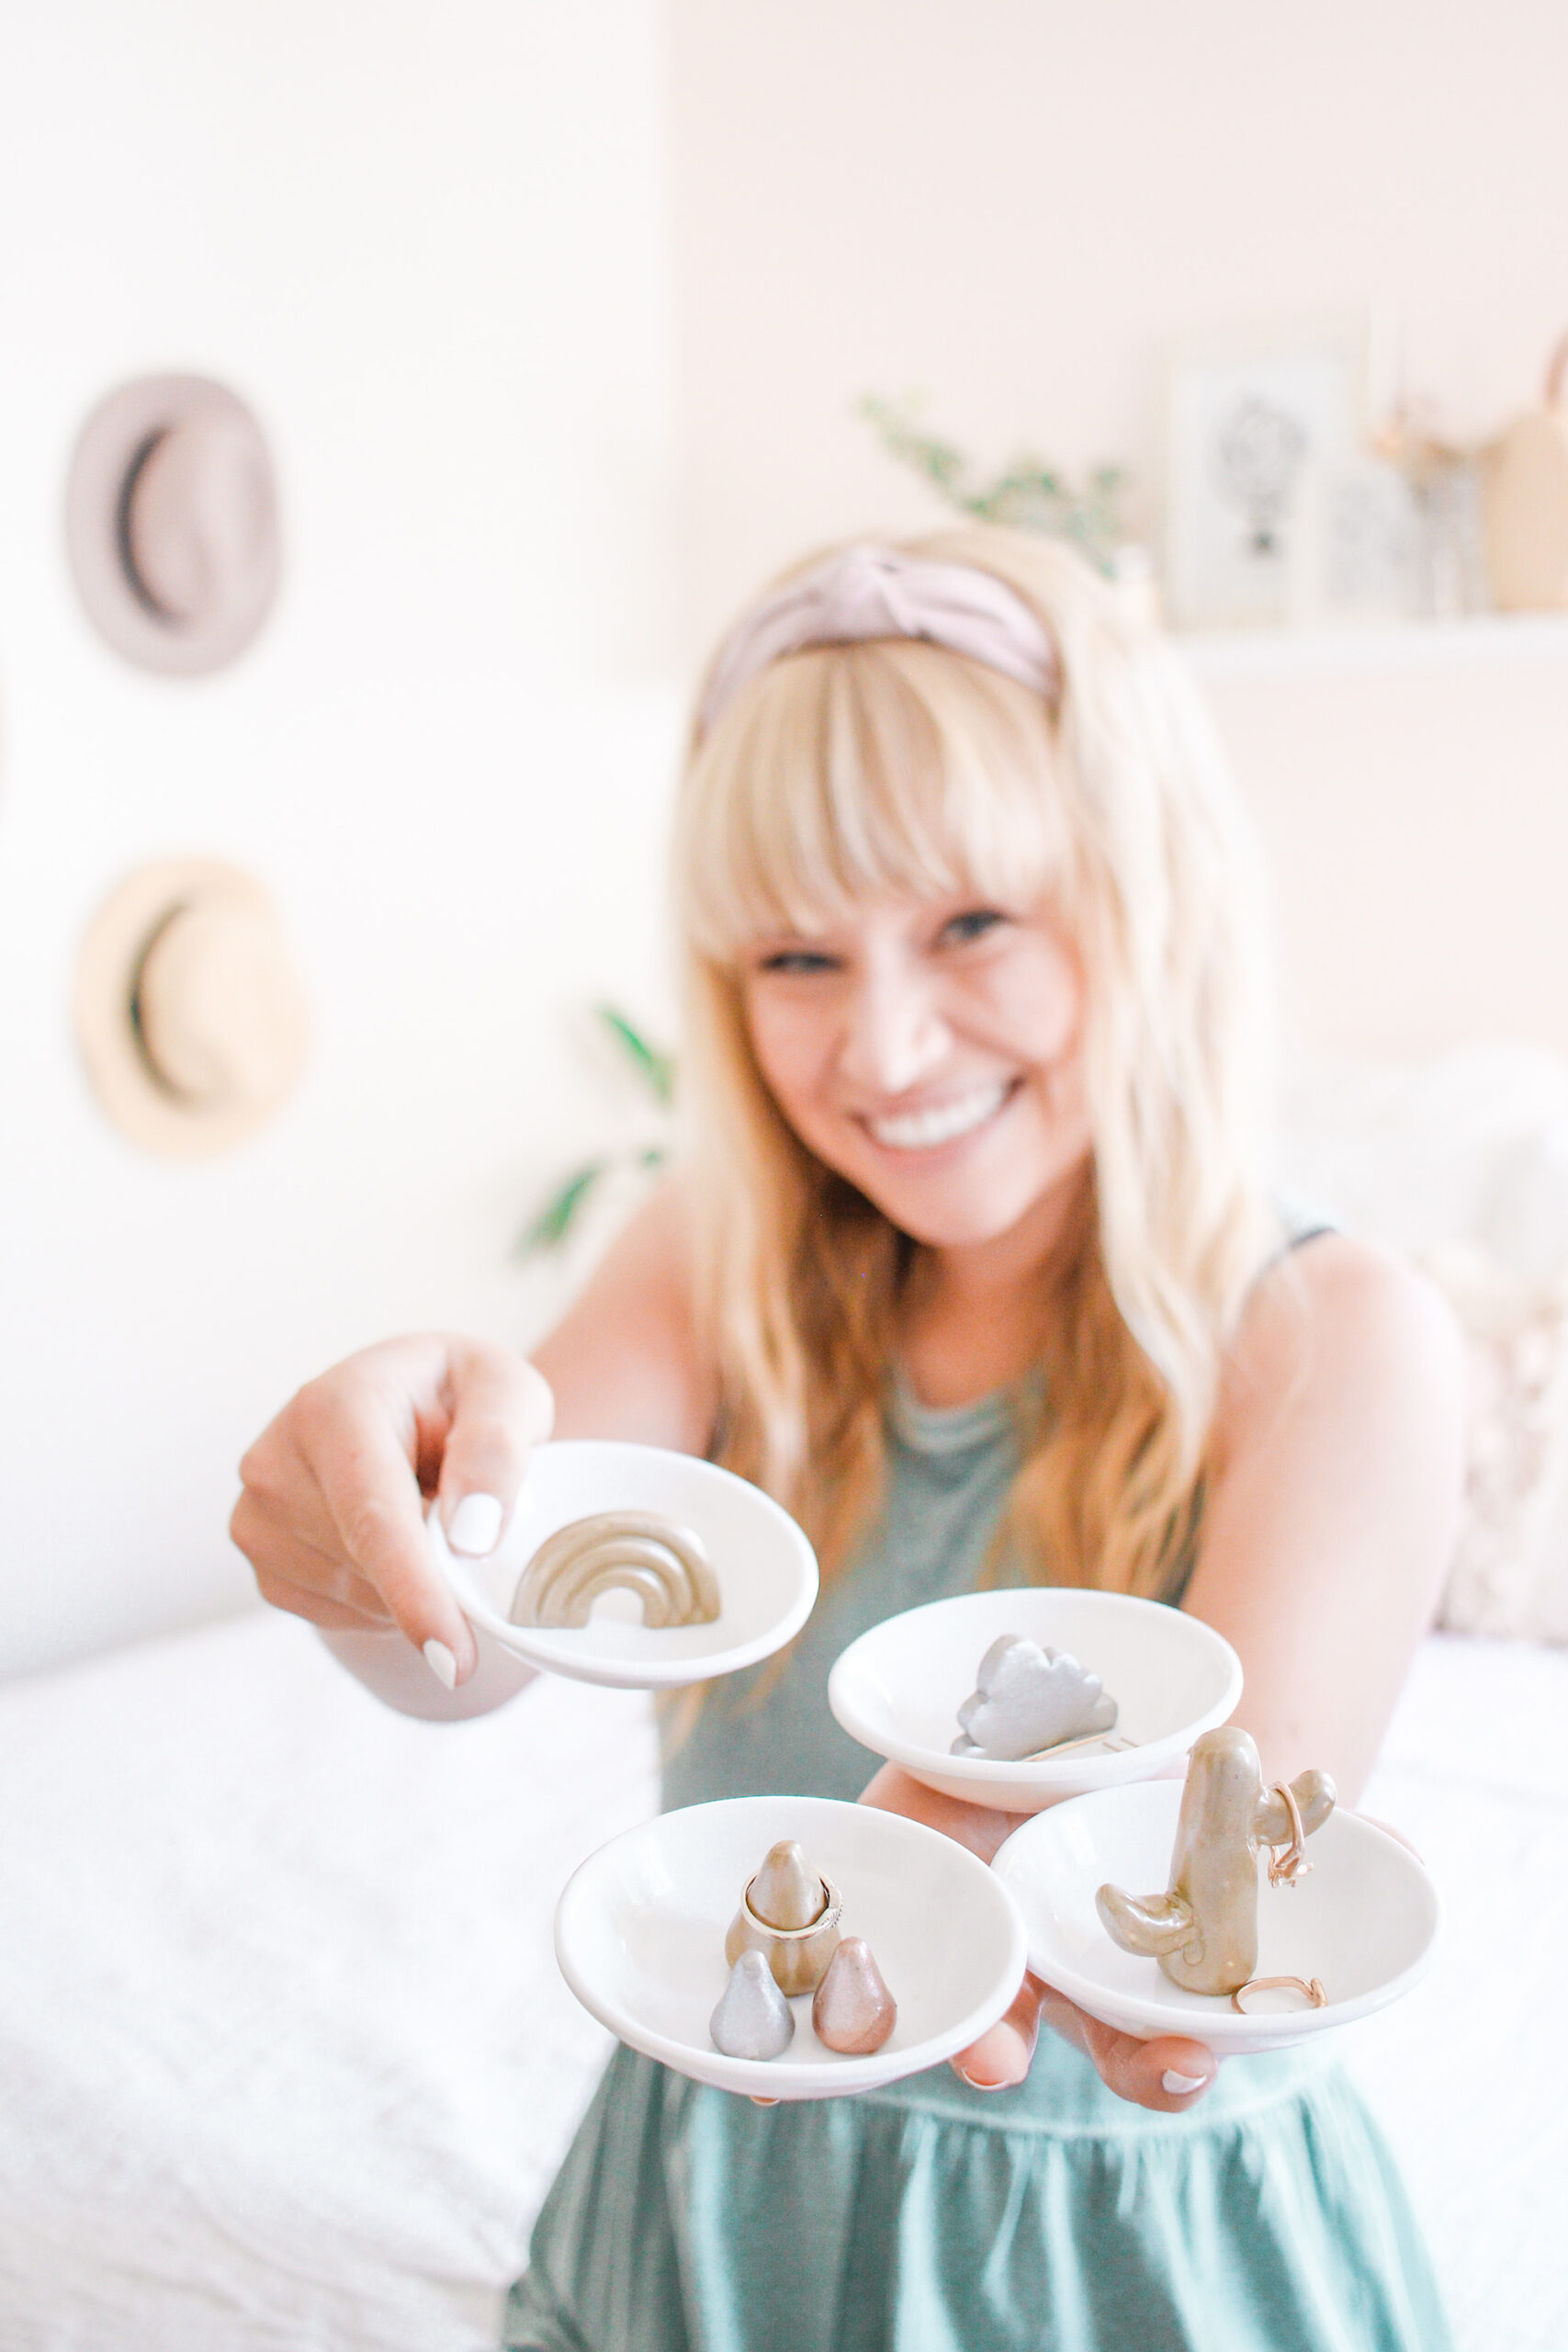
Now you have a ton of super cute ring dishes to give to your friends… orrrr just keep for yourself (we won’t judge). The possibilities really are endless with this DIY, you could make ANYTHING to go on your ring dish! I think a super fun idea would be to make something that they love or landmark from where they live or of their fave city. I know Christmas is a ways away, but wow, what a great Christmas gift!!
Make sure to check out all of Aleene’s amazing glues (it is truly the only kind I use), especially their ‘The Ultimate’ Glue because it great for a million different DIYs! Okay, that’s it for this week, if you make your own cutie ring dish, be sure to tag or DM me @mikylacreates, and I’ll see you next week!
This post was created in partnership with Aleene’s Original Glues All content and opinions are my own! Thank you for supporting the sponsors that help keep Mikyla Creates going!!

2 comments on “5 DIY Ring Dishes”