10 Easy DIY Ornaments
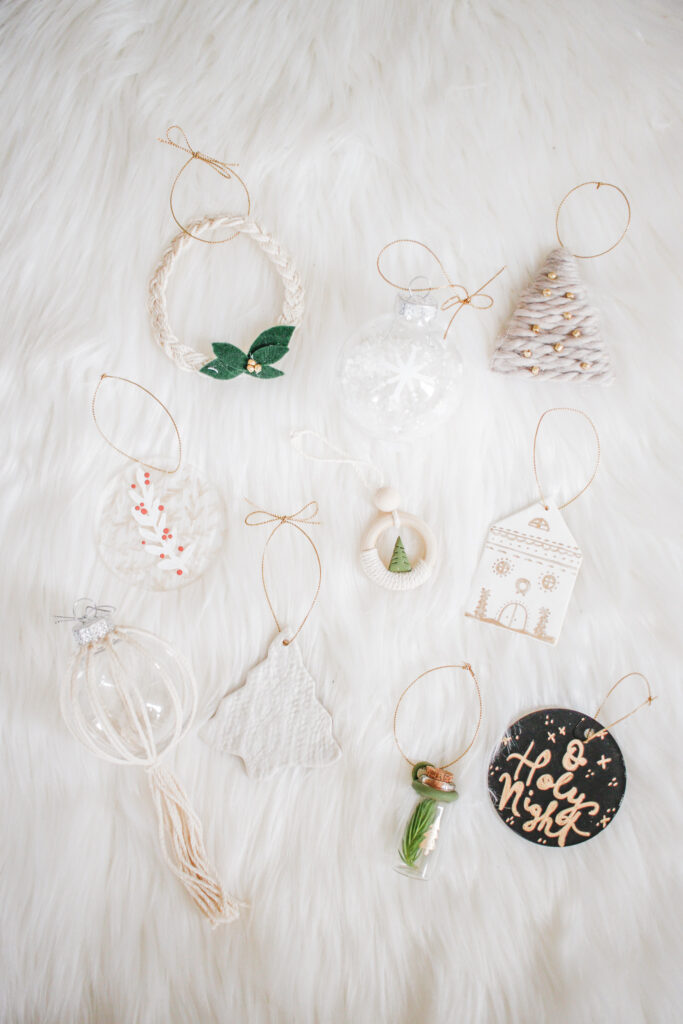
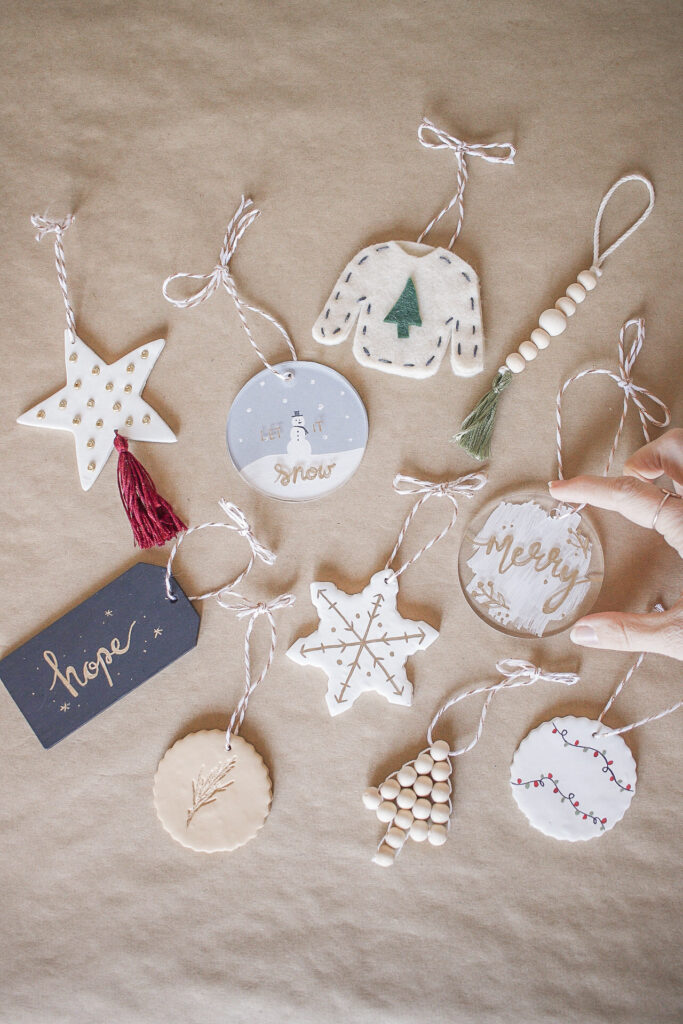
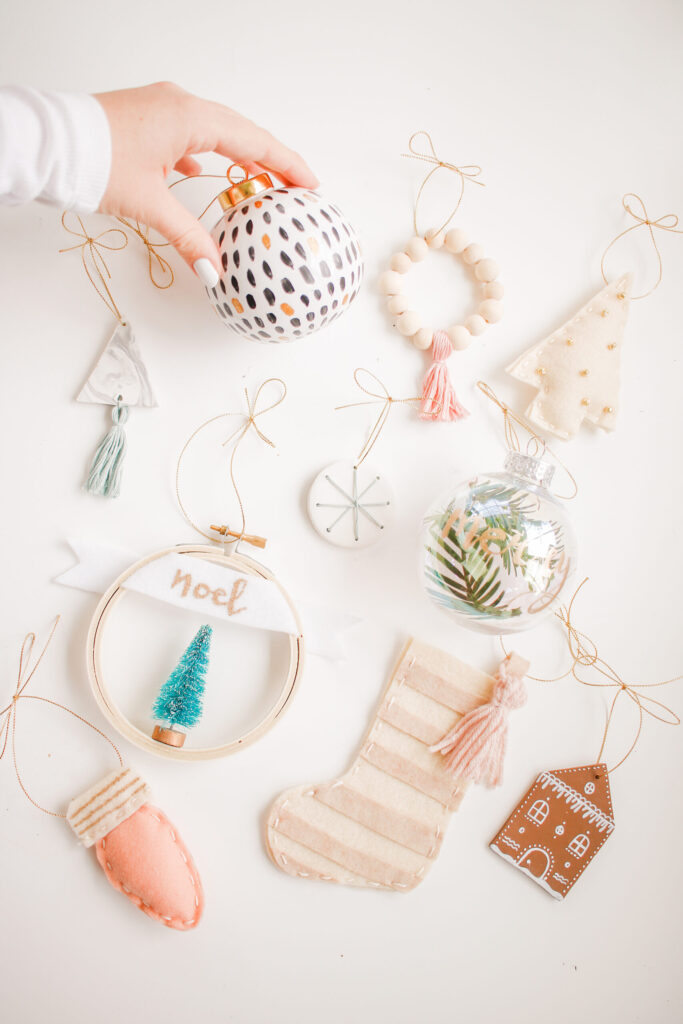
This is the third year I’ve posted 10 DIY ornaments – which is THIRTY DIY ornament ideas for you! Here is last years, and the year before! It’s definitely getting harder to come up with ideas, but I love how they turned out year!! I only used supplies that I had at home, and they were all super quick to make! So any of these would be perfect to make a bunch for friends or do an ornament making night with friends! Scroll down to see the last two years of ornaments as well so that you can pick the perfect ones to make!! Happy Christmas crafting!
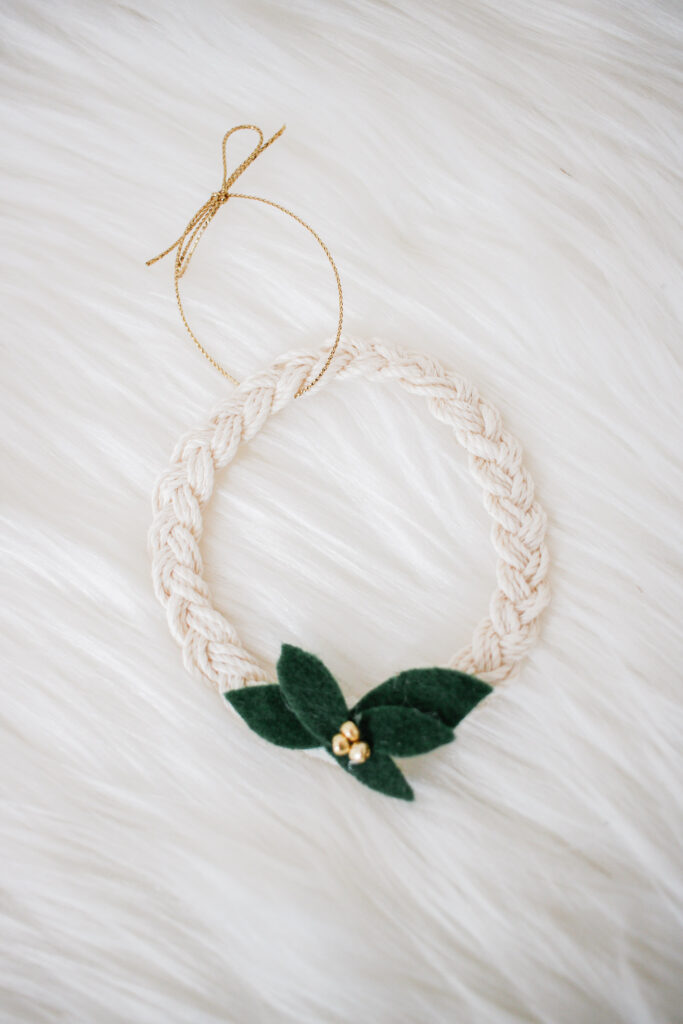
Braided Wreath
SUPPLIES:
Green Felt
Hot Glue
Scissors
DIRECTIONS:
- Cut 9 long strands of cotton twine.
- Separate the 9 strands into 3 groups of 3 and braid them together.
- Connect the two ends to make a circle and hot glue it together.
- Cut out 5 leaves of varying sizes out of green felt and glue them on the spot where the braid connects.
- Glue on 3 gold beads in the center of the leaves.
- Tie on a string to hang it.
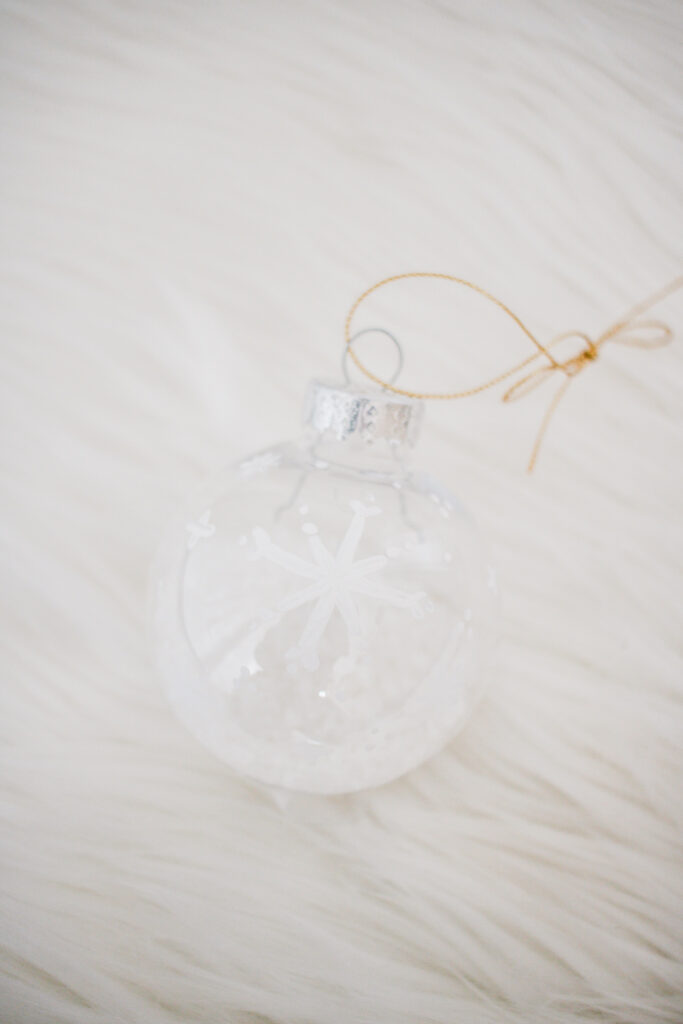
Painted Snowflake
SUPPLIES:
White Acrylic Paint
Paint Brush
DIRECTIONS:
- Add some fake snow into the clear ornament, about 1/3 full and put the top back on.
- Paint one large snowflake with white acrylic paint in the center of the ornament.
- Add clusters of dots with the end of your paintbrush around the snowflake.
- Also add some mini snowflakes – just 3 lines crossing.
- Tie on a string to hang it.
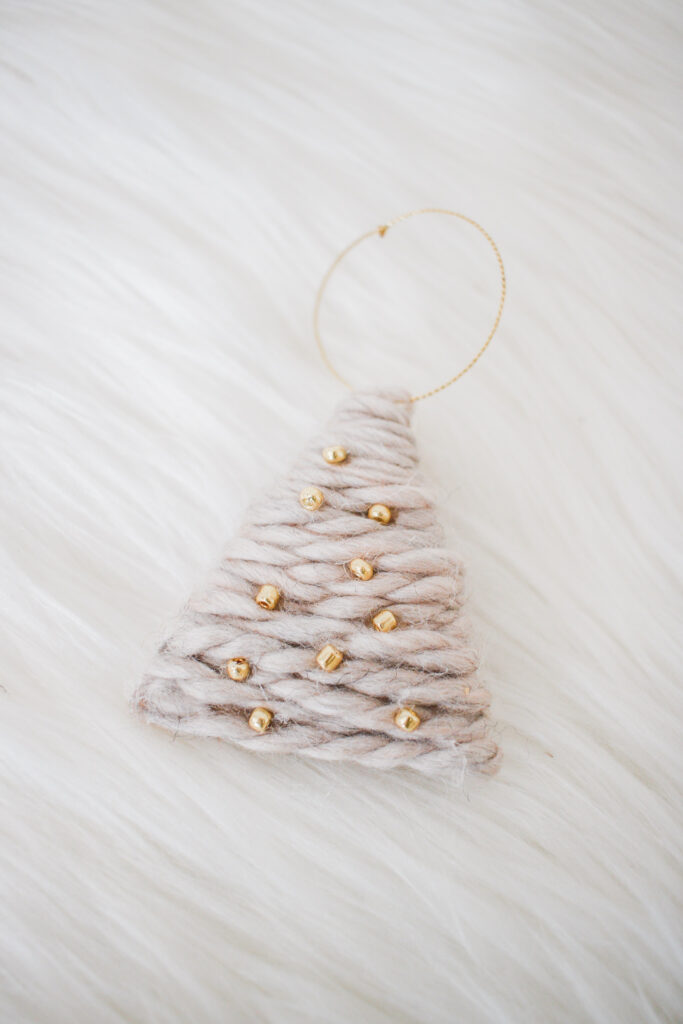
Yarn Tree
SUPPLIES:
Cardboard
Hot Glue
Scissors
DIRECTIONS:
- Trace a triangle onto a piece of cardboard.
- Cut out that triangle .
- Glue the end of your yarn to the tip of the triangle with hot glue.
- Start at the top and wrap the yarn around the triangle, working your way down, making sure that no cardboard is showing.
- Tuck the end of your yarn underneath the wrapped yarn at the bottom of the triangle, and hot glue to secure.
- Hot glue gold beads onto the yarn, about 10.
- Loop a string through the top piece of yarn for hanging.
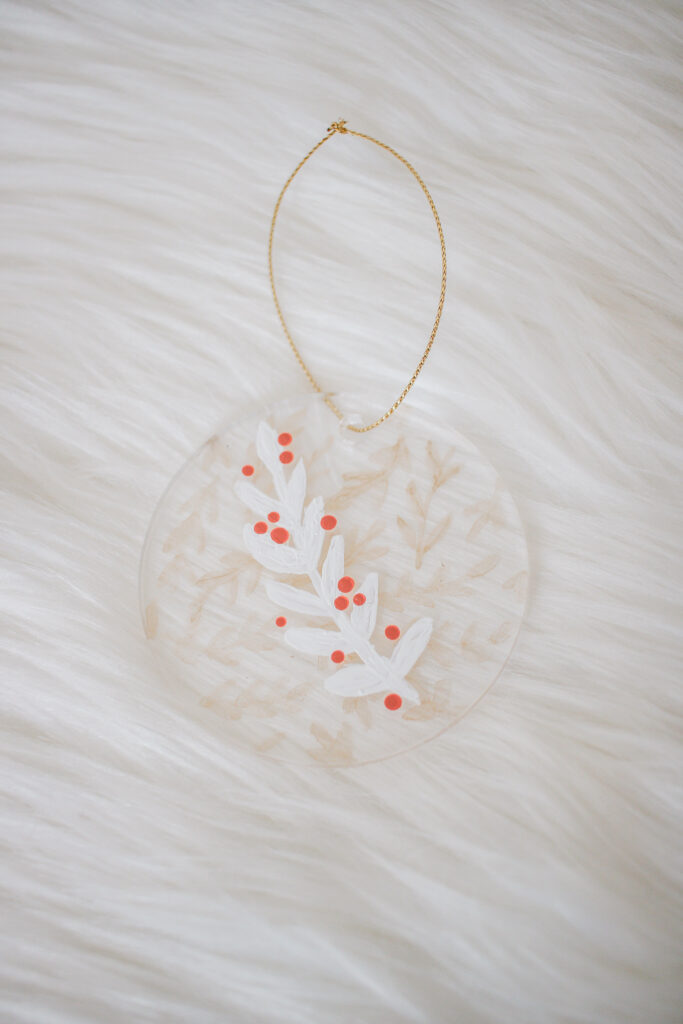
Painted Branch
SUPPLIES:
White Acrylic Paint
Paint Brush
Red Acrylic Paint
DIRECTIONS:
- Use a gold paint pen to paint leaves covering the acrylic ornament. Do this by drawing a short line and leave shapes on either side of the line.
- Flip the ornament over and on the other side paint a large branch with white acrylic paint.
- Dip the end of a paint brush into red acrylic paint and add dots around the large white branch.
- Tie on a string to hang it.
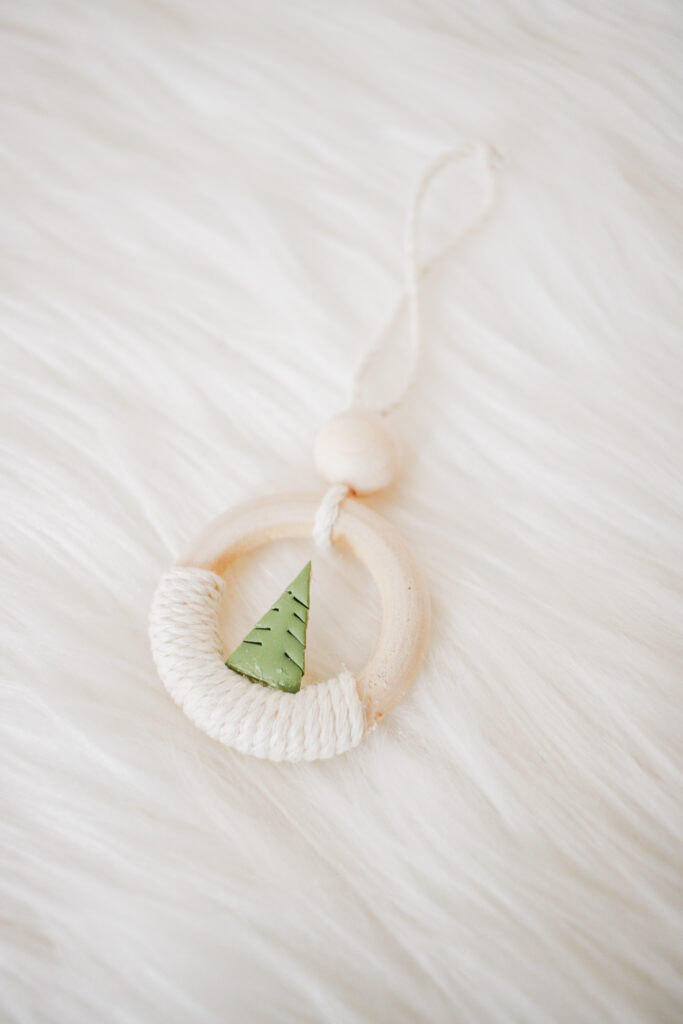
Wooden Ring Wreath
SUPPLIES:
Scissors
Exacto Knife
Rolling Pin
Hot Glue
DIRECTIONS:
- Hot glue the end of cotton twine to the wooden ring and wrap the twine around the ring until it covers about 1/3 of the ring.
- Glue the other end of the string to the same side of the ring that you secured the first side.
- Thread a piece of cotton twine through a wooden bead, then thread that same twine through the other side of the bead, tie the twine onto the top of the ring.
- Roll out green Sculpey clay, use an exacto knife to cut a small triangle, then use the exacto knife to cut little slits on either side to resemble a tree.
- Use tacky glue to attach the tree to the center of the ring.
Christmas House
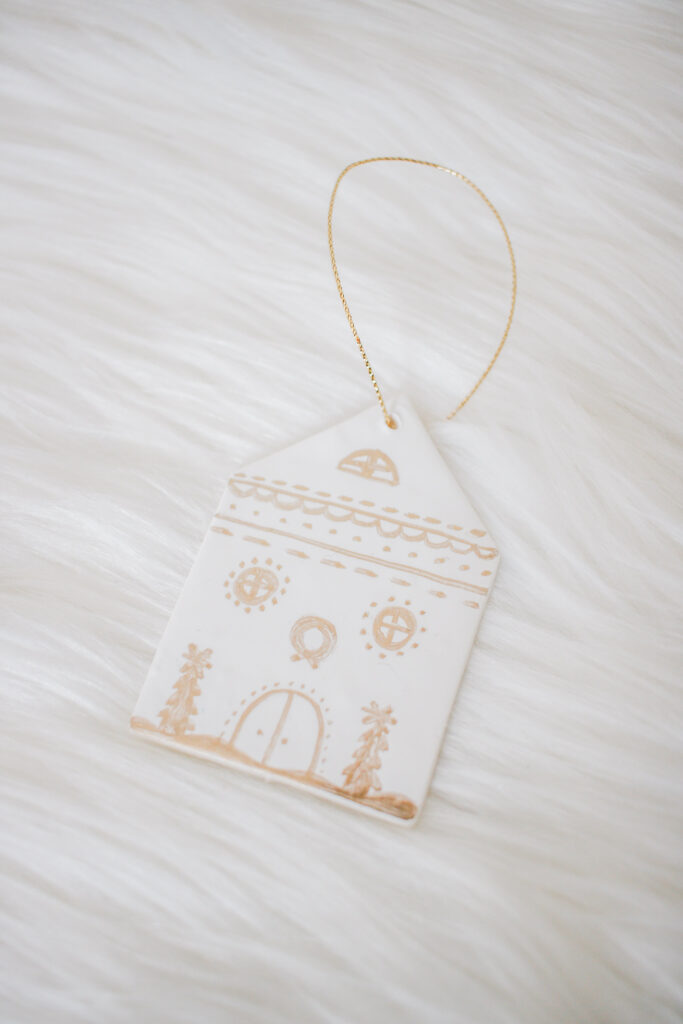
SUPPLIES:
Rolling Pin
Pin
DIRECTIONS:
- Roll out white Sculpey clay, then use a house shapes cookie cutter to cut out the clay.
- Bake according to package directions.
- Use a pin to add a hole to the top of the house.
- Use a gold paint pen to add doors, windows, wreaths trees, etc. to the house. Get creative!
- Tie on a string to hang it.
Macrame Ball Ornament
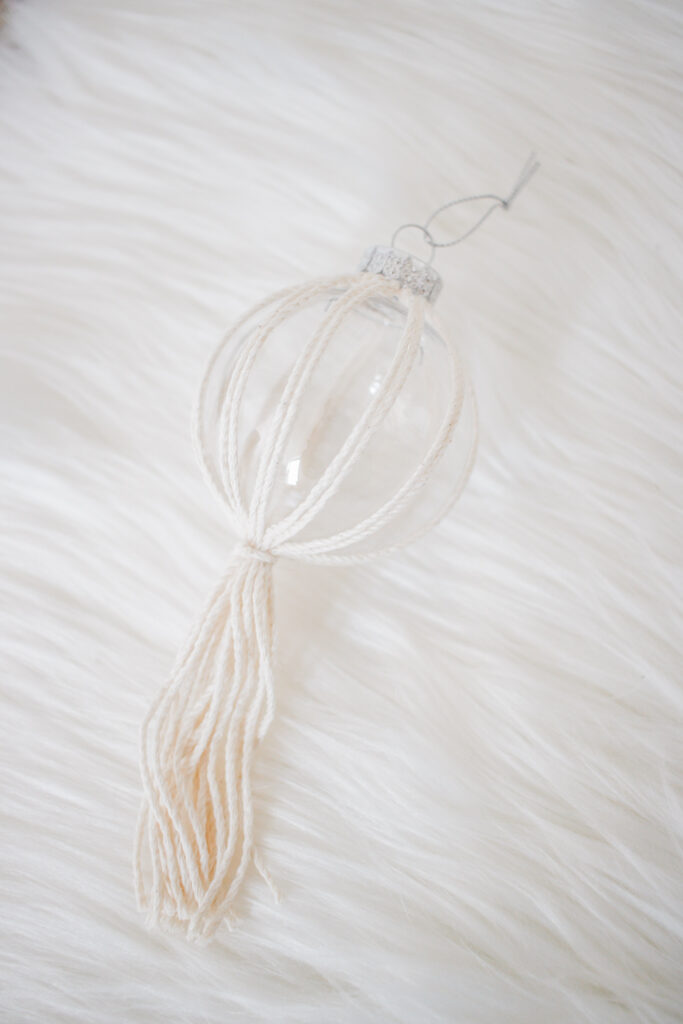
SUPPLIES:
Scissors
DIRECTIONS:
- Refer to this tutorial linked below:
https://www.thegreenmadhouse.com/diy/diy-macrame-christmas-ball-ornaments
Sweater Print Tree
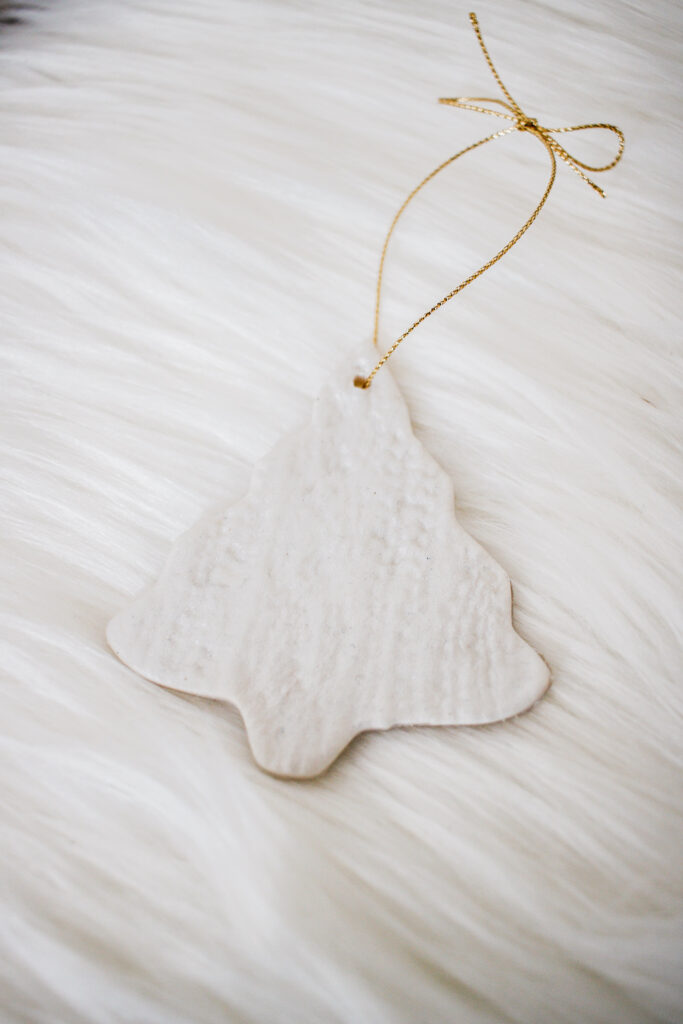
SUPPLIES:
Sweater Fabric
Rolling Pin
Pin
DIRECTIONS:
- Roll out Pearl colored Sculpey.
- Lay sweater fabric onto the clay.
- Roll ontop of the sweater fabric with a rolling pin to imprint the sweater texture onto the clay.
- Use a tree shapes cookie cutter to cut out the clay.
- Use a pin to add a hole to the top of the tree.
- Bake according to package instructions.
- Tie on a string to hang it.
Evergreen in a Bottle
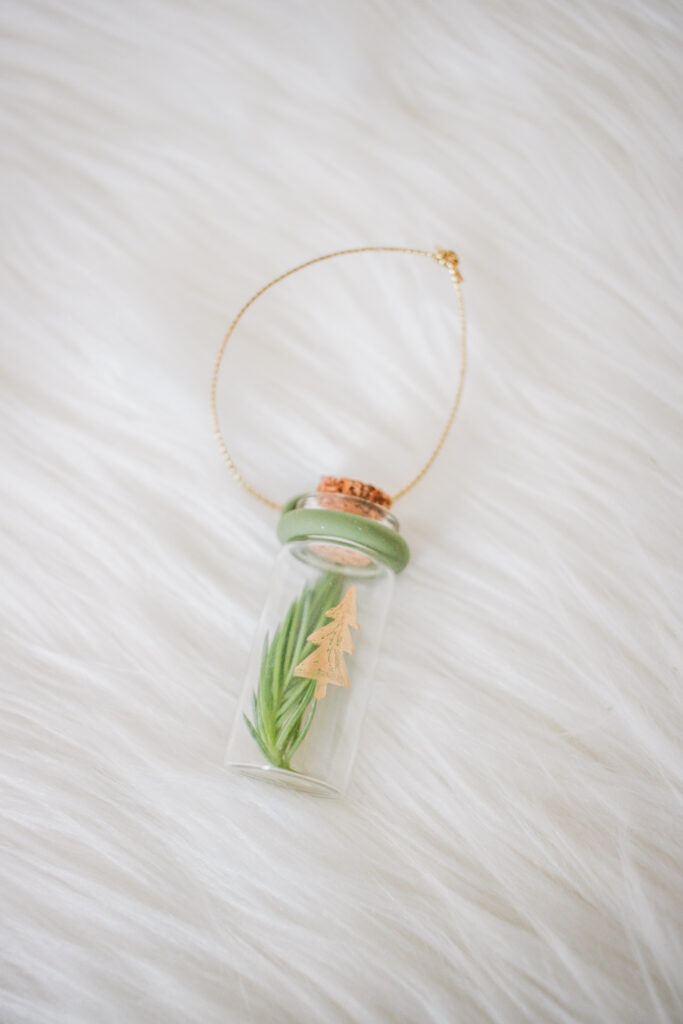
SUPPLIES:
Evergreen Sprig
DIRECTIONS:
- Roll green Sculpey into a skinny snake.
- Wrap it around the top of the glass bottle, cut it with an exacto knife, and then connect the two ends by smoothing them together with your finger.
- Roll out another skinny snake, this one even thinner.
- Connect the ends to form a small circle by smoothing the ends together with your finger.
- Attach the circle onto the clay wrapped around the glass bottle by scoring both sides and then once again smoothing it together with your finger.
- Bake according to package instructions with the glass right on there.
- Put a evergreen sprig in the glass and put the cork on.
- Use a gold paint pen to draw a simple tree onto the front of the glass.
- Tie on a string to hang it.
O Holy Night

SUPPLIES:
Black Acrylic Paint
Paint Brush
DIRECTIONS:
- Paint the back of an acrylic ornament black. It will take a few coats.
- Once dry, flip the ornament over, and use a gold paint pen to hand write ‘O Holy Night’ on the other side.
- Add little dots and x’s around the words with the paint pen.
- Tie on a string to hang it.
