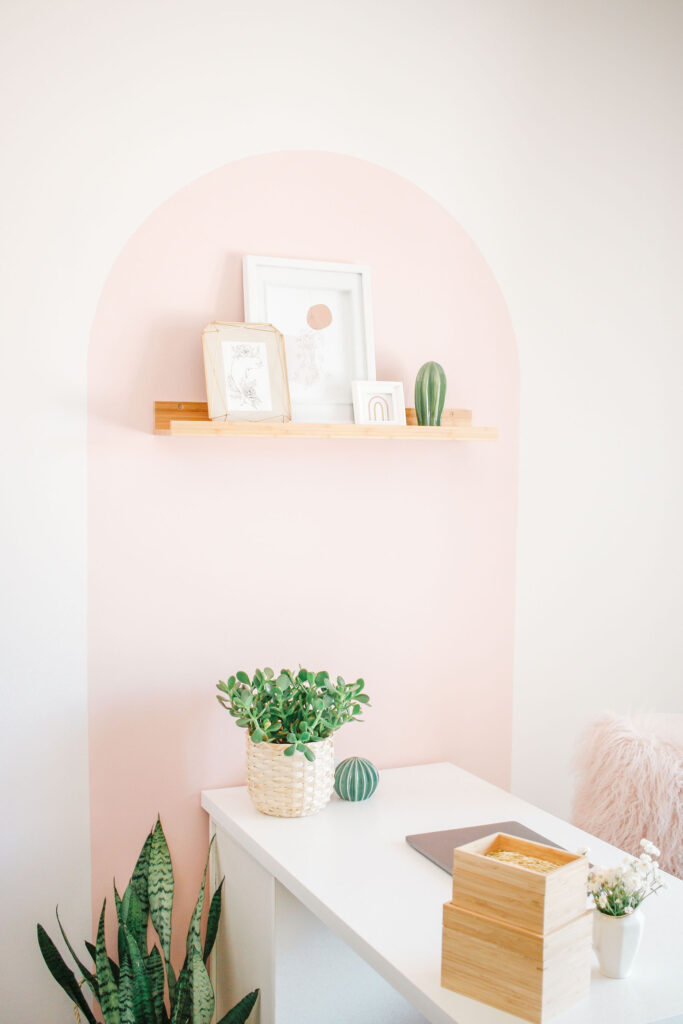
How to Paint a Color Block Arch + Office Makeover
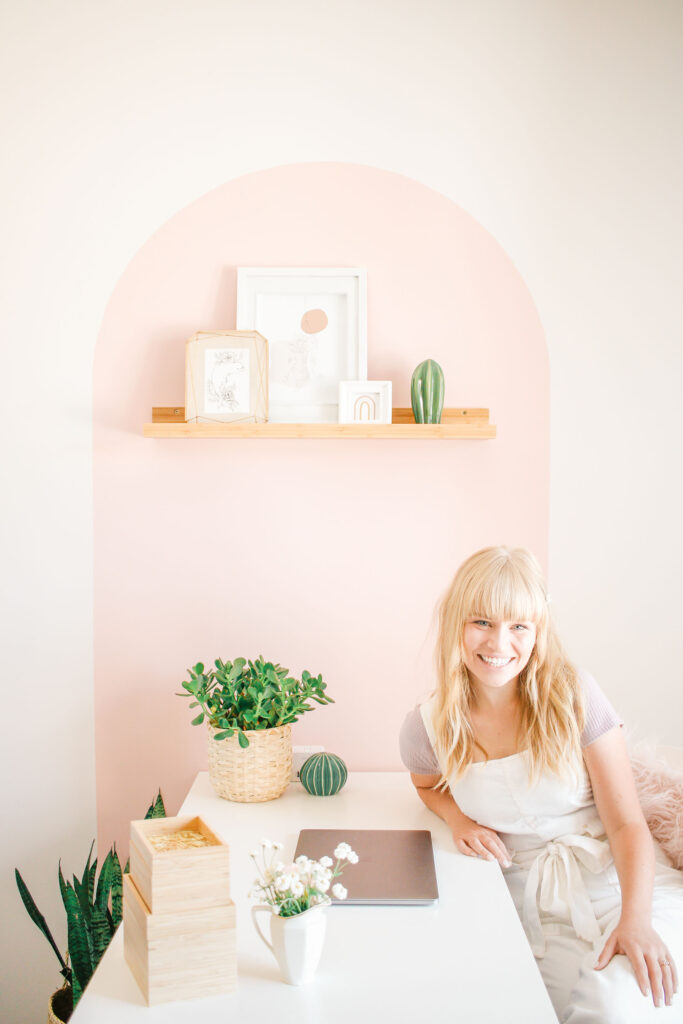
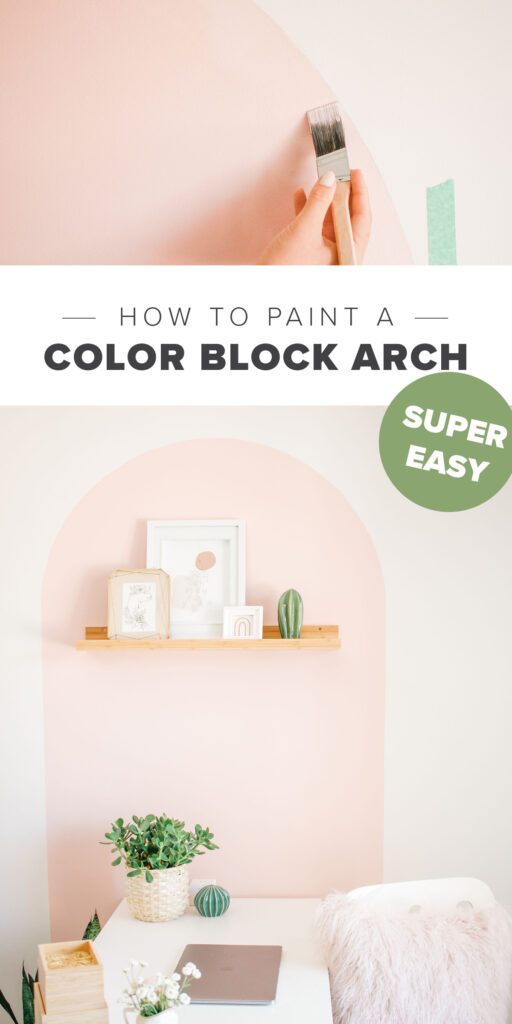
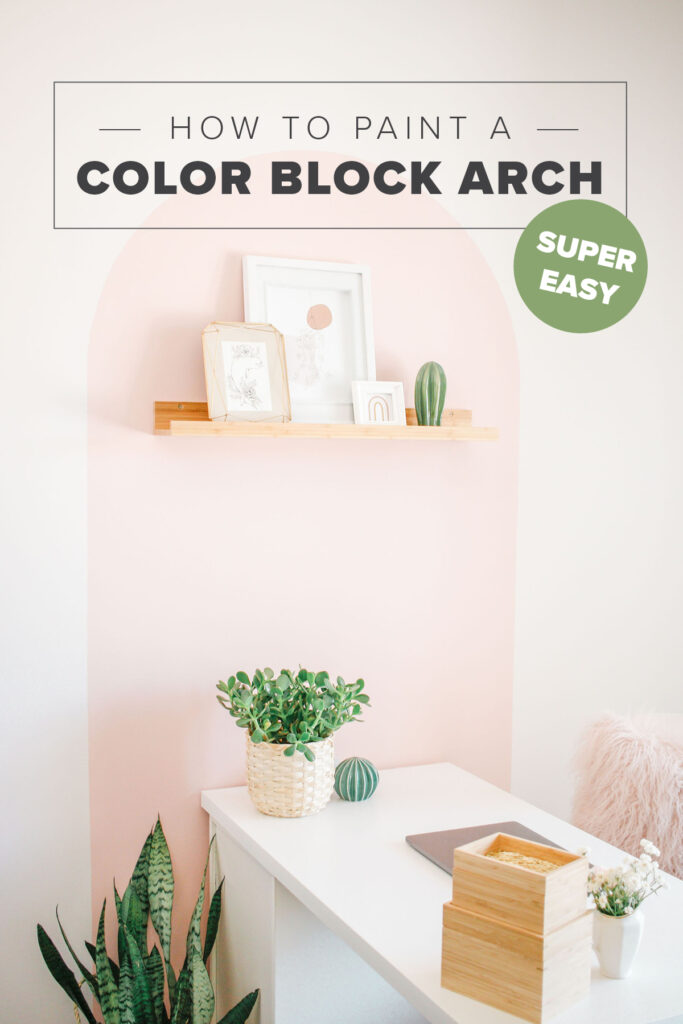
I have seen so many color block arches on Instagram, and they are all so inspiring. There aren’t really any good tutorials out there though, so I thought I’d fix that problem! It was just so quick and cheap to make, I had to share! Plus, it is just so. dang. pretty.
So, for those of you who don’t know we are visiting family in Canada (where I’m originally from). Since we flew internationally (from Cali where we live) we had to completely quarantine for two weeks at my parents house. Of courseeee we had a bunch of time on our hands, so my mom and I completely redid her office, including the color block arch!
The color block arch honestly was sooo much easier than expected. It took me under two hours from start to finish, so I figured I had to share because it really transforms a room for cheap!
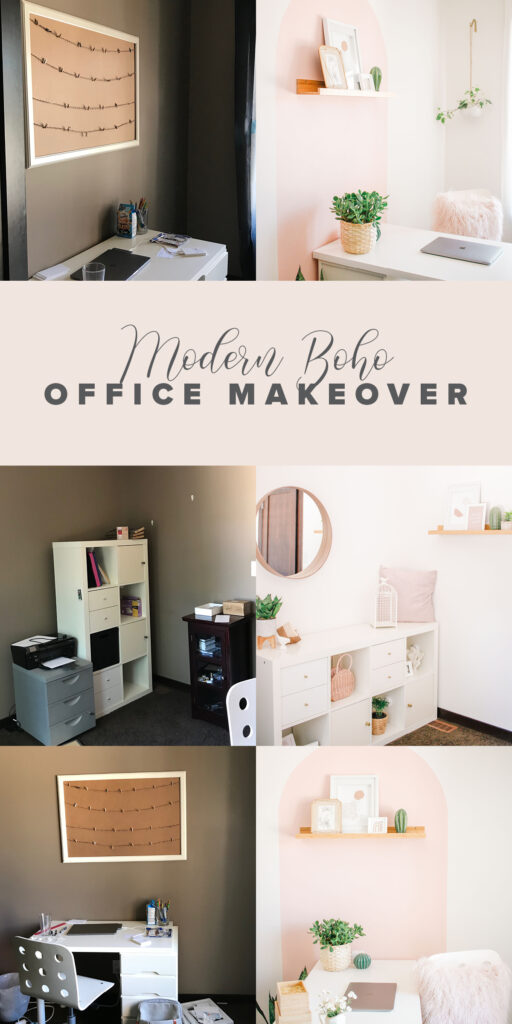
Scroll down for the tutorial and tips for redecorating on a budget, but first, how about a little office tour, with a few before and afters!
Oh, and for more home decor DIYs head HERE! 🙂
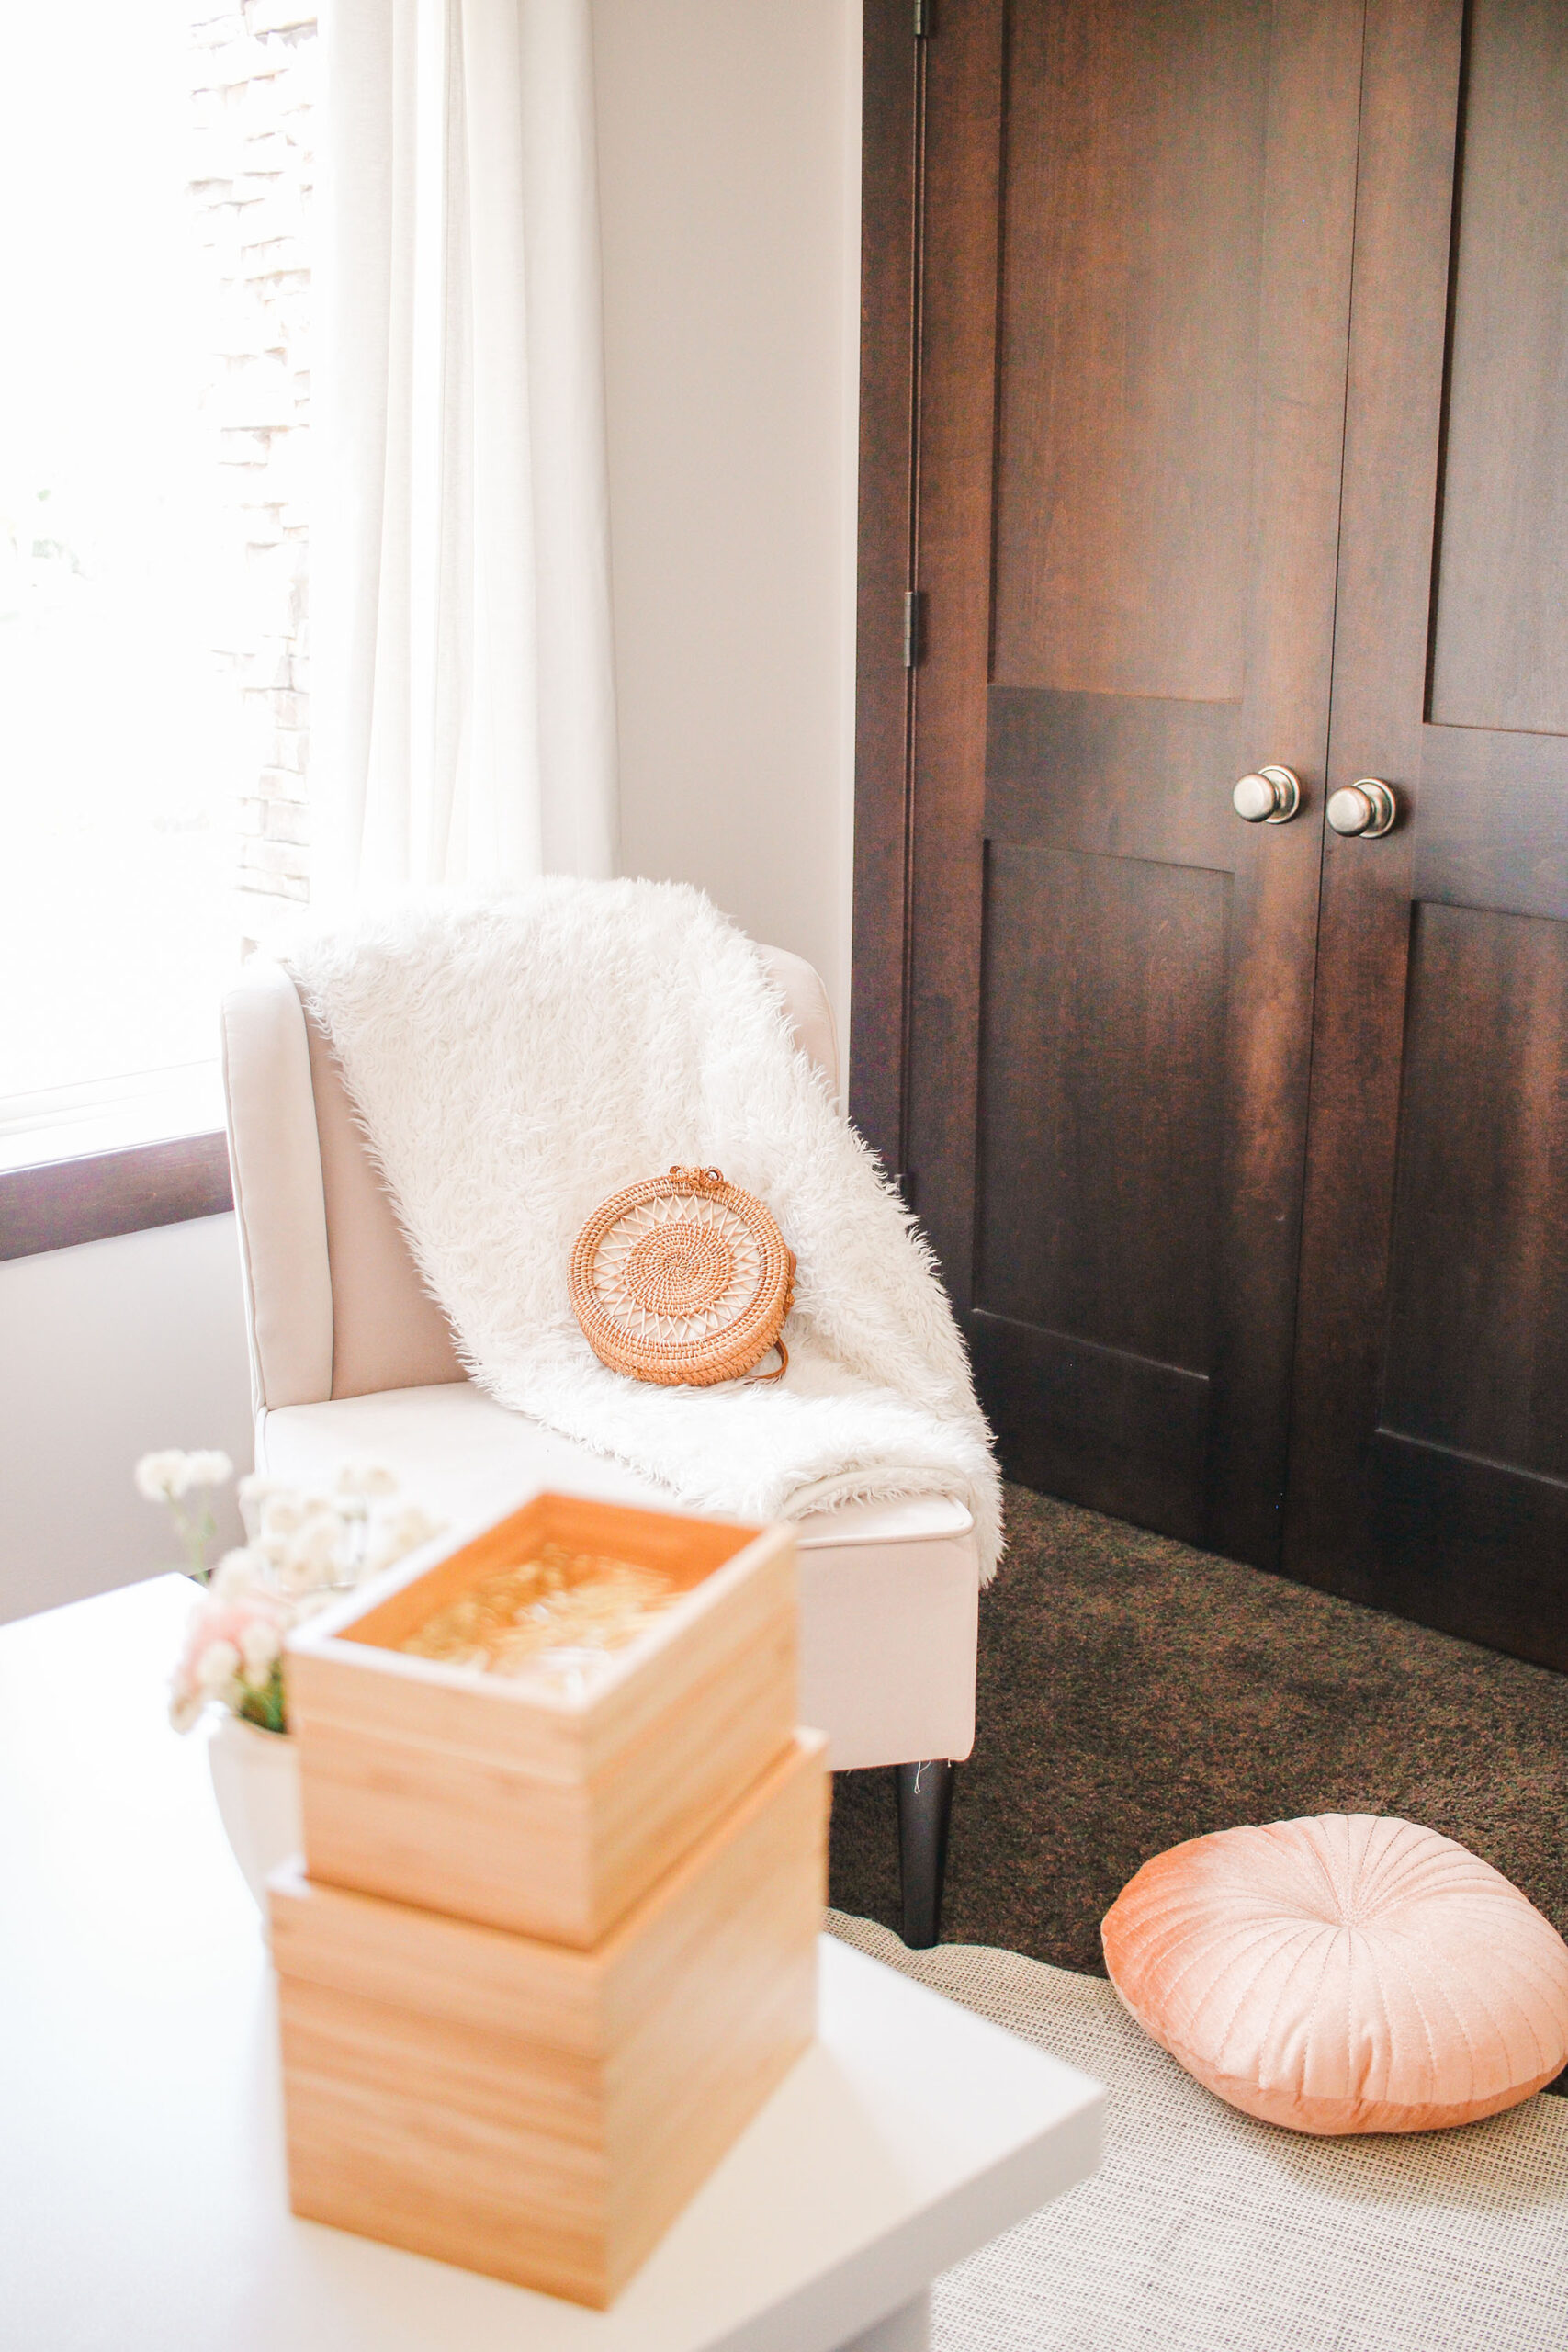
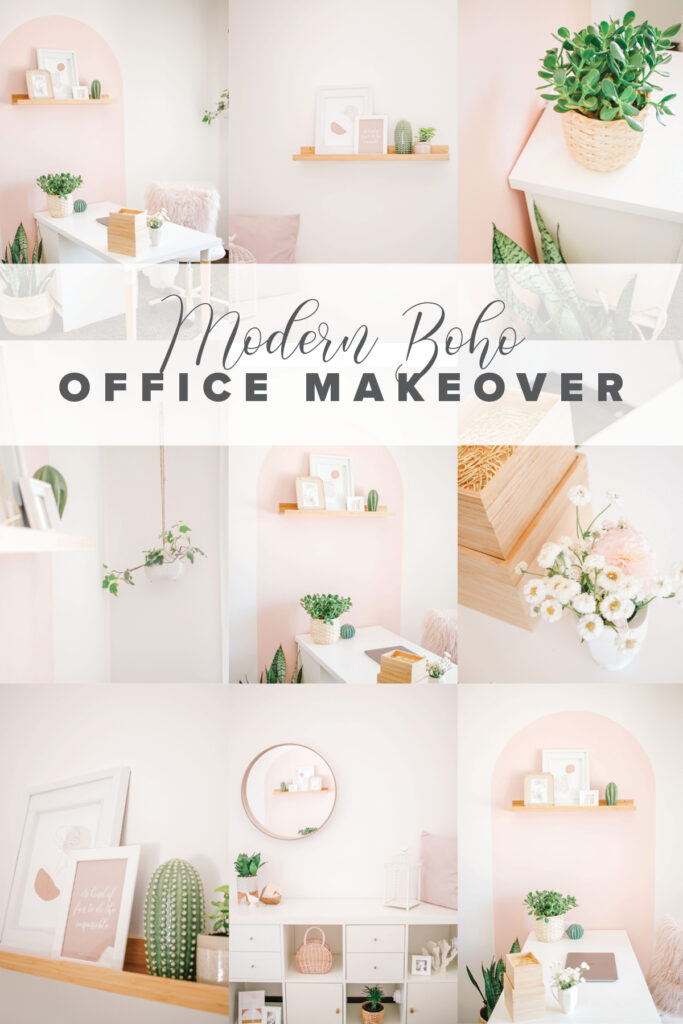
Office Room Tour:
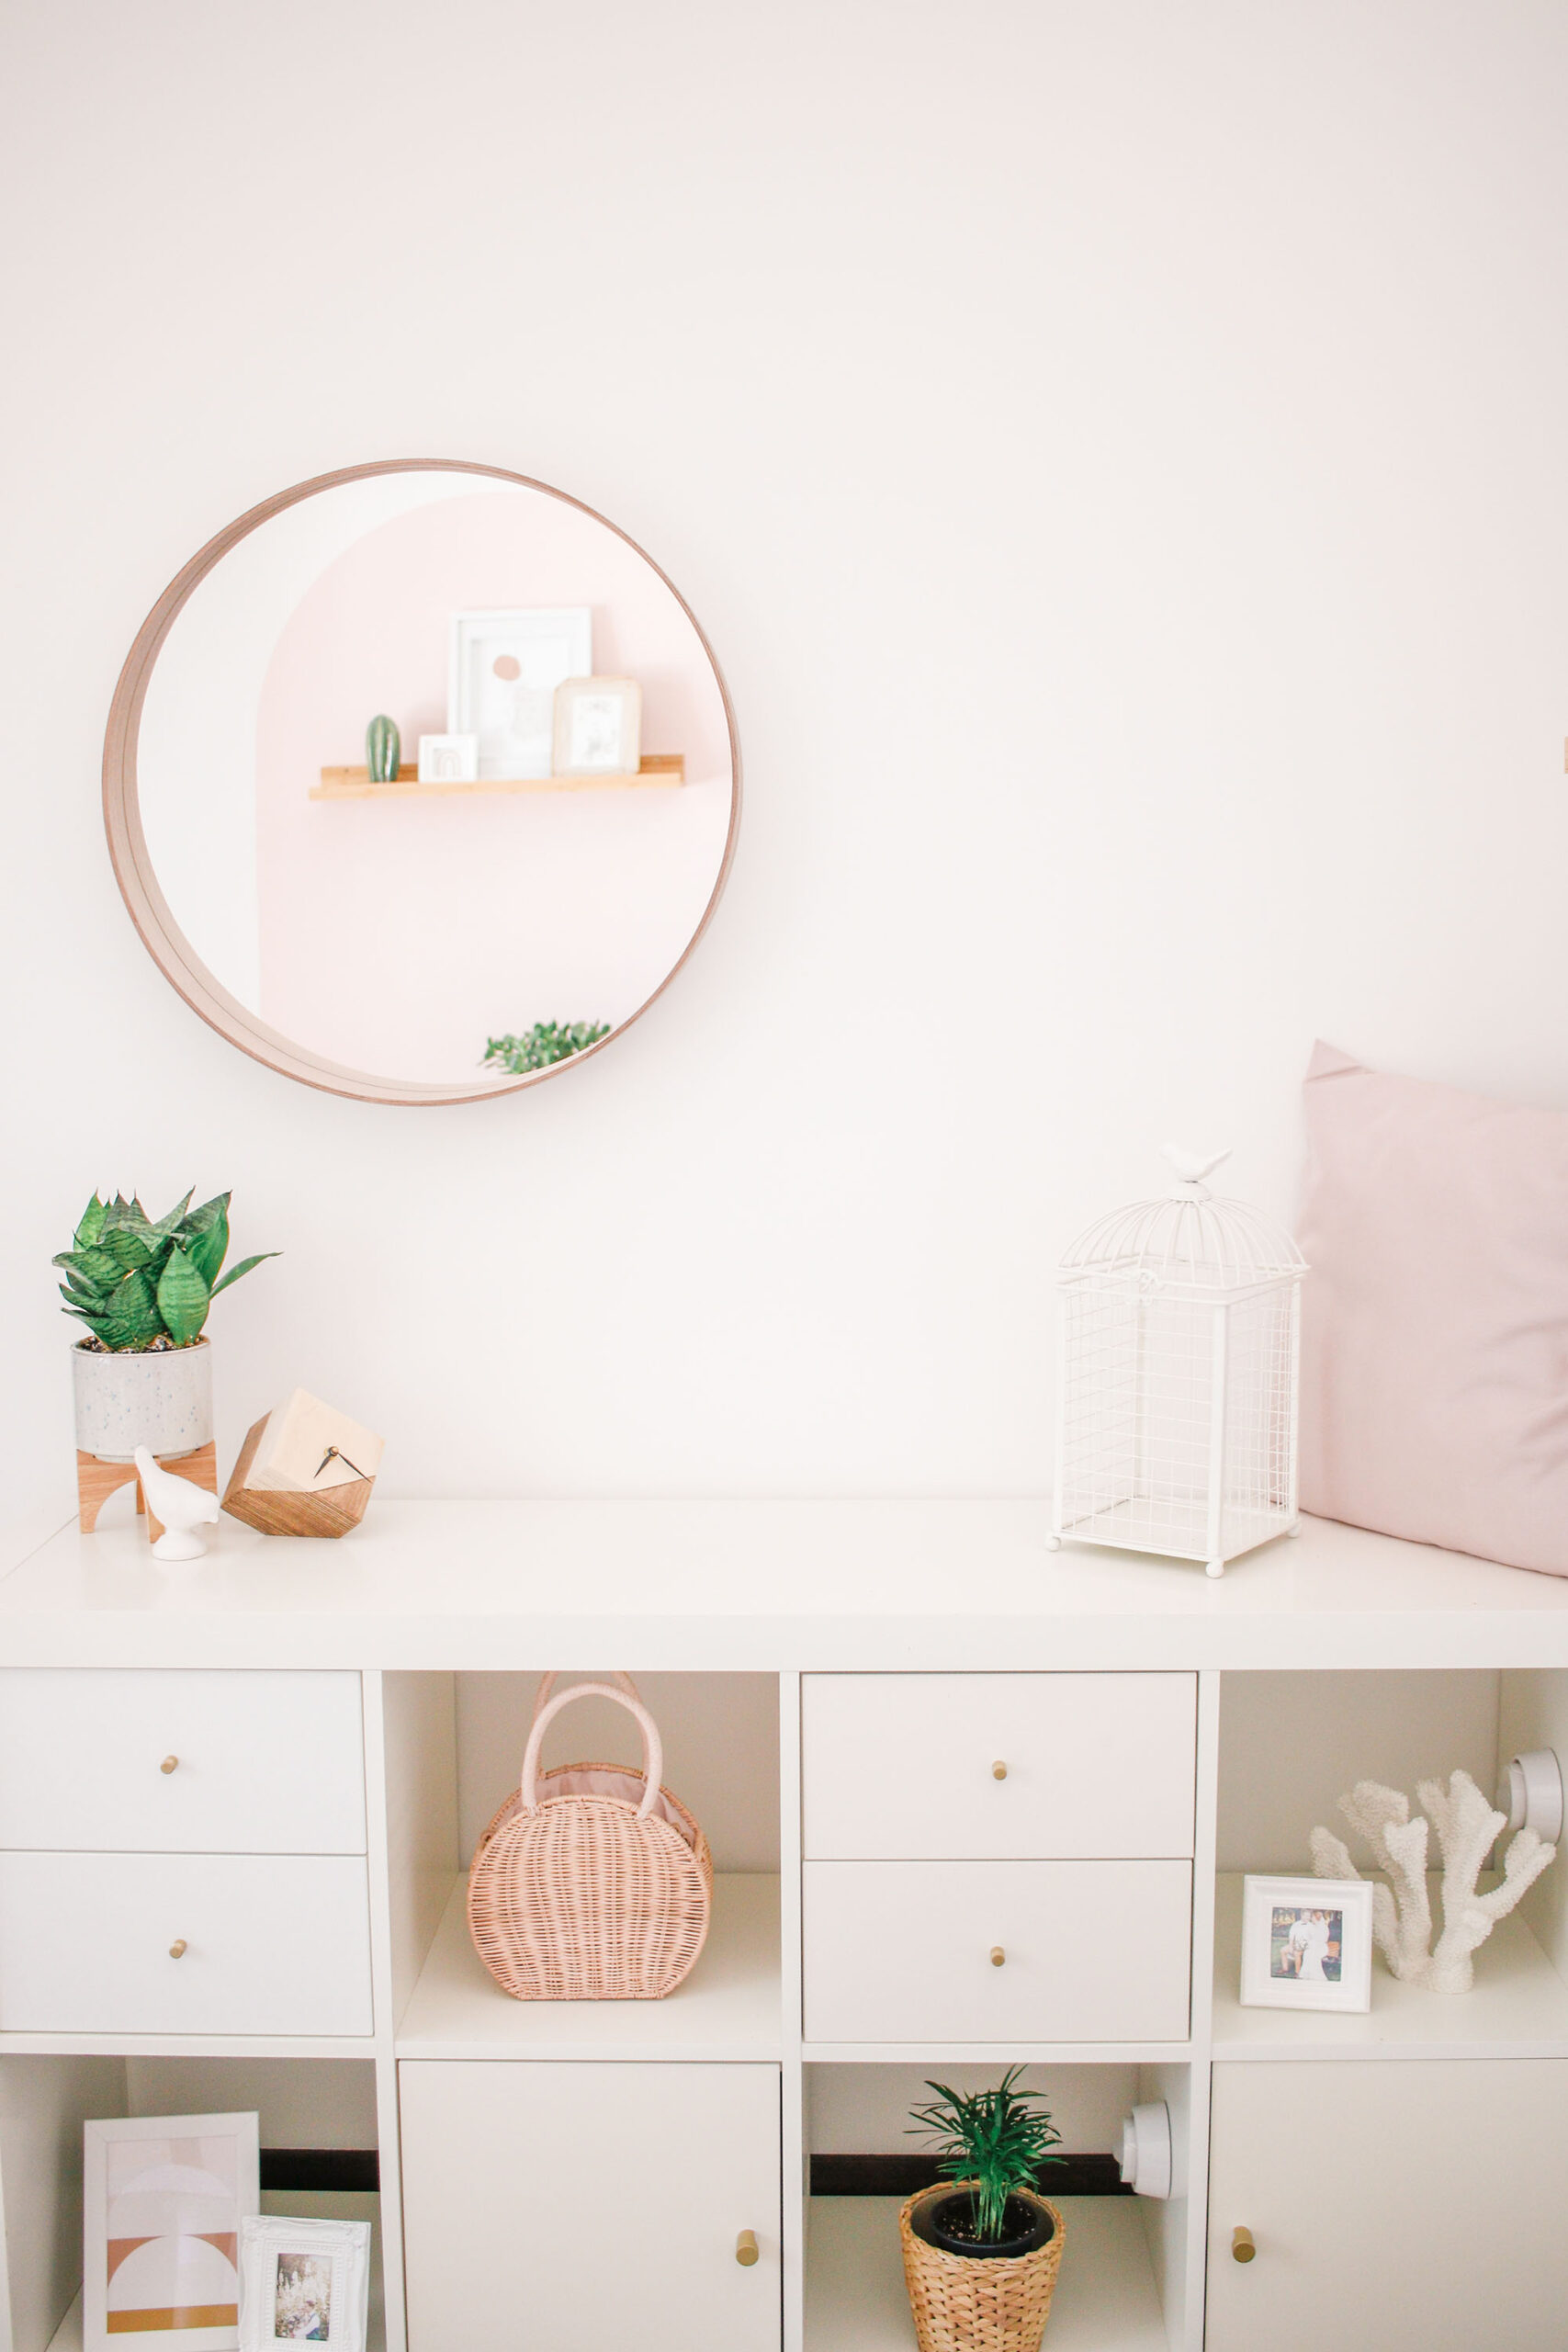
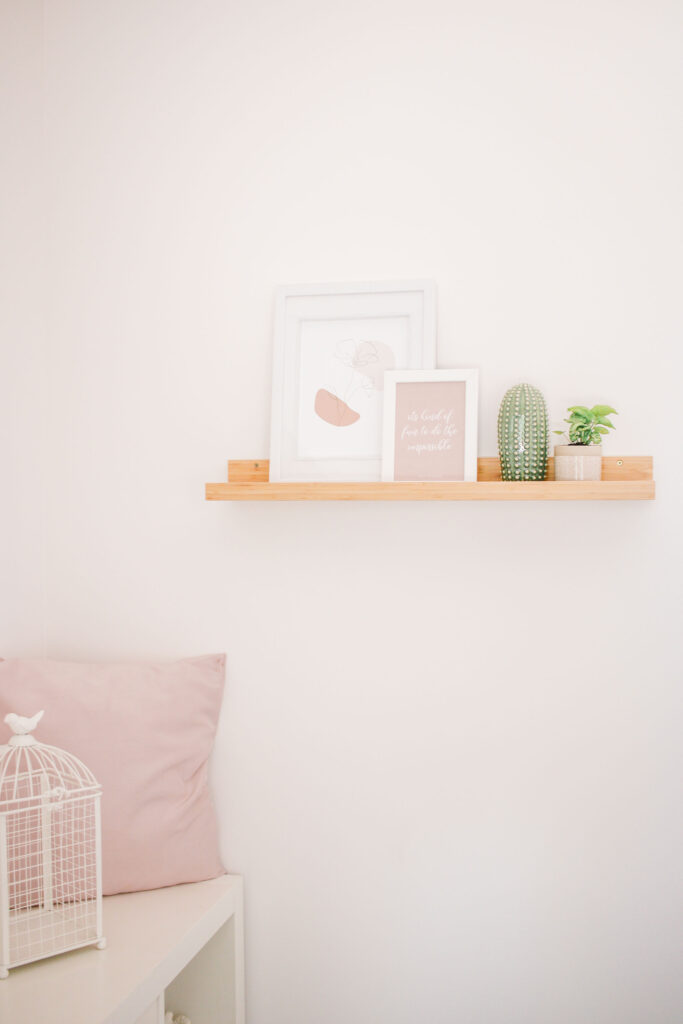
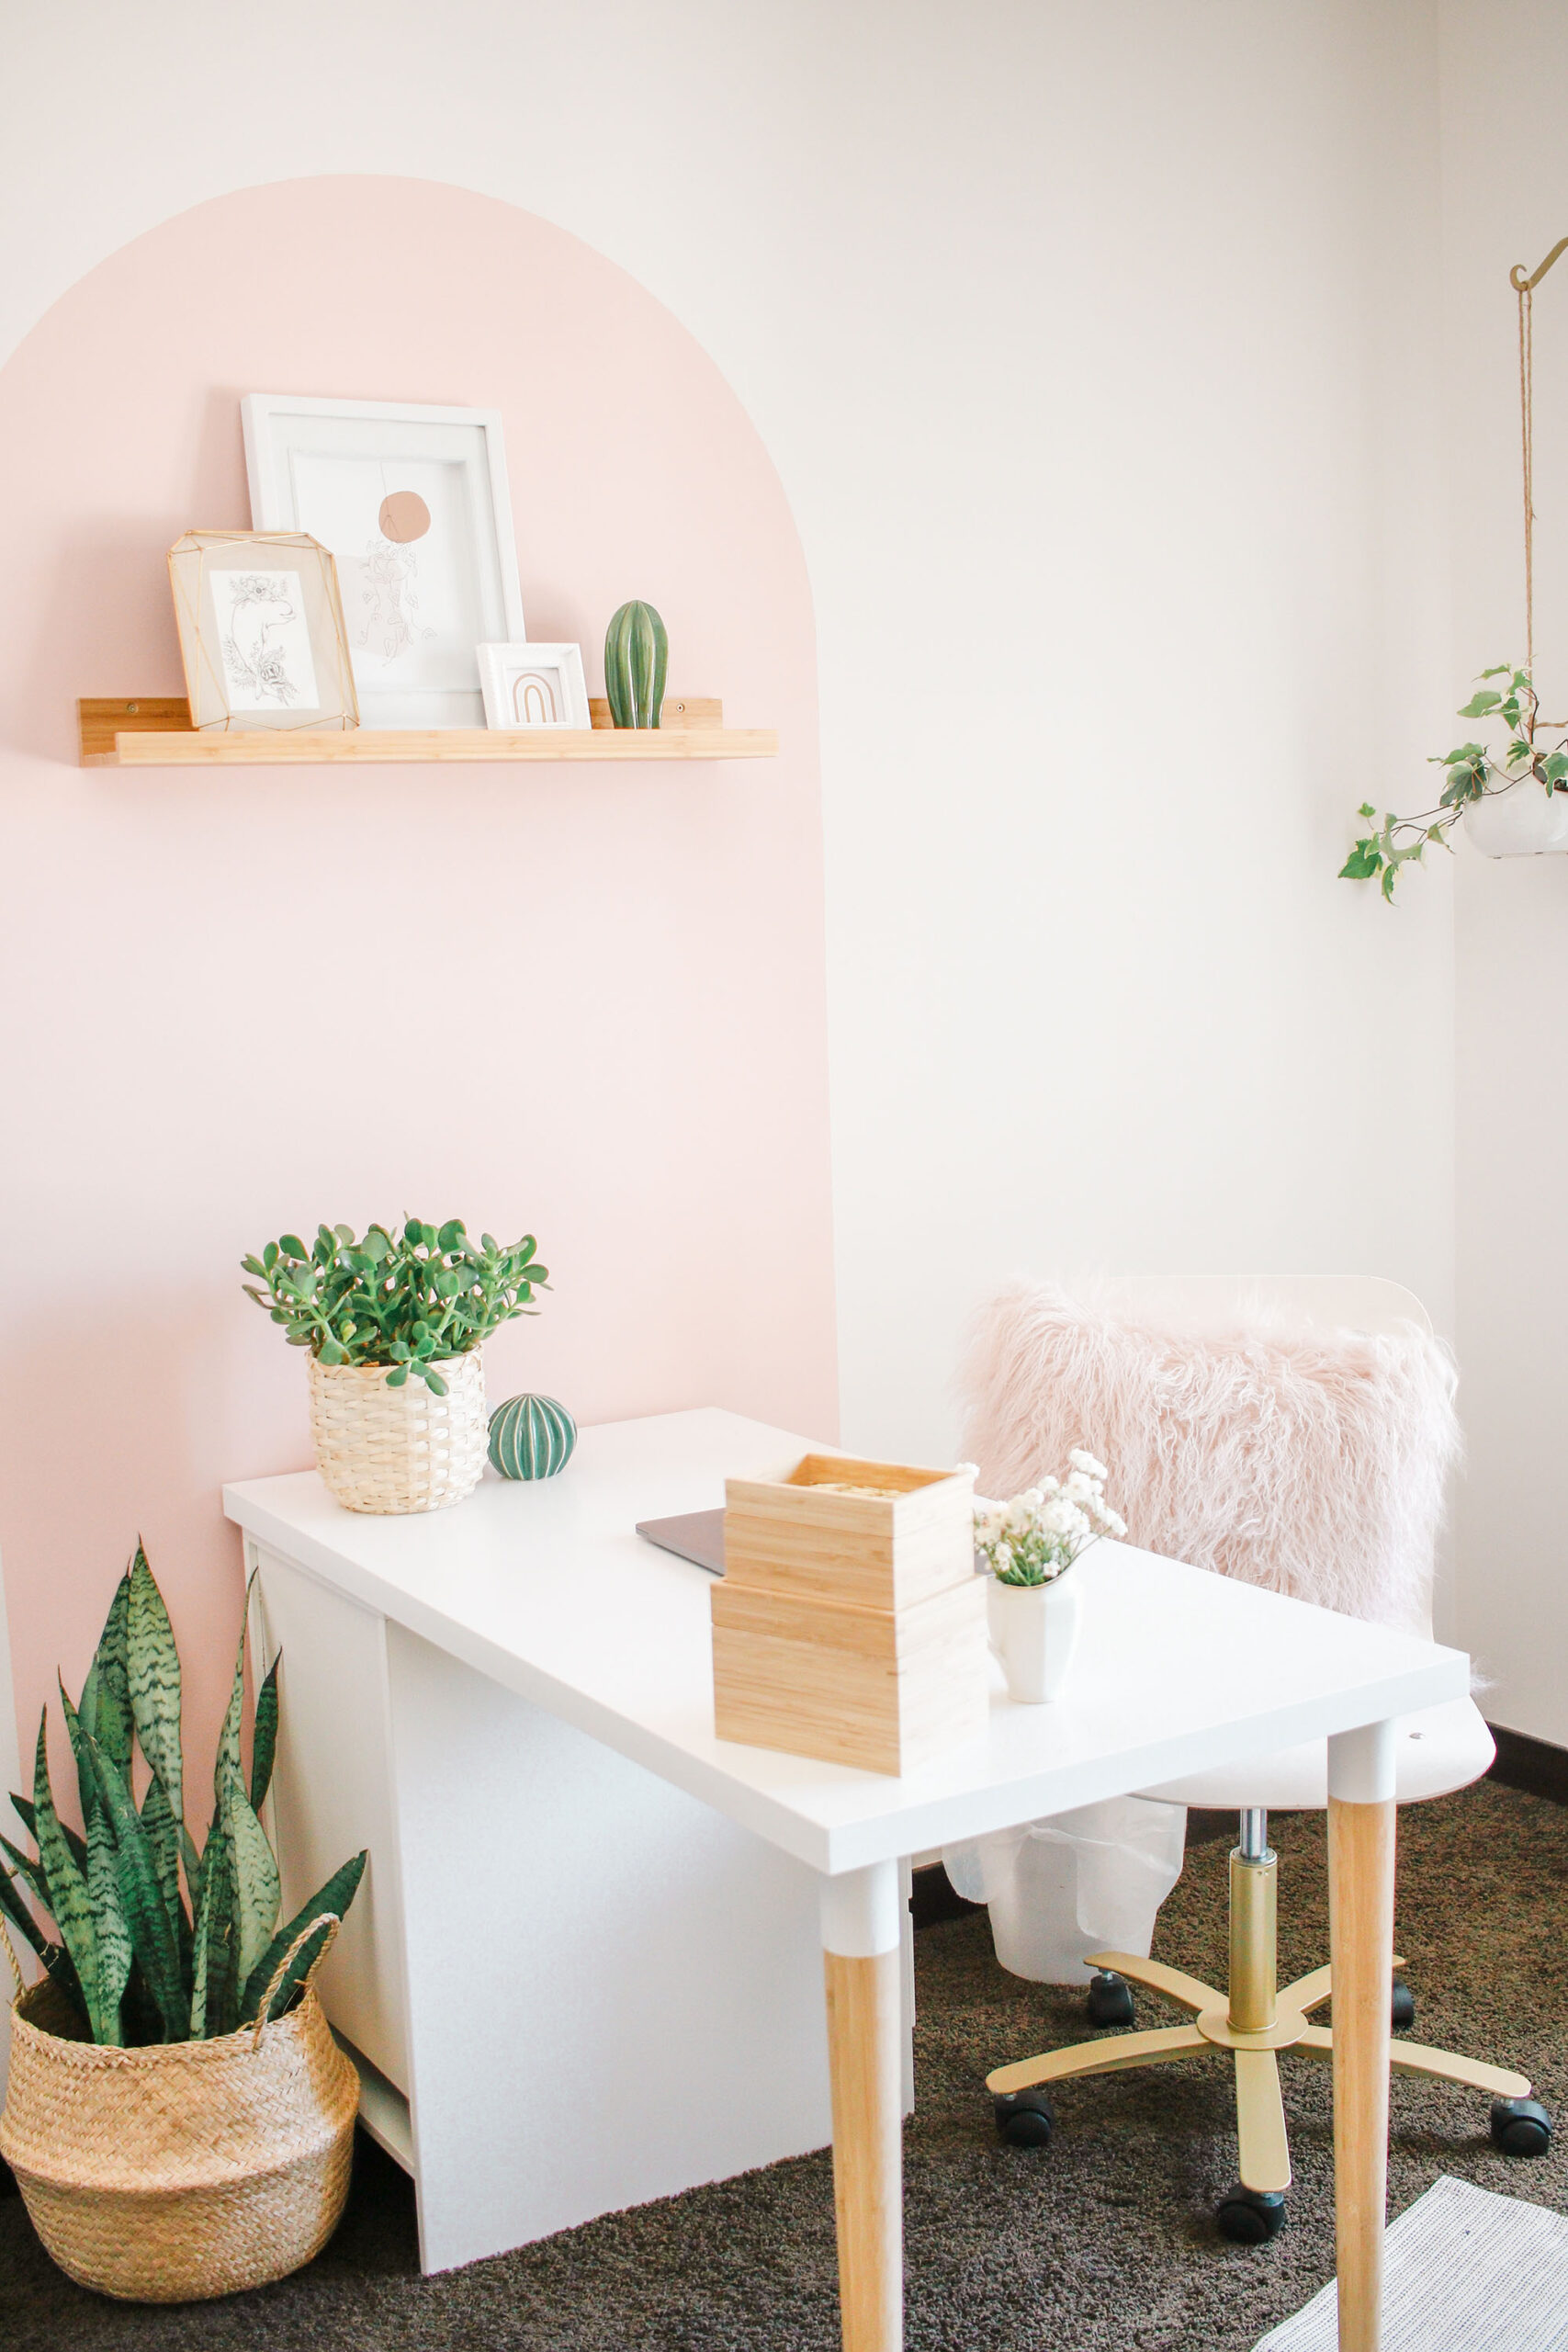
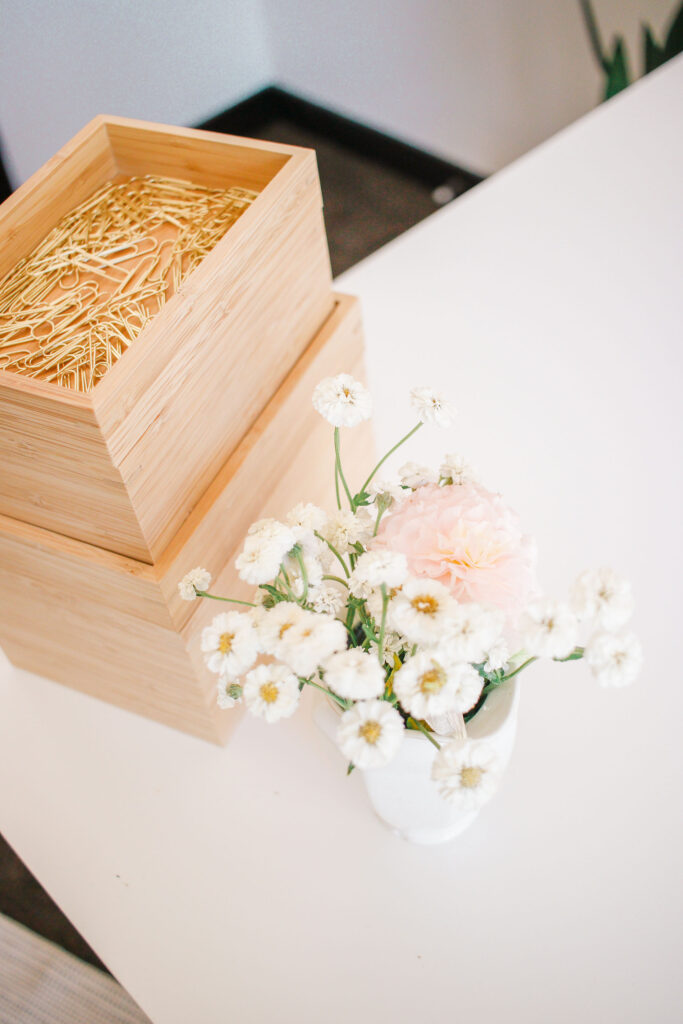
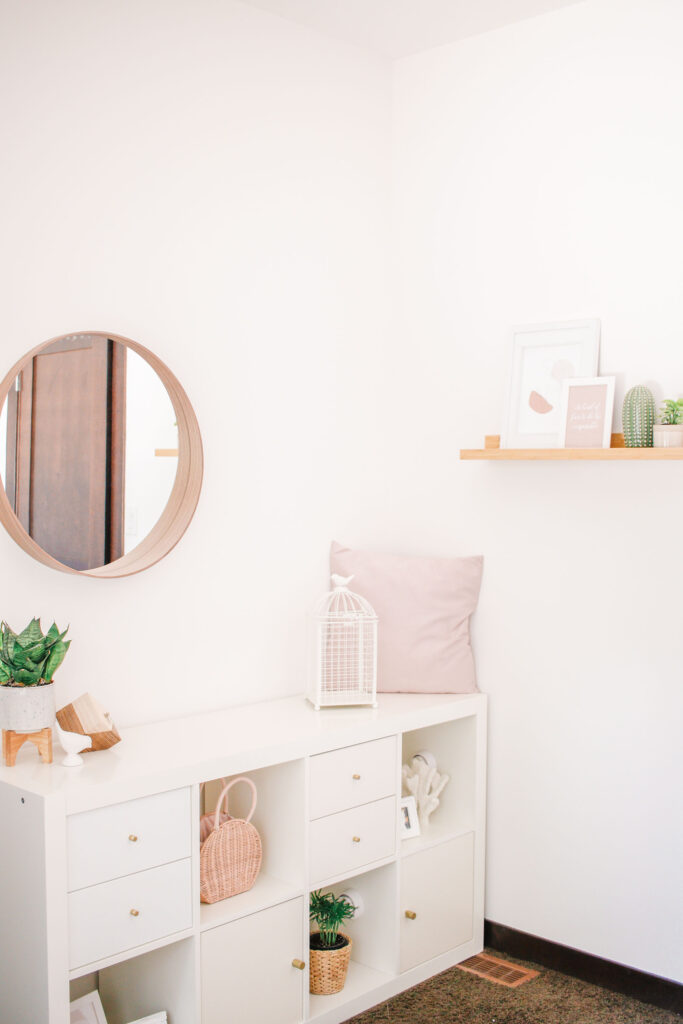
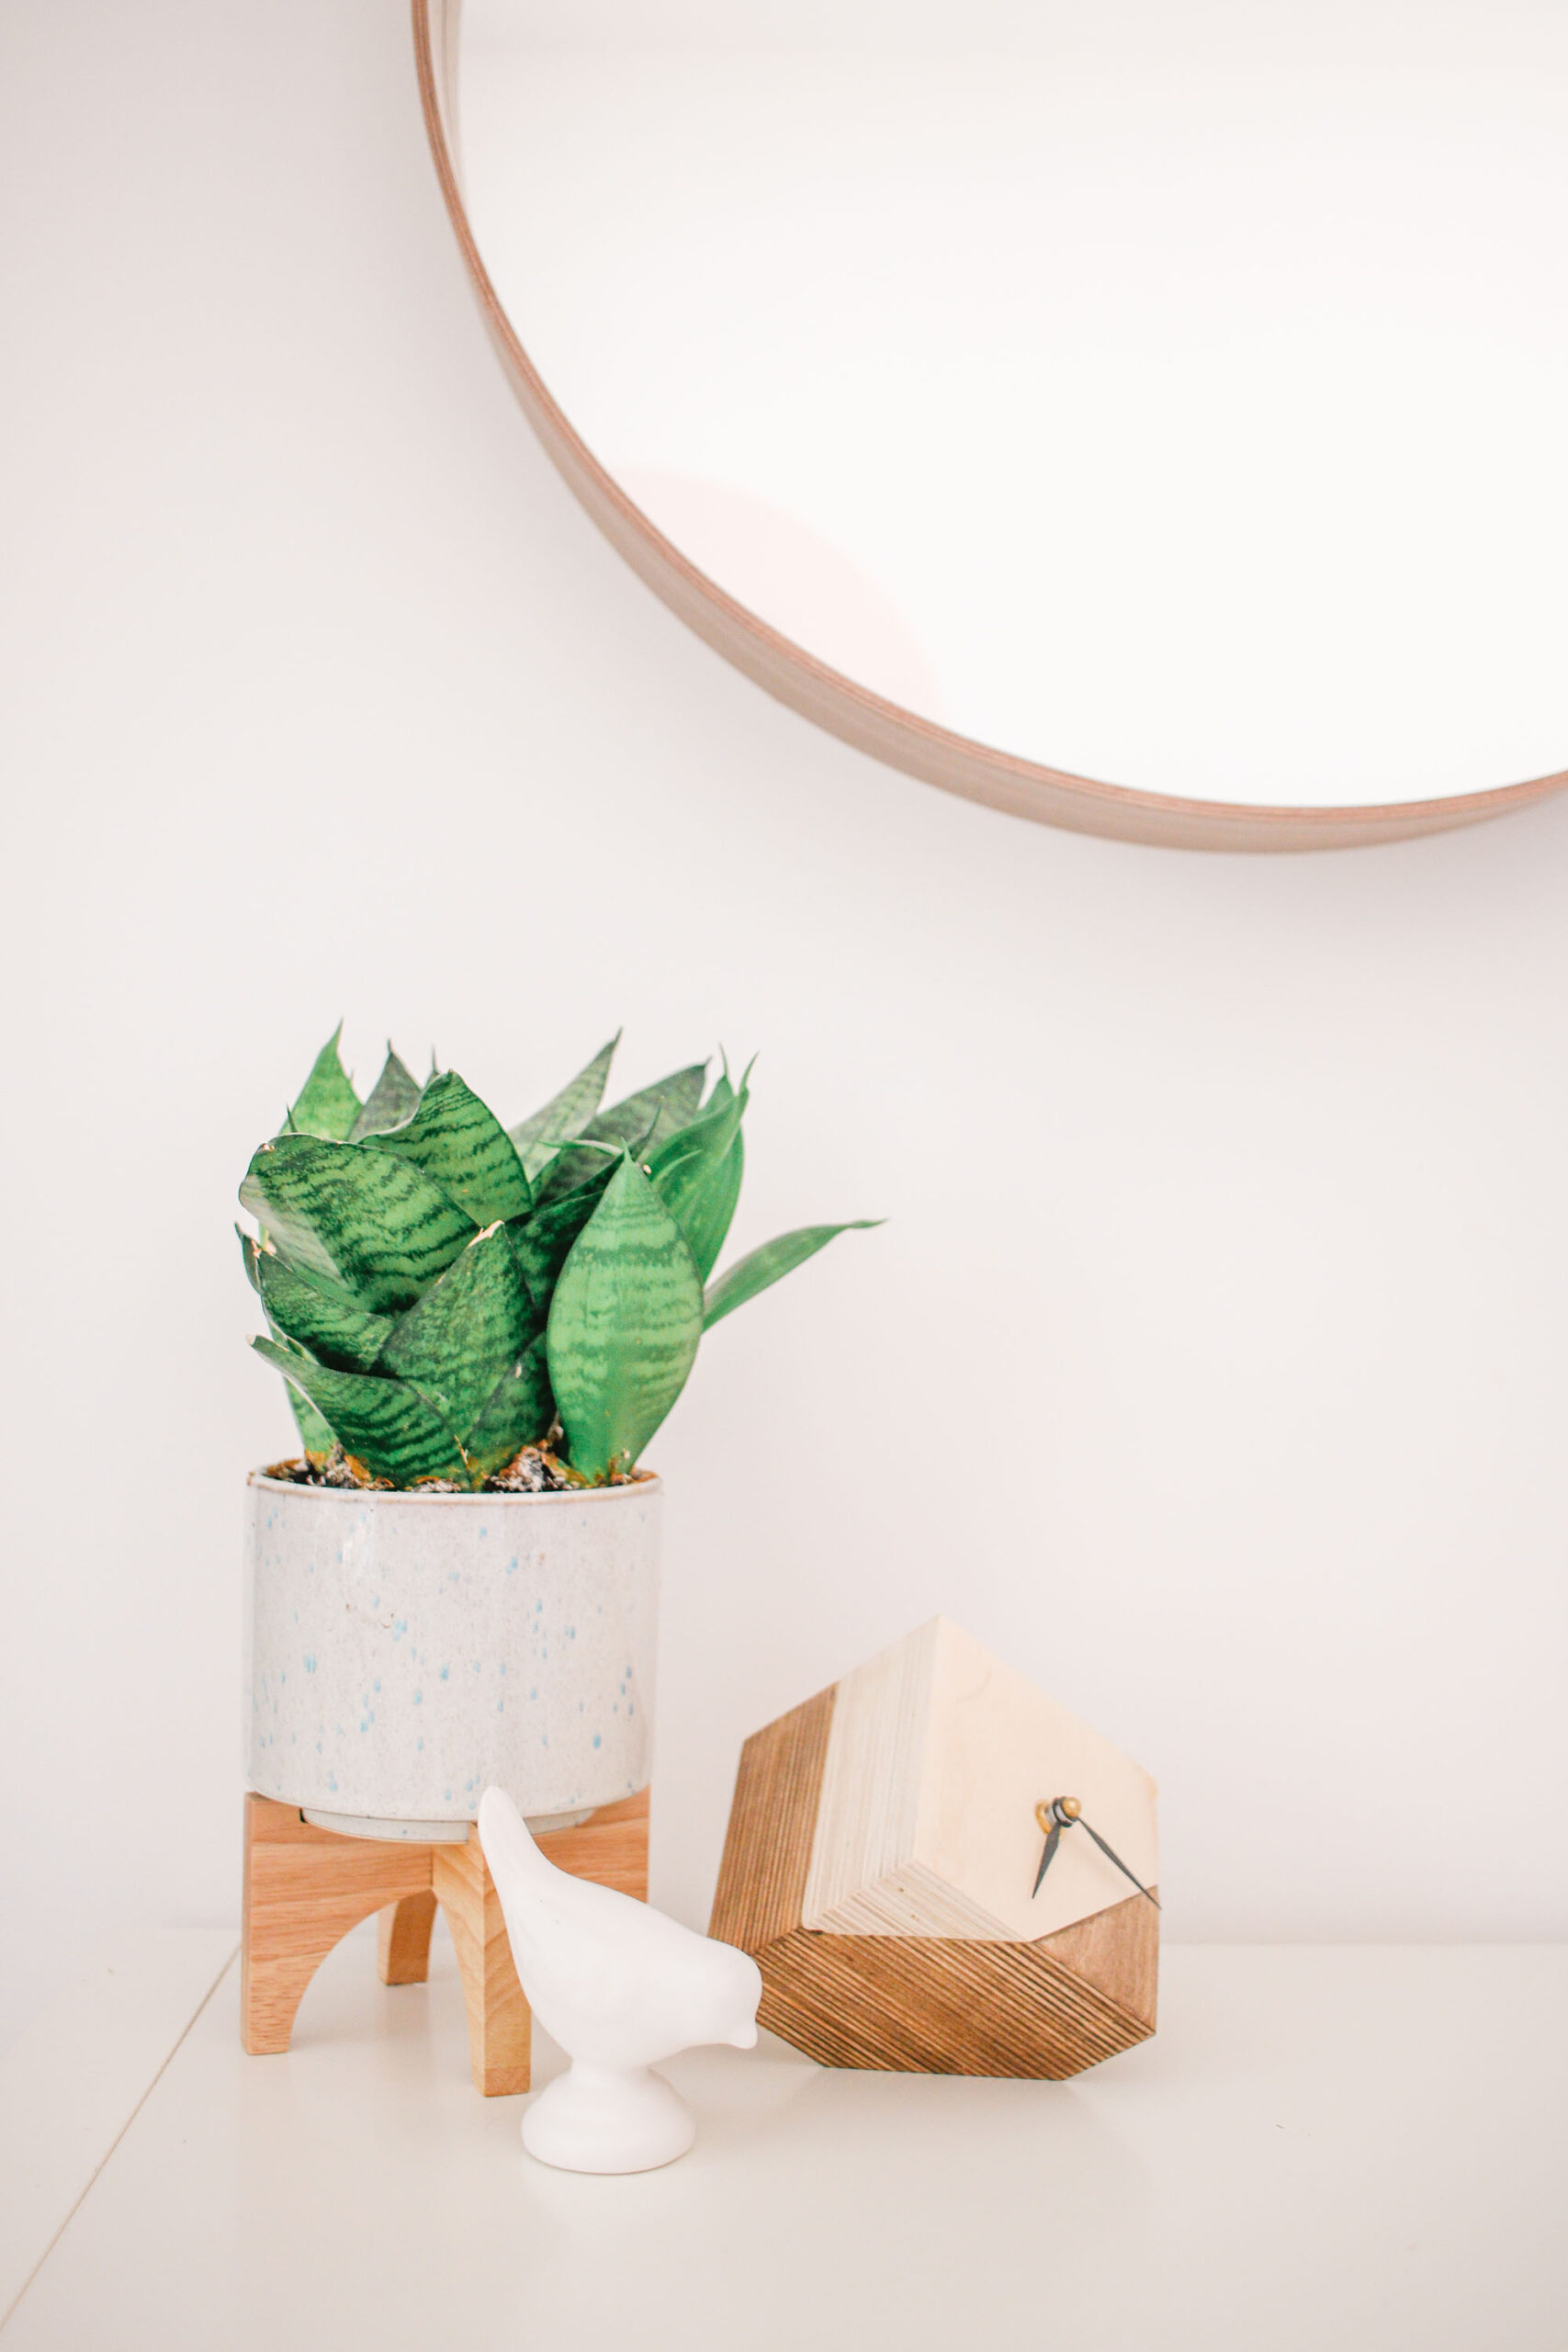
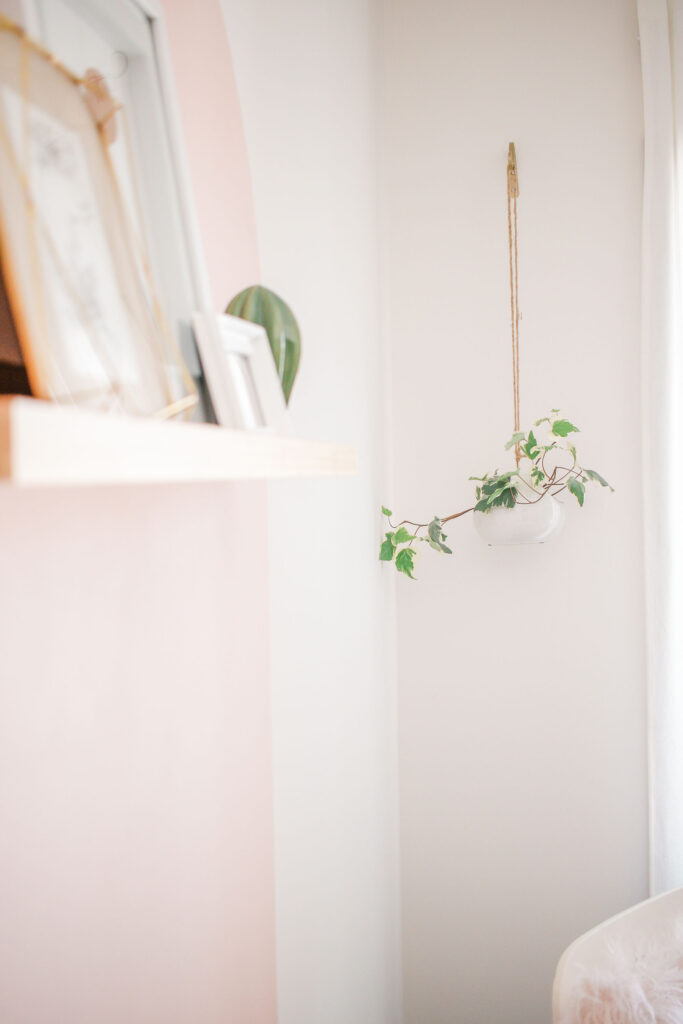
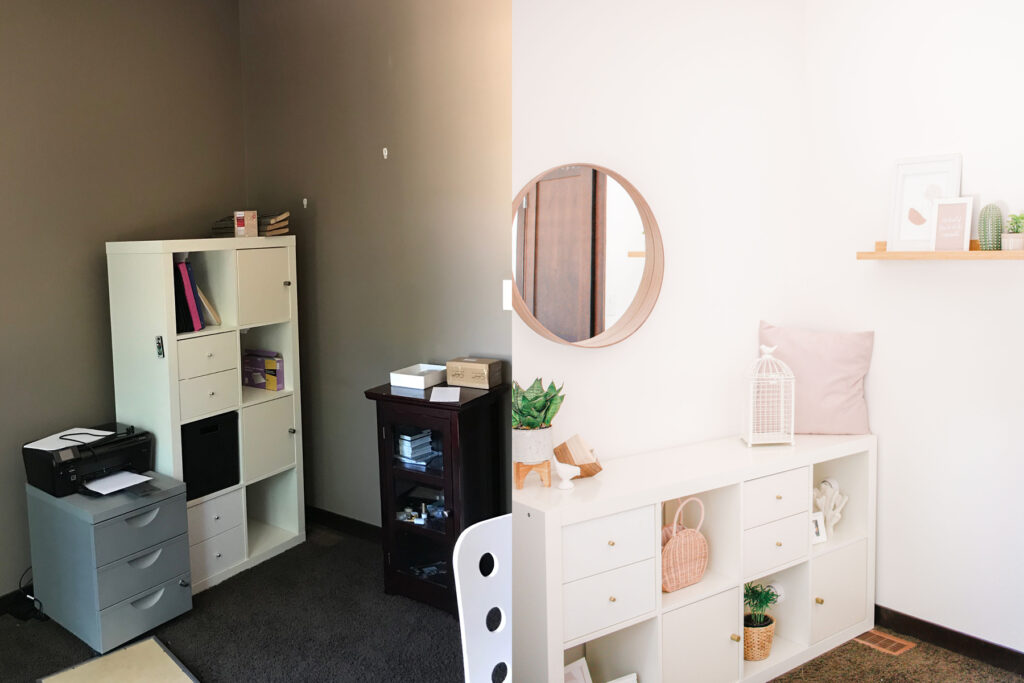
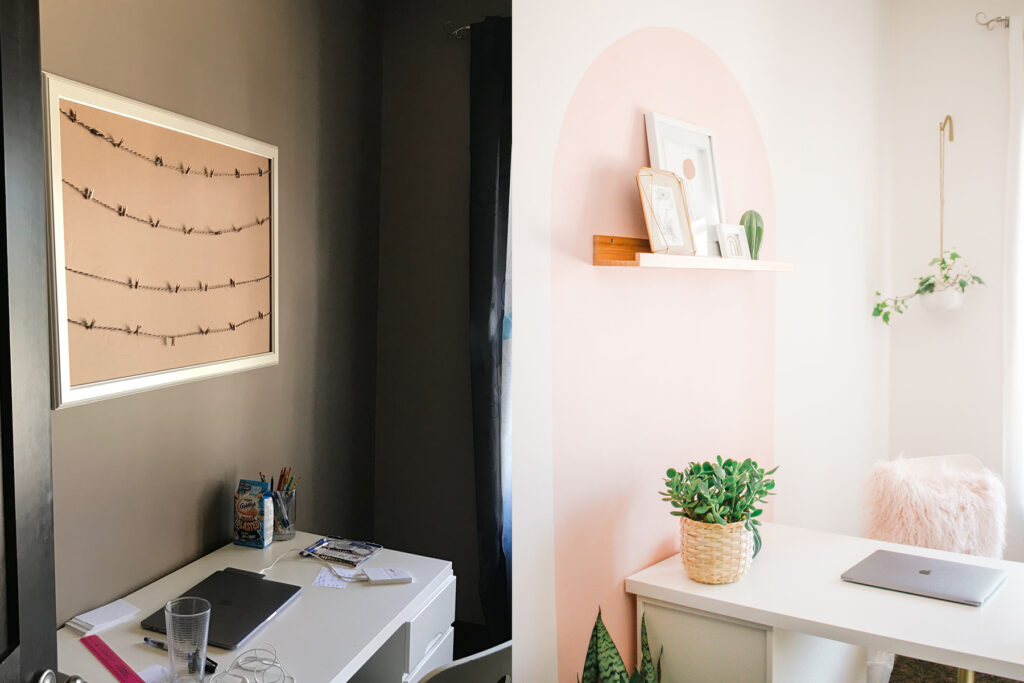
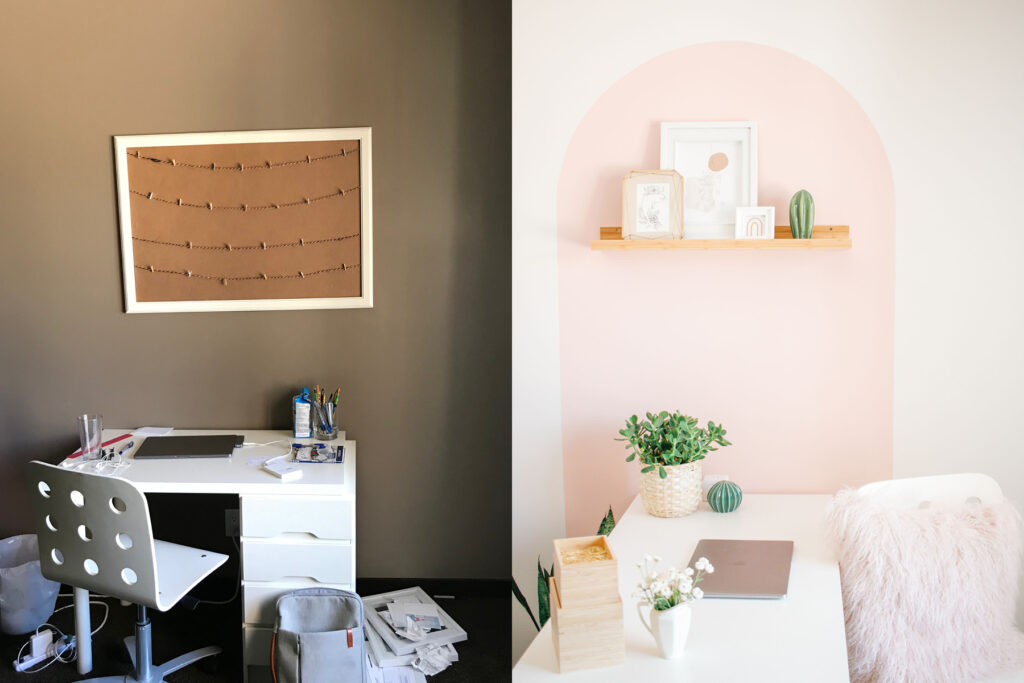
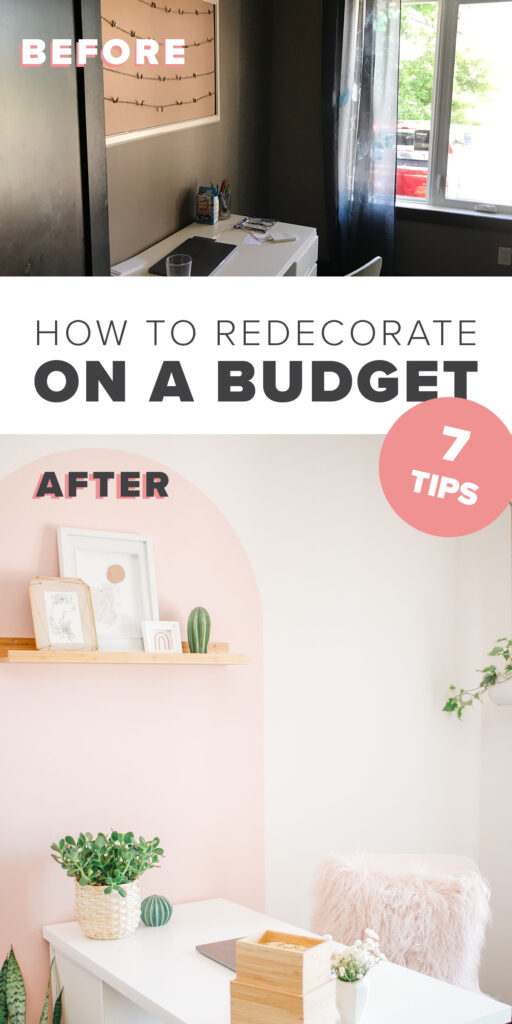
Before & After:
Anybody else find before and afters extremely satisfying? Because SAMEEEEE
Tips For Redecorating on a Budget:
I also wanted to add a few quick tips for how to redo a room on a budget. I of course give you a full tutorial on the color block arch, but I wanted to give you a couple other tips!
- White Paint is your new BFF. I think one of the things that made a huge impact was painting the room white. It lightened up the room SO, SO much and also made the room feel bigger and fresher.
- A color block arch (duh). Really, any sort of focal point can have the same effect, however, it is such an inexpensive option, you can’t beat it! The color block was actually a last minute idea, and I can’t imagine the room without it. It adds character, color, structure and interest. I think the room would feel like it was missing something if not for that color block!
- Use the furniture you have – just update it! You may notice the same shelving unit in the before and after photos! We spray painted the drawer pulls on the shelving unit you see, and then turned it on its side, and styled it. It looks completely different for almost no money! The office chair is also the same in both photos. We just spray painted the bottom gold and added a cute cushion! The desk is from IKEA, and was pretty old and dinghy. We bought new legs and a bigger top, but used the same base to save money!
- Stick with a color scheme. This makes a HUGE difference in making a room feel finished. Don’t forget that you can spray paint things to make that happen.
- Shop your house. This is big! What decor aren’t you using or that you don’t need in other rooms that you can use? Look at your house as your own little store! We did this with almost everything on the shelves, like a cute purse, or frames that we weren’t using!
- PLANTS! This is probably obvious but plants go a longgggg way in making an impact for the price!
- Keep it simple. You don’t need a lot in a room to make it cute. Take EVERYTHING out of the room, and add things in slowly. You’ll be surprised by how little can make an impact!
That’s it! I hope that’s helpful!
Color Block Arch Tutorial:
Supplies:
Wall Paint (We Used ‘Soft Coral’ by Premier)
Painters Tape
Paint Roller
Paint Brush
Thumb Tac
String
Pencil
Directions:

Measure and mark with a pencil how wide you’d like your arch to be. Ours is 39 inches.
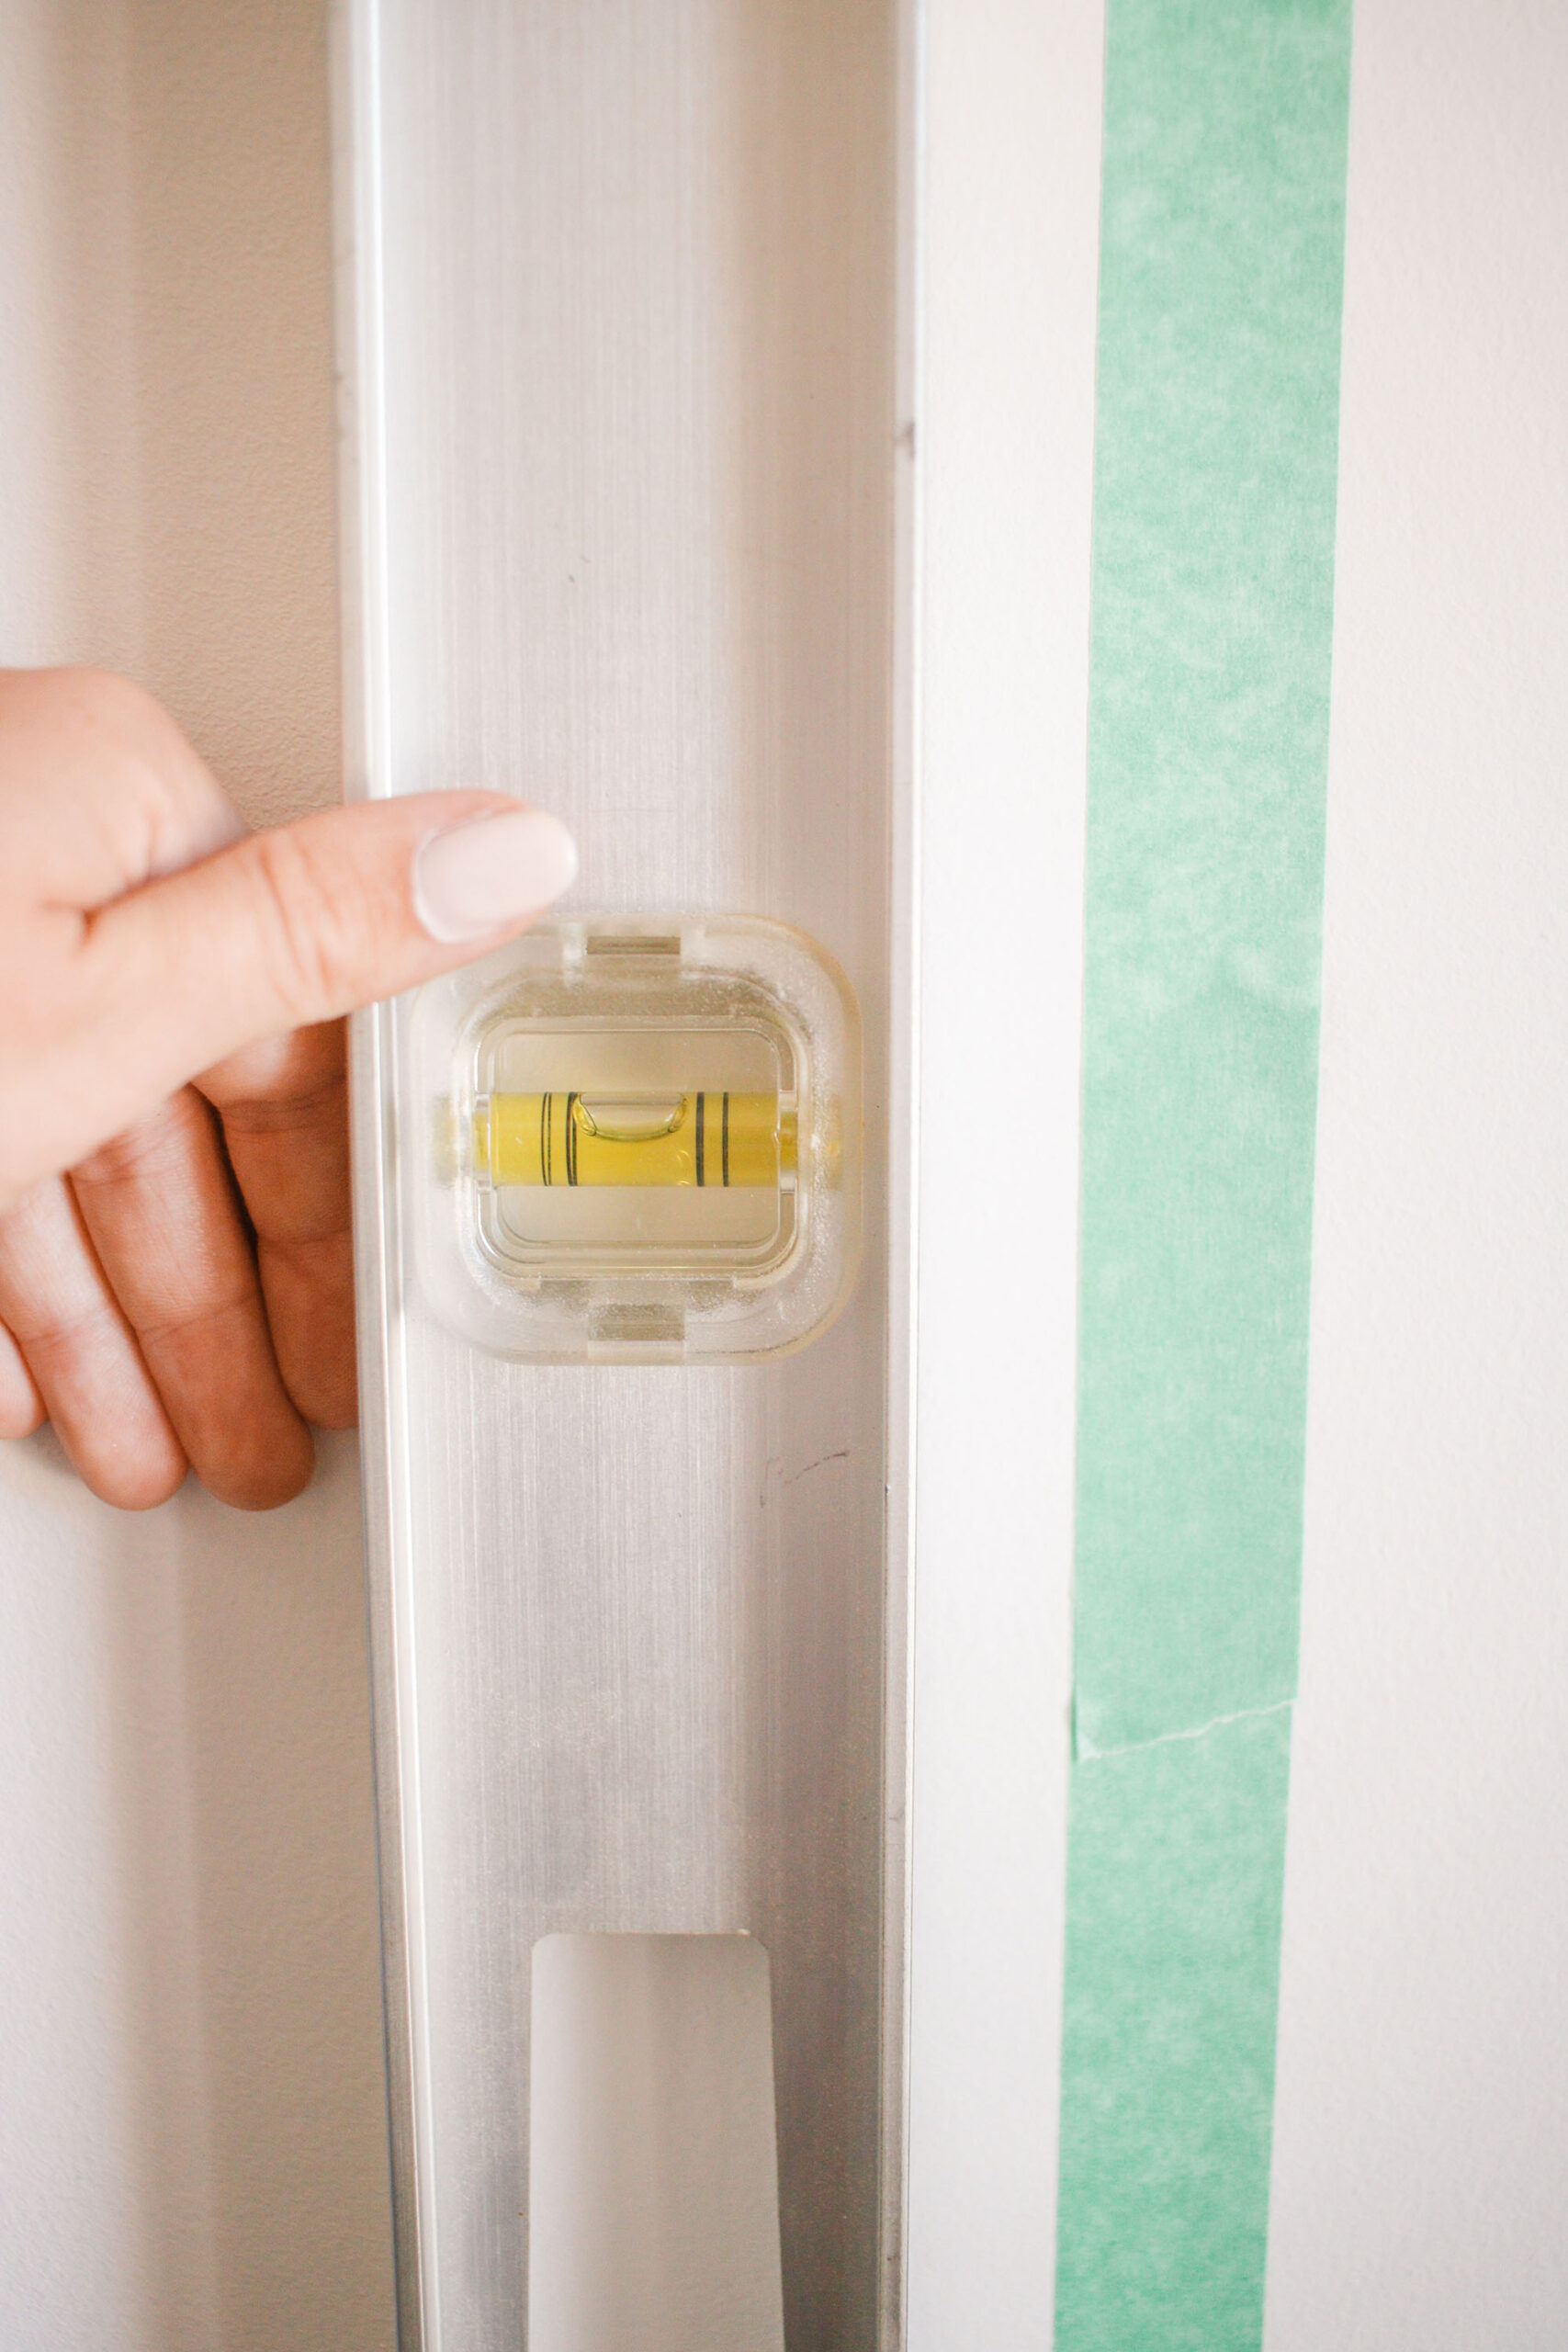
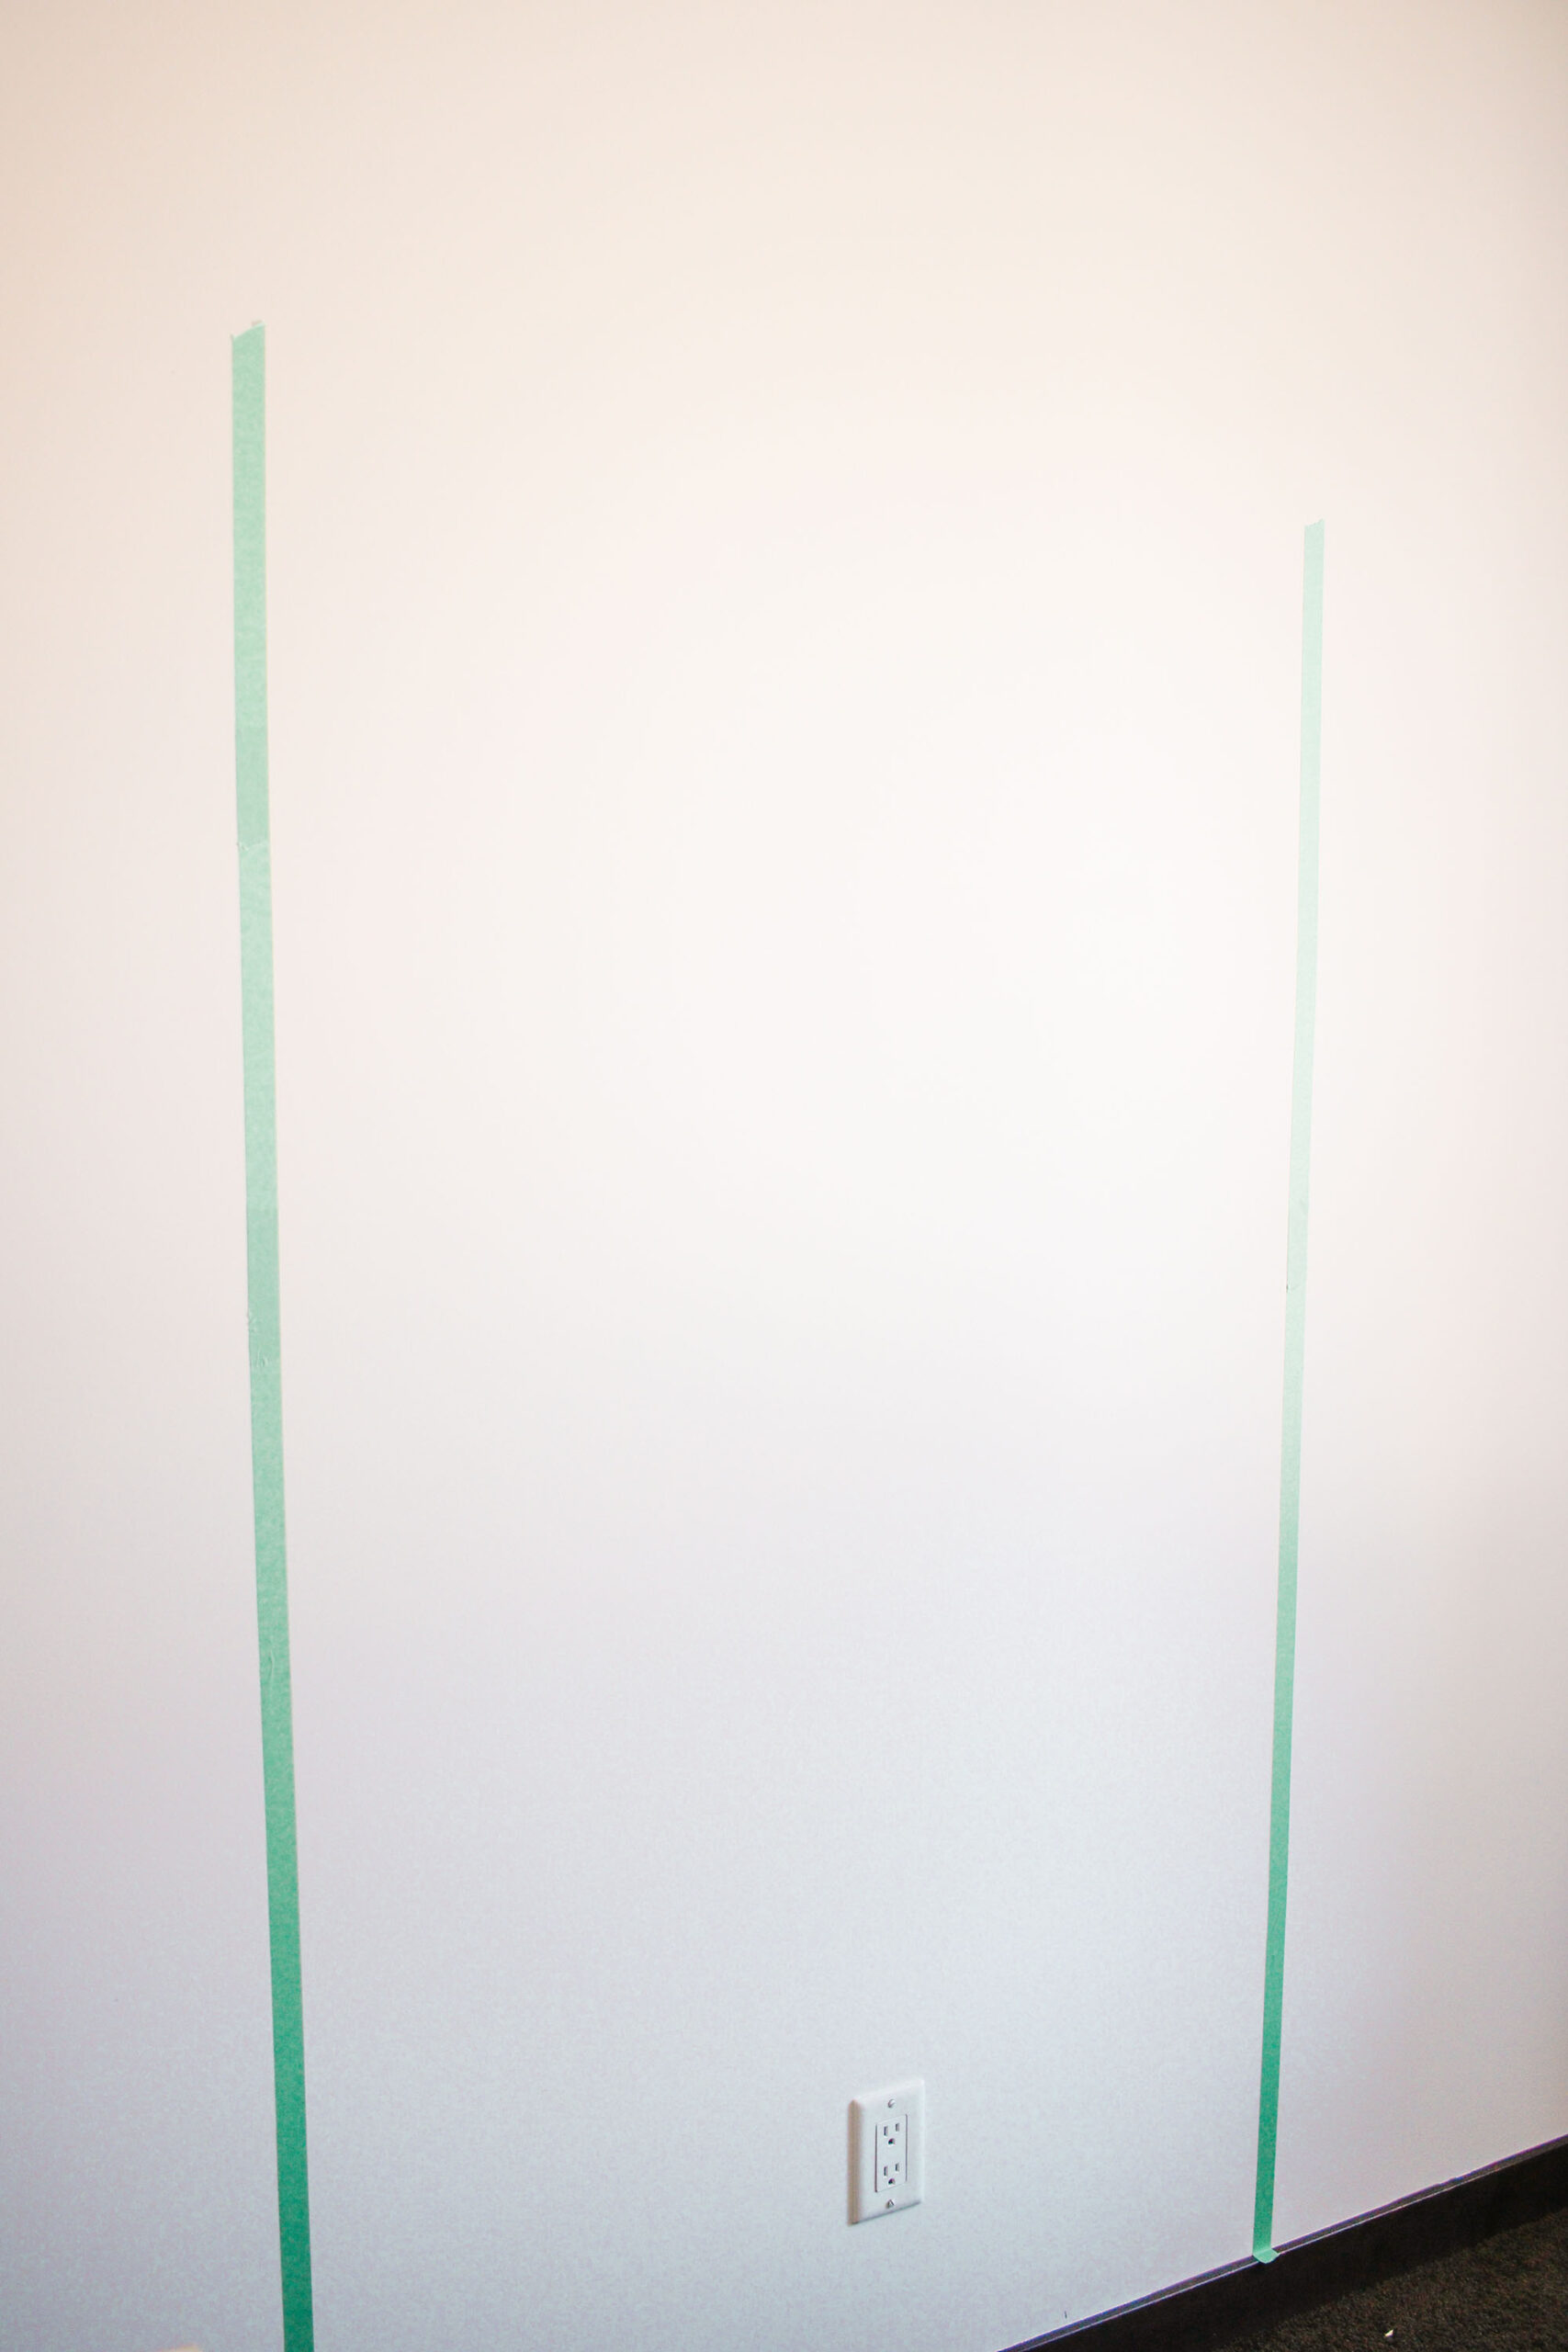
Make two vertical lines with painters tape from the pencil marks you just made. Use a level to make sure they are straight.

Measure and mark the center near the top, and between your two vertical lines, then stick a thumb tac in it.

Tie a string to the thumb tac, and then a pencil to the end of the string, When you tie the string to the pencil, make sure that the pencil reaches exactly to the edge of the tape when you pull it tight.
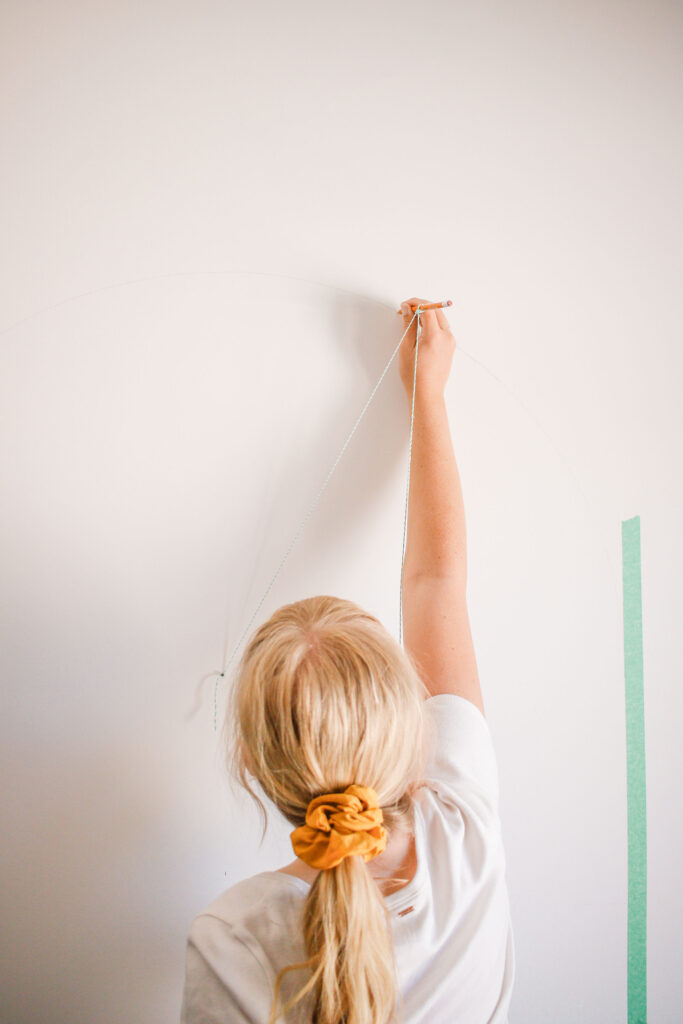
Draw a semi circle with the pencil, keeping the string tight the entire time, it’ll make a perfect circle.
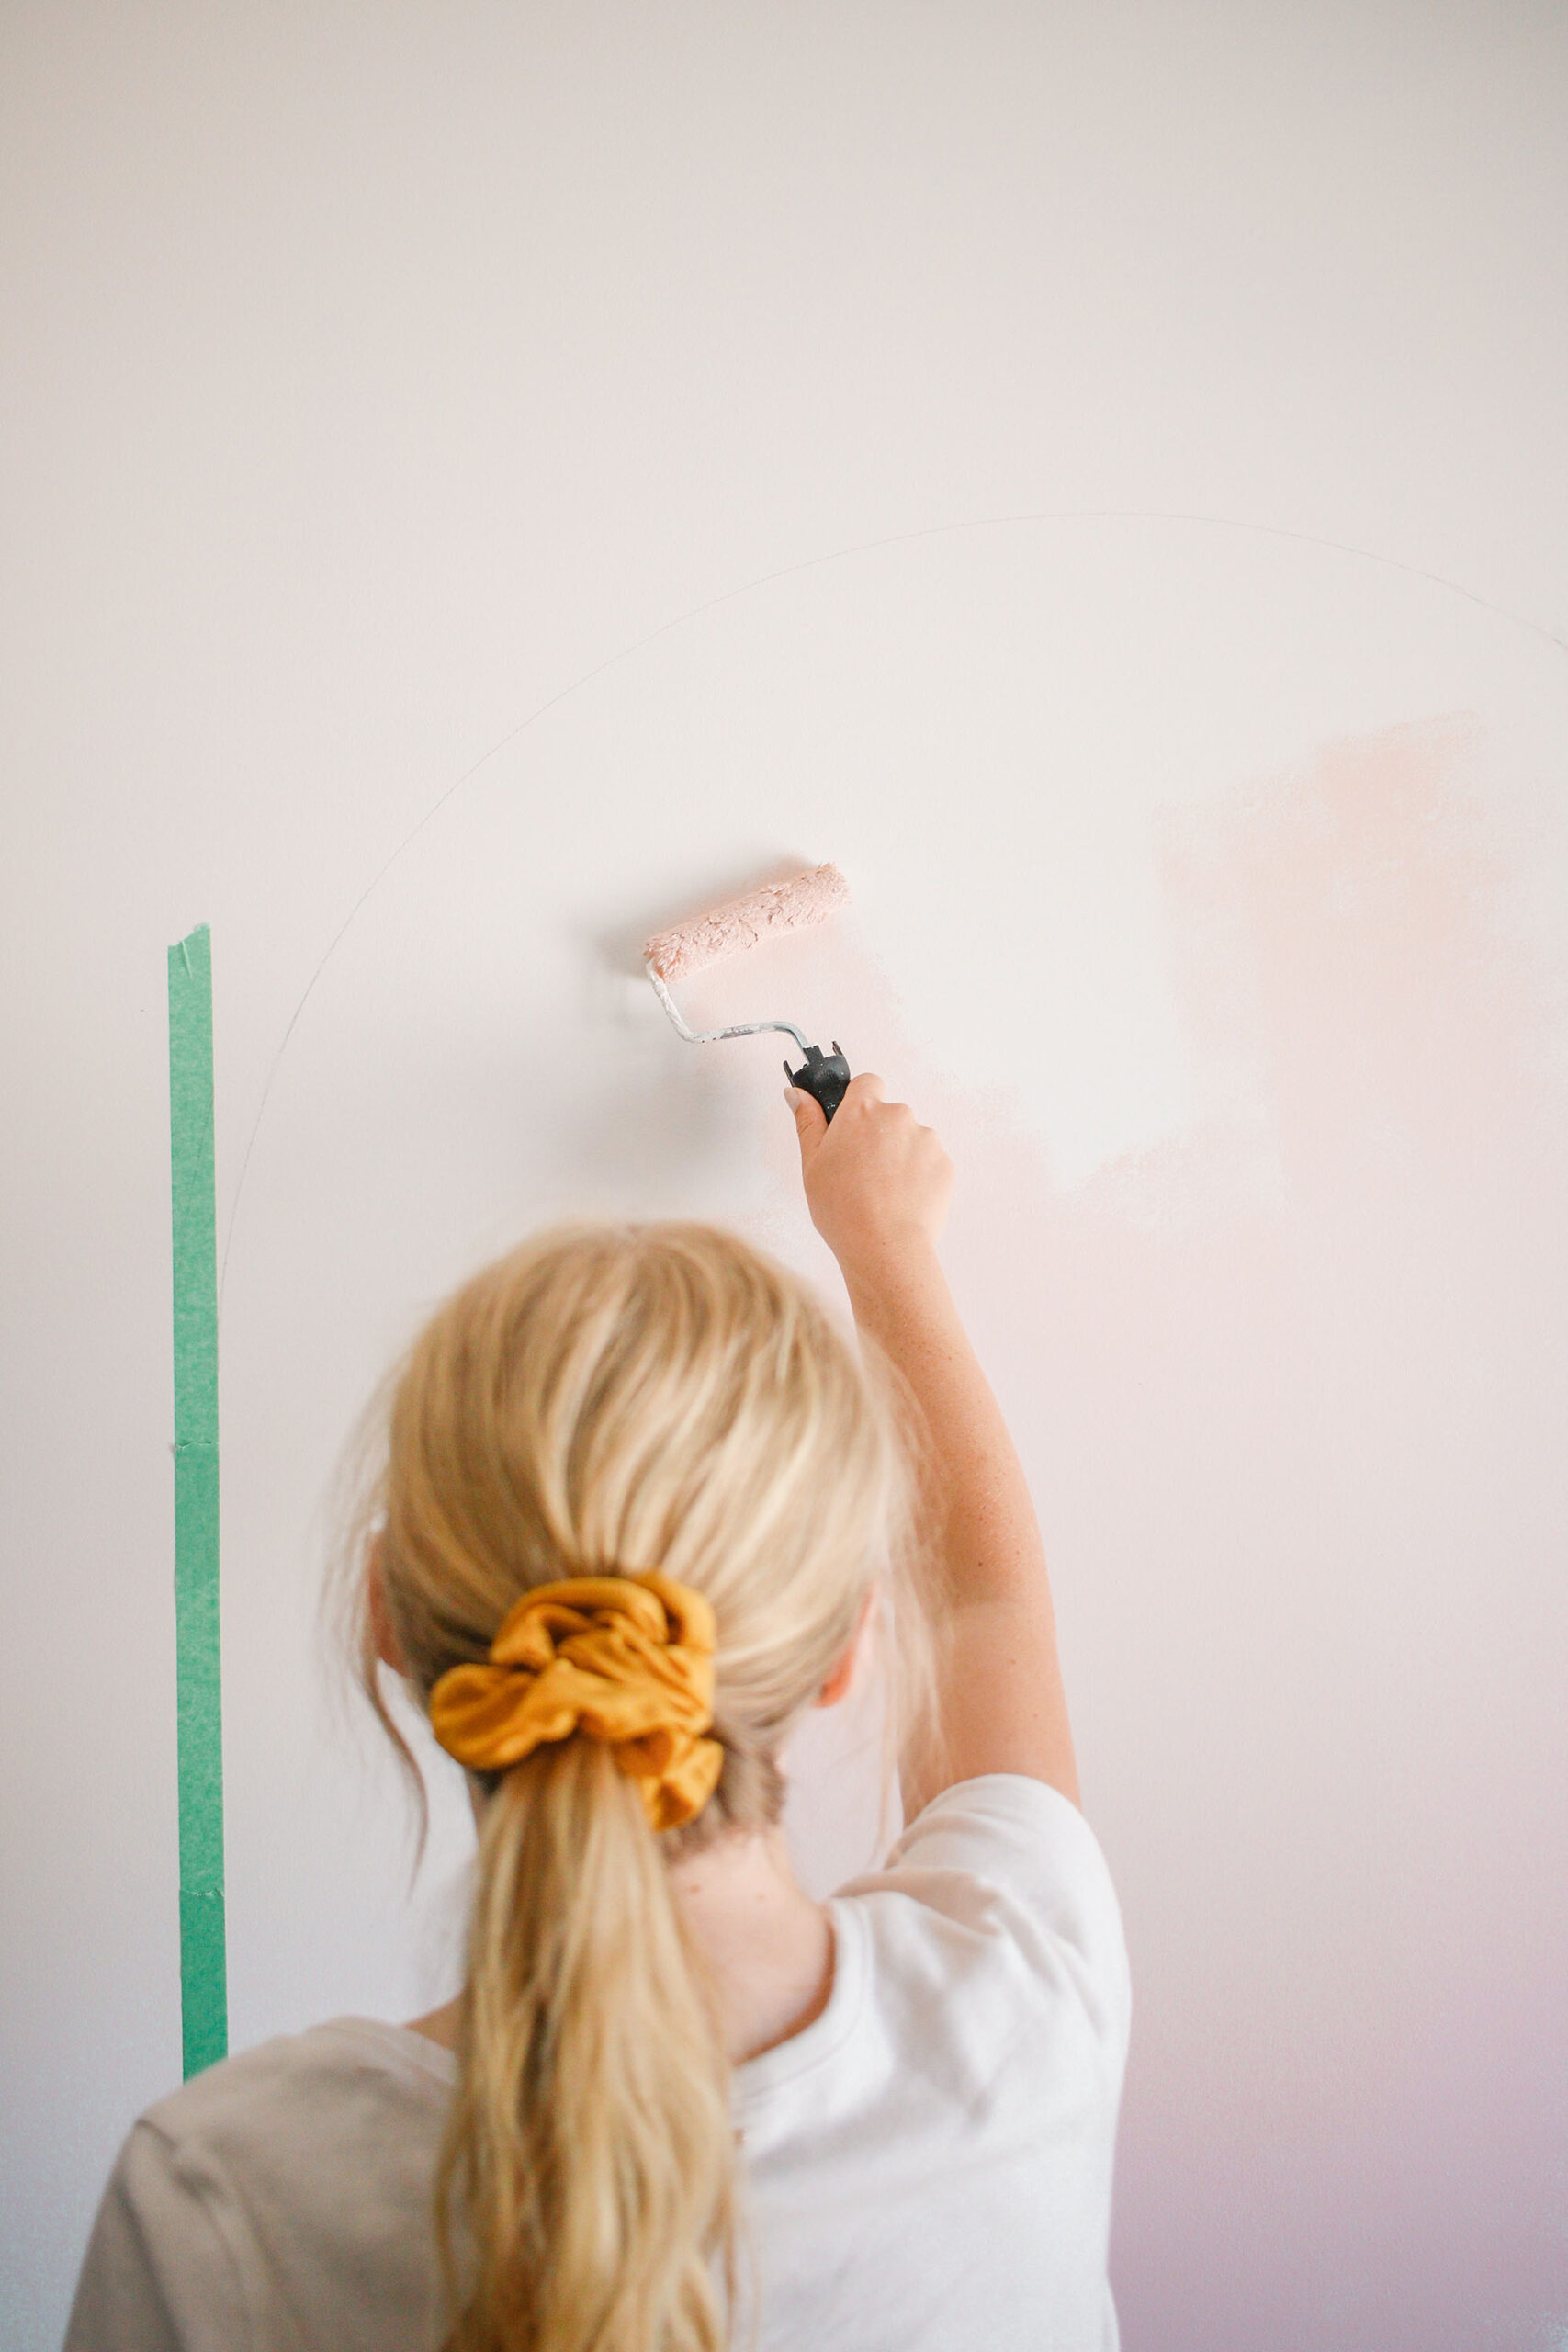
Use a roller to paint the inside of the arch.
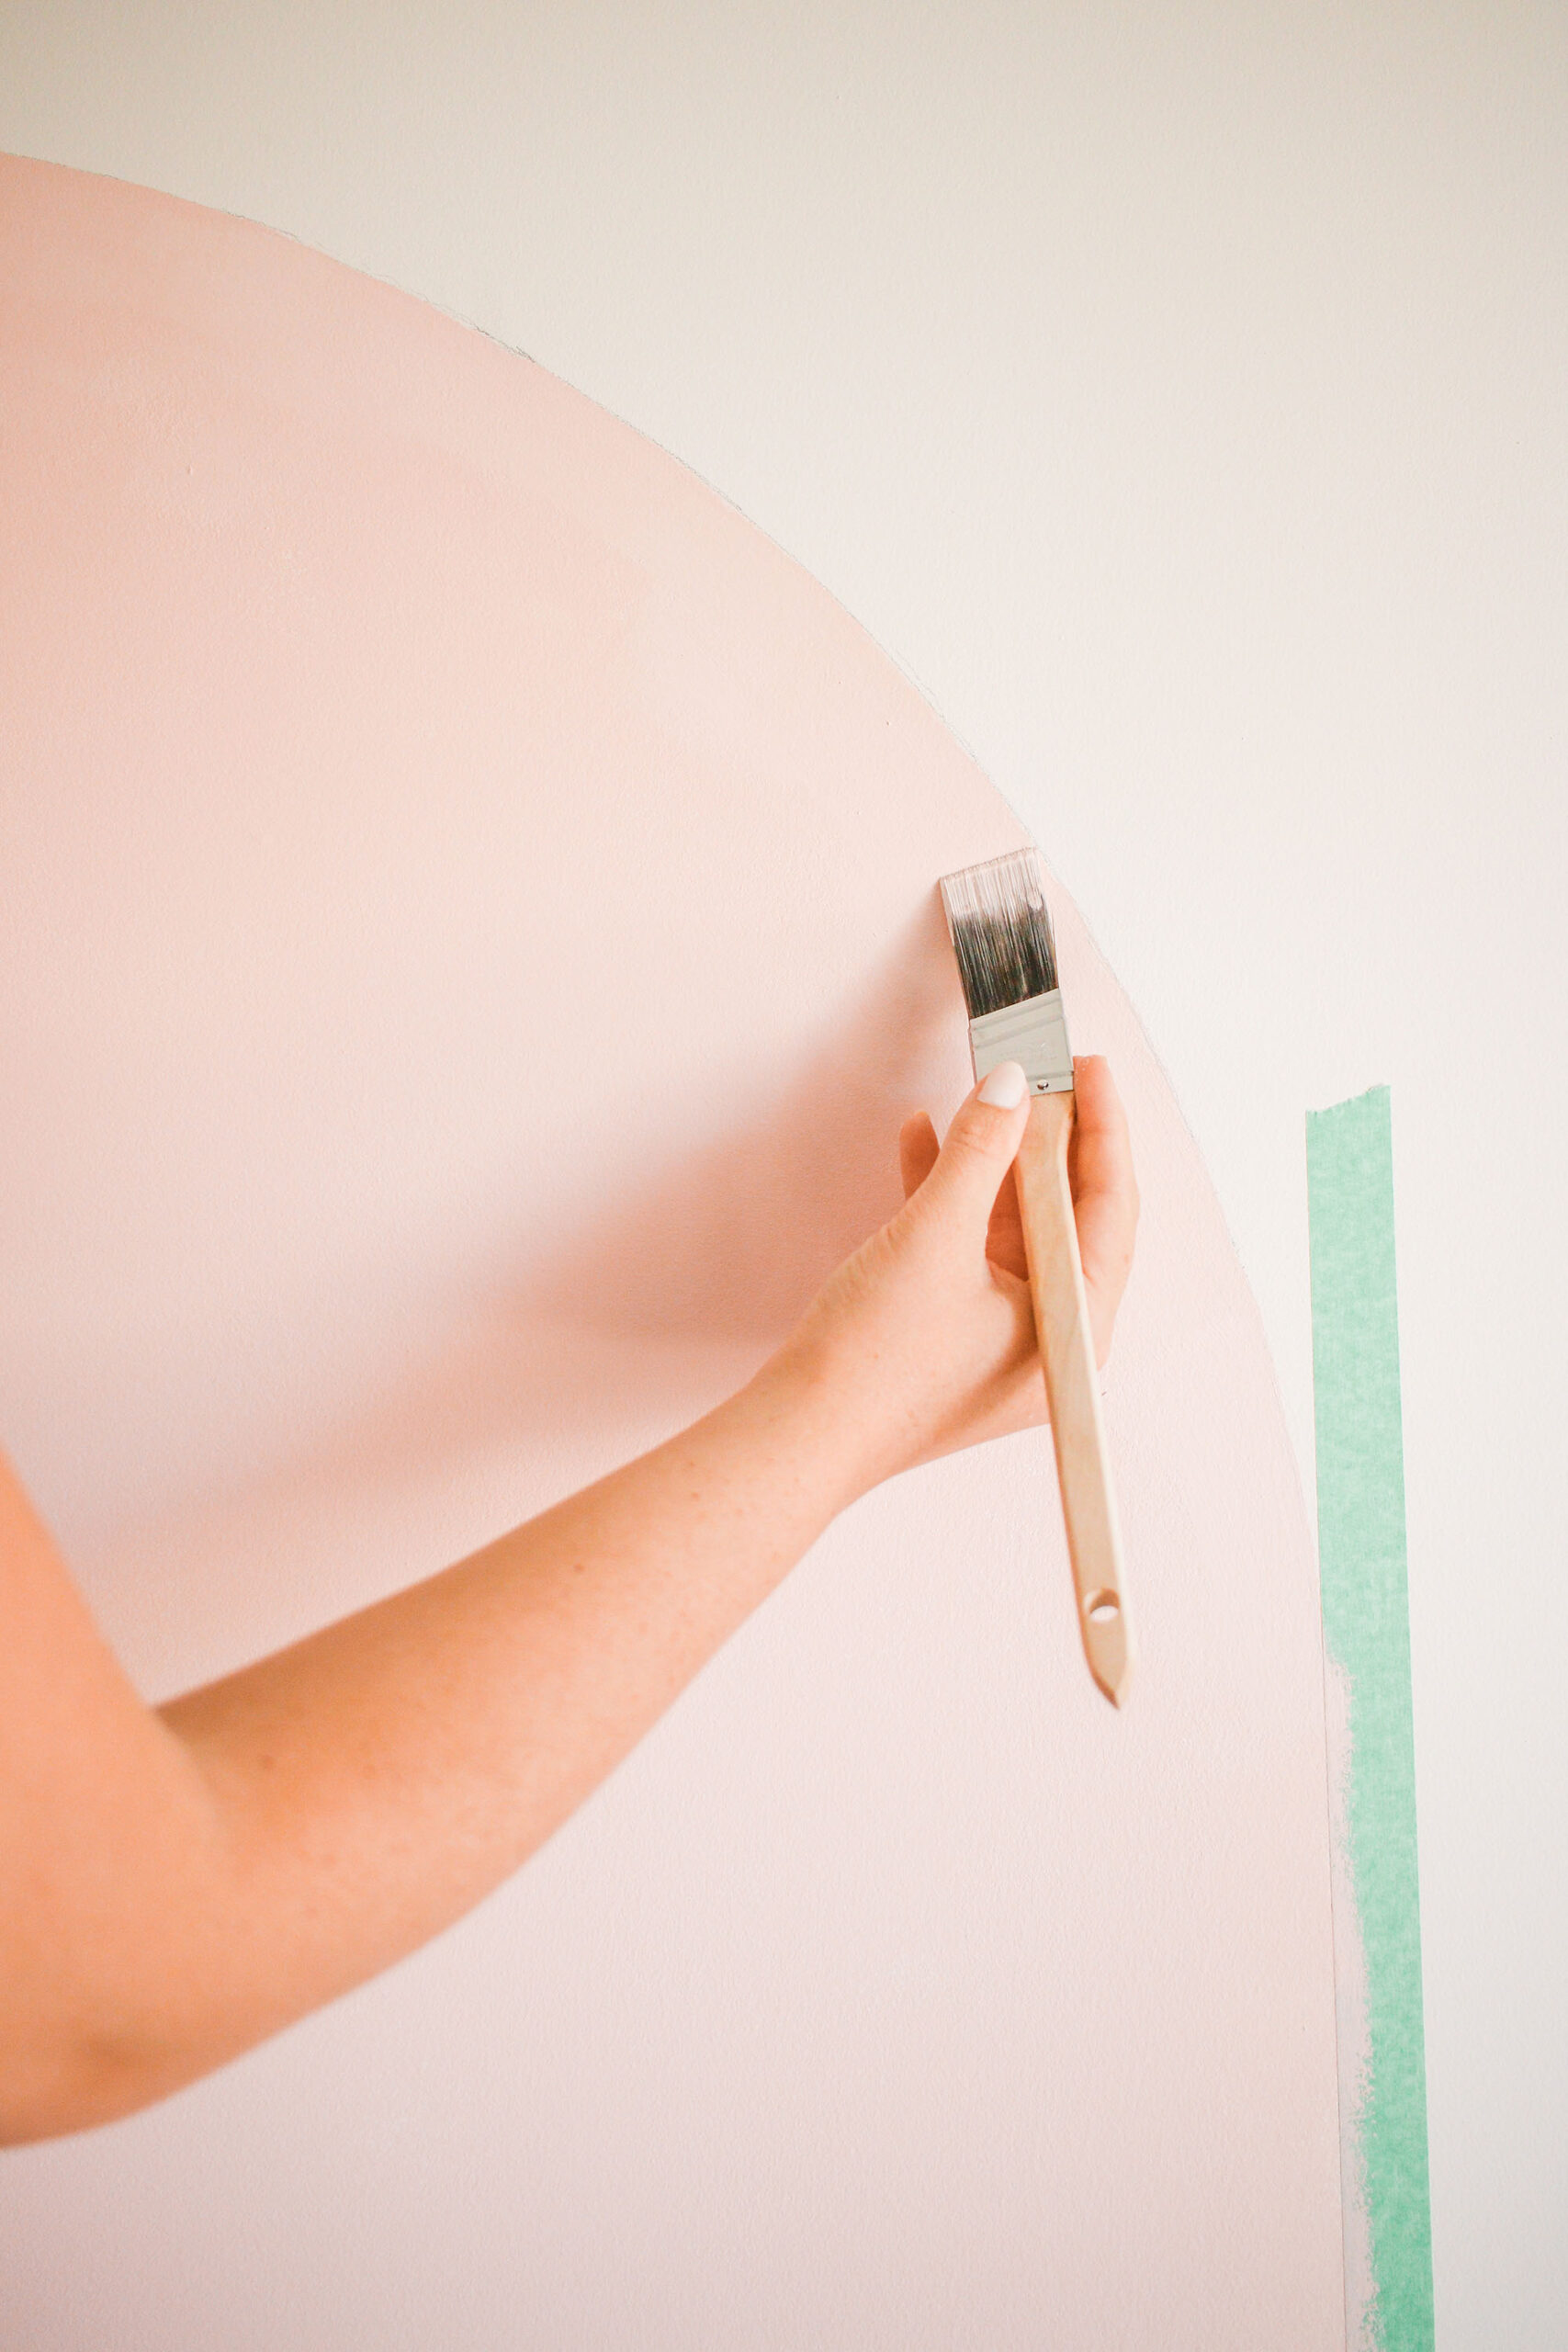
Use a paintbrush to paint the edge of the arch by hand.
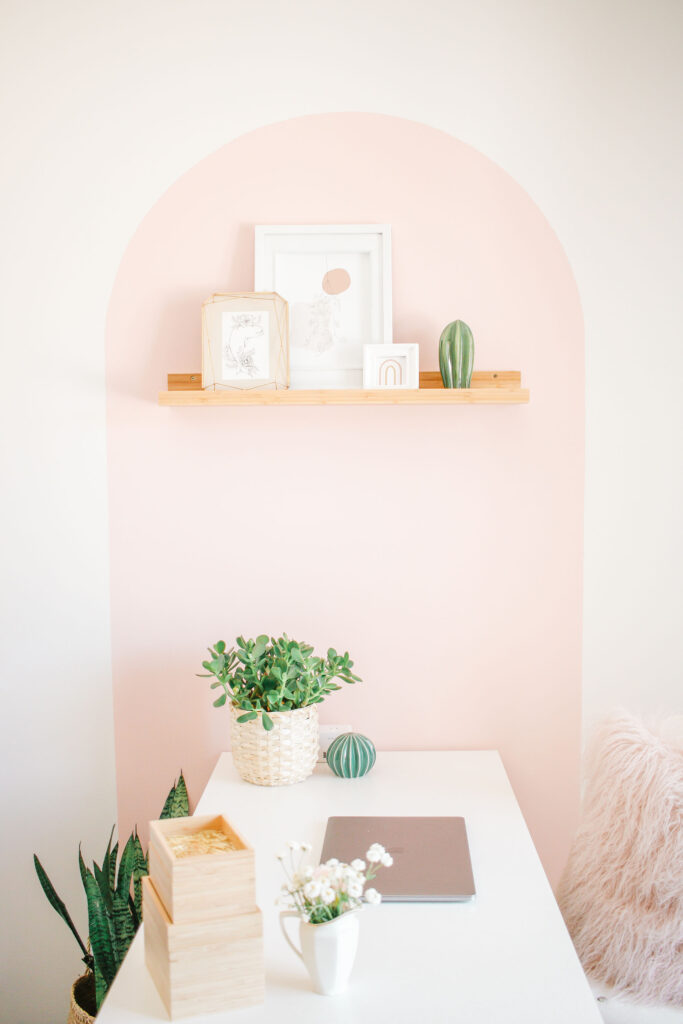
Take the tape off and then you’re good to go, it’s time to style!

Well that’s it! I literally just go and sit in her office because I just love it sooo much, I wish I could transport it. to Cali – ha! Hope you guys loved it as much as I do, and that you’ll try to make your own color block arch!
Pretty pleaseeee tag me if you do @mikylacreates I would really, really love to see!
Hope you enjoyed this ‘How to Paint a Color Block Arch + Office Makeover’ blog post! Let me know if you want to see more home decor posts like this!

3 comments on “How to Paint a Color Block Arch + Office Makeover”