
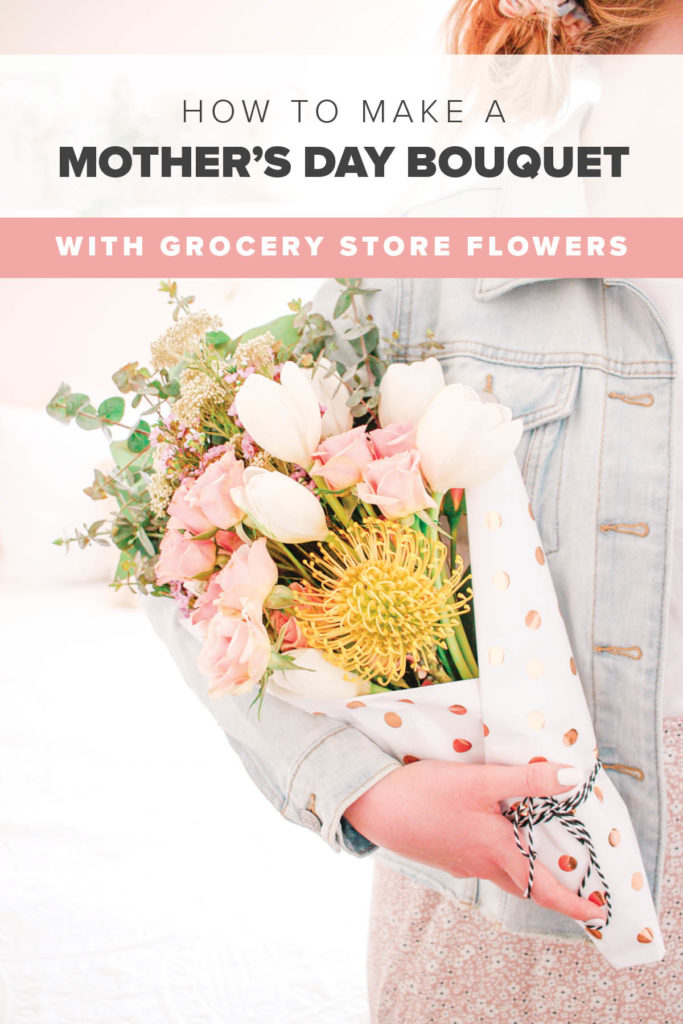
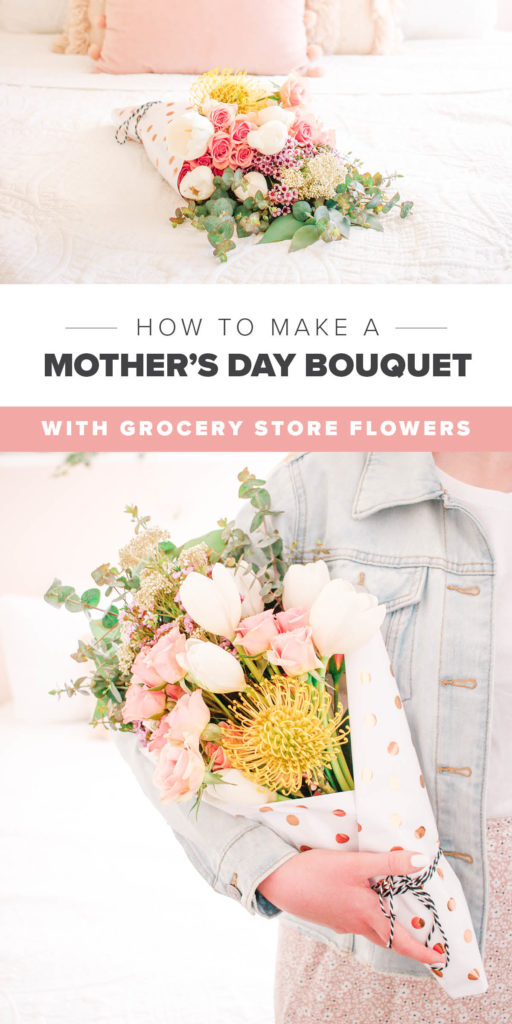
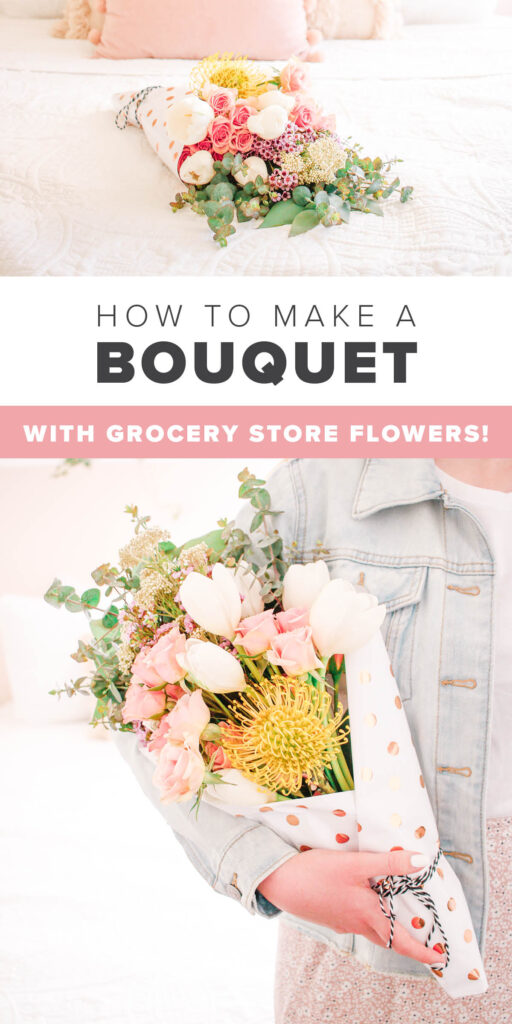
How to Make a Mother’s Day Bouquet with Grocery Store Flowers
Hi!!! Guys I am so, so happy with how this post turned out! I’ve had the idea for this post since before I started this blog (!!). I thought that mother’s day was the most perfect time to make it happen for all of the amazing moms out there!

Okay, so backstory: Once upon a time I started a business called Flora Flower Cart (pictured below), we have since sold it to our business partners, and it’s still going strong! I have such happy memories from that crazy time in my life, but I figure it’s high time I share allll of the flower knowledge that I learnt from owning a flower business!
Ps. Flora will deliver bouquets anywhere in California, so you should definitely do that if you can! Alsooo it’s Flora’s second birthday today – happy birthday Flora! But for those of you who do not live in Cali, let me teach you how to make a pro bouquet with the flowers that you have available!

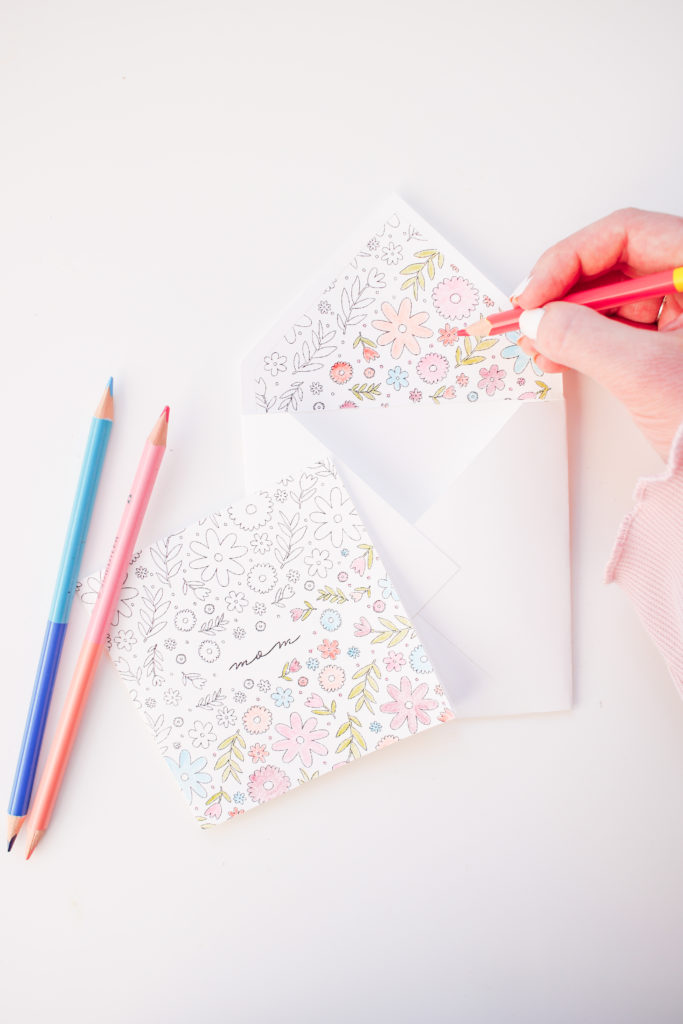
Mother’s Day Card Printable
Before we get started.. I also made a free printable mother’s day card that you can color!! It’s perfect for adults and kiddos alike! You can make it your moms fave colors – plus you can print it at home – woo! Click HERE to grab it!
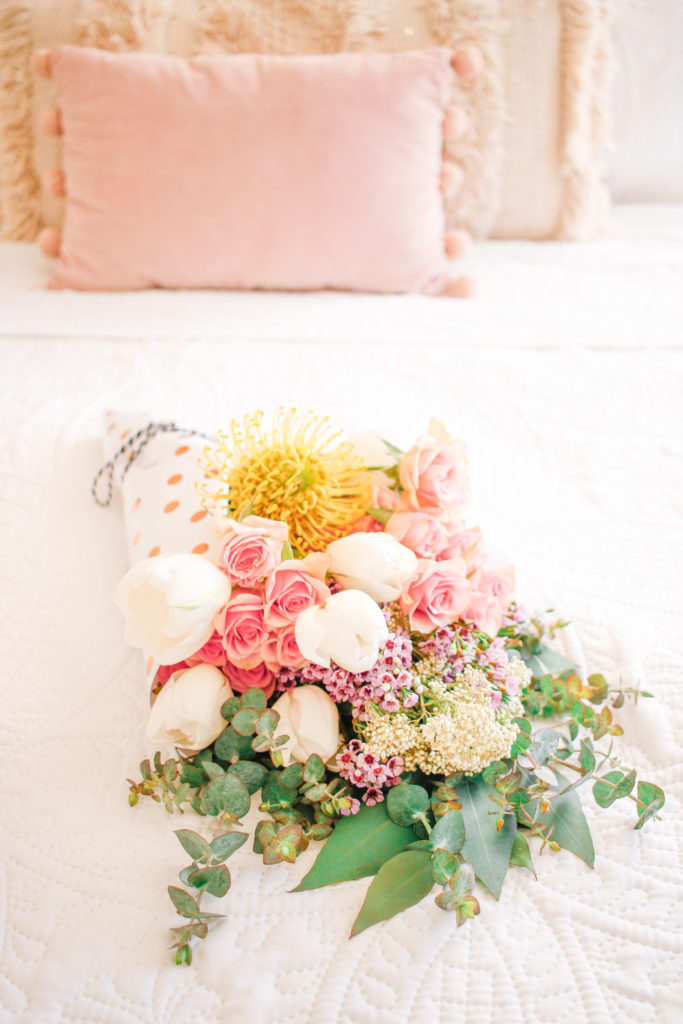
How to Make a Bouquet Like a Pro:
After a lot of research and learning from making hundreds of bouquets while running my flower business, and after being the florist for a few weddings, I finally feel confident in my bouquet making abilities! Sooo without further ado let’s learn how to make professional bouquets with grocery store flowers!
First things first, we’ve got to talk about the anatomy of a bouquet if you will *science class flashbacks*.
Bouquet Essentials:
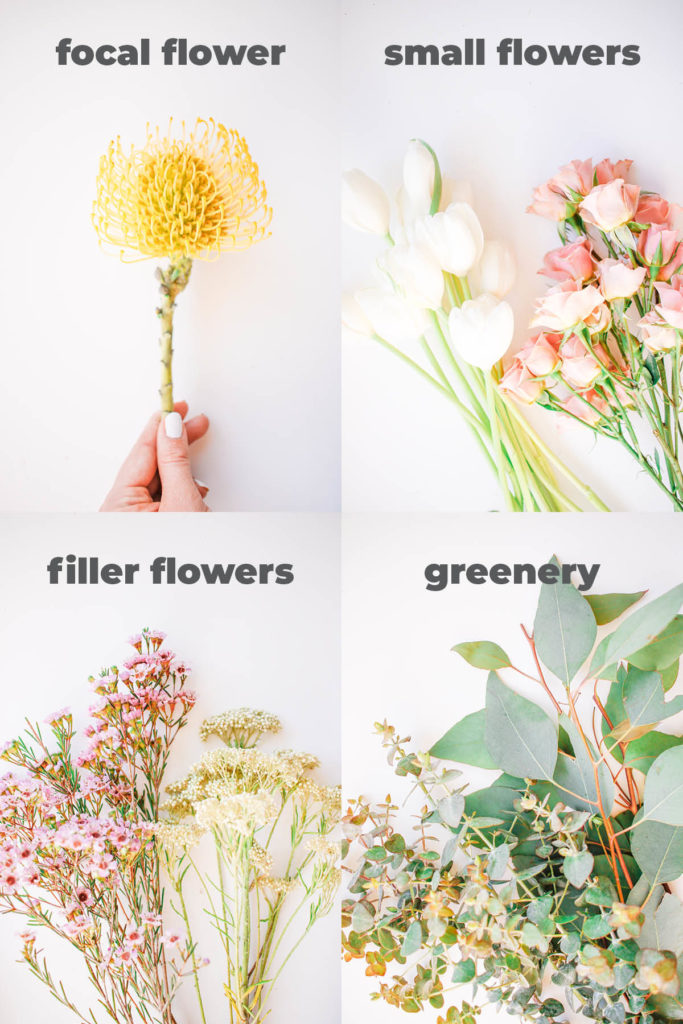
Every Great Bouquet Needs These Four Elements:
- A Focal Flower – A larger flower that will be the star of the bouquet.
- Smaller Flowers – these are like the backup dancers, I like to have two different kinds to add texture and interest, but not necessary.
- Filler Flower – These are tiny, airy flowers such as baby’s breath that add texture, but most importantly fill in the gaps and make the bouquet look bigger than it really is.
- Greenery – this one is probably obvious, but essential! Greenery adds SO much to a bouquet it’s crazy! My fave greenery is obviously eucalyptus!
Bouquet Making Steps:
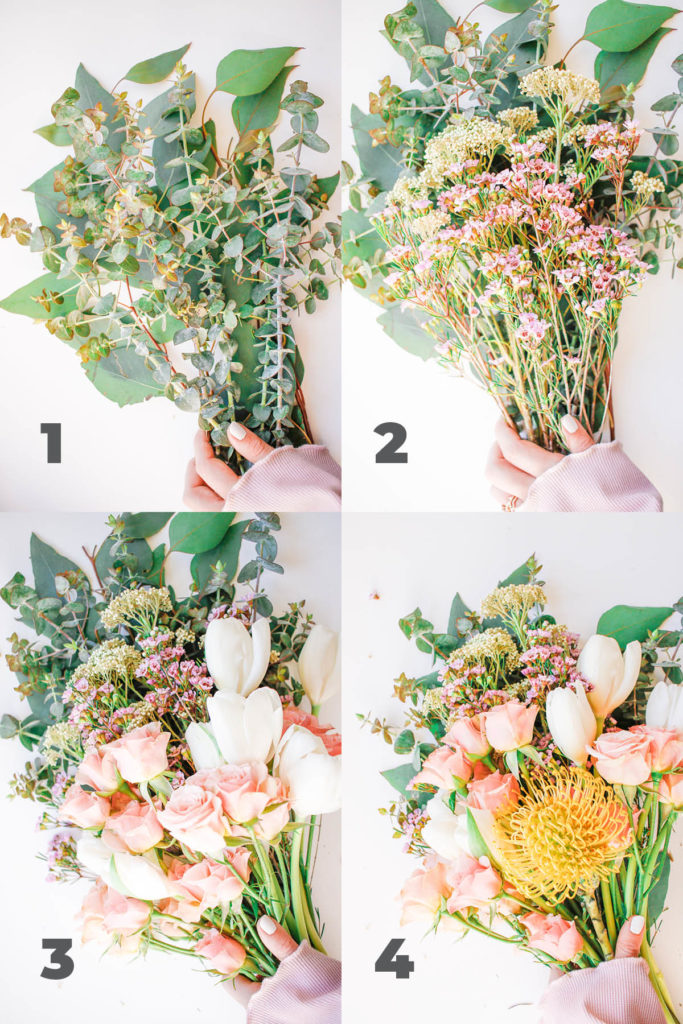
This is the part that seems to trip people up, but it’s really so simple! Simple layer the four flower elements that we just talked about on top of one another! Make sure that each layer is visible by having each element lower than the last.
To Help Your Flowers Last Longer:
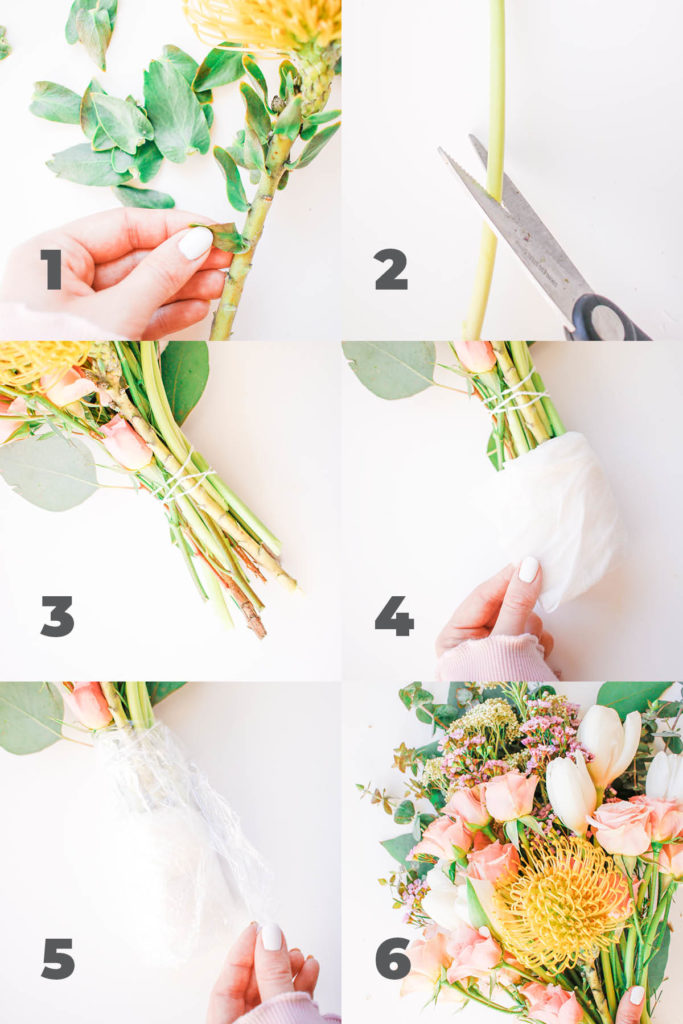
My Six Tips for Making Flowers Last Longer:
- Take all of the leaves off! Taking the leaves off of the flower stems helps them to last longer because the flower can put all its energy into keeping the actual flower alive instead of splitting that with all of the leaves. Plus, leaves in the water will often rot and clog the stems from getting water!
- Trim your stems at an angle and trim them often (change the water too)! Trimming them at an angle ensures that the stem won’t be flat at the bottom of the vase unable to get water. Trimming them often AND changing the water will make your flowers last extra long.
- Rubber band it for wrapping, but take it off in the vase. When I wrap bouquets I always throw a rubber band on it so it stays pretty, but once you put it in a vase definitely take that thing off!
- Use a damp paper towel when wrapping. This helps keep it fresh during transport!
- Wrap plastic wrap around your paper towel. This not only keep your wrapping from getting wet, but keeps that moisture in which the flowers love.
- Keep your bouquet out of direct sunlight!
How To Wrap Your Bouquet Like a Pro:
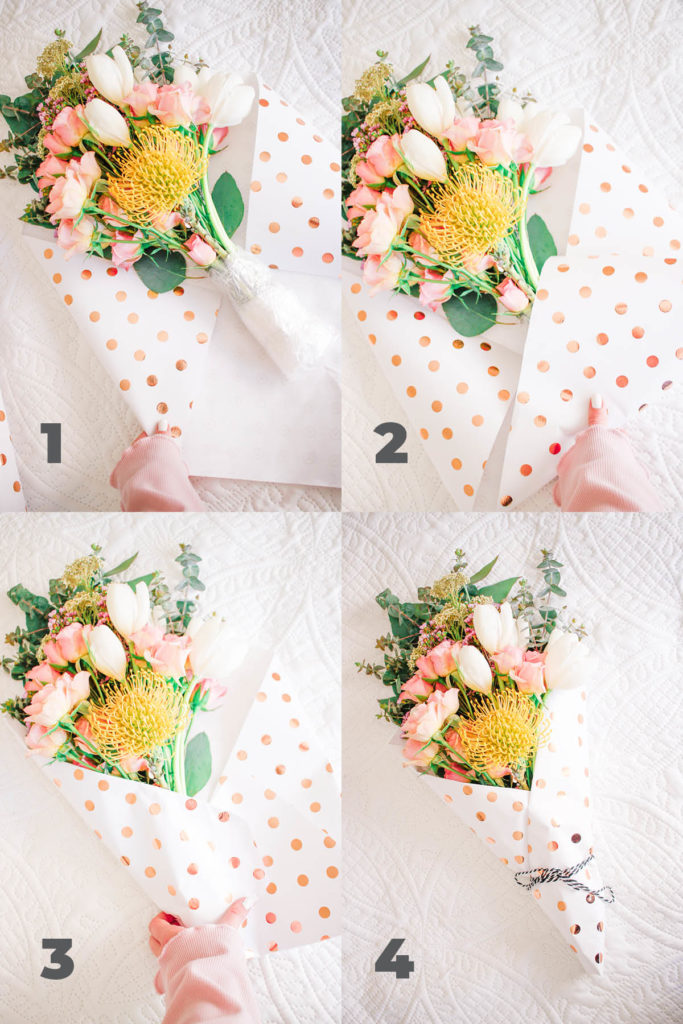
You can use pretty much anything to wrap a bouquet! I’ve seen anywhere from fabric to newspaper to craft paper! In this case I just used wrapping paper which you probably already have on you!
Wrapping Your Bouquet:
- Cut a square piece of paper and lay your bouquet out diagonally. Fold the corners in.
- Fold the bottom corner up covering the stems.
- Wrap the left paper over the bouquet, then the right.
- Tie with a string and you’re good to go!

That’s IT guys! I am so happy to finally have this post out there and I hope that you enjoyed it as much as I did!! Now you can say that you know how to make a Mother’s Day bouquet with grocery store flowers. Woo! Oh! And don’t forget to grab your free mother’s day card printable!

Thank you for the great tutorial on making a flower bouquet. I used your steps to make some mini tussie mussie bouquets for my brunch table. They turned out great.
Yay!!