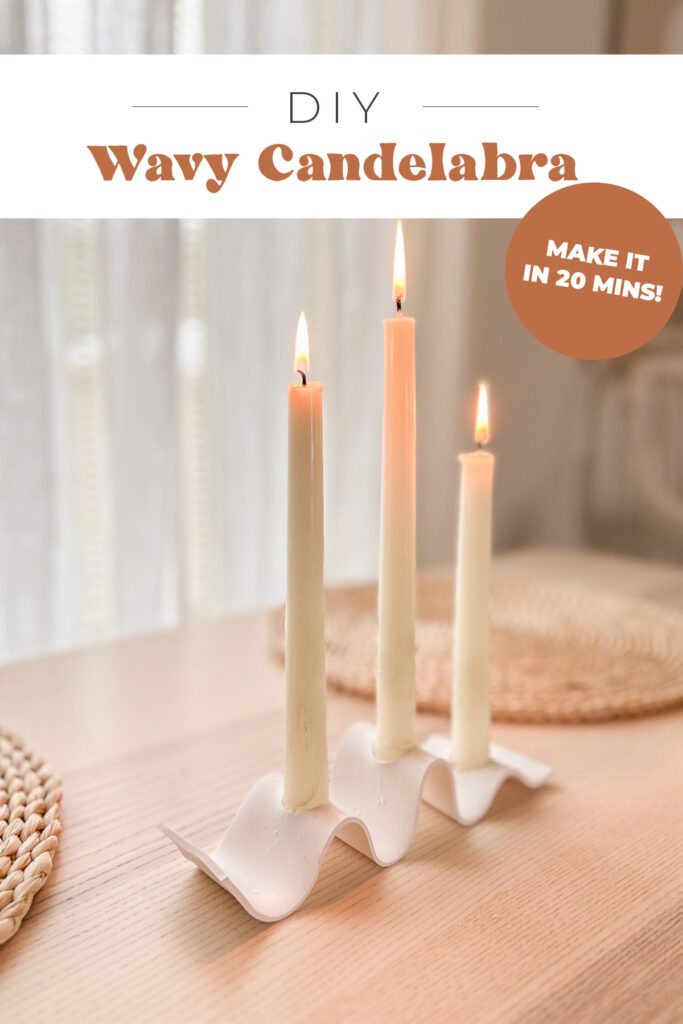
DIY Wavy Polymer Clay Candelabra
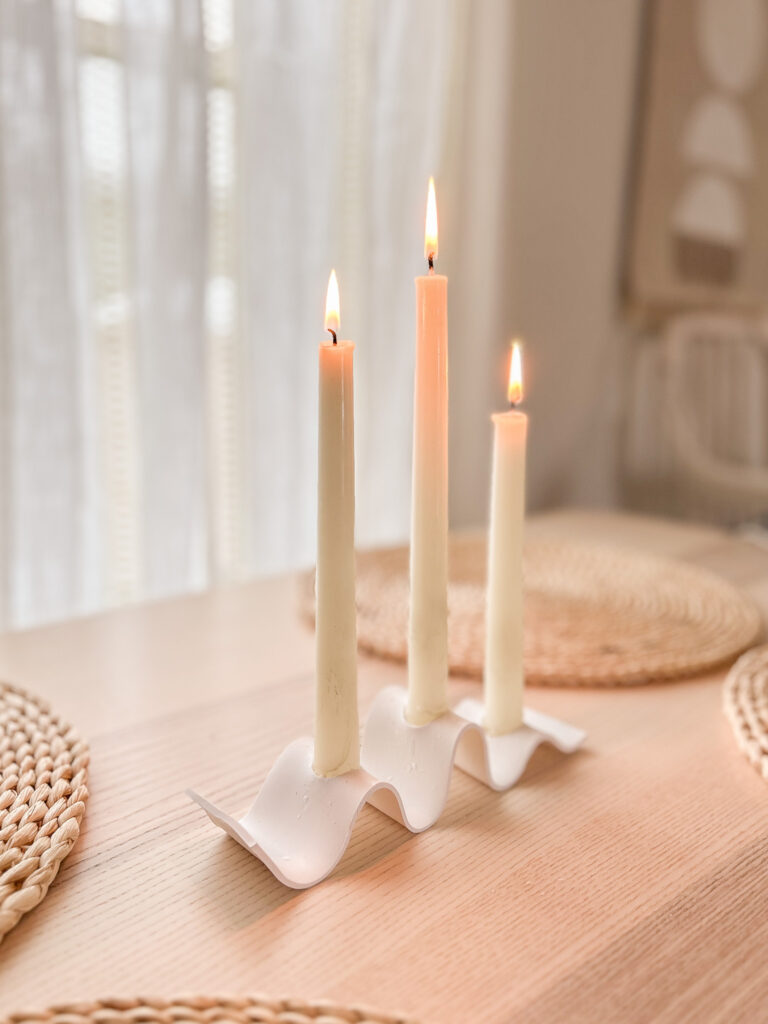
Okay, so story time! I was *naturally* on Instagram and spotted an amazing candle holder in their reel – it was so beautiful. I ended up finding it on the West Elm website. To my dismay it was $90. My next immediate thought was “I could EASILY make that!” So I did! I will admit that it is not as pretty as the West Elm one, mine is a little flatter, but it cost me $8 to make so I call it a win! Plus is was pretty quick to make as well!
Let’s get started!
PS. I have a TON of Sculpey DIYs on the blog (i’m addicted) head HERE to see all of them, including sconces, planters, shelves, dog tags, earrings and more!!
Supplies:
Directions:

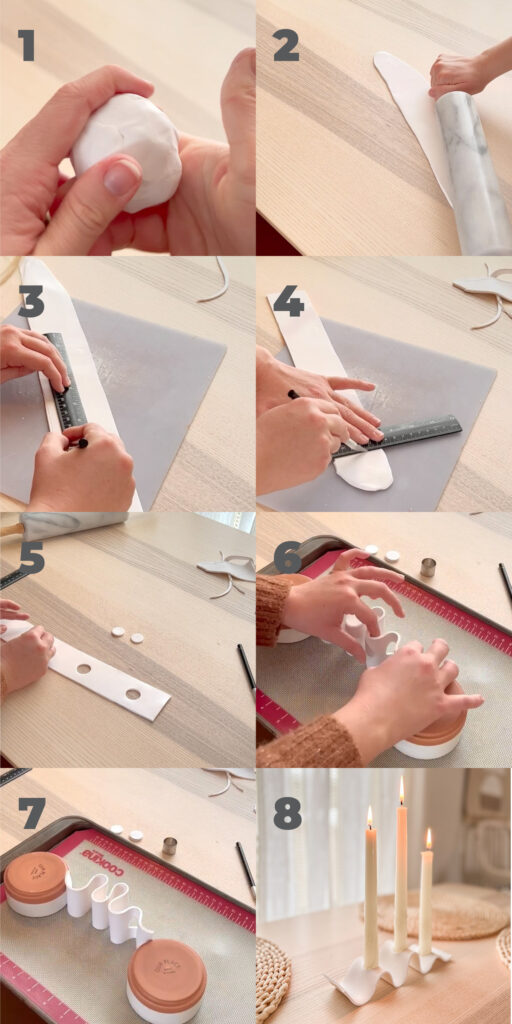
- Roll your clay into a ball (2 packs of white Sculpey)
- Roll it out into a long oval (about 1/2 cm thick)
- Play your clay on the cutting mat and use your ruler and exacto knife to cut straight edges.
- Trim off the ends to form a rectangle
- Use a small circle cutter (similar size to your candle sticks) and cut three holes in your rectangle.
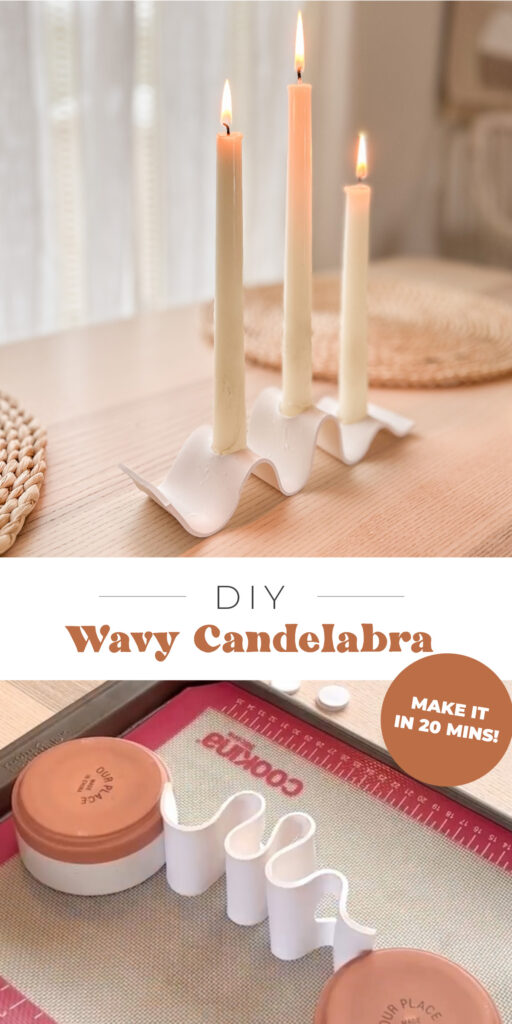
- Place your clay onto a baking sheet and useing two bowls arrange it into the wavy shape you like, make sure the holes are on the top of the hills.
- Once you’re happy with your shape, bake it according to Sculpey package instructions.
- Put your candle sticks in your new candelabra! I used a lighter to melt the wax at the base of each candle to secure it in the hole.
Such a quick but classy home decor DIY that I think would make a great gift, or for yourself for cozy vibes (which are important this time of year)! If you make your own pretty please tag or DM me @mikylacreates on Instagram!


