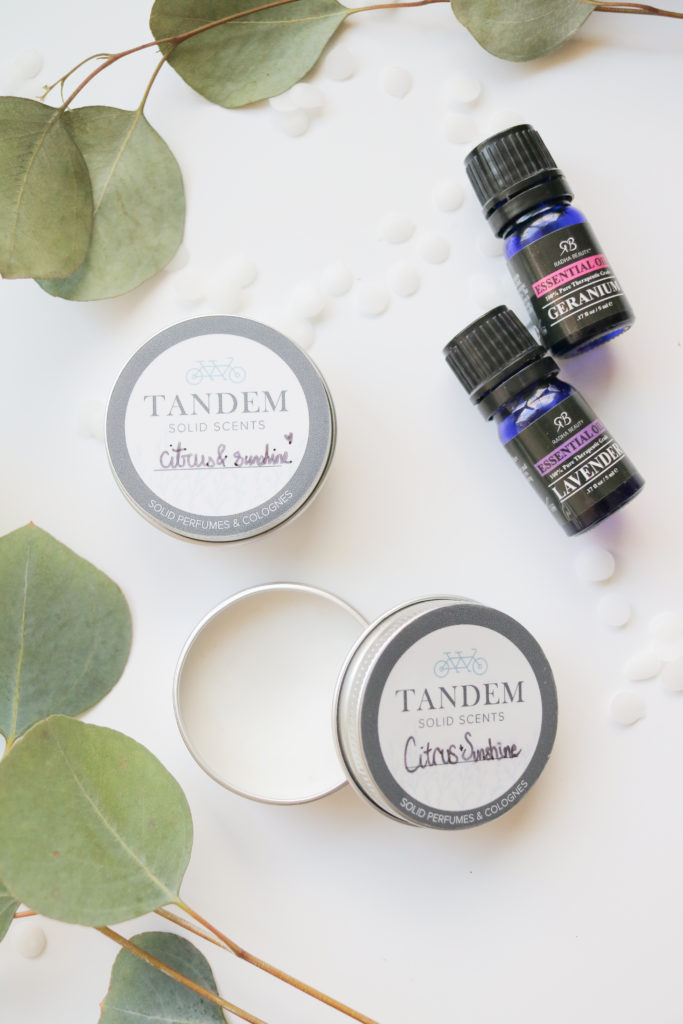
DIY Solid Perfumes & Colognes + Free Printable!
Hi! So, this is the first blog post I ever made but never actually posted it. So for the celebration of this blogs first birthday I decided to post it! Enjoy! PS. It may be cringey 😉
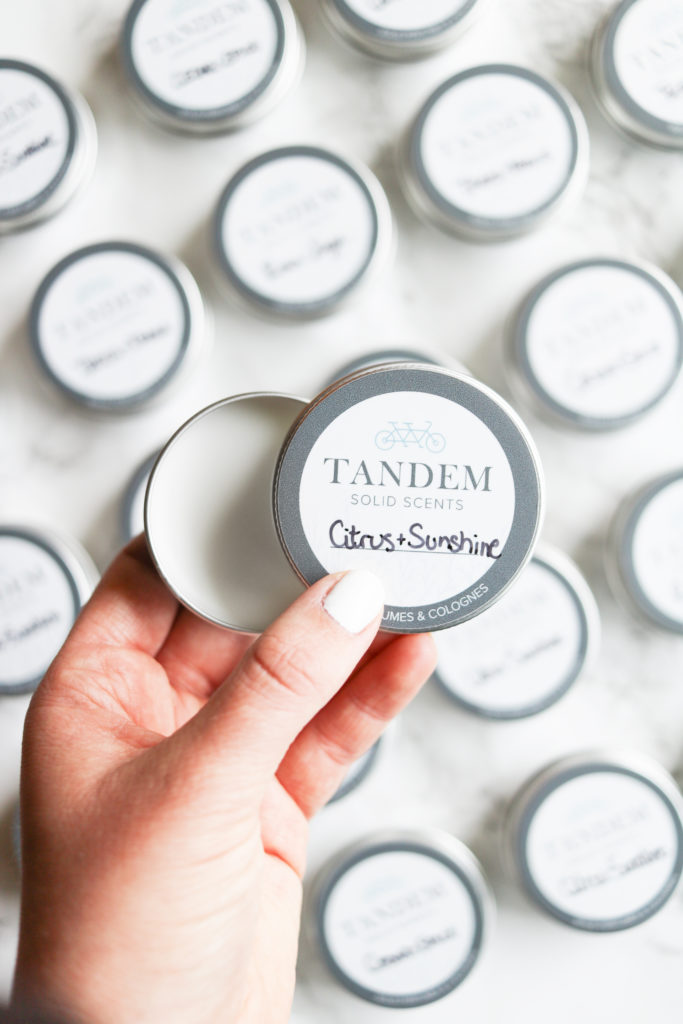
Can we all agree that the best DIYs are the ones that look impressive, but are actually ridiculously easy?! That’s todays DIY! I LOVE giving DIY gifts at Christmas, probably 80% of my gifts are DIY, but I’m not about DIY gifts that LOOK like they’re DIY, if ya know what I’m sayin’. So, this past Christmas I was on the hunt for ideas when my uncle actually mentioned how big solid perfumes and colognes (yes I have BOTH recipes for you!) are becoming, and BAM! I decided to make a big ‘ole batch of them for Christmas! I made about thirty, and it only took me about two hours! Score!
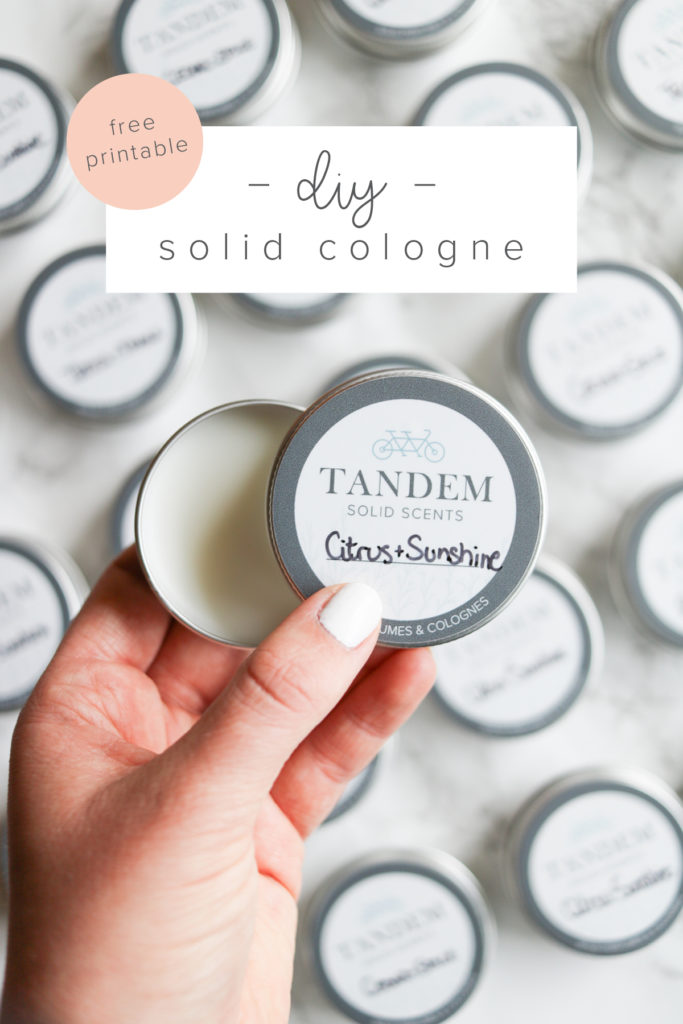
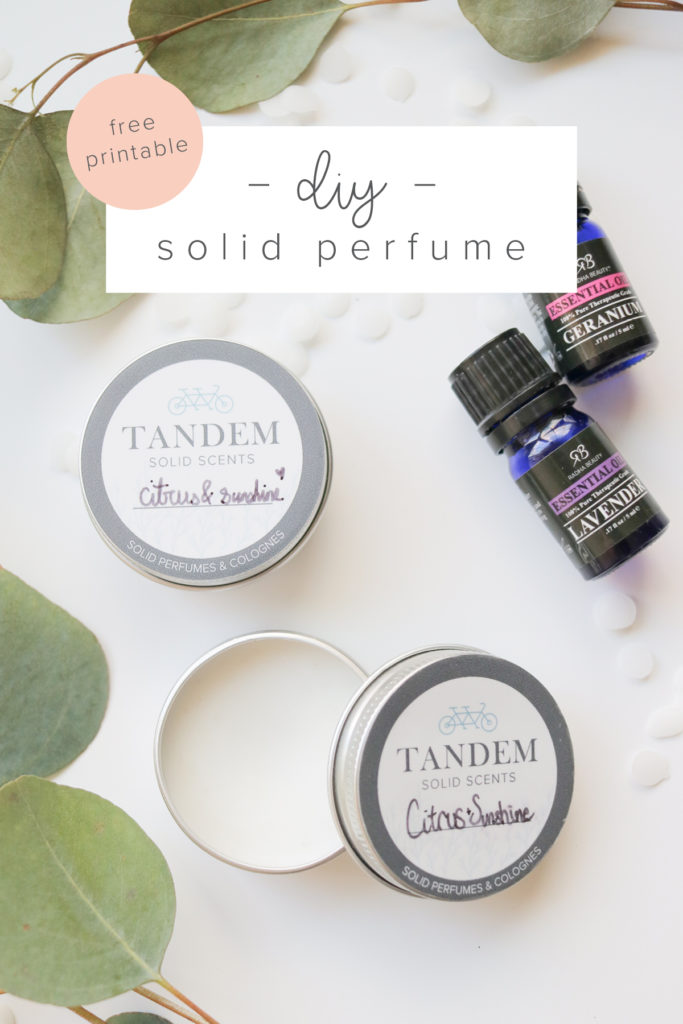
I also made some labels for you guys to print for free! You can download those cuties here!
The whole process is SUPER simple, but the most time consuming (and the most fun) part is making the scents, I did a lot of research and discovered that there is a whole science behind combining scents! So, I’ll give you a quick run down before we get started! You can also check out this how to video which will give you all the info you need!
Basically there are four types of scents you will want to include if you want a reaaly rich and full scent that will last. There are top notes, middle notes, base notes and fixatives. Top notes will be the first thing you smell, they are usually light, fresh and fruity, middle notes balance out the top and base notes, and base notes are deep and rich, and really add depth to the scent. The there are fixatives which can be any of the above, but the important thing about them is that they are scents that are lasting, and will in turn make your perfume last longer on your skin. How was that for a little science lesson?
Top Notes: Basil, Bergamot, Eucalyptus, Fir, Galbanum, Grapefruit, Juniper, Lemon, Lime, Mandarin, Neroli, Orange, Palmarosa, Peppermint, Pine, Petitgrain, Rosewood, Sage, Tangerine, Verbena
Middle Notes: Angelica, Cardamom, Carnation, Cassie, Clary Sage, Chamomile, Coffee, Cypress, Fir Balsam, Geranium, Ginger, Helichrysum, Jasmine, Lavender, Lemongrass, Lotus, Melissa, Orange Blossom, Rose, Rosemary, Tuberose, Ylang Ylang
Base Notes: Agarwood, Cedarwood, Frankincense, Labdanum, Myrrh, Patchouli, Sandalwood, Vanilla, Vetiver
Fixatives: Agarwood, Angelica, Cedarwood, Clary Sage, Cypress, Fir, Frankincense, Myrrh, Oakmoss, Orris Root, Patchouli, Sandalwood, Spikenard, Vanilla, Vetiver
Anyways, you’ll want about 30% top notes, 50% middle notes, and 20% base notes, also make sure you have a fixative in there too. If you don’t want to worry about all that (which I totally don’t blame you) I will also tell you which combos I used, so that you don’t need to feel like you’re in school while you’re DIYing!
So, let’s get to the DIY!!
TOTAL TIME:
1-3 hrs.
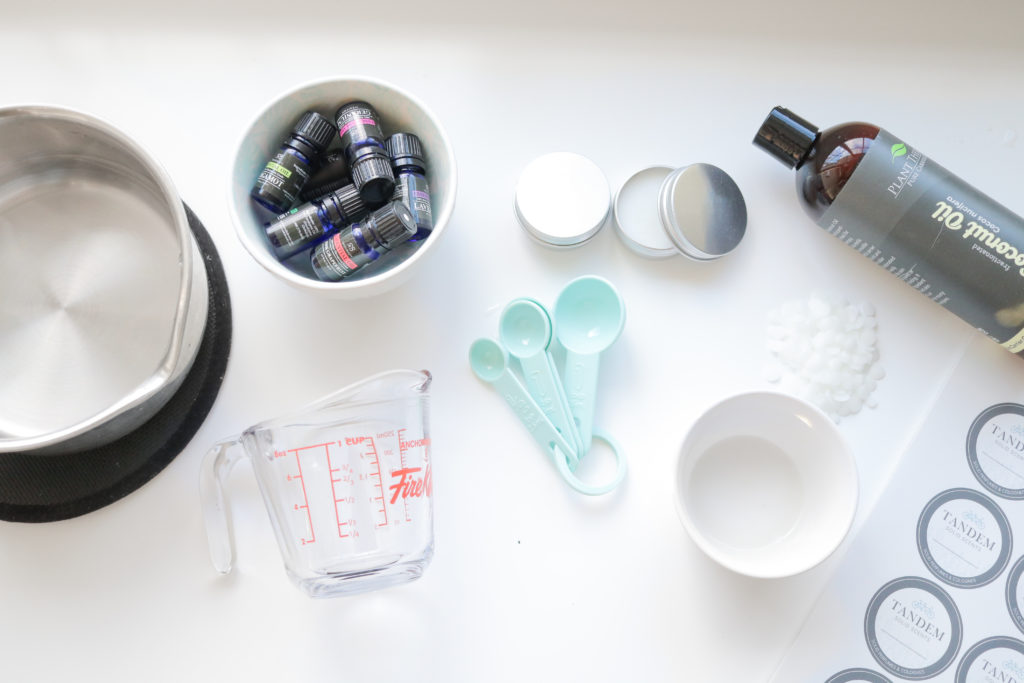
SUPPLIES:
Fractionated coconut oil (or almond oil)
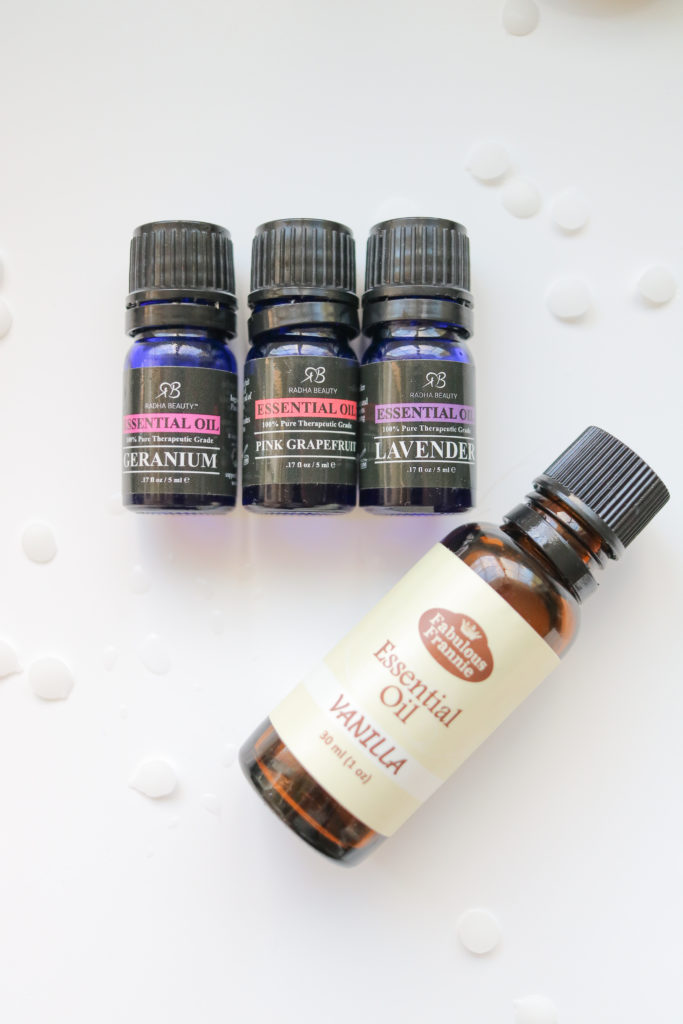
Essential oils (we’ll get to that later)
Labels – download below!
Pot
Glass measuring cup or bowl
Butter Knife
Mixing Bowl
Measuring Spoons
DIRECTIONS
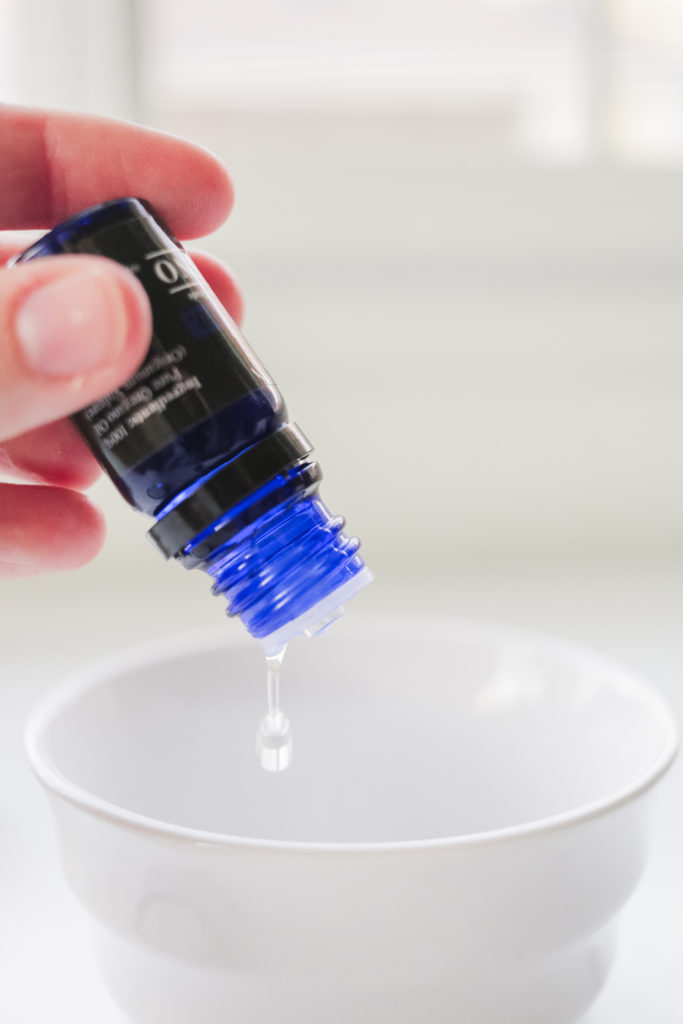
- The first thing you want to do is mix your scent in a separate bowl, you can get creative and make your own, or you can use one of my concoctions! I made two different perfume scents and two different cologne scents:
PERFUMES:
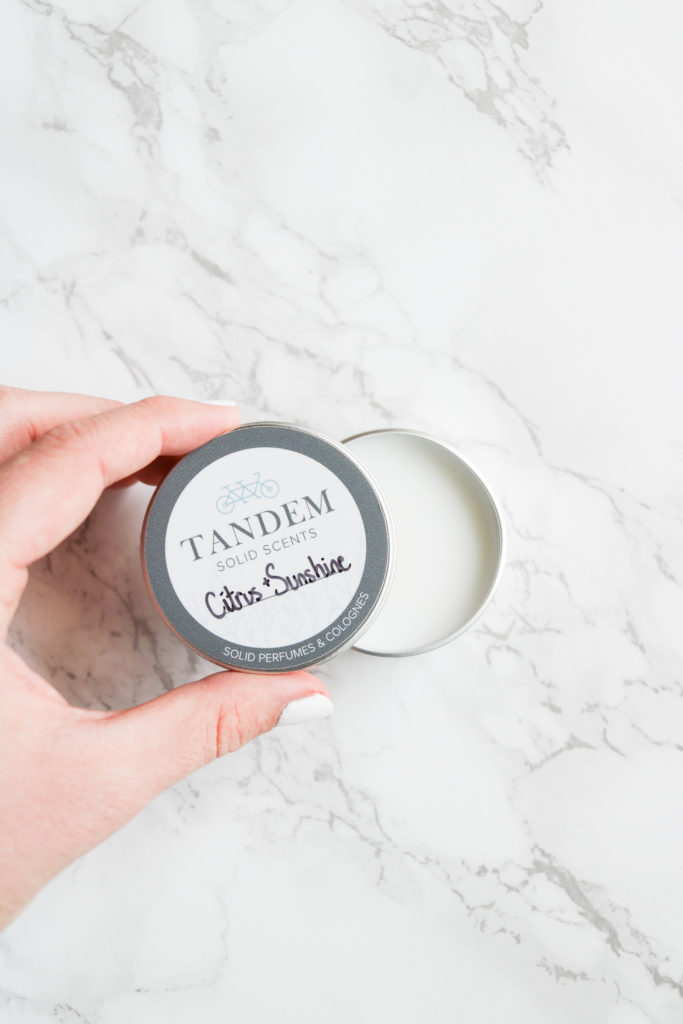
Citrus & Sunshine:
Grapefruit (6 drops)
Lavender (16 drops)
Vanilla (11 drops)
Geranium (5 drops)
Rain & Sage:
Vanilla (15 drops)
Clary Sage (17 drops)
Eucalyptus (6 drops)
Lemon (6 drops)
COLOGNES:
Cedar & Spice:
Patchouli (7 drops)
Vanilla (8 drops)
Cinnamon (10 drops)
Orange (8 drops)
Trees & Trails:
Cedar wood: (8 drops)
Clary Sage (11 drops)
Patchouli (3 drops)
Orange (7 drops)
Vanilla (5 drops)
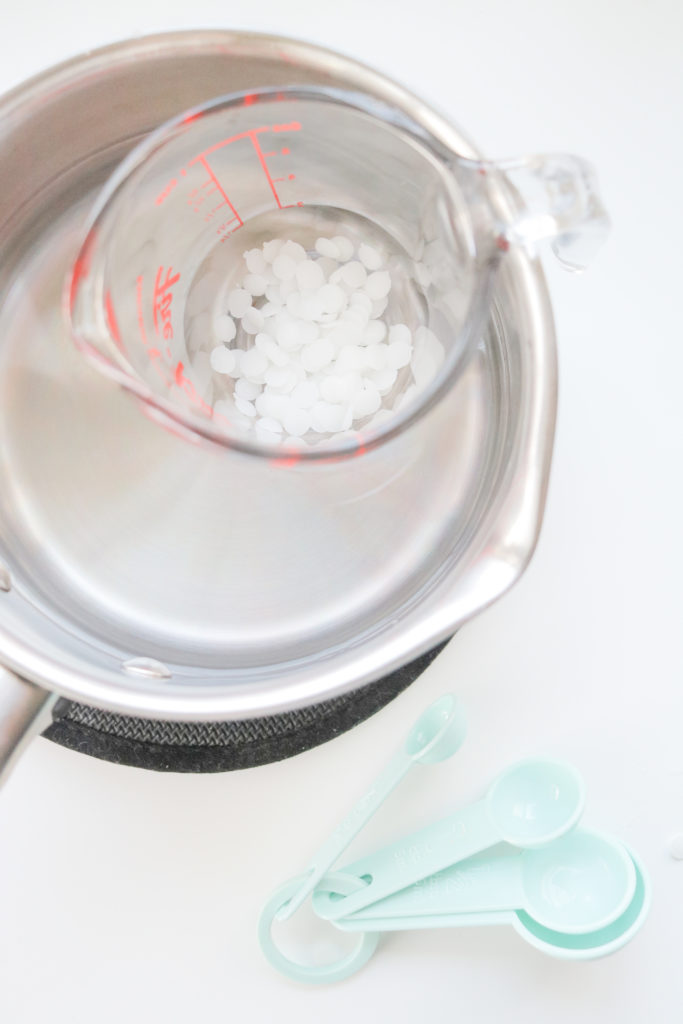
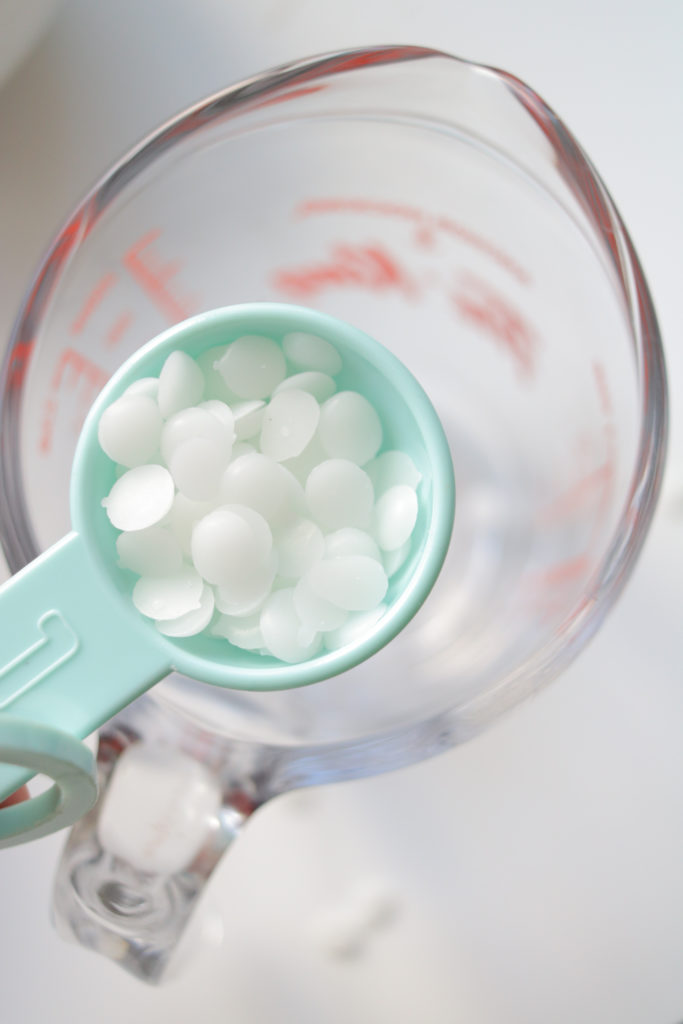
- Take your pot and bring a little bit of water to a boil. While you’re waiting for that, mix 1 tablespoon of beeswax pellets with 1 tablespoon of fractionated coconut oil in your glass bowl. Once your water is boiling, stick the glass bowl in the pot of boiling water; mix your scents with your butter knife until it is completely melted.
- Take it off the heat and pour in your essential oil mix, mix it around, and make sure your tins are open and ready to be filled!
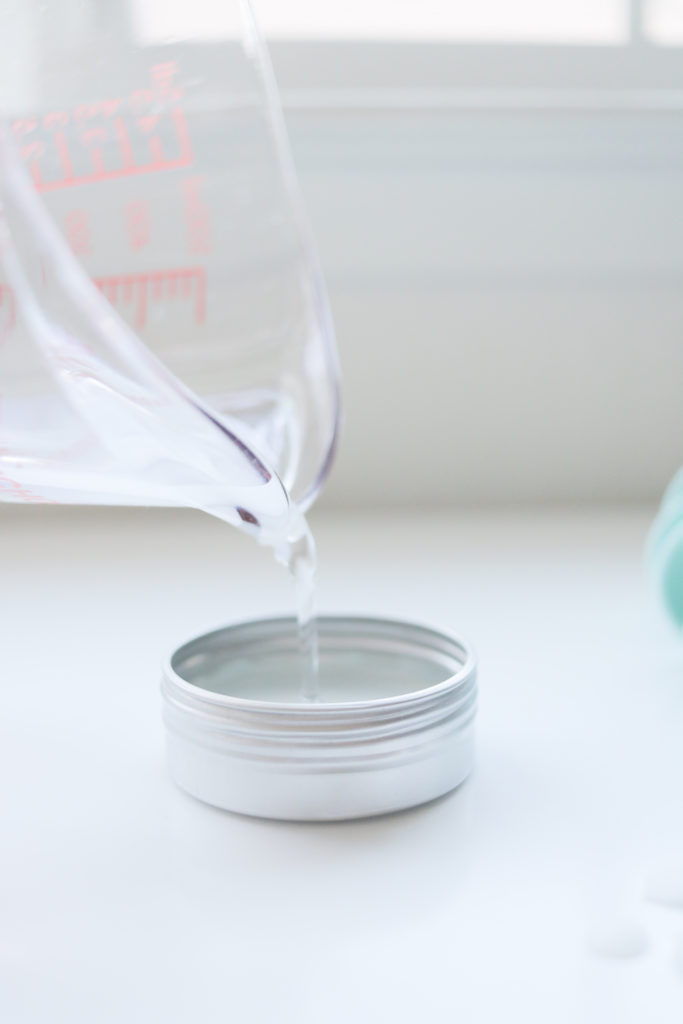
- Pour the mixture into your tins, carefully put the lid on and wait for it to dry (it doesn’t take long, but I would give it an hour to be safe).
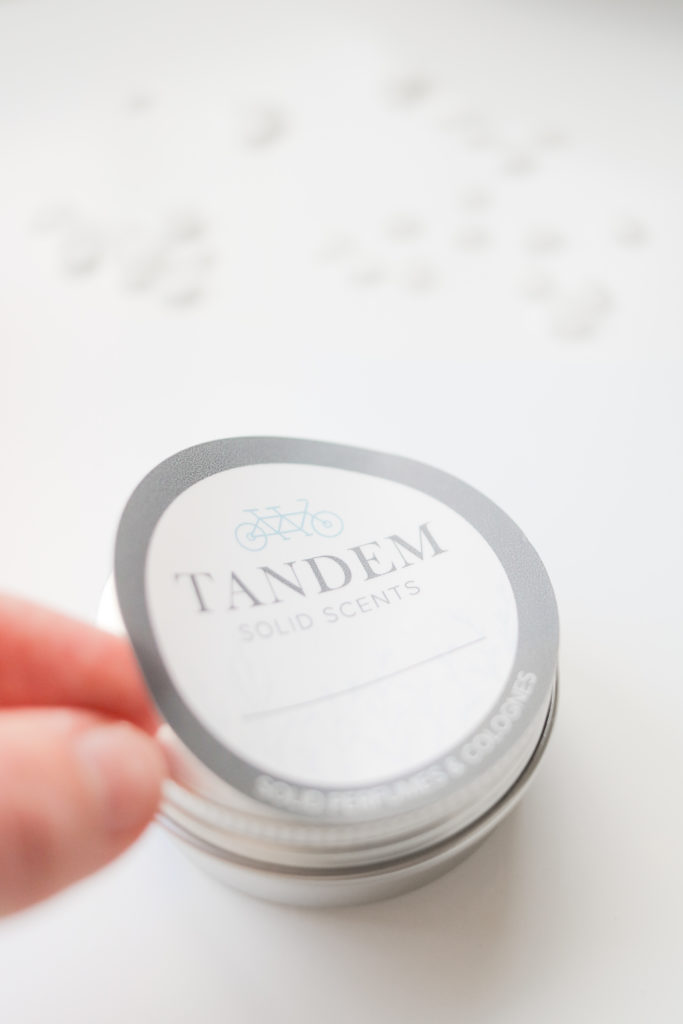
- Print out your labels (free download here) either on a sticker sheet or just plain paper and attached them to your lid.
- Yay! You’re done! Enjoy your yummy scent; also come up with a fun name for it!
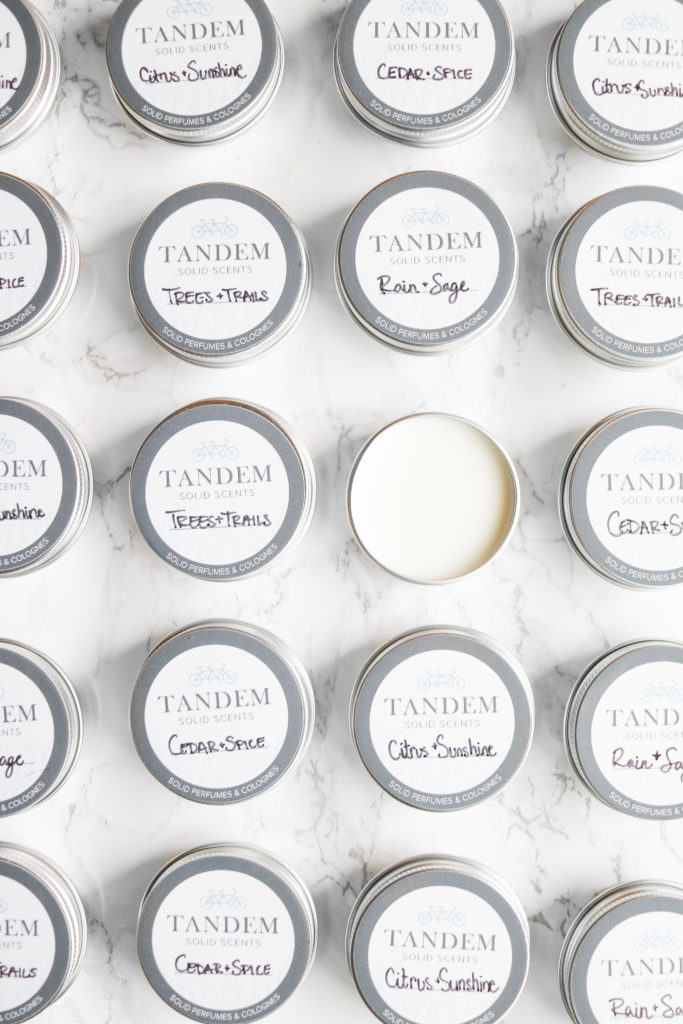
That’s it guys! I carry a solid perfume in my purse now, which is so handy because I don’t have to worry about it spilling or breaking, and bonus, you can travel with it because it’s not a liquid! Yay! Also, please tag me in any versions you make!!! I’d love to see!!!
-Mikyla

I was lately interested in making perfumes on my own. And solid perfumes are the ones which impressed me the most! Then I started researching on YT and BANG your video pop up. You are really impressive and I liked your way of mixing scents (they smells too good) . At the end, keep uploading more DIYs and more blogs, because your blogs are fun to read (plus your aesthetic OMG). 10/10 🙂
SO SO sweet!! THANK YOU 🙂