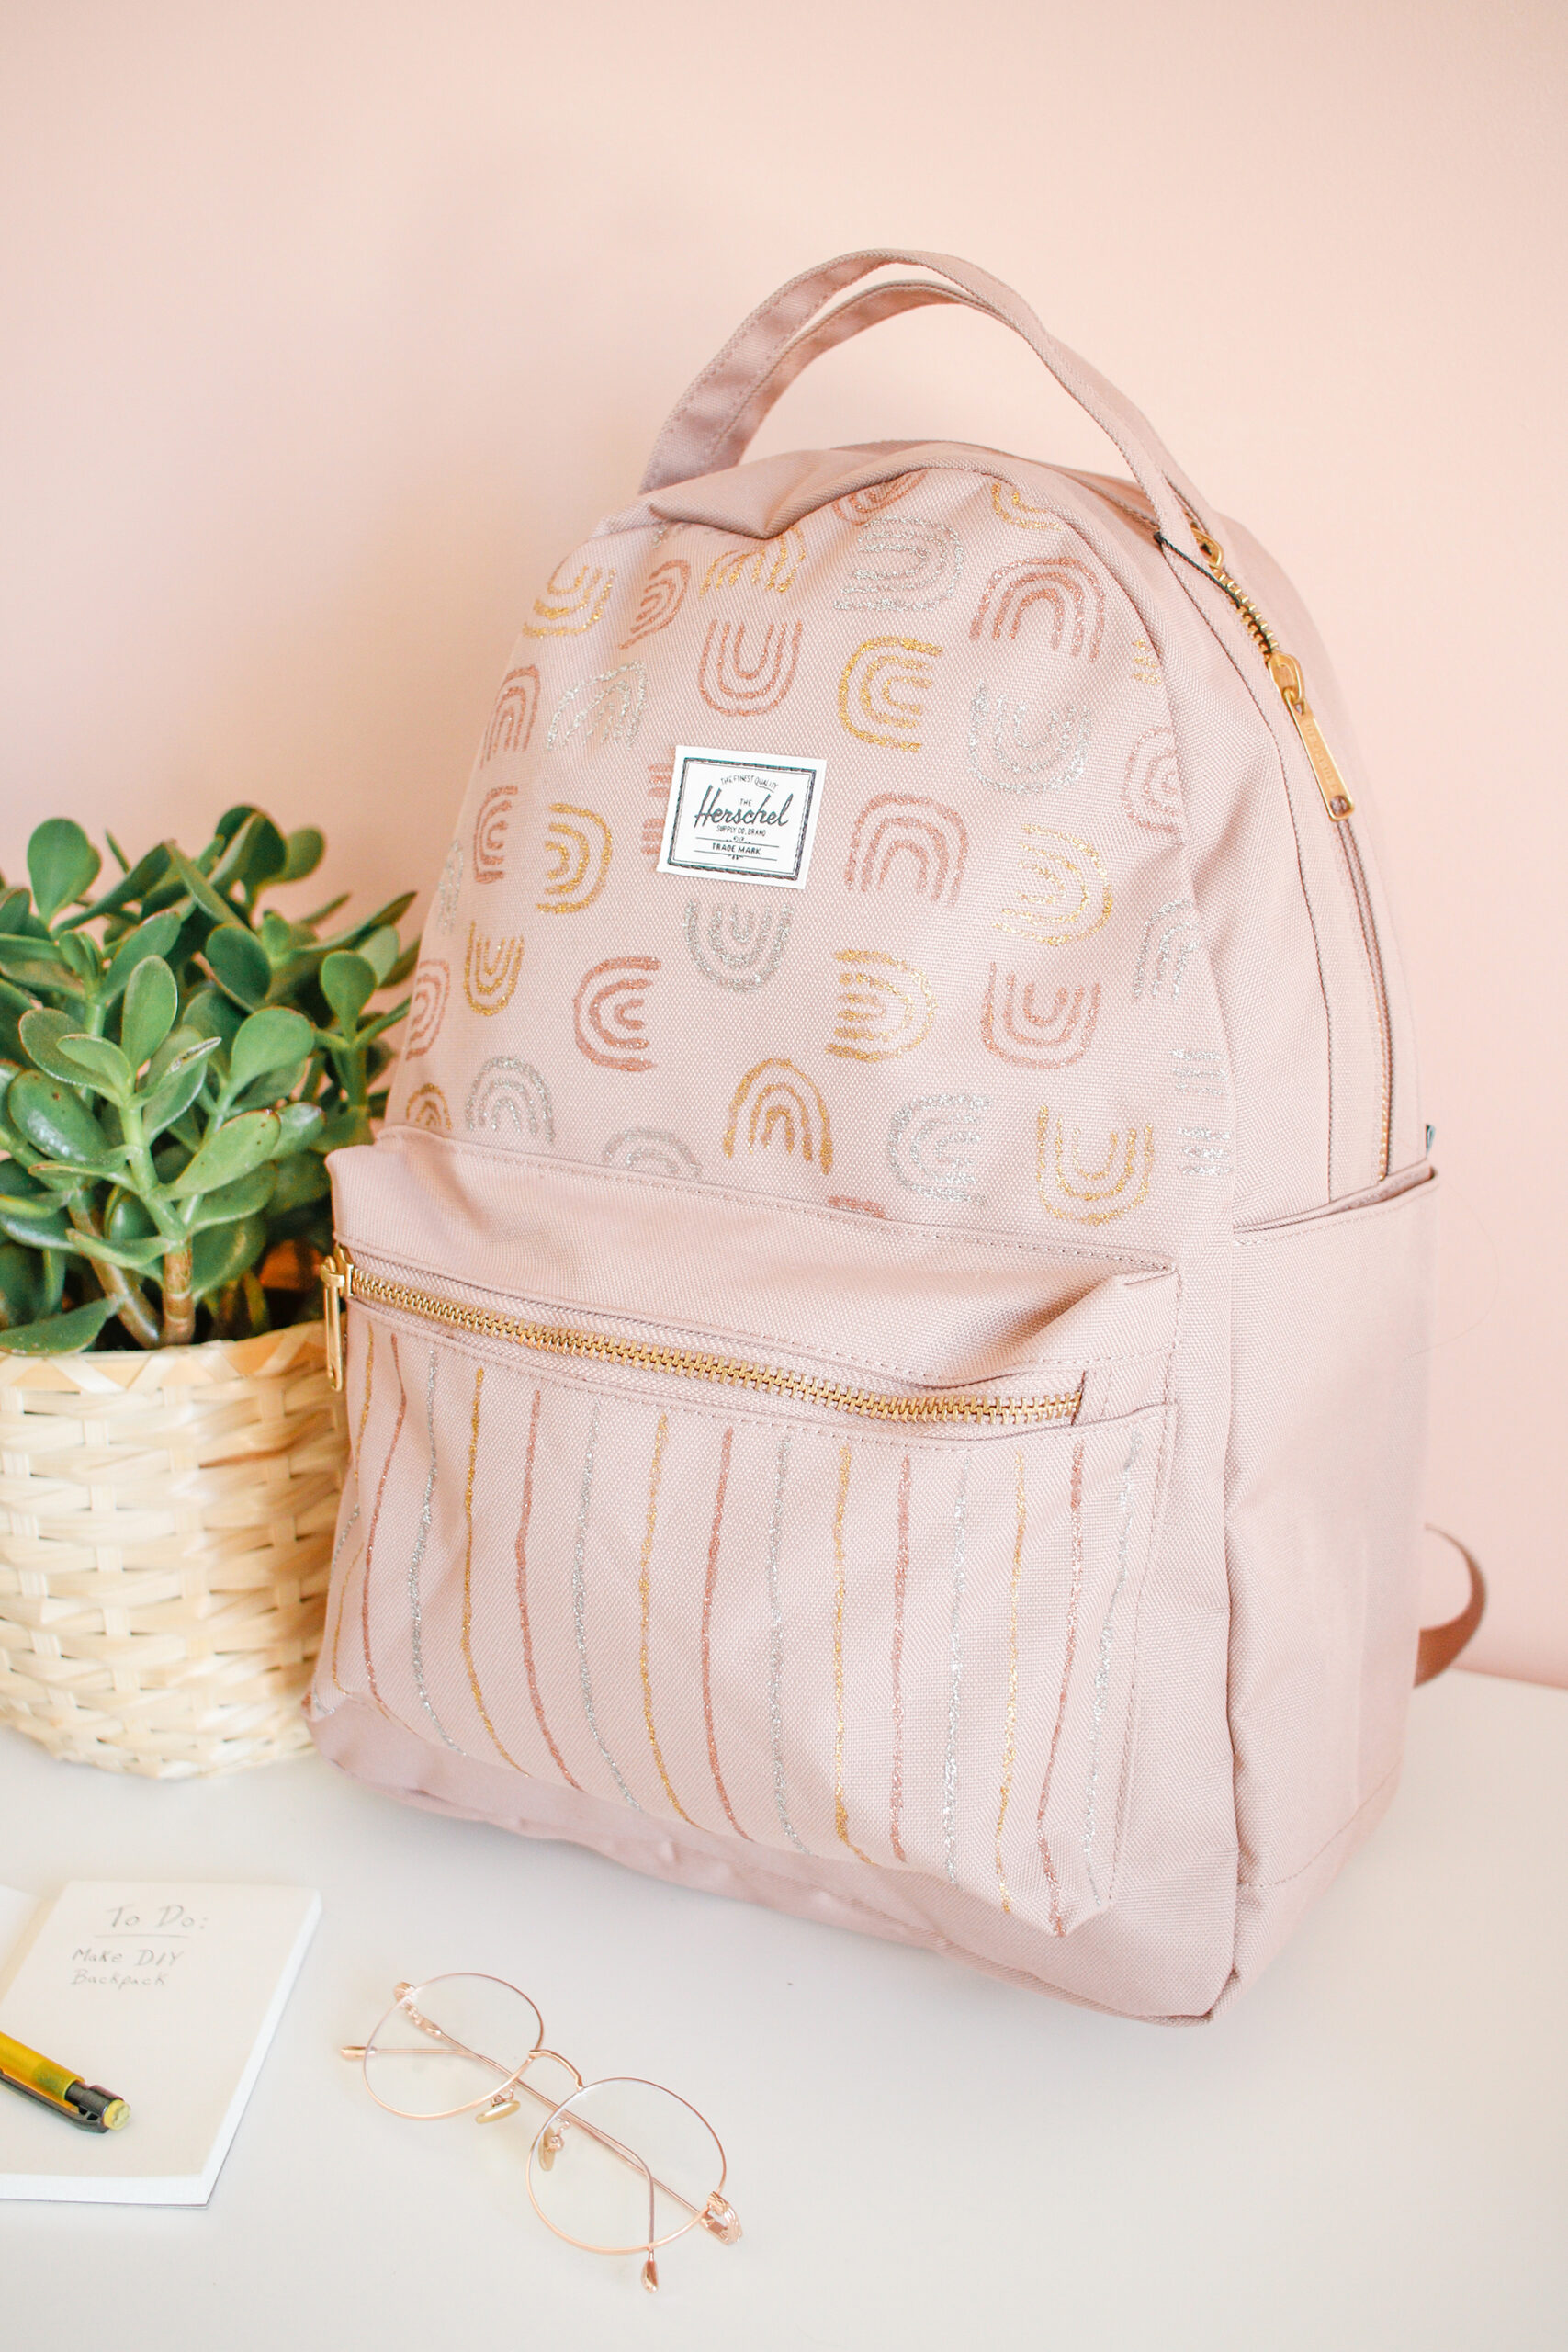
DIY Patterned Backpack Makeover
Back to school season is upon us and though it may look a little different this year (read: VERY different) we still need to enjoy the best part of back to school: cute school supplies! As a kid school supplies shopping was like heaven (lol), and honestly that hasn’t changed even though I’m not in school anymore. The most important of the school supplies is of course your backpack! Even though a lot of kids may not actually be going back to school, a cute backpack is ALWAYS a good idea. Even as a fully grown adult I am in love with cute backpacks (wish I were kidding).
PS. One of my very favorite DIYs was a fabric painting project like this one! Check out my painted jean jacket here!
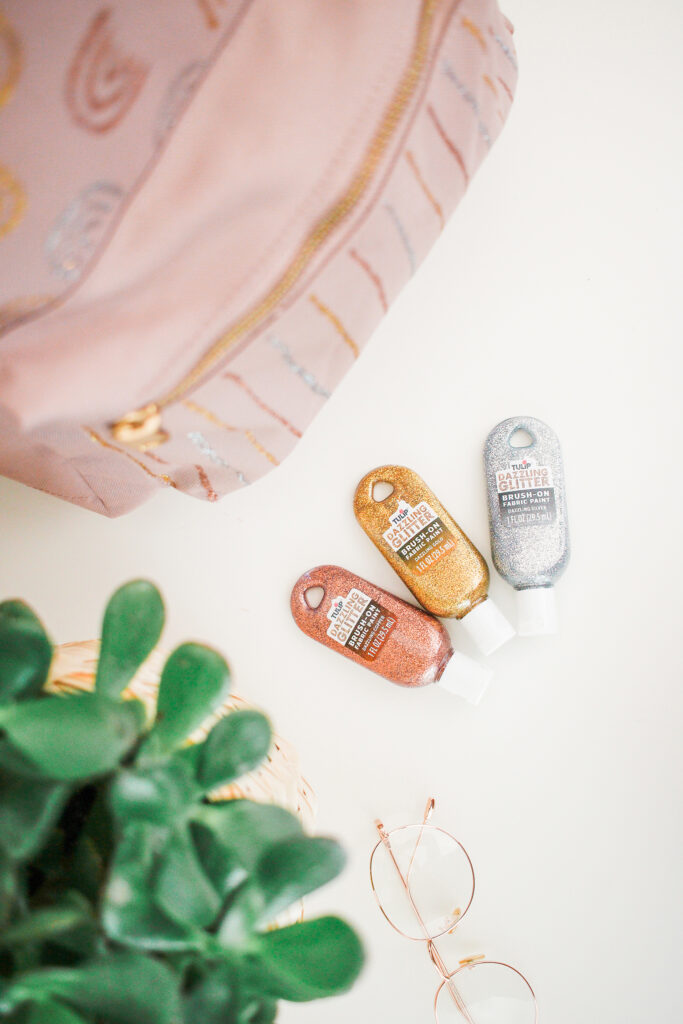
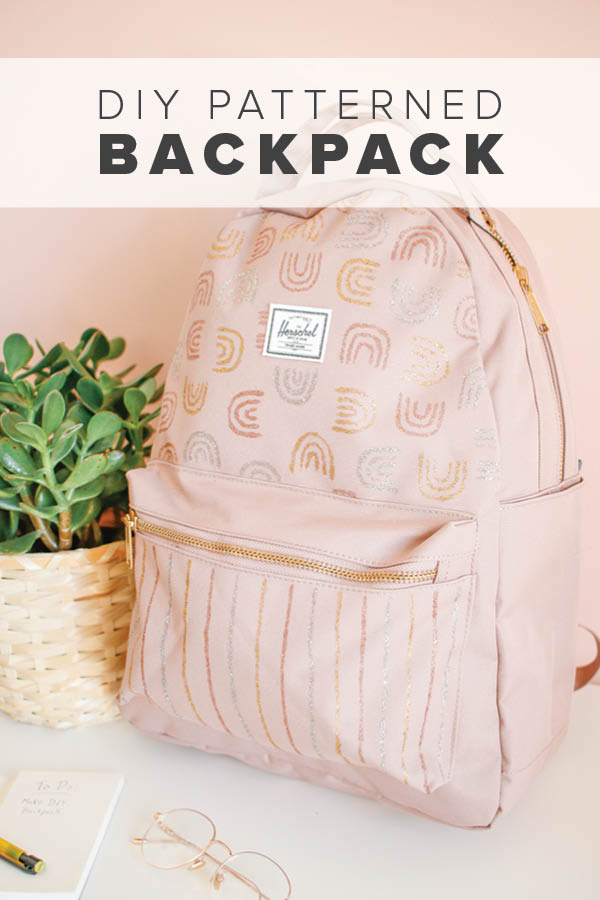
SO, enter Tulip Color and their amazing glitter fabric paint! Whaaaaat?! It is so pretty, and comes in amazing colors – the gold and copper are my faves *heart eyes* I am for real so, so happy with how this backpack turned out! My friend saw it, and thought that the pattern I had painted on was how I had bought it – that’s how professional looking the fabric paint is!
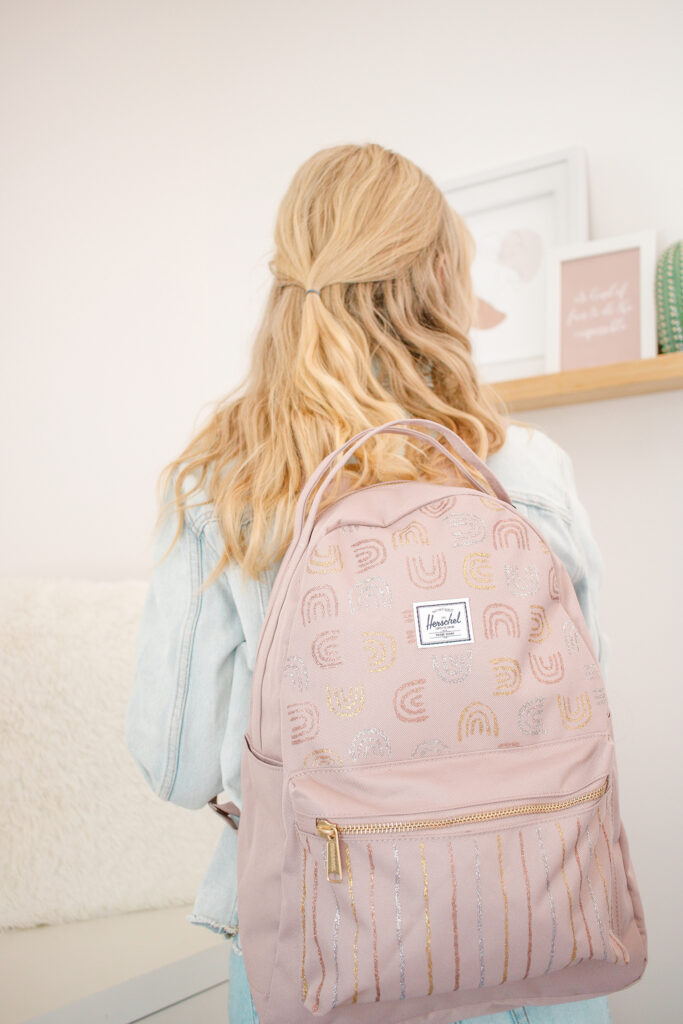
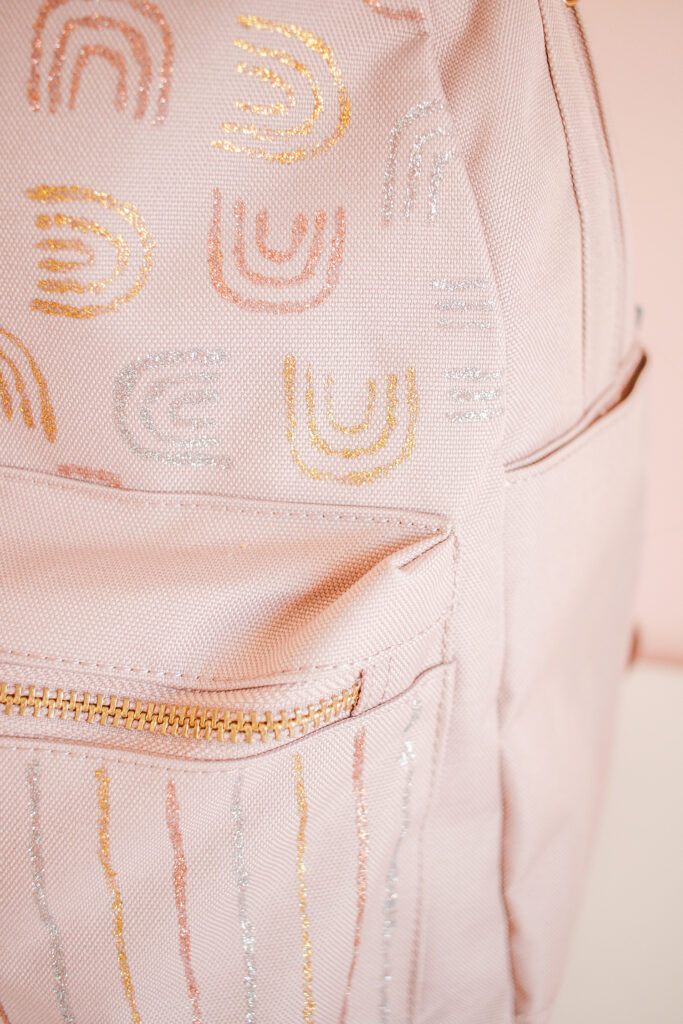
Anyways, I decided to make two different patterns, and I think it gives it a really unique look – plus I think that the patterns compliment each other really well! They also happen to both be really easy to paint – no artistic talent required! You could of course choose any patterns that you’d like – I think floral would be super cute, though I’m pretty obsessed with my rainbows!
Okay, I think it’s time to get started on this simple backpack DIY to make going back to school a little more fun!
Here’s the Tutorial Video:
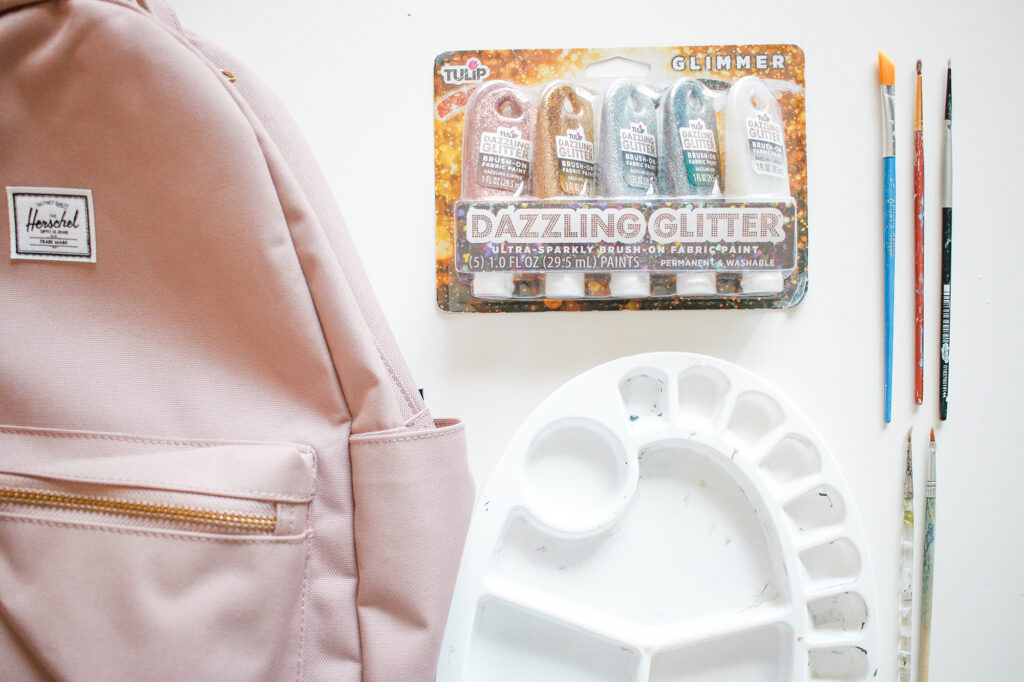
SUPPLIES
Tulip Color Glitter Fabric Paint
Paintbrushes (Small)
Painting Palette
Towels
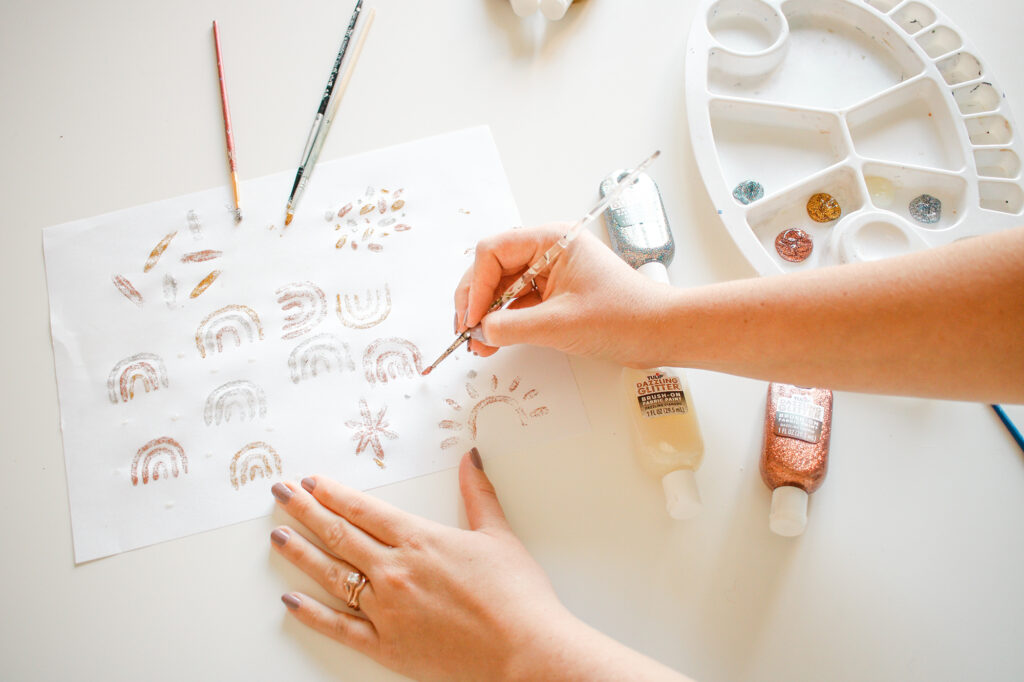
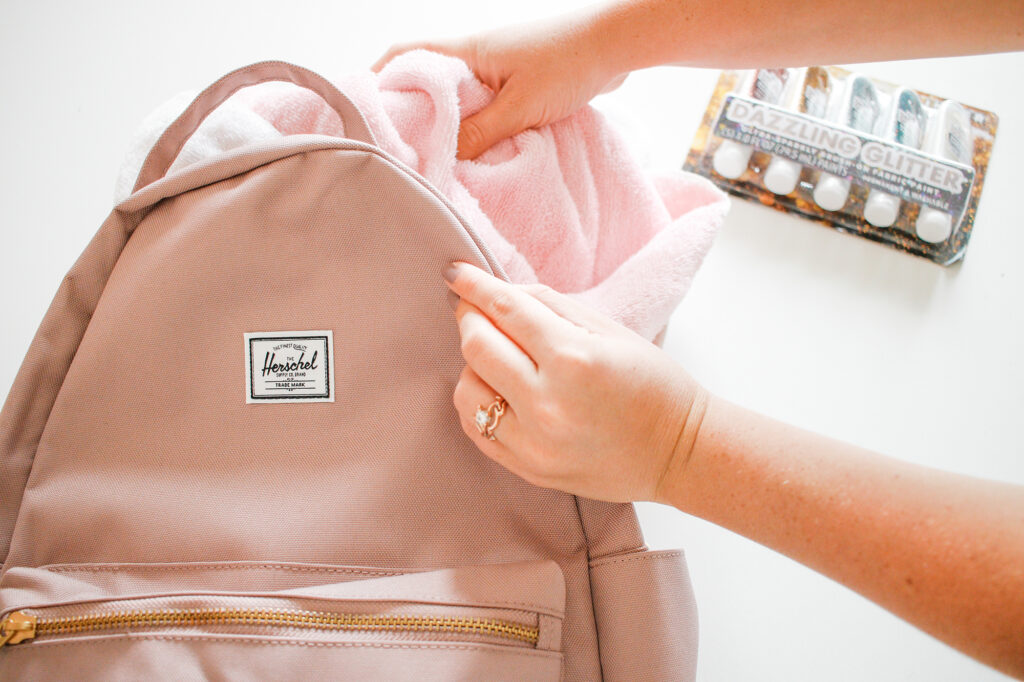
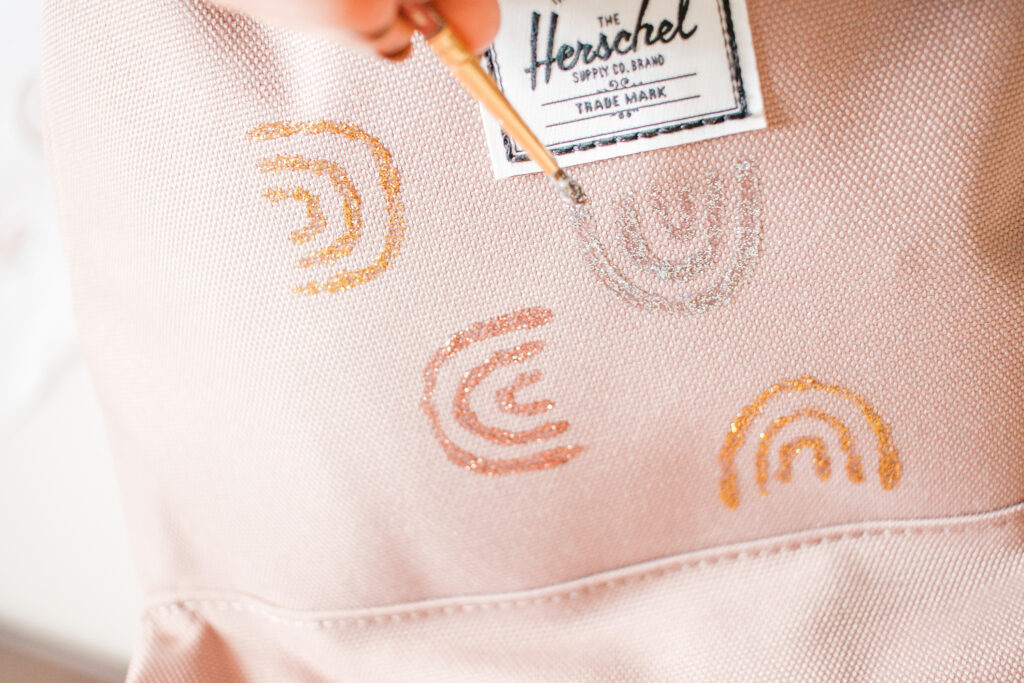
DIRECTIONS
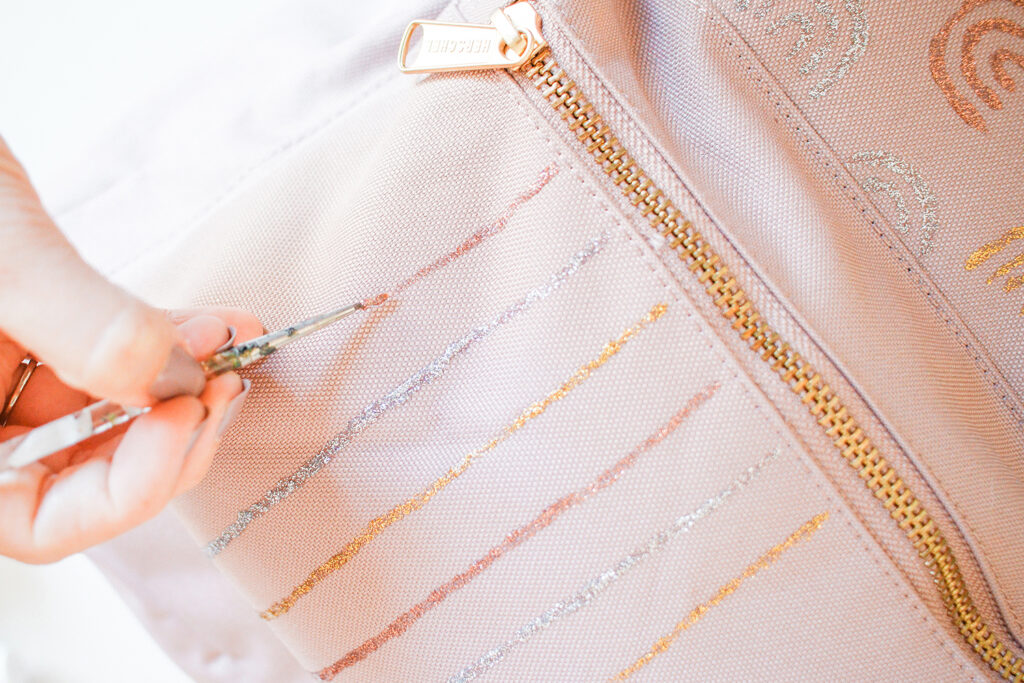
- Practice painting your patterns on a scrap piece of paper so that you can decide exactly what you want to paint and don’t end up making a mistake on your final product!
- Stuff your backpack with towels – this will make it easier to paint on!
- Start with a rainbow pattern at the top of your backpack. I made rainbows going in different directions. I made all of my rainbows with three layers of the same color. Choose a different color for each rainbow and try not to have same color rainbows next to each other. I used the gold, copper and silver!
- Once I filled up the top section, I painted vertical stripes on the front pocket. I just free handed it. It was pretty easy since I was painting straight down. I started in the middle of my pocket and rotated between my three chosen colors. I tried to make them all evenly spaced.
- Let your backpack dry, remove the towels and fill it with school supplies. Then, rock that backpack!
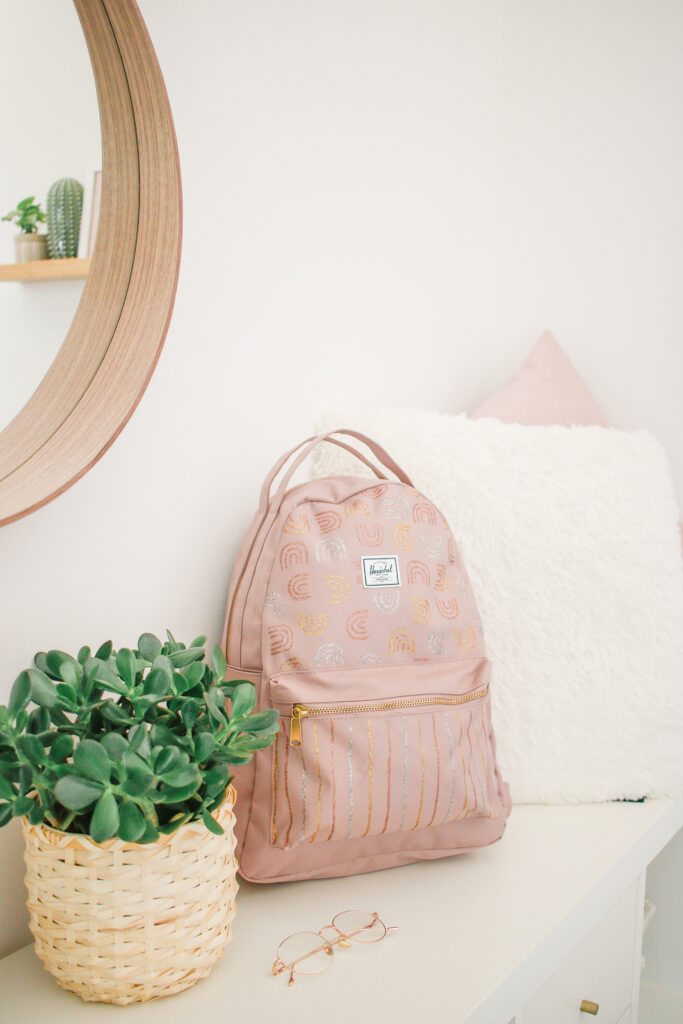
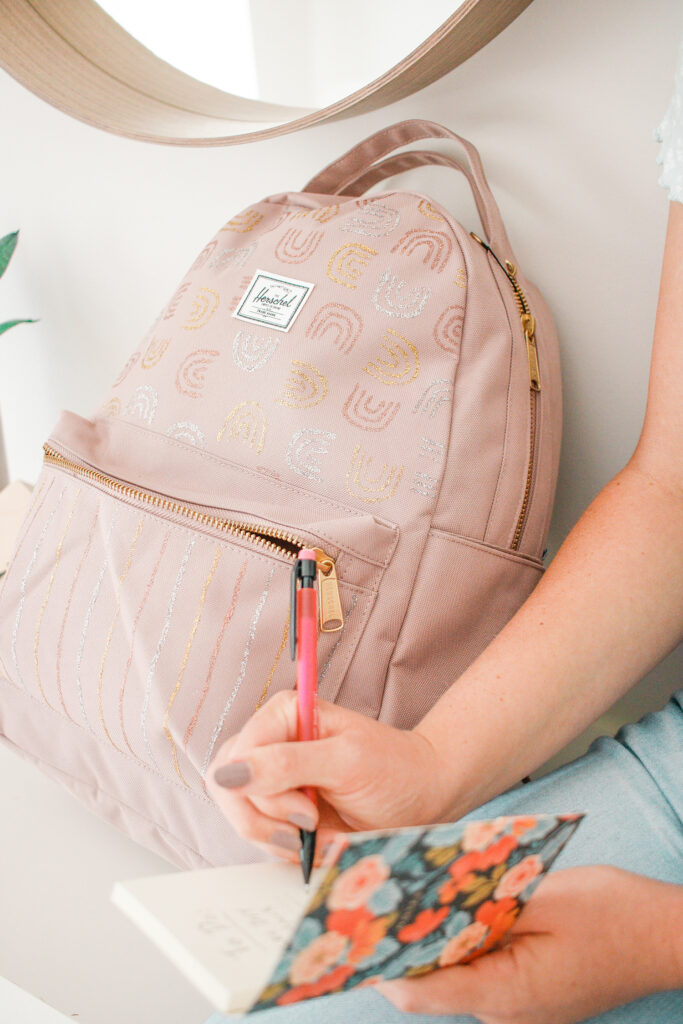
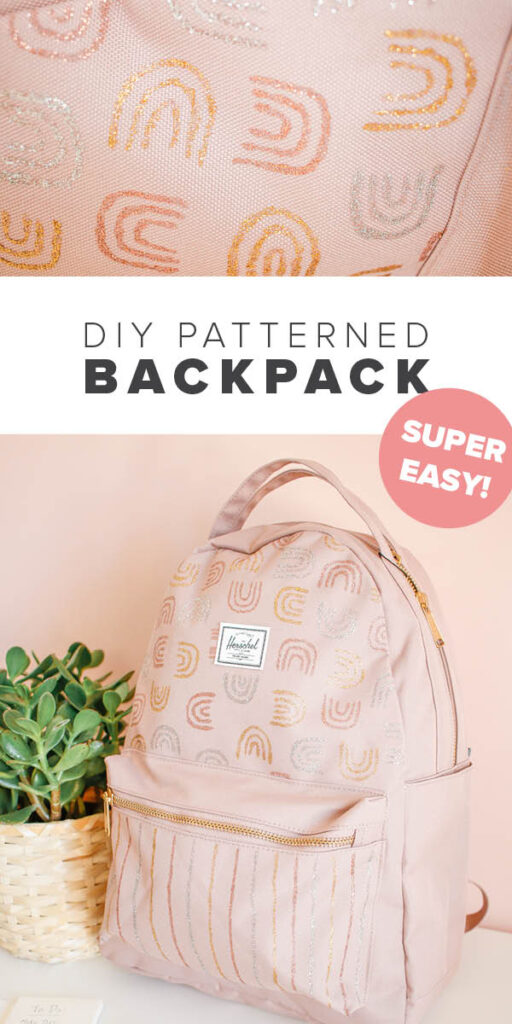
Now you have the cutest AND most unique backpack in school or wherever you’re taking it! I am actually so shocked by how professional these glitter fabric paints look! I don’t want to toot my own horn, but honestly this backpack DOES look like something you could see in a store – which is a DIY WIN if you ask me!
PS. Tulip Color has tons of other fabric paint if you’d like different colors than I used, or if you’re not feeling the glitter!
Well, that’s it friends, if you make this DIY patterned backpack makeover please tag or DM me @mikylacreates so that I can see!!
This post was created in partnership with Tulip Color. All content and opinions are my own! Thank you for supporting the sponsors that help keep Mikyla Creates going!!

2 comments on “DIY Patterned Backpack Makeover”